Your router says AC1200 or WiFi 5, but you cannot tell whether it is actually using the faster 5 GHz connection. Maybe your laptop keeps joining the slower 2.4 GHz network, your smart TV buffers in the living room, or the router settings show 802.11ac without explaining what to select. If you are trying to figure out how to set up a wireless network using 802.11ac protocol, the settings can look more complicated than they really are.
The basic setup involves connecting your router to the internet, enabling the 5 GHz band, selecting a wireless mode that supports 802.11ac, setting a secure WiFi password, and connecting your devices. You also need to leave 2.4 GHz available if you have older printers, smart plugs, or security cameras that cannot use 5 GHz.
This guide walks through those settings in the order you should change them. You will also learn how to check whether your devices are actually using 802.11ac, what to do when the 5 GHz network disappears, and how to fix connection problems without resetting your entire router.
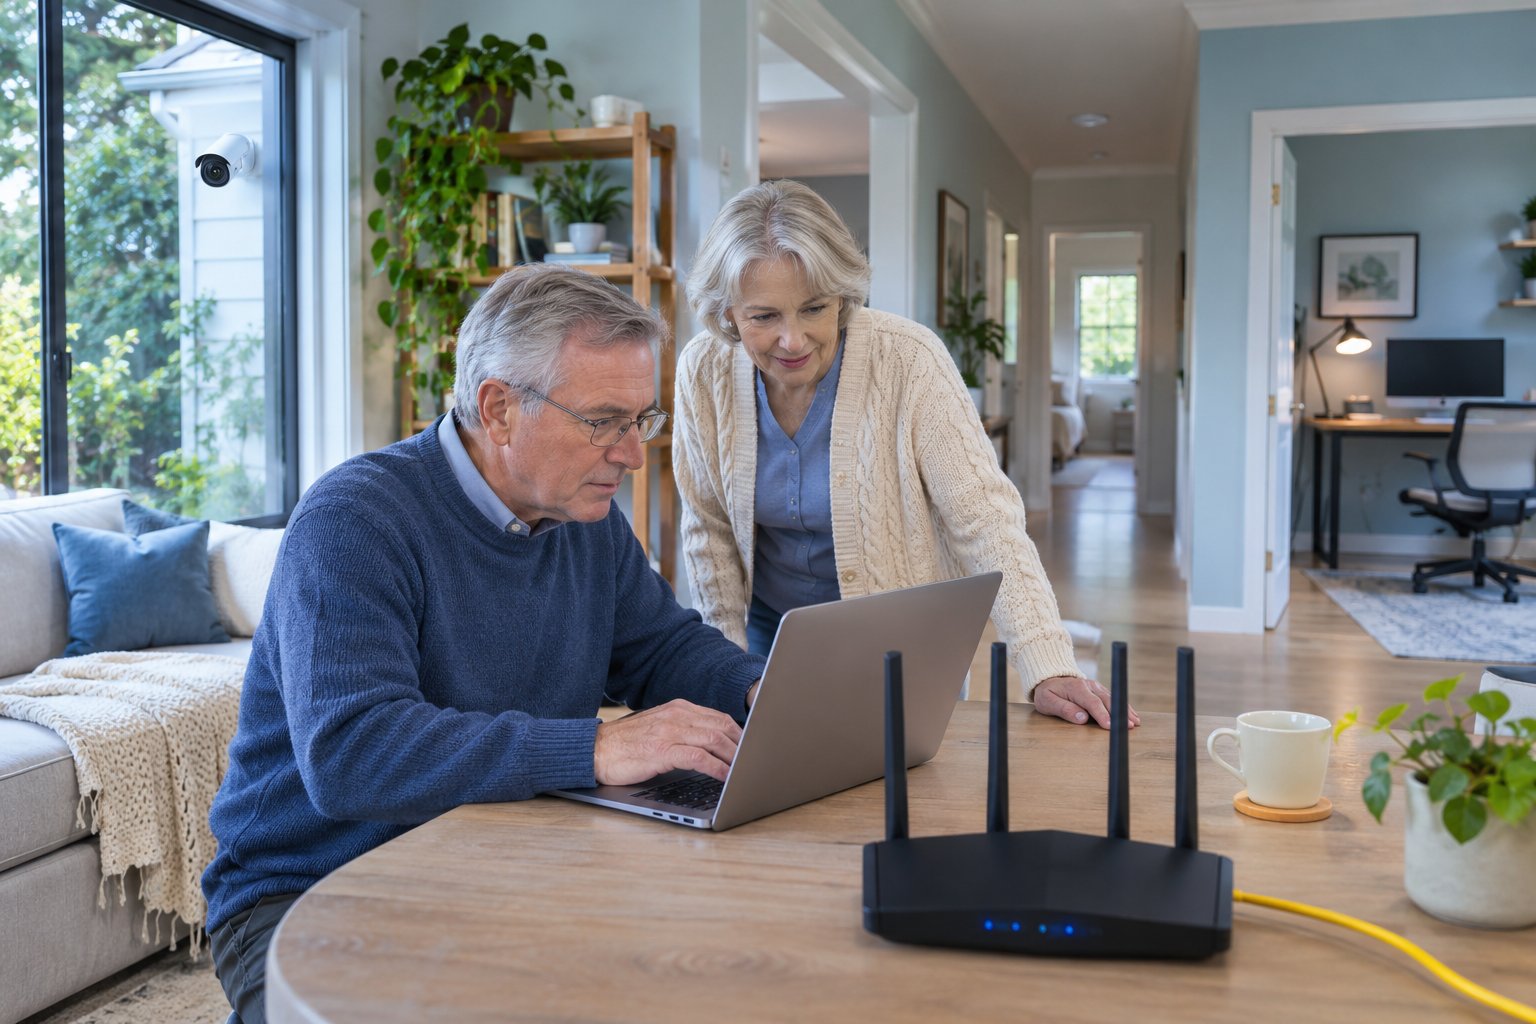
How to Set Up a Wireless Network Using 802.11ac Protocol: Quick Answer
To set up an 802.11ac wireless network, you need a WiFi 5-compatible router, an active internet connection, and a phone or computer to access the router settings.
Here is the setup process:
-
Connect the router's WAN or Internet port to your modem or internet gateway.
-
Connect your computer or phone to the router using Ethernet or its default WiFi network.
-
Open the router's administration page using the address printed on its label or listed in the manual.
-
Sign in and locate the Wireless, WiFi, or Advanced Wireless settings.
-
Enable the 5 GHz wireless band.
-
Choose 802.11ac or a mixed wireless mode that includes 802.11ac.
-
Set the 5 GHz channel to Auto and use Auto or a channel width setting that includes 80 MHz.
-
Select WPA2-Personal with AES encryption, or a compatible WPA2/WPA3 security mode.
-
Create a recognizable WiFi network name and a strong password.
-
Save the settings, reconnect your devices, and confirm the connection is using 5 GHz.
The setting that matters most is the 5 GHz wireless mode. If the router is set to an older standard such as 802.11n-only, your laptop cannot establish an 802.11ac connection even when both devices support WiFi 5.
Keep the 2.4 GHz band enabled unless you have a specific reason to disable it. A dual-band router can run both networks at the same time, allowing newer laptops and TVs to use 5 GHz while older household devices remain connected to 2.4 GHz.
You do not need to change every advanced setting to get a good result. Start with the basic configuration, confirm that devices can connect, and adjust the channel settings only if performance is poor.
What Is 802.11ac and Why Does It Matter?
802.11ac is the technical name for WiFi 5. It is a wireless networking standard designed to provide higher data rates over the 5 GHz frequency band.
Older WiFi standards, particularly 802.11n, can operate on 2.4 GHz and, with compatible hardware, 5 GHz. The 802.11ac standard builds on 5 GHz networking by supporting wider channels and other improvements that allow compatible devices to transfer data more efficiently.
For someone setting up WiFi at home, the practical difference is how the router handles devices that need a faster wireless connection.
Consider a typical home with several connected devices:
-
A laptop is downloading a large software update.
-
A smart TV is streaming a 4K movie.
-
Someone is attending a video meeting in another room.
-
A printer and two security cameras are connected to 2.4 GHz.
An 802.11ac network can provide more wireless capacity for compatible 5 GHz devices. It does not, however, guarantee that every device will become faster.
Your actual performance still depends on the router, the device's wireless adapter, the number of connected devices, interference from nearby networks, and the speed of your internet connection.
The other important difference is coverage.
A 5 GHz signal generally becomes weaker through walls and floors more quickly than a 2.4 GHz signal. A laptop near the router may perform better on 5 GHz, while a device several rooms away may have a more reliable connection on 2.4 GHz.
That is why setting up 802.11ac properly means choosing suitable settings for the devices you own, not forcing every device onto one wireless band.
Understand the Difference Between 802.11ac and AC1200
Router packaging often uses labels such as AC750, AC1200, or AC1750.
These labels describe wireless speed classes. They do not tell you the internet speed that every connected device will receive.
For example, a typical AC1200 dual-band router may advertise theoretical maximum wireless link rates of approximately:
-
300 Mbps on 2.4 GHz, usually using 802.11n.
-
867 Mbps on 5 GHz, using 802.11ac.
These are separate rates for the two wireless bands.
Your laptop does not receive a combined 1,200 Mbps connection simply because the router is advertised as AC1200.
A device connected to the 5 GHz band negotiates its own link rate based on its hardware capabilities and current wireless conditions.
Real file transfers and internet downloads are usually slower than the negotiated wireless link rate because WiFi has communication overhead and shares radio airtime between devices.
For home setup, treat AC1200 as a description of the router's wireless capabilities rather than a promised download speed.
What You Need Before Starting
Gather the connection details before opening the router dashboard. Most setup problems are easier to avoid when you know which device connects where and which passwords belong to which network.
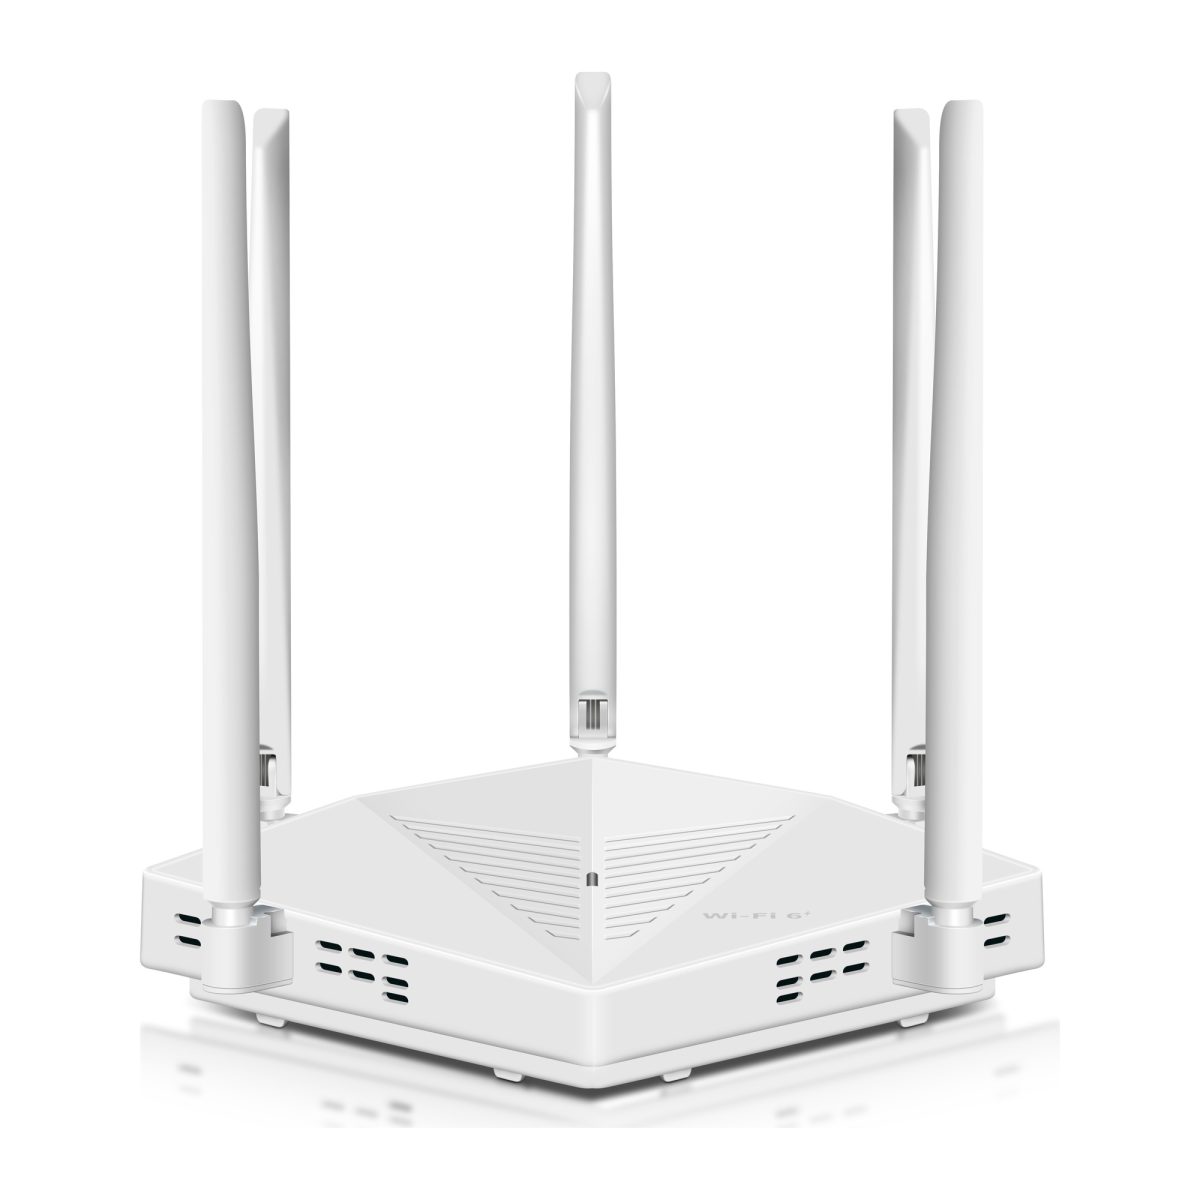
An 802.11ac-Compatible Wireless Router
Check the label underneath your router or its official product specifications.
Look for WiFi 5, IEEE 802.11ac, or an AC wireless speed class.
A dual-band router should support both 2.4 GHz and 5 GHz operation.
If the router only lists 802.11b/g/n and has no 5 GHz radio, it cannot provide 802.11ac through a software setting. You would need compatible hardware.
A newer WiFi 6 router can also work with 802.11ac devices. You can usually leave it in a compatible mixed wireless mode rather than forcing it to operate only as WiFi 5.
An Internet Connection and Ethernet Cable
For a typical home router installation, have the following ready:
-
An active internet service.
-
A modem, fiber ONT, or internet gateway.
-
An Ethernet cable for connecting the router to the internet equipment.
-
The router's original power adapter.
-
A laptop, desktop computer, or smartphone for configuration.
If your laptop has an Ethernet port, a wired connection is useful during setup.
Changing a WiFi name, password, or wireless mode can disconnect your phone from the router. With Ethernet, you can often remain logged into the administration page while changing wireless settings.
A wired connection is helpful but not required. Many home routers support setup entirely over WiFi.
Your Router's Login Information
Find the default WiFi name, WiFi password, and router management address.
These details are commonly printed on the router's label or provided in its setup instructions.
Be careful not to confuse two different passwords.
The WiFi password allows household devices to connect to the wireless network.
The administrator password protects access to the router's configuration page.
If the router is already installed, its current administrator password may be different from the original factory credentials.
Do not perform a factory reset just because you cannot remember the password. First check whether the manufacturer provides a supported account recovery method.
A reset can erase the existing internet and wireless configuration.
Check Your Connected Devices
Before changing wireless settings, identify which devices need 5 GHz and which require 2.4 GHz.
For example:
-
A work laptop that supports WiFi 5 can use 802.11ac.
-
A newer smart TV may support 5 GHz.
-
An older wireless printer may only support 2.4 GHz.
-
A smart plug may require a 2.4 GHz network during setup.
-
A security camera may have its own wireless band requirements.
You can usually find this information in the device's specifications.
This check matters because some people enable 5 GHz, turn off 2.4 GHz, and then discover that their cameras or smart plugs have disappeared from the network.
Keeping both bands available avoids that problem.
Step-by-Step Guide to Setting Up an 802.11ac Wireless Network
Router dashboards do not all use the same menu names. Some place the settings under Wireless, while others use WiFi Settings or Advanced Network.
The following steps follow the order that makes troubleshooting easiest. Get the wired internet connection working first, configure wireless settings second, and then check what your devices are actually using.
Step 1: Check That Your Router Supports 802.11ac
What to do
Start with the router model printed on its label.
Open the manufacturer's specifications and find the supported wireless standards.
Look for 802.11ac or WiFi 5.
Then check whether the device you plan to use for testing also supports that standard.
On Windows:
-
Open the Start menu.
-
Type Device Manager and open it.
-
Expand Network adapters.
-
Find the wireless network adapter.
-
Check the adapter model against the manufacturer's specifications.
You can also open Command Prompt and enter:
netsh wlan show drivers
Look for the supported radio types. If 802.11ac appears, the adapter supports it.
What you should see
Both the router and your test device should list 802.11ac compatibility.
If the router supports 802.11ac but your laptop only supports 802.11n, the laptop may still connect through a compatible mixed mode. It simply will not establish an 802.11ac link.
What to watch for
Do not assume that every router with Gigabit Ethernet ports supports WiFi 5.
Wired Ethernet specifications and wireless standards are separate.
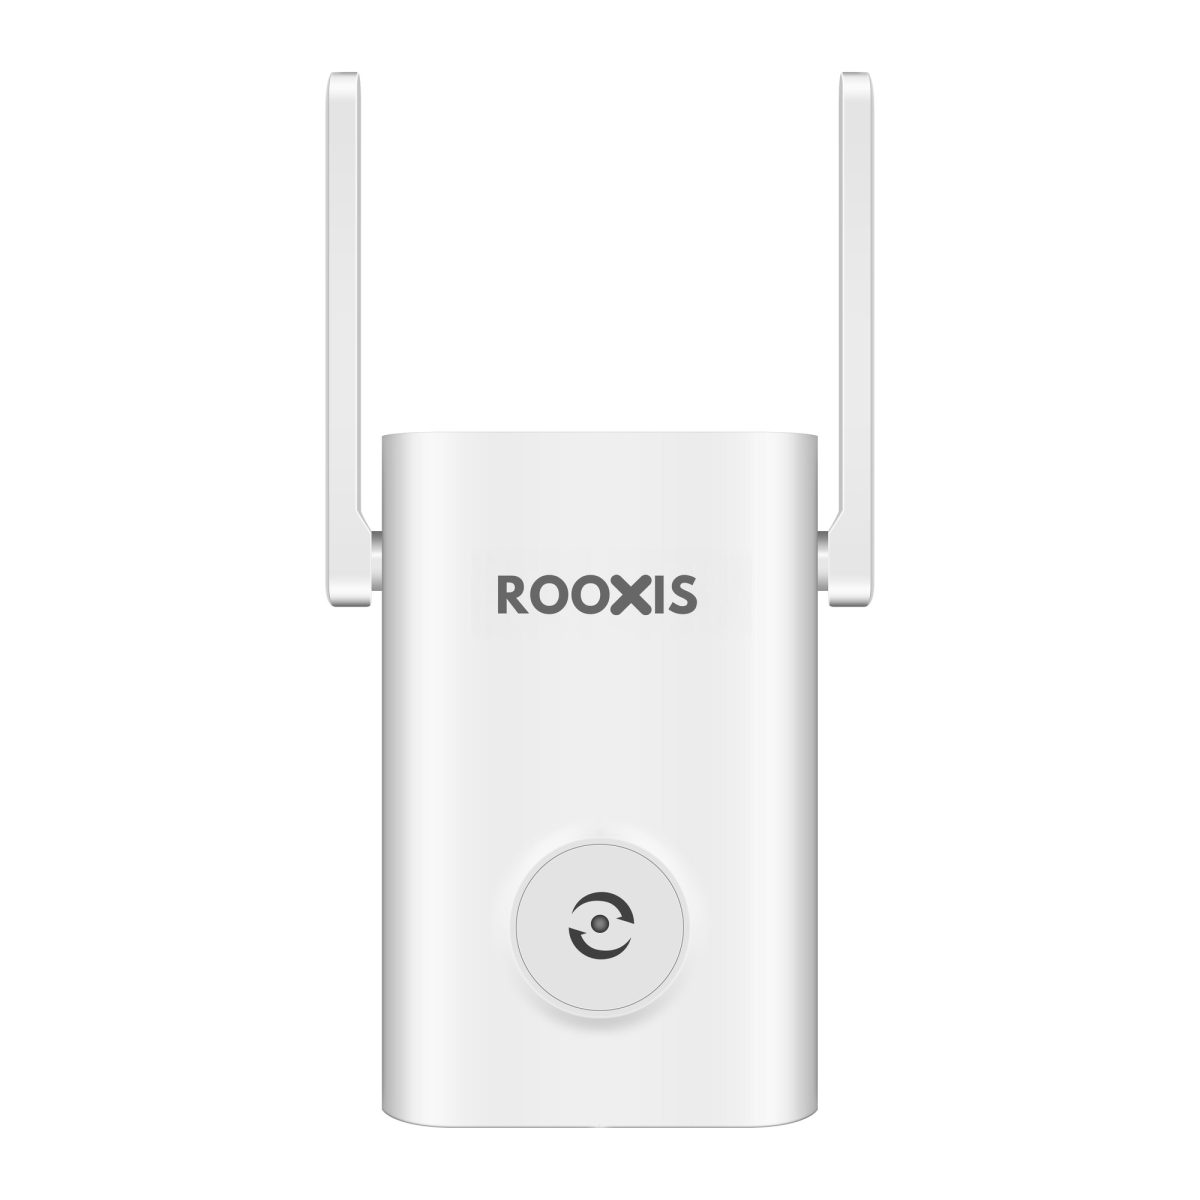
Also, an AC1200 WiFi extender is not necessarily a router. An extender usually connects to an existing wireless network and extends its coverage.
Step 2: Connect the Router to Your Modem or Internet Gateway
What to do
Identify the Ethernet port labeled WAN or Internet on your router.
For a standard home router setup:
-
Turn off the modem if your provider's instructions allow it.
-
Connect an Ethernet cable to the modem's Ethernet output.
-
Plug the other end into the router's WAN or Internet port.
-
Turn the modem back on and let it finish starting.
-
Connect the router to power.
-
Wait for the router to complete startup.
On many routers, the WAN port has a different color from the LAN ports, but use the printed labels to identify it.
If your internet provider supplied a combined modem and WiFi router, decide how the additional router will operate before connecting everything.
For a simple network extension, Access Point mode may be appropriate.
In Access Point mode, the existing gateway continues managing the internet connection and assigning local IP addresses.
Follow the manufacturer's port instructions for this mode, because some models use the WAN port while others support or require a LAN connection.
What you should see
The router powers on, its status indicators become active, and the default wireless network becomes available if wireless broadcasting is enabled.
What to watch for
Do not connect two routers together in full Router mode without understanding how their networks will interact.
Doing so may create double NAT and separate local networks.
That can cause problems with online gaming, port forwarding, and devices that need to discover each other across the home network.
Step 3: Open the Router Administration Page
What to do
Connect your phone or computer to the router.
If you are using WiFi, select the default network name printed on the router label.
Open Chrome, Edge, Safari, or another browser.
Enter the router's management address into the address bar.
Common addresses include:
-
192.168.0.1
-
192.168.1.1
-
192.168.10.1
These are examples. Your router may use a different address or a manufacturer-specific setup page.
For a ROOXIS AC1200 router, the browser setup address is 192.168.10.1. The official ROOXIS AC1200 router setup guide explains how to access the setup wizard and configure the initial connection.
Enter the administrator credentials when the login page appears.
If you are configuring a new router, create a strong administrator password when prompted.
What you should see
The router dashboard should open.
Look for sections such as Internet, Wireless, WiFi, Security, Advanced, and System.
What to watch for
If the setup page does not load, check whether your phone has switched to mobile data.
Phones sometimes leave a WiFi network that does not yet provide internet access.
Reconnect to the router's WiFi and try again.
If you do not know the management address, you can check the default gateway on a connected Windows computer.
Open Command Prompt, enter ipconfig, and find the Default Gateway entry for the active network adapter.
Step 4: Configure the Internet Connection
What to do
Before setting up WiFi 5, make sure the router has a working internet connection.
Open Internet Settings, WAN Settings, or the equivalent section.
Common connection options include:
-
Automatic IP or DHCP.
-
PPPoE.
-
Static IP.
-
Other provider-specific connection methods.
Many household internet connections use Automatic IP or DHCP.
Some providers require PPPoE credentials. If yours does, enter the username and password supplied by the provider.
Do not switch to PPPoE simply because the internet light is off.
Some fiber connections also require VLAN information or other settings supplied by the internet provider.
Use the provider's instructions when those settings are necessary.
Save the configuration.
What you should see
The router dashboard should report an active internet connection or display a valid WAN IP address.
Try opening a website from your connected device.
What to watch for
A connected WiFi symbol does not prove that the router has internet access.
If your phone says Connected without Internet, check the WAN settings and modem connection first.
Changing the 802.11ac mode will not solve an incorrect PPPoE password or a disconnected Ethernet cable.
Step 5: Enable the 5 GHz Wireless Network
What to do
Open the Wireless or WiFi settings in the router dashboard.
Find the controls for 5 GHz.
Some routers show separate pages for 2.4 GHz and 5 GHz. Others place both on the same page.
Turn on the 5 GHz wireless radio.
If the router allows separate network names, use clearly different names while testing.
For example:
-
HomeWiFi-5G for the 5 GHz network.
-
HomeWiFi-24 for the 2.4 GHz network.
The exact names are up to you.
Separate names make it easier to identify which band your device is using.
Some routers have Smart Connect or Band Steering. These features can use the same network name for both bands and help devices select a connection.
That is convenient for everyday use, but separate names can be useful while verifying that 802.11ac works.
What you should see
The 5 GHz setting should show Enabled.
After saving, a compatible phone or laptop should be able to detect the 5 GHz network.
What to watch for
Do not disable 2.4 GHz simply because you want a faster 5 GHz connection.
Many cameras, printers, and smart-home devices still depend on 2.4 GHz.
Leave both bands running unless you have a specific reason to change that arrangement.
Step 6: Select the Correct 802.11ac Wireless Mode
What to do
Within the 5 GHz settings, look for Wireless Mode, Network Mode, or 802.11 Mode.
Depending on the router, you may see options such as:
-
802.11a/n/ac
-
802.11n/ac mixed
-
802.11ac only
-
802.11a/n/ac/ax
-
Auto
For most households, choose a mixed mode that includes 802.11ac.
This allows compatible older 5 GHz devices to connect while still supporting WiFi 5.
For example, a router set to 802.11a/n/ac can support devices using those standards, subject to its hardware and security configuration.
If you have a WiFi 6 router, a mixed mode that includes 802.11ax and 802.11ac is usually the better choice.
There is little benefit in restricting a newer router to WiFi 5 when it can support both newer and older devices.
What you should see
The 5 GHz wireless mode should include 802.11ac.
Your compatible devices should be able to connect after you save the setting.
What to watch for
If you select 802.11n-only mode, an 802.11ac laptop may connect using the older standard instead.
If you force 802.11ac-only mode, older 5 GHz devices may stop connecting.
Mixed mode is generally the safer starting point for a household with several different devices.
Step 7: Choose Secure Wireless Authentication
What to do
Open Wireless Security or the equivalent menu.
Look for a setting labeled Security Mode, Authentication, or Encryption.
Suitable options for a typical home include:
-
WPA2-Personal with AES: A practical choice for WiFi 5 devices and compatible older equipment.
-
WPA2/WPA3-Personal transitional mode: Useful when the router supports it and you have a mixture of newer and older devices.
-
WPA3-Personal: Appropriate when every intended device supports it.
If the router exposes a separate encryption setting for WPA2, select AES.
Avoid WEP, older WPA-Personal modes, and TKIP.
Create a unique WiFi password. A long passphrase is usually easier to remember and type than a short collection of random characters.
Aim for at least 12 to 16 characters, preferably longer.
Do not reuse the router administrator password.
What you should see
The wireless security menu should show the chosen secure authentication mode.
When a new device connects, it should request the WiFi password.
What to watch for
Some older devices do not support WPA3-only networks.
If a printer or camera stops connecting after a security change, check its supported authentication modes.
Do not remove WiFi security to solve a compatibility problem.
Where supported, an appropriate WPA2/WPA3 transitional mode may allow newer equipment to use WPA3 while compatible older devices continue using WPA2.
Step 8: Configure the 5 GHz Channel and Channel Width
What to do
Open Advanced Wireless Settings.
Find Channel and Channel Width.
For the initial setup, use:
-
5 GHz channel: Auto.
-
5 GHz channel width: Auto or a setting that includes 20, 40, and 80 MHz.
-
2.4 GHz channel width: 20 MHz.
802.11ac supports wider channels that can increase wireless link rates when conditions are suitable.
An 80 MHz channel can provide higher potential throughput than a 20 MHz channel, but it also occupies more wireless spectrum.
In an apartment building with many neighboring WiFi networks, using a wider channel may not provide the best result.
Start with Auto rather than choosing an arbitrary channel.
After the network is working, you can compare performance using different channel widths if you notice unstable speeds or frequent disconnections.
Change only one setting at a time.
What you should see
The router should accept the channel settings and allow compatible devices to reconnect.
What to watch for
Some 5 GHz channels are subject to Dynamic Frequency Selection, or DFS, requirements.
Routers using these channels may need to check for radar signals or change channels when required.
That can cause a temporary interruption.
If your 5 GHz network sometimes disappears from certain devices, check the selected channel.
You can try Auto or a locally permitted non-DFS channel using the manufacturer's instructions.
Do not assume that every 5 GHz channel is available in every country.
Step 9: Save the Settings and Reconnect Your Devices
What to do
Before applying the configuration, review the main wireless settings.
A practical starting configuration looks like this:
| Setting | Recommended starting point |
|---|---|
| 5 GHz wireless band | Enabled |
| 5 GHz wireless mode | Mixed mode including 802.11ac |
| 5 GHz channel | Auto |
| 5 GHz channel width | Auto or 20/40/80 MHz |
| WiFi security | WPA2-AES or compatible WPA2/WPA3 |
| 2.4 GHz wireless band | Enabled |
| 2.4 GHz channel width | 20 MHz |
| WiFi password | Strong, unique password |
Select Save or Apply.
Your router may restart its wireless service.
If your phone or laptop disconnects, wait for the network to become available again and reconnect using the updated details.
On Windows:
-
Open Settings.
-
Select Network & internet.
-
Open Wi-Fi.
-
View the available networks.
-
Select your 5 GHz network.
-
Enter the password and connect.
On a phone, open WiFi settings, select the correct network, and enter the password.
What you should see
Your device should connect to the wireless network.
If the router's internet connection is working, websites should load normally.
What to watch for
If you changed the WiFi password, previously connected devices may continue trying to use the old one.
Forget the old network on those devices and connect again.
If you changed the SSID, devices will see it as a different wireless network.
You do not need to factory reset the router just because your phone disconnected after applying new settings.
Step 10: Verify That Your Device Is Using 802.11ac
What to do
Connecting to a network named HomeWiFi-5G confirms which SSID you selected. It does not automatically prove that the wireless connection is using 802.11ac.
To check the actual radio type on Windows:
-
Connect your laptop to the 5 GHz network.
-
Open Command Prompt.
-
Enter
netsh wlan show interfaces. -
Find the active WiFi interface.
-
Check Radio type, Channel, Receive rate, and Transmit rate.
If Radio type displays 802.11ac, the laptop is using an 802.11ac connection.
If it displays 802.11ax, the device is using WiFi 6. That is normal when a newer router and device negotiate the newer standard.
If it displays 802.11n, inspect the router's wireless mode and the laptop's adapter capabilities.
Some phones do not display the radio standard in their normal WiFi settings.
In that case, open the router's connected-device page and look for the client's band, wireless mode, or link information.
Not every router provides these details.
What you should see
A compatible Windows laptop should report 802.11ac when it has negotiated a WiFi 5 connection.
The device should remain connected without repeated authentication failures.
What to watch for
Do not judge the connection only by the displayed link rate.
A wireless link rate of several hundred Mbps does not mean your internet speed test will show the same number.
WiFi uses shared airtime, and real data transfers involve overhead.
The radio type tells you which wireless standard is in use. Speed tests help you evaluate performance separately.
Step 11: Test Performance in the Rooms You Actually Use
What to do
Once the router is working, test it in the places where you normally use WiFi.
Start with the laptop close to the router.
Run an internet speed test, then repeat it in another room using the same device.
You might test:
-
The living room where the smart TV is installed.
-
A bedroom behind one or two walls.
-
The home office used for video calls.
-
The room where downloads regularly seem slow.
Keep other network activity as consistent as possible.
If another household member starts a large download during one test, the results may not be directly comparable.
Where possible, compare WiFi performance with a wired Ethernet connection.
That helps you distinguish a wireless problem from a slow internet connection.
What you should see
A strong 5 GHz connection near the router should provide reliable browsing, streaming, and file downloads.
Performance may decrease as you move farther away or through additional walls.
What to watch for
If the wired connection is also slow, changing the 802.11ac settings may not help.
Check the modem, internet provider, and router's WAN connection.
If wired performance is good but the 5 GHz connection becomes weak in another room, investigate signal strength, interference, and the selected channel width.
For a device far from the router, a stable 2.4 GHz connection may work better than a weak 5 GHz connection.
How to Make 802.11ac Work with Older Devices and Security Cameras
A home network does not need every device to use the same wireless standard.
Your laptop may support WiFi 5, while a printer or security camera only supports 2.4 GHz.
The simplest arrangement is usually to let compatible devices use 5 GHz while keeping 2.4 GHz available for equipment that needs it.
Keep the 2.4 GHz Network Active
Most dual-band 802.11ac routers can broadcast 2.4 GHz and 5 GHz networks simultaneously.
Use 5 GHz for laptops, phones, and TVs that support it, particularly when they are close enough to maintain a strong signal.
Use 2.4 GHz for devices that cannot connect to 5 GHz or that perform more reliably over longer distances.
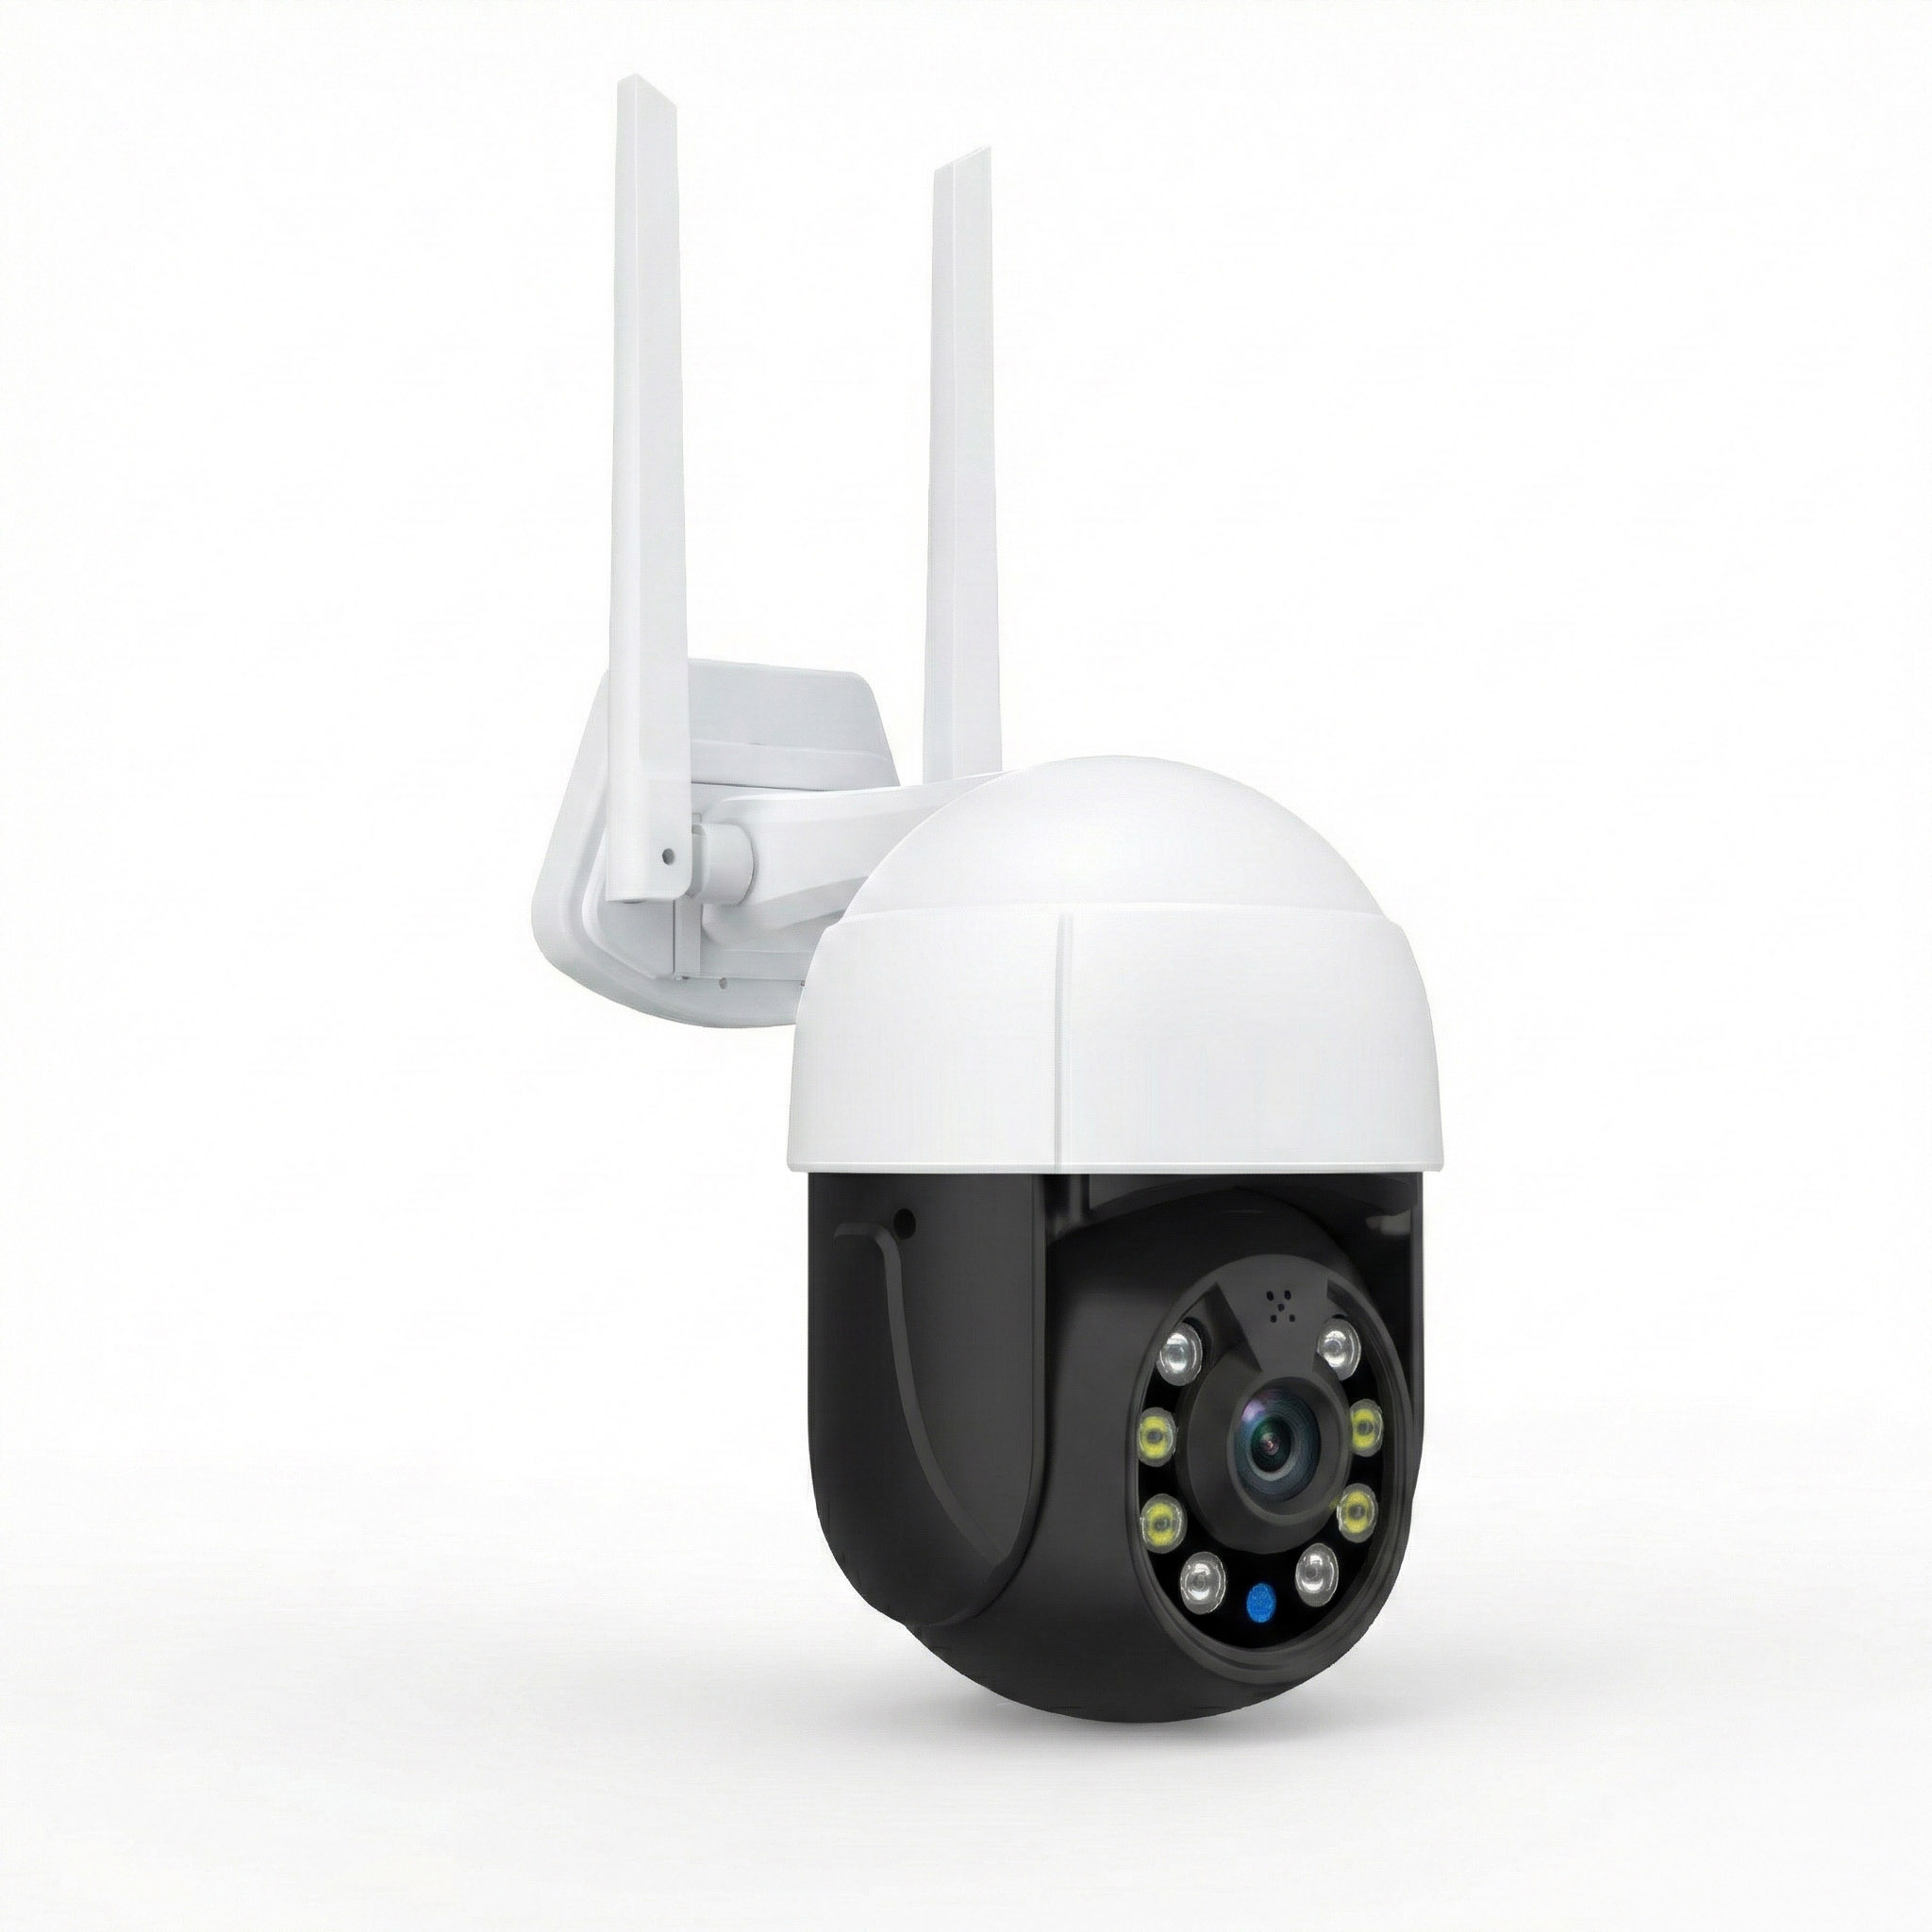
For example, if an outdoor camera only supports 2.4 GHz, enabling 802.11ac on the router will not make that camera compatible with 5 GHz.
Connect the camera to the supported 2.4 GHz network.
Check its specifications before changing router settings.
Check Whether Device Setup Requires the Same Network
Some smart-home devices require your phone to be connected to a 2.4 GHz network during initial pairing.
The setup app may fail to discover the device if your phone is using 5 GHz or a separate network.
If the manufacturer's instructions require 2.4 GHz pairing:
-
Open the phone's WiFi settings.
-
Connect to your 2.4 GHz network.
-
Open the smart-home or camera setup app.
-
Complete the pairing process.
-
Confirm that the device appears in the app.
-
Test whether the app still works after reconnecting your phone to 5 GHz.
Devices on different wireless bands can often communicate because both bands belong to the same local network.
However, that depends on the router configuration.
Guest network isolation, separate subnets, or two routers operating independently can prevent local discovery.
If a camera works on its own but cannot be found by your phone, check whether both devices are on the same home network.
Avoid Changing Security Settings Just for One Device
Suppose an older printer stops connecting after you switch the router to WPA3-only mode.
The problem may be security compatibility, not the wireless band.
Check which security modes the printer supports.
If it supports WPA2-AES, you may be able to use WPA2/WPA3 transitional security or suitable separate-band settings, depending on your router.
Do not enable WEP or TKIP to keep an outdated device online.
Those older security methods weaken protection.
If equipment cannot use reasonably secure wireless authentication, replacing it may be the better long-term choice.
Common Mistakes When Configuring an 802.11ac Network
A router can appear correctly configured while one setting prevents devices from using WiFi 5 properly.
These are the mistakes worth checking before spending time changing cables or resetting equipment.
Mistake 1: Trying to Enable 802.11ac on 2.4 GHz
802.11ac is a 5 GHz wireless standard.
Changing the 2.4 GHz radio to another mode will not enable WiFi 5 on that band.
Find the 5 GHz settings and select a mode that includes 802.11ac.
Leave the 2.4 GHz settings appropriate for the older devices that need them.
Mistake 2: Using 802.11ac-Only Mode for Every Device
802.11ac-only mode can prevent older 5 GHz clients from connecting.
A mixed mode is usually more practical when household devices have different wireless capabilities.
Use an exclusive mode only when you know that every device intended to use that band supports it.
Mistake 3: Selecting an 80 MHz Channel Without Testing
An 80 MHz channel can support higher wireless link rates, but it also uses more spectrum.
In crowded environments, that can make performance less predictable.
Start with Auto.
If the connection becomes unstable, compare it with a narrower supported width.
Keep whichever configuration provides better reliability for your actual devices.
Mistake 4: Using Outdated Wireless Security
Older WPA modes, WEP, and TKIP are poor choices for a modern home network.
Use WPA2-AES or a supported WPA3 configuration.
If an older device cannot connect, check its supported authentication modes before changing the security settings for the entire household.
Mistake 5: Confusing Wireless Speed with Internet Speed
An AC1200 router does not guarantee a 1,200 Mbps internet connection.
The advertised AC speed class combines theoretical wireless rates across different bands.
Your internet performance depends on your service plan, WAN connection, router capabilities, and current network activity.
If your wired internet connection is already running at the speed your provider supplies, switching to 802.11ac will not increase that subscription limit.
It can still improve the wireless connection when older WiFi equipment is the bottleneck.
Mistake 6: Changing Too Many Settings at Once
Changing the channel, channel width, security mode, wireless name, and radio mode together makes troubleshooting difficult.
If the connection stops working, you will not know which setting caused the failure.
Use this order:
-
Confirm that internet access works.
-
Enable 5 GHz.
-
Select a compatible 802.11ac mode.
-
Configure secure authentication.
-
Connect a test device.
-
Adjust advanced settings only when necessary.
After each change, check whether the device still connects.
That small habit can save you from rebuilding the network after one incorrect selection.
What to Do If Your 802.11ac Network Is Not Working
Before resetting the router, identify what is actually failing.
A missing 5 GHz network, an incorrect password, and a working WiFi connection without internet access are different problems.
Each needs a different fix.
The 5 GHz Network Does Not Appear
Open the router dashboard and check that the 5 GHz radio is enabled.
Then confirm that the wireless network name is being broadcast.
If the network still does not appear:
-
Move the phone or laptop closer to the router.
-
Check that the device supports 5 GHz.
-
Set the 5 GHz channel to Auto.
-
Confirm that the router is using a compatible wireless mode.
-
Save the settings and allow the wireless service to restart.
-
Check whether other 5 GHz devices can detect the network.
If one device cannot find the network but another can, focus on the first device's wireless adapter and compatibility.
If no compatible device can detect it, inspect the router's radio settings.
On some channels, DFS requirements can delay availability or cause channel changes.
The Device Finds WiFi but Cannot Connect
Start by checking the password.
If you recently changed the WiFi name, password, or security mode, the device may be using saved settings that no longer match.
On Windows:
-
Open Settings.
-
Select Network & internet.
-
Open Wi-Fi.
-
Choose Manage known networks.
-
Select the affected network.
-
Choose Forget.
Reconnect using the current password.
If the connection still fails, check the router's security mode.
An older device may support WPA2-AES but not WPA3-only authentication.
Also, confirm that the router has not been forced into a wireless mode the device cannot use.
Avoid turning security off as a troubleshooting shortcut.
WiFi Connects but the Internet Does Not Work
If your phone shows a connected WiFi symbol but websites do not load, inspect the router's internet status.
Check the Ethernet cable between the modem and router.
Make sure it is connected to the intended WAN or Internet port for your setup.
Then review the WAN connection type.
If your provider uses PPPoE, confirm that the correct account credentials are configured.
If the router expects Automatic IP, verify that it is receiving the required network information.
Try connecting a computer to the router using Ethernet.
If the wired device also has no internet access, the problem is probably not specific to 802.11ac.
Check the modem and provider connection before changing more wireless settings.
The 5 GHz Network Is Slower Than Expected
Test close to the router first.
If the speed improves substantially near the router, distance or interference is likely affecting the connection.
Check the following:
-
Is the laptop connected to the intended 5 GHz network?
-
Does Windows report 802.11ac or another expected radio type?
-
Is the router using a mixed wireless mode that supports 802.11ac?
-
Is the channel width set to Auto or an appropriate supported width?
-
Are other devices downloading large files?
-
Is the laptop's wireless adapter driver current?
If you live in an apartment building, neighboring WiFi networks may also affect performance.
Try a different permitted channel or compare narrower channel widths.
Do not change every setting at the same time.
If 5 GHz performs well near the router but poorly through several walls, consider using 2.4 GHz for that distant device.
A reliable connection is more useful than a faster wireless standard that frequently disconnects.
The Router Works Until You Change Its Settings
If the router stops responding immediately after a wireless configuration change, try reconnecting to the updated WiFi name.
If that fails, connect a laptop using Ethernet and reopen the router administration page.
Restore the last wireless mode, channel, or security setting that worked.
If the router provides a configuration backup feature, use it before making major changes in the future.
A factory reset should be the last option.
It may remove the internet connection configuration, WiFi names, passwords, and other customized settings.
Before resetting, make sure you have the details required to set up the router again.
Final Checks for a Stable and Secure Home Network
Once your laptop is connecting through 802.11ac and your other household devices are working, there are a few settings worth reviewing.
These checks help prevent problems that have little to do with wireless speed but can make the network unreliable or harder to manage.
Check for Router Firmware Updates
Firmware updates can address security issues, compatibility problems, and software bugs.
Open the router administration page and look for Firmware Update, System Update, or a similar option.
Check the manufacturer's instructions for your exact model and hardware revision.
Install only firmware intended for that router.
Do not download a firmware file simply because another device has AC1200 in its name.
Different AC1200 routers can use completely different hardware and firmware.
If the router supports automatic firmware updates, review whether that feature is enabled.
Protect the Administration Interface
The administrator password controls access to the router's configuration.
Use a strong, unique password that differs from the WiFi password.
If the router offers remote administration from the internet, leave it disabled unless you specifically need it and understand how it is secured.
You can also disable WPS when you do not need it for connecting devices.
WPS is a convenience feature, not a requirement for 802.11ac.
Neither remote administration nor WPS needs to be enabled for ordinary WiFi 5 operation.
Keep Guest Devices Separate
If your router supports a guest network, consider using it for visitors.
A properly configured guest network can give visitors internet access without allowing them to browse devices on your main home network.
Check whether guest isolation is enabled.
Be careful with devices that need local communication.
For example, putting a wireless printer on an isolated guest network can prevent computers on the main network from finding it.
A security camera may also become harder to access locally if the network blocks communication between devices.
Use the main network for equipment that needs to communicate with trusted household devices.
Write Down Your Working Configuration
Once everything works, record the settings you might need later.
Useful details include:
-
Router model and hardware revision.
-
Router management address.
-
5 GHz wireless mode.
-
Channel selection.
-
Channel width.
-
Security mode.
-
Network names.
-
Whether Smart Connect is enabled.
Store passwords in a secure password manager rather than leaving them written beside the router.
If a device stops connecting after a future firmware update or configuration change, having the previous settings makes it easier to identify what changed.
FAQ
Is 802.11ac the Same as WiFi 5?
Yes. IEEE 802.11ac is the technical standard marketed as WiFi 5. It operates on the 5 GHz band and supports higher theoretical wireless data rates than older WiFi standards under suitable conditions.
Does 802.11ac Work on 2.4 GHz?
No. 802.11ac operates on 5 GHz, not 2.4 GHz. A dual-band WiFi 5 router can still provide a separate 2.4 GHz connection using compatible older standards such as 802.11n.
Should I Choose 802.11ac Only or Mixed Mode?
Mixed mode is usually the better choice for a home with different generations of devices. It allows compatible older 5 GHz equipment to connect while supporting 802.11ac clients. Choose 802.11ac-only mode only when you know the devices that will use that band are compatible.
What Channel Width Is Best for 802.11ac?
Auto or a setting that includes 20, 40, and 80 MHz is a sensible starting point. An 80 MHz channel can provide higher potential link rates, but narrower channels may be more reliable when nearby networks cause interference. Test the connection before changing the default.
Can an 802.11ac Router Connect to a 2.4 GHz Security Camera?
Yes, provided the router supports and enables a compatible 2.4 GHz network. The camera connects using its supported wireless standard rather than 802.11ac. Check the camera's specifications and use the appropriate 2.4 GHz network during setup.
Can I Use 802.11ac Devices with a WiFi 6 Router?
Yes. WiFi 6 routers generally support backward-compatible connections with 802.11ac devices on 5 GHz. Keep a compatible mixed wireless mode enabled so WiFi 5 devices can connect without restricting newer devices to an older standard.
The simplest way to get 802.11ac working is to enable 5 GHz, select a compatible mixed wireless mode, use WPA2-AES or suitable WPA3 security, and verify the connection from your laptop or router dashboard. Keep 2.4 GHz running for older devices and test WiFi performance in the rooms where you actually use it. If something fails, check the wireless mode, security, and channel settings before reaching for the factory reset button.