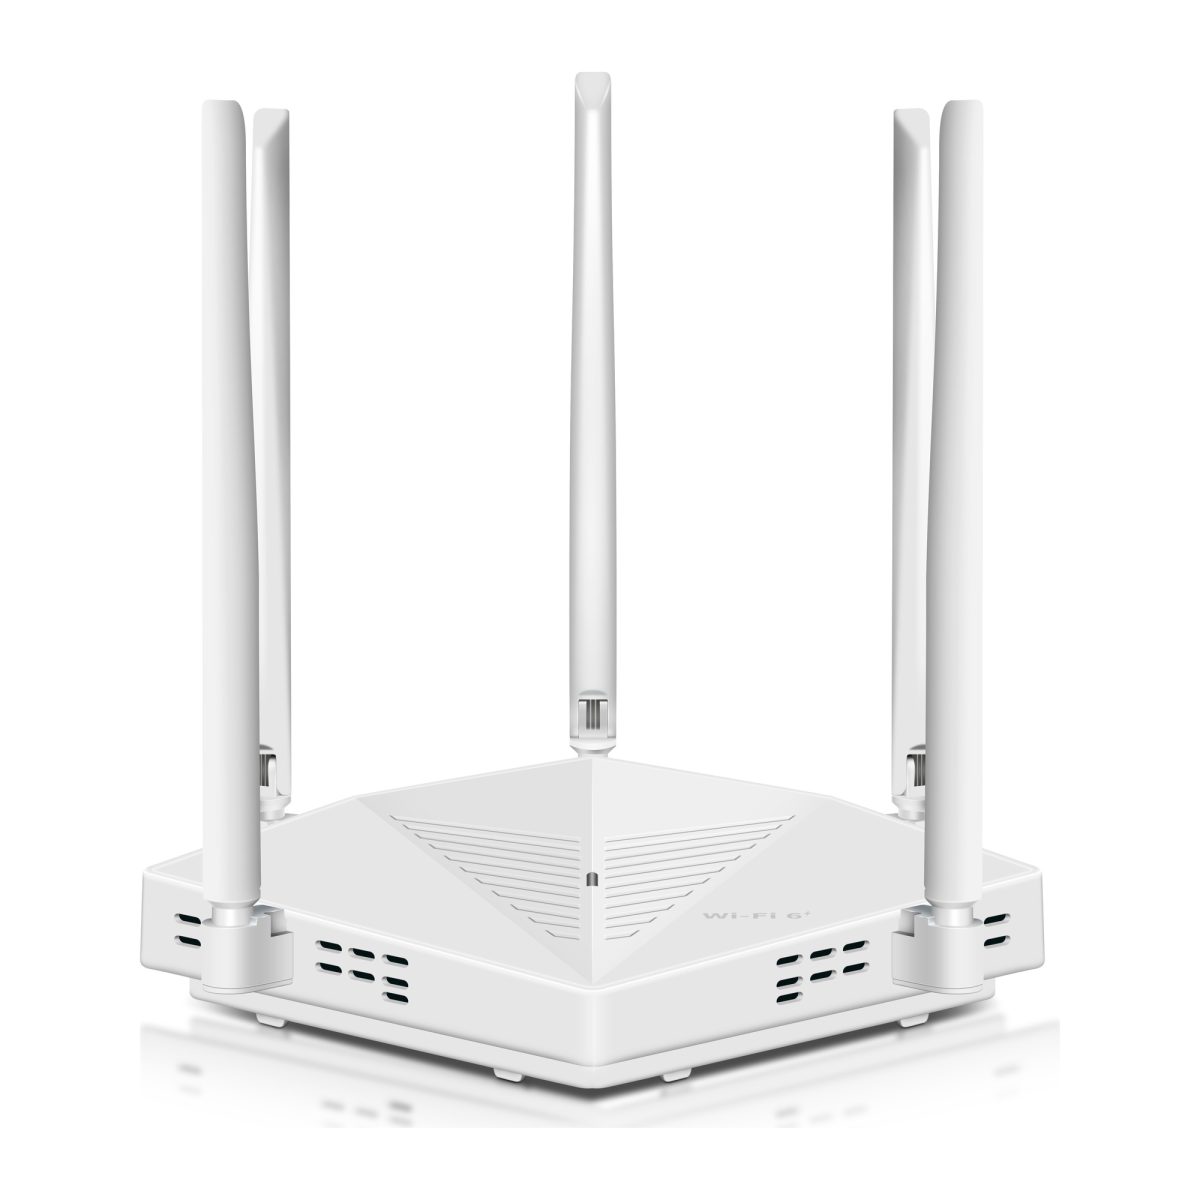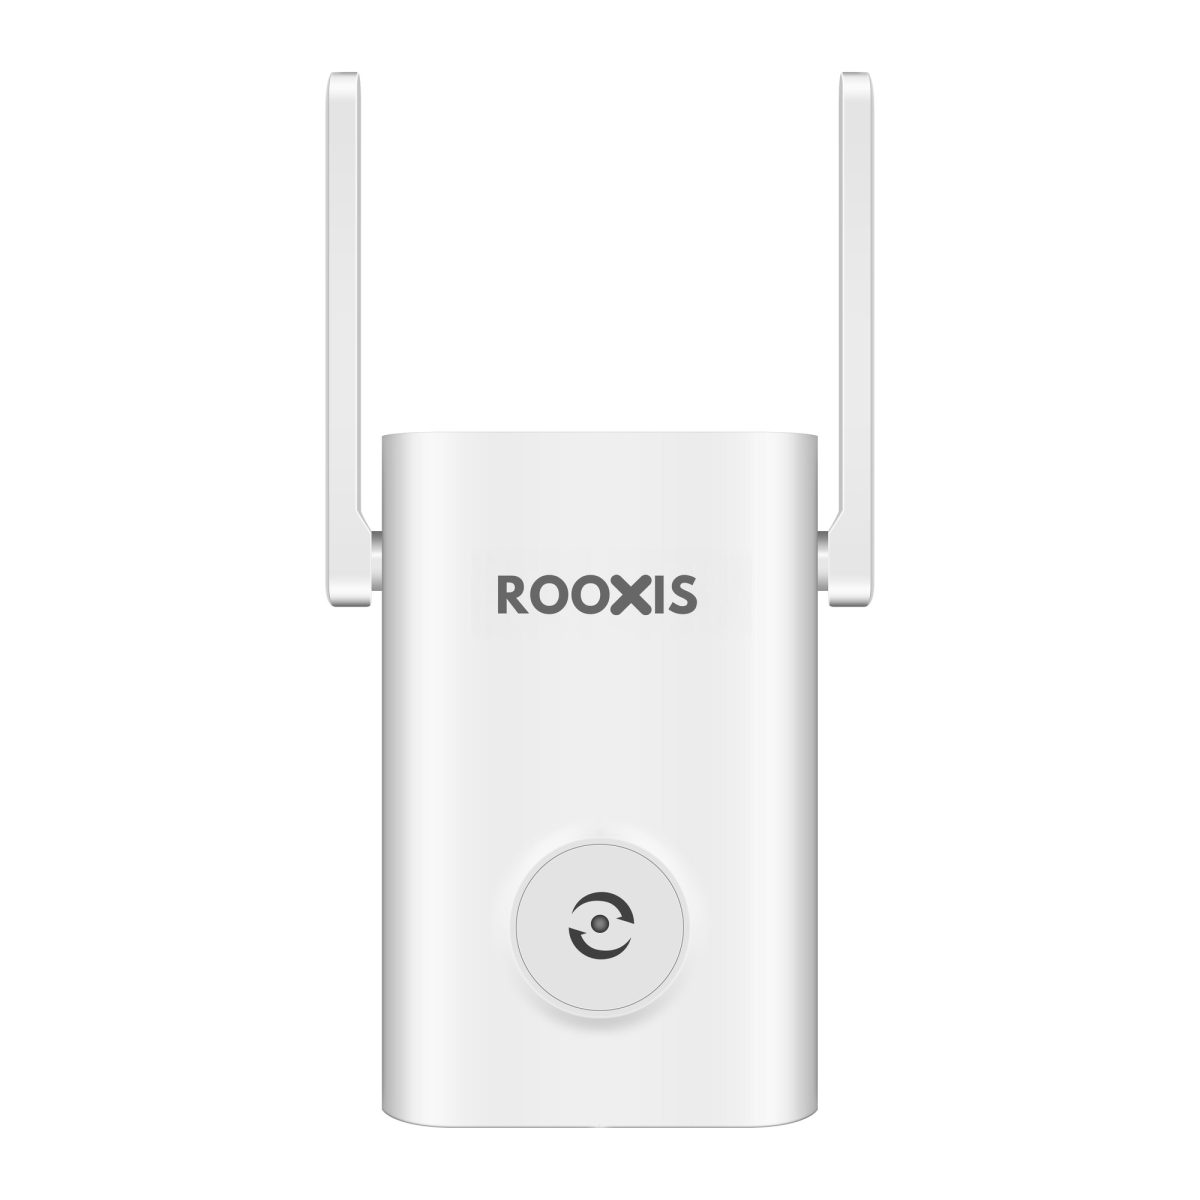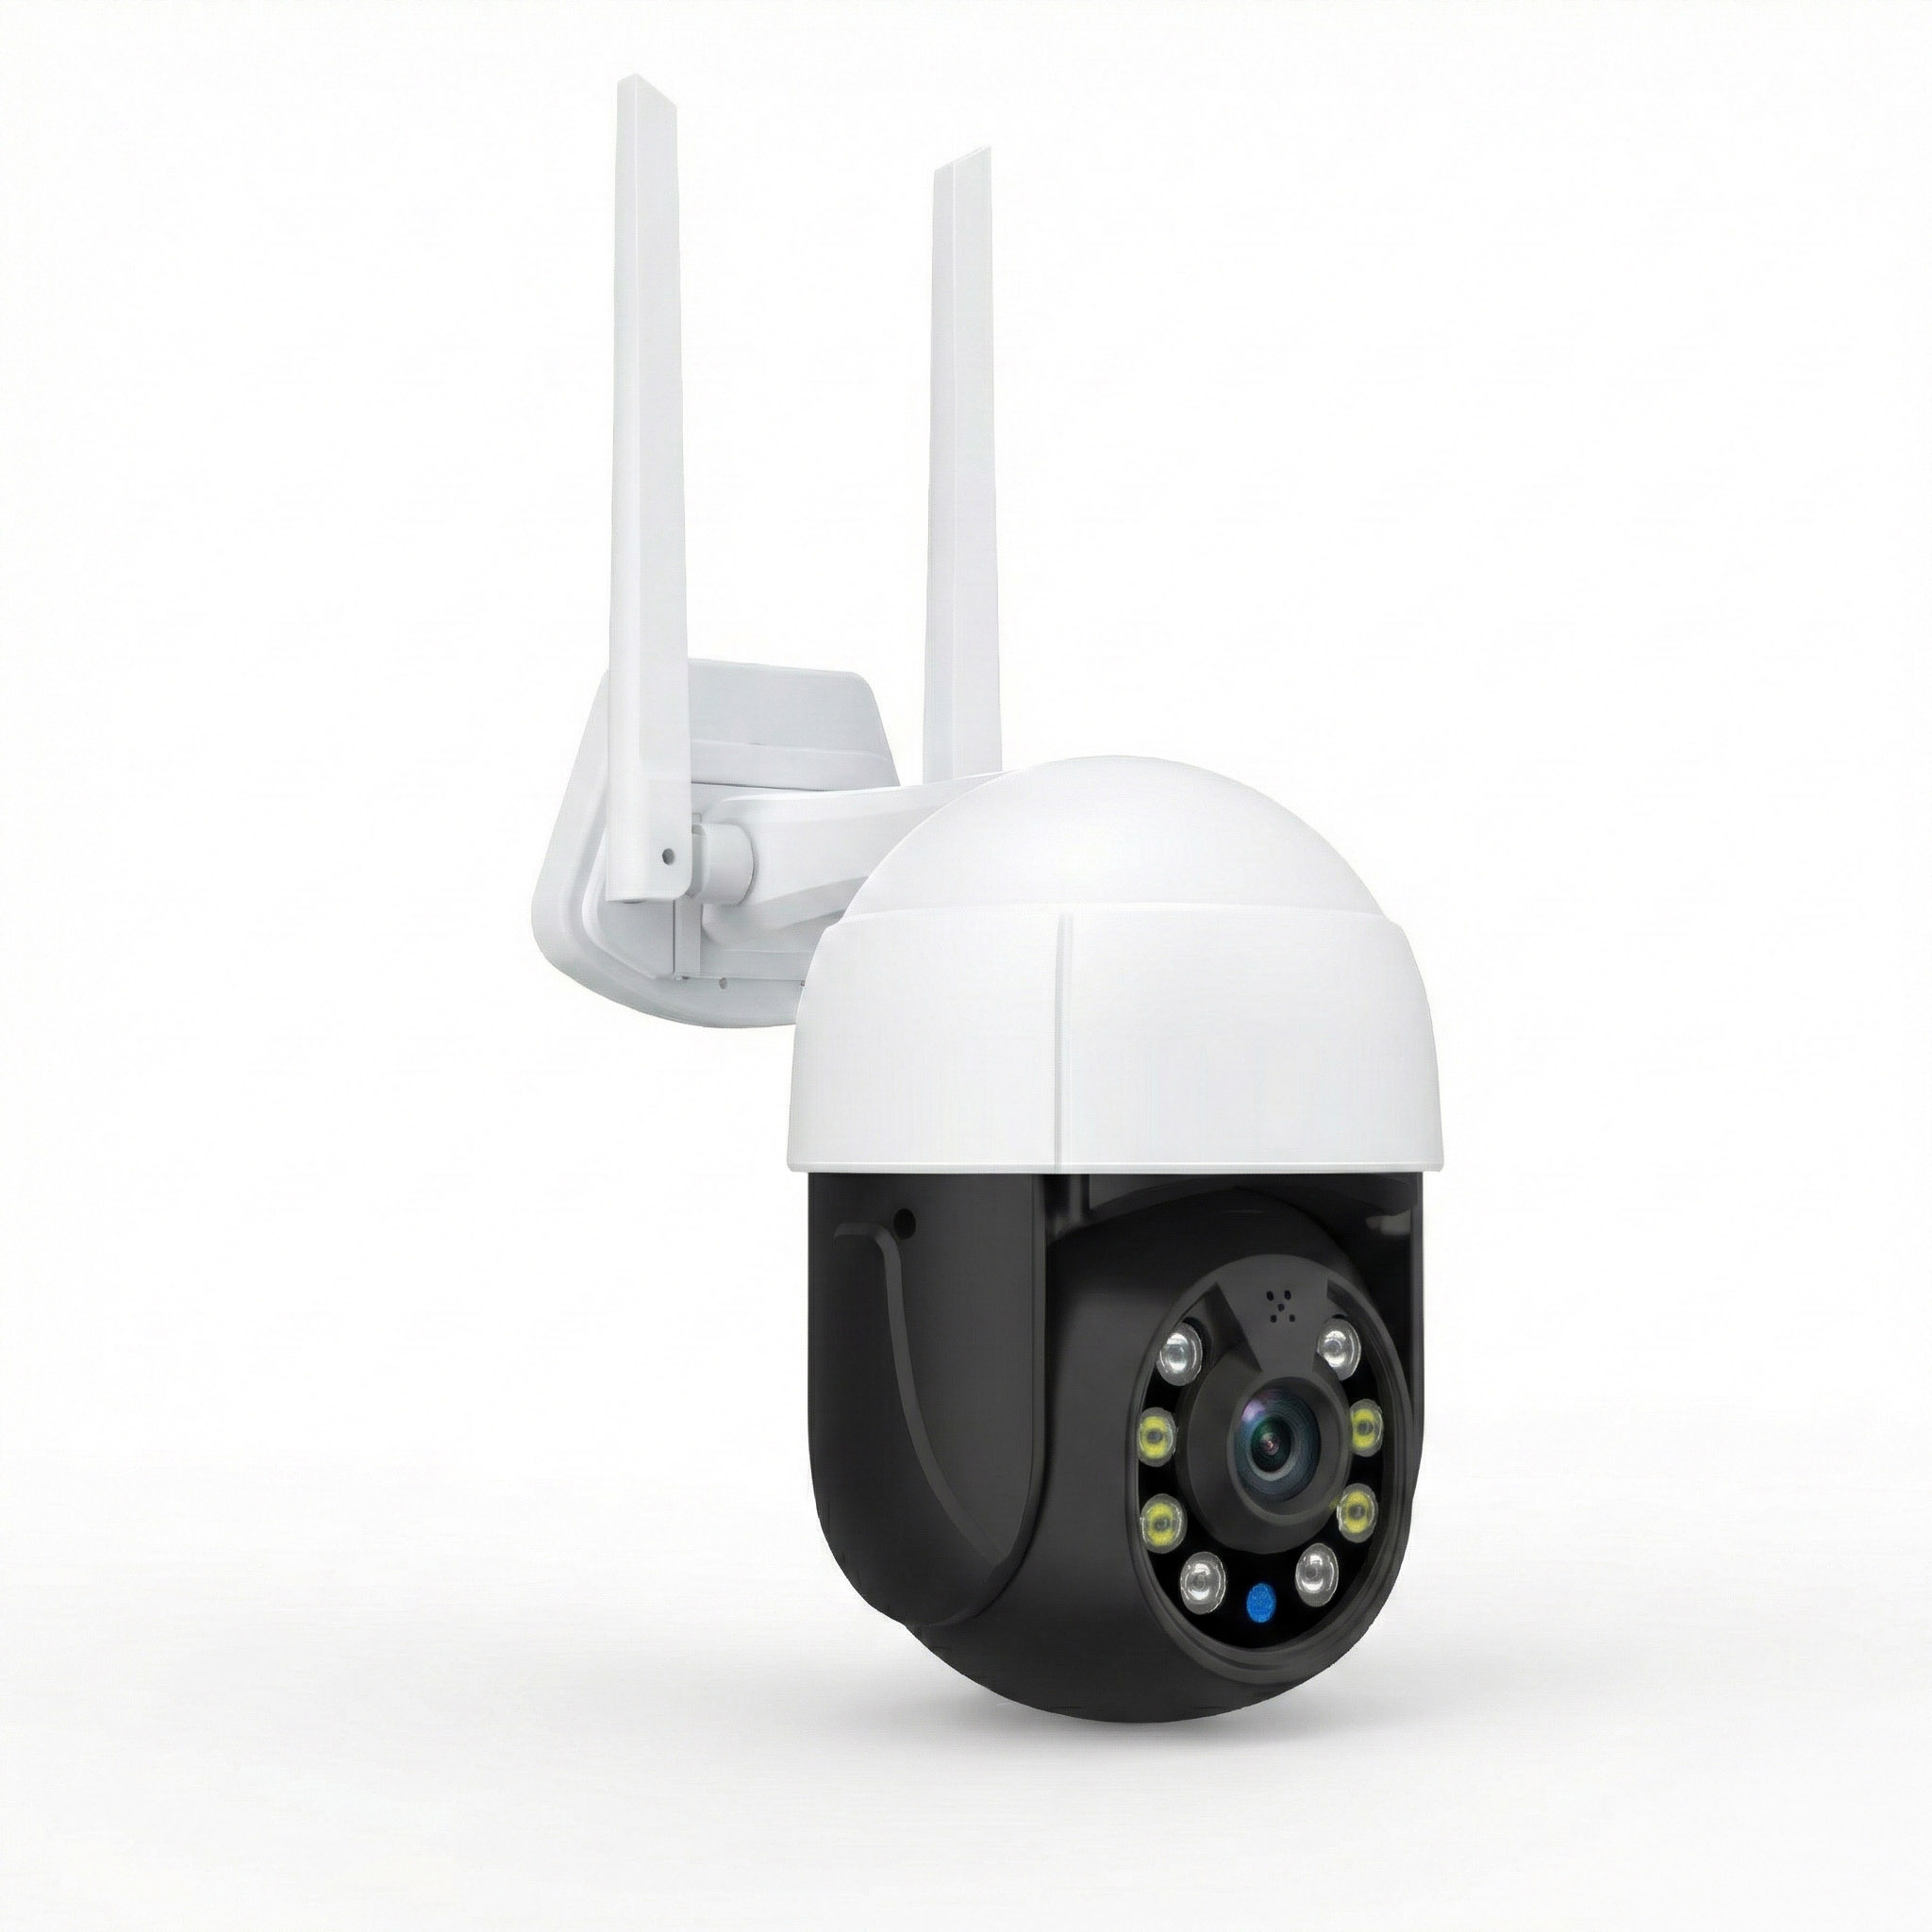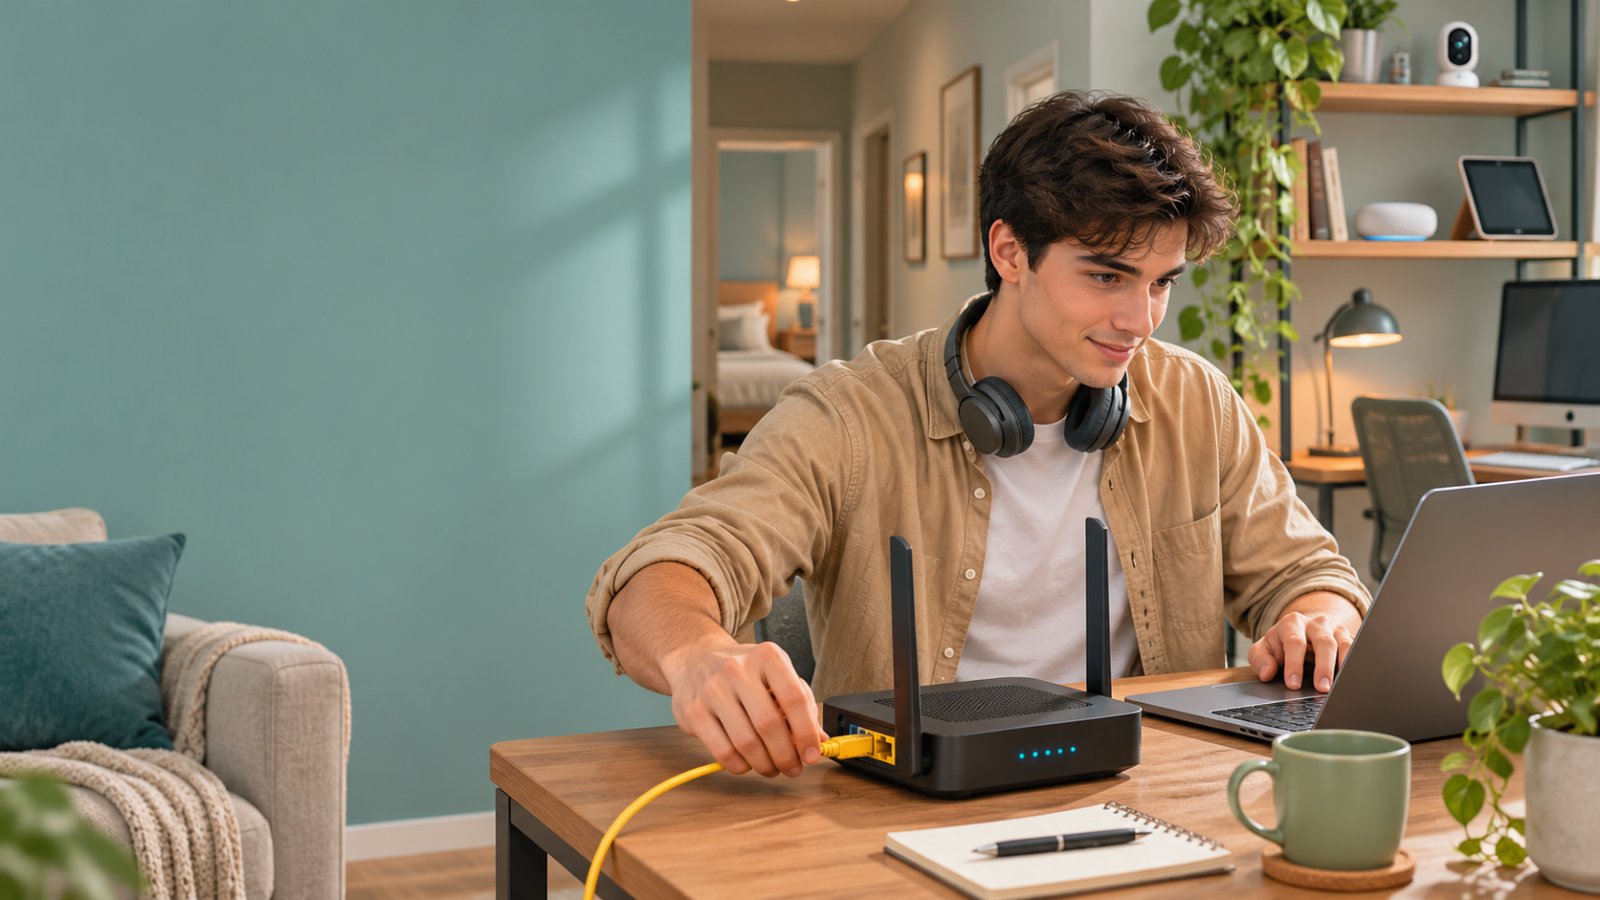
The most common mistake people make when installing a new router is assuming that a visible WiFi network means the internet is working. Your phone might connect to the router and show a strong signal, but websites still refuse to load because the internet cable is connected incorrectly or the router has not received the right settings.
If you're wondering how to set up a router, start by connecting your modem or fiber terminal to the router's WAN port. Power on both devices, connect your phone or computer to the router, open its setup page, and configure the internet connection. Then create your WiFi name and password, secure the router, and test the connection.
Before touching any settings, check what equipment your internet provider installed. A separate modem, a fiber terminal, and a combined modem-router require slightly different setups. Identifying the equipment first can save you from resetting a working connection or changing settings you never needed to touch.

Before you start: identify the equipment and gather details
You can complete most home WiFi router setup tasks with a phone, an Ethernet cable, and the information printed on your router.
Keep the new router close to your existing internet equipment during setup. Once everything works, you can adjust its position to improve coverage.
Gather these items:
-
Your new router: Keep its power adapter, quick-start guide, and any setup information printed underneath the device.
-
An Ethernet cable: Most standalone routers need one to connect to the existing internet equipment.
-
Your modem or fiber terminal: This is the device that receives the internet connection from your provider.
-
A phone, tablet, or computer: You'll use it to open the router's settings page.
-
Internet connection details: Some providers give customers a PPPoE username and password, static IP settings, or special connection instructions.
If you're replacing an existing router, take a photo of its cable connections before unplugging anything. The photo can help you identify which cable connects to the internet source and which cables lead to other rooms.
Know which box you have.
A cable modem receives internet through a coaxial cable. A fiber ONT connects your fiber service to an Ethernet connection. A combined modem-router, sometimes called an internet gateway, handles the incoming connection and also creates a home network.
A standalone WiFi router usually connects to one of these devices. It does not replace a fiber ONT or automatically activate an unused internet wall socket.
Check the physical ports.
Most routers have a WAN or Internet port and several LAN ports.
The WAN port connects to your internet source. The LAN ports connect computers, switches, and other wired devices inside your home.
These ports often look identical. Check the printed labels instead of guessing.
If your internet provider manages the existing gateway, leave its settings alone until you know whether the new router should operate in router mode or access point mode. Changing the provider's configuration unnecessarily can interrupt internet, television, or phone services.
How to set up a router at home: 10 practical steps
The following steps work for many standalone home routers, including common dual-band and AC1200 models. Menu names vary by manufacturer, but the setup process is generally similar.
Follow the steps in order. Confirm that each stage works before moving to the next one.
Step 1. Decide whether the new device should be a router or an access point
What to do:
Look at the internet equipment already installed in your home.
If your provider supplied a modem or fiber ONT without an active WiFi network, your new device will usually operate in router mode.
If your provider supplied a gateway that already handles internet access, WiFi, and connected devices, you have another option.
You can keep the existing gateway as the main router and configure the new device in access point mode, provided the new device supports it.
The difference matters.
Router mode creates and manages a network. It generally handles local IP addresses, routing, and firewall functions.
Access point mode provides wireless access to an existing network without creating another routing layer.
For example, suppose your provider's gateway works well in the living room, but the WiFi signal is weak in a nearby home office. If you can connect the new device to the gateway using Ethernet, access point mode may be the simplest arrangement.
However, if you are replacing a standalone router connected directly to an ONT, router mode is usually the appropriate starting point.
What you should see:
Check the router's setup wizard for options such as Router Mode, Wireless Router, Access Point, or AP Mode.
Some models ask you to select the operating mode before configuring the internet connection.
What to watch for:
Connecting a second router behind an existing gateway in router mode can create double NAT.
Basic browsing may still work, but gaming consoles, remote connections, and some device-discovery features can become more complicated.
If you only want the second device to provide WiFi, access point mode often avoids that problem.
Step 2. Connect the internet cable to the correct port
What to do:
Turn off the new router before connecting its cables.
Find the active Ethernet port on your modem, fiber ONT, or existing internet gateway.
Connect one end of an Ethernet cable to that port.
Insert the other end into the new router's port labeled:
-
WAN
-
Internet
-
WAN/LAN, if the device's instructions identify it as the WAN connection
Push the connector in until it clicks.
If you want to configure the router using a wired computer, connect that computer to one of the router's LAN ports.
For a typical standalone setup, the connection should run from the modem or ONT to the router's WAN port, then from the router to your household devices.
What you should see:
Once both devices have power, the Ethernet link indicator may light up or blink.
The exact light behavior varies by model.
What to watch for:
Do not plug the incoming internet cable into LAN 1 just because it is the first available socket.
A cable in the wrong port can leave you with a perfectly visible WiFi network that has no working internet connection.
Also check the Ethernet plug itself. A damaged locking clip can cause the cable to slip loose when someone moves the router or cleans the shelf.
If the cable does not click into place, try another one before changing your internet settings.
Step 3. Power up the internet equipment and router
What to do:
If your modem or ONT is unplugged, reconnect its power supply first.
Allow it to complete its normal startup process. The device may need to establish a connection with your internet provider before it can supply internet access to the router.
Next, plug in your new router.
Use the power adapter supplied with the router rather than an adapter that happens to fit.
Wait until the router finishes starting.
Avoid repeatedly unplugging the equipment while its indicators are changing. Some devices take time to establish their connection after being powered on.
If your ISP gateway is already running and providing internet service, there is usually no reason to restart it immediately.
Start with the new router. Restart the modem later if the WAN connection does not establish properly.
What you should see:
Look for:
-
A stable power indicator
-
An active Ethernet link, if your router has a link indicator
-
A visible wireless network from the new router
-
An internet status indicator that changes after the connection is established
Check the manual for the meaning of individual lights. A red indicator on one model can mean something different from a red indicator on another.
What to watch for:
Your phone might display the new WiFi network before the router has internet access.
That is normal.
The router can create a local wireless network without successfully connecting to the internet provider.
Do not treat the appearance of the WiFi name as confirmation that setup is complete.
Step 4. Join the temporary WiFi and open the settings page
What to do:
Turn your router over and look for its default wireless network name, often called an SSID.
Many routers print the default WiFi password on the same label.
On an Android phone, open Settings, then WiFi or Network & Internet, and choose the router's network.
On an iPhone, open Settings, select Wi-Fi, and tap the router's network name.
Enter the printed password if required.
If you're using a laptop with an Ethernet port, you can connect directly to a LAN port instead.
Next, open a browser.
Enter the router's management address directly into the address bar.
Common addresses include:
-
192.168.0.1
-
192.168.1.1
-
192.168.10.1
These are examples, not universal addresses. Use the address printed on your router or listed in its manual.
Some ROOXIS router setup instructions use 192.168.10.1. Check your exact model's documentation, or visit the ROOXIS website for product information.
If the browser displays the setup wizard, follow its instructions.
You may first need to create a router administrator password.
This password protects access to the settings page. It is separate from the password used to connect phones and laptops to WiFi.
What you should see:
A router login screen or setup wizard should appear.
The page may open even when your phone displays a warning that the WiFi network has no internet connection.
What to watch for:
Some phones automatically prefer mobile data when the connected WiFi has no internet.
If the setup page does not appear, confirm that your phone is still connected to the new router.
Also check that you entered the address into the browser's address bar rather than a search field.
If the page still fails to open, check the gateway address shown in your phone's WiFi network details. It may identify the router's local management address.
Step 5. Configure the internet connection, also called the WAN connection
What to do:
Once inside the setup wizard, find the internet connection settings.
Depending on the router, the menu might be called:
-
Quick Setup
-
Internet
-
WAN
-
Internet Connection
-
Network Settings
If the setup wizard offers automatic connection detection, try that first.
If automatic detection fails, select the connection type required by your internet provider.
The common options are:
Dynamic IP or Automatic IP (DHCP)
This option allows the router to obtain its internet connection settings automatically.
It is common when connecting a router behind a modem or existing gateway.
If your provider uses DHCP, you usually do not need a separate broadband username.
PPPoE
Some internet providers require PPPoE authentication.
If this applies to your service, enter the broadband username and password supplied by your provider.
Do not enter your WiFi password here.
The PPPoE password belongs to the internet service account, not the wireless network.
Static IP
If your provider assigned a static IP connection, enter the exact IP address, subnet information, gateway, and DNS settings provided.
Avoid guessing these values.
Special ISP settings
Some connections also require a VLAN ID or other provider-specific settings.
Only change these when your provider's instructions require them.
After selecting the correct connection type, choose Save, Apply, or Connect.
Open the router's Internet Status or WAN Status screen.
What you should see:
The router should report that the internet connection is active.
A WAN IP address may appear in the status page.
If the router connects through an existing gateway, that WAN address may be private. This is not automatically a fault.
Now open a normal website on your connected phone or computer.
Try more than one site to confirm the connection is working.
What to watch for:
A WAN address of 0.0.0.0, an unsuccessful PPPoE login, or repeated connection attempts can indicate that the router has not obtained a valid internet connection.
Check the WAN cable and ISP settings before experimenting with advanced options.
Do not change the DNS servers, VLAN configuration, and MAC cloning settings at the same time. You will have a much harder time identifying which change helped or caused another problem.
Step 6. Create your WiFi name and password
What to do:
Now that the internet connection works, configure your wireless network.
Open Wireless Settings, WiFi Settings, or the wireless section of the setup wizard.
Look for the field labeled SSID or Network Name.
Replace the default name with something recognizable.
Avoid putting your full name, street address, or apartment number in the network name.
Next, create a strong WiFi password.
Use a long, unique password that you can store safely. Do not reuse the password from your email account or online banking.
Then check the wireless security option.
Choose WPA3-Personal if your router and household devices support it.
If you have older printers, cameras, or other devices that cannot connect using WPA3, WPA2-Personal with AES remains a practical compatibility option.
Some routers offer a WPA2/WPA3 mixed mode. This can help households with both newer and older devices, although individual devices may still need troubleshooting.
Avoid older security options such as WEP or WPA-only.
Choose between one network name or two.
Many dual-band routers support both 2.4 GHz and 5 GHz WiFi.
You may see an option to use one shared network name for both bands.
This is convenient because the router and compatible devices can manage band selection automatically.
However, separate network names can be helpful when configuring older devices that only support 2.4 GHz.
For example, a WiFi camera may need your phone connected to the 2.4 GHz network during its initial pairing process.
What you should see:
After saving the settings, your new WiFi name should appear in the list of available networks.
Select it, enter the new password, and confirm that websites load.
What to watch for:
Changing the WiFi name or password will normally disconnect the phone or laptop you are using.
That does not mean the router has stopped working.
Open the WiFi settings again and reconnect using the new information.
If several household devices immediately lose their connection, remember that they may still be trying to use the old password.
Step 7. Secure the router's own settings and update its firmware
What to do:
Return to the router's administration page and locate the administrator account settings.
The menu may appear under System, Administration, Account, or Router Login.
Make sure the administrator password is different from the WiFi password.
Anyone with access to the administrator account may be able to change network settings, disable protections, or modify how devices connect.
Next, check the router's firmware.
Firmware is the software that controls how the router operates.
Open Firmware Update, System Update, or a similar menu.
If the router provides a built-in update checker, use it to look for an available update.
Otherwise, follow the manufacturer's instructions for your exact router model.
Never install firmware intended for a different model, even if the product names look similar.
During a firmware update:
-
Keep the router connected to power.
-
Avoid restarting it manually.
-
Do not unplug the Ethernet cable unless the instructions require it.
-
Allow the router to restart and reconnect after installation.
Also review these security settings.
Remote administration: Disable internet-facing remote management unless you have a specific reason to use it.
WPS: Turn off WPS if you do not need its push-button pairing feature.
Automatic firmware updates: Enable them when available and appropriate for your router.
Firewall: Keep the router's normal firewall protection enabled.
What you should see:
After the changes, you should still be able to log in using the new administrator password.
The router should show its installed firmware version, and normal browsing should continue working.
What to watch for:
A firmware update may temporarily disconnect every device in your home.
Wait for the router to finish restarting before trying to reconnect your phone or computer.
If the router loses internet access after an update, inspect its WAN status before changing wireless settings.
Step 8. Check wireless bands and basic range settings
What to do:
Once your router is connected and secured, check that both wireless bands are operating correctly.
For most dual-band homes, keep 2.4 GHz and 5 GHz enabled.
The bands serve different purposes.
2.4 GHz WiFi
This band can often maintain connections at longer distances and through obstacles better than 5 GHz, although interference can affect performance.
Many basic smart devices and WiFi cameras support only 2.4 GHz.
5 GHz WiFi
This band often provides faster local wireless performance at shorter distances when the signal is strong.
It can be useful for nearby laptops, televisions, and video calls.
If your router offers automatic channel selection, start with that option.
Automatic settings are often adequate for a typical home.
If you live in an apartment building with many neighboring networks, interference may make manual channel adjustments worthwhile later. First establish whether the problem is actually caused by interference.
On 2.4 GHz, a 20 MHz channel width can be a sensible choice in crowded environments. Avoid forcing unusually wide channels just because the router offers the option.
Check the router's position.
Keep the router in an open, ventilated location rather than burying it behind a television or inside a cabinet.
Avoid placing it directly beside large metal objects or other equipment that may interfere with wireless signals.
If your router has adjustable external antennas, follow the manufacturer's positioning guidance.
People searching for how to setup a wireless wifi router for optimal range often focus on antennas and advanced wireless settings before checking whether the router itself has a stable internet connection.
Finish the basic configuration first.
Then walk through the home with your phone and check the rooms that actually need reliable service.
For example, a router might work well in the living room but struggle to reach a camera near the garage.
That is a coverage issue, not necessarily a configuration problem.
If the connection is reliable beside the router but consistently poor in a distant room, an additional access point, suitable range extender, or mesh system may be worth considering.
What you should see:
Your phone should maintain a usable connection in the areas where you normally browse, work, or stream.
Devices that only support 2.4 GHz should be able to find a compatible network.
What to watch for:
A strong WiFi indicator beside the router tells you very little about the signal in a room separated by several walls.
Test the actual locations before purchasing additional equipment or making complicated wireless adjustments.
Step 9. Reconnect family devices, printers, and cameras
What to do:
Start by connecting your main phone and computer.
Confirm that both work before reconnecting everything else.
Then add household devices in manageable groups:
-
Smart televisions and streaming devices
-
Gaming consoles
-
Smart speakers
-
Printers
-
Indoor and outdoor WiFi cameras
-
Smart plugs and other connected home devices
This order makes troubleshooting easier.
If your laptop and phone both work but a camera refuses to connect, you can focus on the camera rather than questioning the entire router configuration.
Pay attention to 2.4 GHz devices.
Some cameras, printers, and smart-home devices cannot use 5 GHz.
If a device cannot find the new network, confirm that the router's 2.4 GHz band is enabled.
Check whether the device supports the selected wireless security mode.
For example, an older camera may fail to join a network configured for WPA3-only security.
Where possible, follow the camera manufacturer's pairing instructions before lowering security settings across the whole network.
If the setup app requires your phone to use the same wireless band, temporarily connect the phone to the appropriate network.
Check for old saved network information.
A television or printer may keep trying to connect to your previous router.
Open its network settings, forget the old connection, and join the new one.
If you reused the old network name and password, many devices may reconnect automatically, but this is not guaranteed.
Be careful with guest networks.
A guest network is useful for visitors who need internet access without access to your main household devices.
However, guest network isolation can stop devices from discovering one another.
For example, your laptop may not find a wireless printer if the printer is connected to an isolated guest network.
Keep devices that need to communicate locally on networks where that communication is permitted.
What you should see:
Your phone should browse normally, your television should stream, and compatible cameras should reconnect and remain online.
Your printer should also be discoverable from the devices that need to use it.
What to watch for:
Do not factory-reset every smart device when one fails to reconnect.
First check its saved WiFi credentials, supported band, security compatibility, and network isolation settings.
Step 10. Verify the setup and save a recovery record
What to do:
Before calling the installation complete, test the connection in several ways.
Test 1: Check basic internet access.
Open a few websites on your phone while connected to the new WiFi.
Make sure the phone is using WiFi rather than mobile data.
Open an app that requires internet access and confirm that it loads correctly.
Test 2: Check a wired connection.
If you have a computer with an Ethernet port, connect it to one of the router's LAN ports.
Try browsing the internet.
If Ethernet works consistently but WiFi performs poorly, investigate wireless coverage or configuration before blaming the internet provider.
Test 3: Walk through the house.
Test the connection where you actually use it.
Good locations include:
-
Your home office desk
-
A bedroom far from the router
-
The living room television
-
A doorway or garage camera location
-
Any room where the previous router regularly lost its connection
Open a website or make a short video call to check everyday performance.
A single speed test cannot tell you everything about connection stability.
Test 4: Compare performance carefully.
If you want to compare speeds between rooms, use the same device and testing service.
Try to keep other network activity similar during each test.
A large download or a television streaming in the background can affect the result.
Also remember that the AC1200 label on a router represents a wireless speed class. It does not guarantee a 1200 Mbps internet connection.
Your actual internet speed depends on your broadband service, connected devices, wireless conditions, and hardware.
Save important setup information.
Keep a secure record of:
-
Router make and model
-
Router management address
-
WiFi network name
-
WiFi password
-
Administrator password
-
ISP connection type
-
Any special settings supplied by your provider
Store passwords in a password manager or another secure location.
Avoid leaving them on a note attached to the router where visitors can read them.
What you should see:
Your wired and wireless devices should connect reliably, normal apps should work, and the router should remain online during routine use.
What to watch for:
Do not rely only on one successful speed test.
A router that performs well for a short test but repeatedly disconnects during calls or camera recordings still needs attention.
Quick checks: what the result tells you
When the router does not behave as expected, the symptoms usually provide a useful starting point.
-
The WiFi name appears, but websites do not load: The router is broadcasting a local network, but the internet connection may not be established. Check the WAN cable, connection type, and Internet Status screen.
-
The router settings page will not open: Your phone or computer may be connected to the wrong network. Confirm the WiFi connection and check the management address printed on the router.
-
Ethernet works, but WiFi keeps dropping: The incoming internet connection may be fine. Check wireless signal strength, interference, and security settings.
-
Phones connect, but a camera or printer fails: Check whether the device needs 2.4 GHz, supports the selected WPA mode, or is blocked by guest network isolation.
-
Everything works near the router but fails in one distant room: Wireless coverage may be the problem. Test the room again after checking placement and basic radio settings.
The useful distinction is between a router that cannot reach the internet and a device that cannot maintain a wireless connection.
Those are different problems, and they require different fixes.
Common router setup mistakes to avoid
Using the wrong port
The incoming internet cable normally belongs in the WAN port when the device is operating as a router.
Connecting it to a LAN port can prevent the router from establishing the expected WAN connection.
Check the operating mode and port labels before changing settings.
Confusing passwords
A home network can involve three separate passwords: your ISP broadband password, the router administrator password, and the WiFi password.
They serve different purposes.
If a PPPoE connection fails, changing the WiFi password will not fix it.
Changing several settings at once
When the connection fails, it can be tempting to change DNS servers, channels, firewall settings, and WAN options.
That approach usually makes troubleshooting harder.
Change one relevant setting, save it, and test the result before continuing.
Copying an old router's settings without checking them
Reusing the old WiFi name and password can make reconnecting devices easier.
However, importing an entire configuration from a different router model may carry incompatible settings.
Use the new router's supported setup process unless the manufacturer explicitly provides a compatible migration method.
Putting every device on the guest network
Guest networks often isolate connected devices.
That can prevent your phone from finding a printer or casting video to a television.
Use the main network for trusted devices that need to communicate with one another.
Factory-resetting the ISP gateway too early
Resetting provider-managed equipment can erase the settings needed for internet, television, or telephone service.
Check the new router's WAN connection and contact your provider before resetting equipment you do not manage.
A factory reset should not be your first troubleshooting step.
What to do if the router still does not work
WiFi connects, but there is no internet
First, open the router's management page.
Look for Internet Status, WAN Status, or Connection Status.
If the router reports that the WAN cable is disconnected, inspect the cable at both ends.
Make sure it connects the correct ports.
If the router detects the cable but still cannot reach the internet, check its connection type.
For a DHCP connection, verify that the router is receiving an IP address.
For PPPoE, confirm that the username and password match the credentials supplied by your provider.
A failed PPPoE login will not be fixed by restarting your phone or changing the wireless password.
If you have recently replaced an old router, the provider may need you to restart the modem or register the newly connected equipment.
Contact the ISP if the connection type is correct but the router still cannot establish service.
If your existing internet gateway also has no connection, the problem may be upstream of the new router.
The setup page will not open
Start by confirming that your device is connected to the new router.
A phone might automatically reconnect to the previous household WiFi network because it has the stronger saved connection.
Open the WiFi settings and select the correct network.
Then enter the router's management address directly into the browser.
Use the address supplied with your model rather than assuming every router uses 192.168.1.1.
If you are using a VPN and the page still does not open, temporarily disconnect the VPN and try again.
You can also inspect your device's network information for the router or default gateway address.
That address often identifies the local device managing the network.
If you are using access point mode, the device's management address may be assigned by the main router instead of using its original default address.
Check the main router's connected-device list if necessary.
Only consider resetting the router after checking these possibilities and confirming you have the information needed to configure it again.
Only an AC1200 router or older device behaves strangely
The process to setup AC1200 router models is generally the same as setting up other standalone home routers.
Connect the internet source, configure the WAN connection, create the wireless network, and verify that connected devices can reach the internet.
AC1200 is a wireless speed class, not a separate internet connection type.
Depending on the model, an AC1200 router may offer fewer configuration options than newer equipment.
For example, some older models do not support WPA3.
If WPA3 is unavailable, use WPA2-Personal with AES when supported.
Avoid switching to outdated encryption methods simply to connect an old device.
Also check whether you own an AC1200 router or an AC1200 WiFi extender.
They are not interchangeable.
A router typically manages the main network connection, while a range extender connects to an existing network to improve coverage.
If you follow router instructions on an extender, you may spend time looking for WAN settings that the device does not have.
Check the product label and operating mode before proceeding.
The router works, but devices keep disconnecting
Begin by testing a phone close to the router.
If the connection stays stable nearby but drops in a distant bedroom, coverage or interference may be responsible.
Move farther away gradually and see where the problem starts.
If devices disconnect even beside the router, check other possibilities:
-
Router firmware is outdated.
-
The router is overheating in a poorly ventilated cabinet.
-
The power adapter is loose or unsuitable.
-
The Ethernet connection to the modem is unstable.
-
The ISP connection itself is dropping.
A wired test can help separate wireless issues from wider connection problems.
Connect a computer to the router using Ethernet.
If the wired connection also drops, inspect the WAN connection, cables, and provider service.
If Ethernet remains stable while WiFi fails, focus on the wireless configuration.
Also pay attention to timing.
If devices disconnect at similar times each evening, household usage patterns or interference from nearby networks may be relevant.
If the entire internet service drops at those times, contact the ISP with the details.
Two routers are causing device or gaming problems
Some homes end up with two routers handling network traffic.
For example, an ISP gateway provides the main connection while a newly installed router also operates in router mode.
This can result in double NAT.
Basic internet browsing may work normally, but certain games, remote-access services, and device connections can become more complicated.
If your purpose is simply to improve WiFi, check whether the second router supports access point mode.
This allows the existing gateway to remain responsible for routing while the second device provides wireless access.
Follow the second router's model-specific instructions for switching operating modes.
The appropriate Ethernet connection may differ depending on the router and selected mode.
Do not enable bridge mode on your ISP gateway without checking the consequences.
Some provider configurations use the gateway for other services, including television or telephone connections.
If your equipment is managed by your ISP, ask which configuration they support.
FAQ
Can I set up a router without a computer?
Yes. Most modern home routers can be configured using a smartphone or tablet. Connect to the router's temporary WiFi, open the management page or manufacturer's setup app, and follow the instructions. A wired computer can be useful for troubleshooting, but it is not required for most installations.
Does a new router work without a modem?
A standalone router needs an active internet connection from a modem, fiber ONT, gateway, or compatible Ethernet handoff provided by your ISP. Some homes have an Ethernet wall connection that feeds directly into a router, but that connection must already be active. The router itself cannot create an internet service.
Should I use 2.4 GHz or 5 GHz for my home WiFi?
Keep both bands enabled if your dual-band router supports them. Use 5 GHz for nearby devices when it provides a strong, stable connection, and 2.4 GHz for compatible devices that need better reach or only support that band. Actual performance depends on walls, interference, and device capabilities.
Can I use the same WiFi name and password as my old router?
Yes. Reusing the old SSID and password can allow many household devices to reconnect automatically. However, differences in security settings or device compatibility may require some devices to be connected manually. If your previous password was weak or widely shared, use the router change as an opportunity to replace it.
What is the difference between the router password and the WiFi password?
The WiFi password allows devices to join your wireless network. The router administrator password controls access to settings such as network security, internet configuration, and connected-device management. Use separate passwords so someone who knows your WiFi password cannot automatically access the router's administration settings.
When should I reset my router to factory settings?
A factory reset is usually a last resort when you cannot regain administrative access or recover from a badly configured setup. It removes saved settings, including your WiFi name, password, and potentially your ISP connection details. Before resetting, gather the information required to set up the router again and check the manufacturer's instructions.
A successful router setup starts with the correct cable connection and WAN settings. Once the internet works, secure the wireless network, reconnect your devices, and test the rooms where you actually use WiFi. If one part fails, use the symptoms to narrow down the cause before changing more settings.