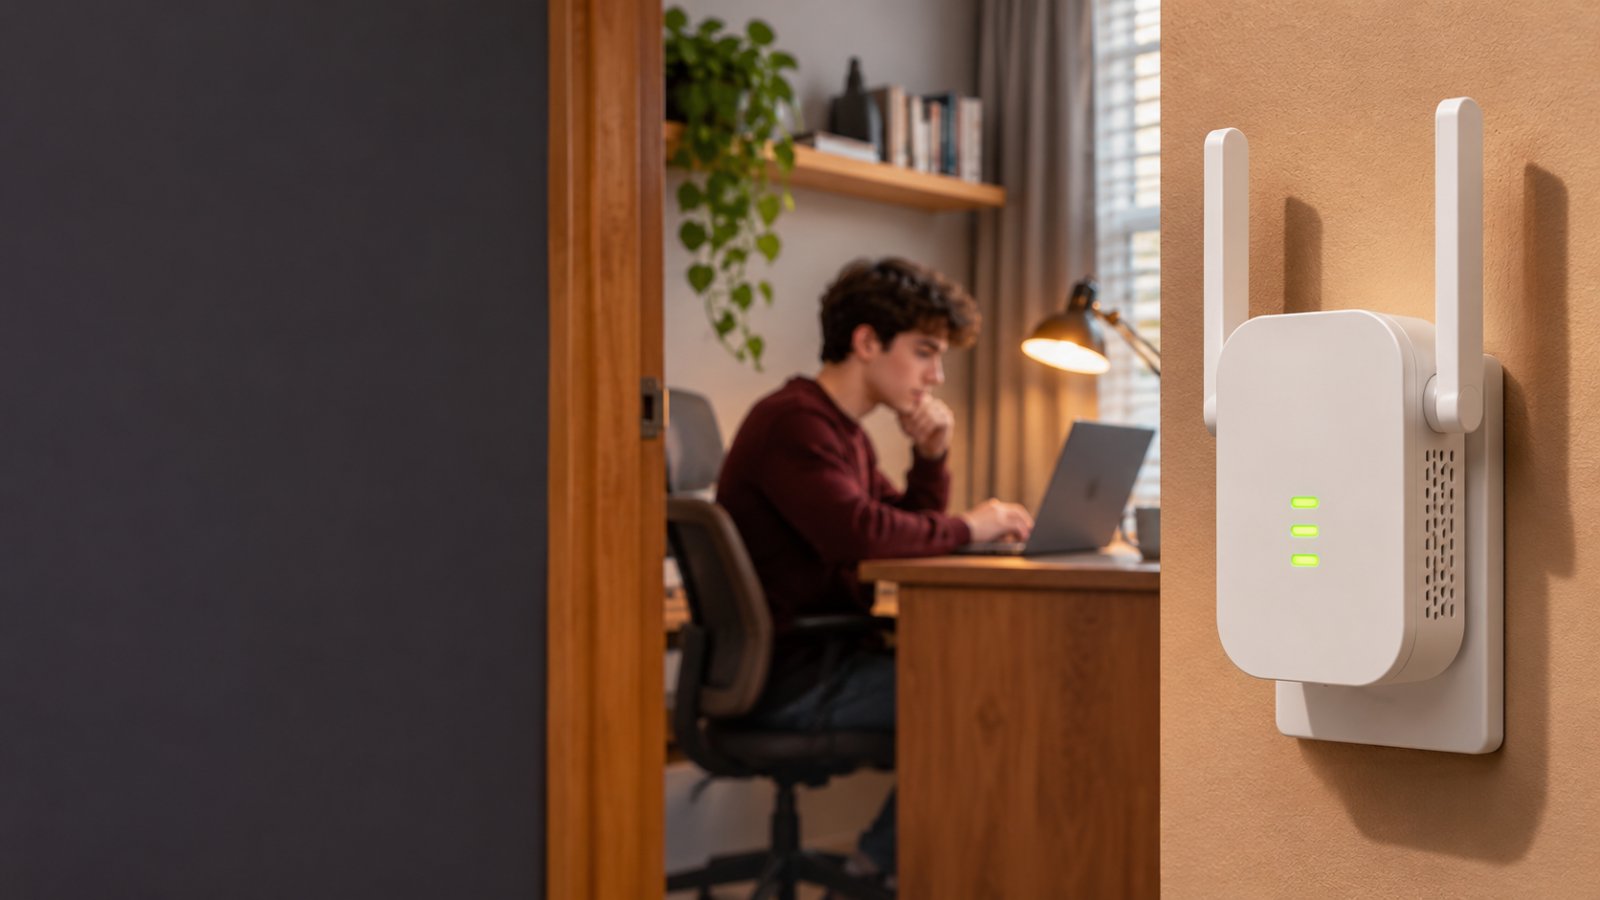
Your WiFi works fine near the router, but the signal drops in your upstairs bedroom, home office, or the room where you installed a security camera. You bought a WiFi Blast extender to improve coverage, but connecting it to your existing network is proving harder than expected. This blast wifi extender set up guide walks you through the installation, from the first connection to fixing common setup errors.
The easiest method is usually WPS. Plug the extender into an outlet near your router, activate WPS on both devices, and wait for them to connect. If your router does not support WPS, you can usually configure a compatible plug-in extender through its local browser interface.
One detail matters before you begin: products sold under WiFiBlast and similar Blast names do not all use the same interface. Some support WPS, some require browser setup, and others use a dedicated app. Check the model label and follow the instructions that match your device.
Blast WiFi Extender Set Up: Quick Instructions
If you have a plug-in WiFiBlast repeater with a WPS button, try this method first.
-
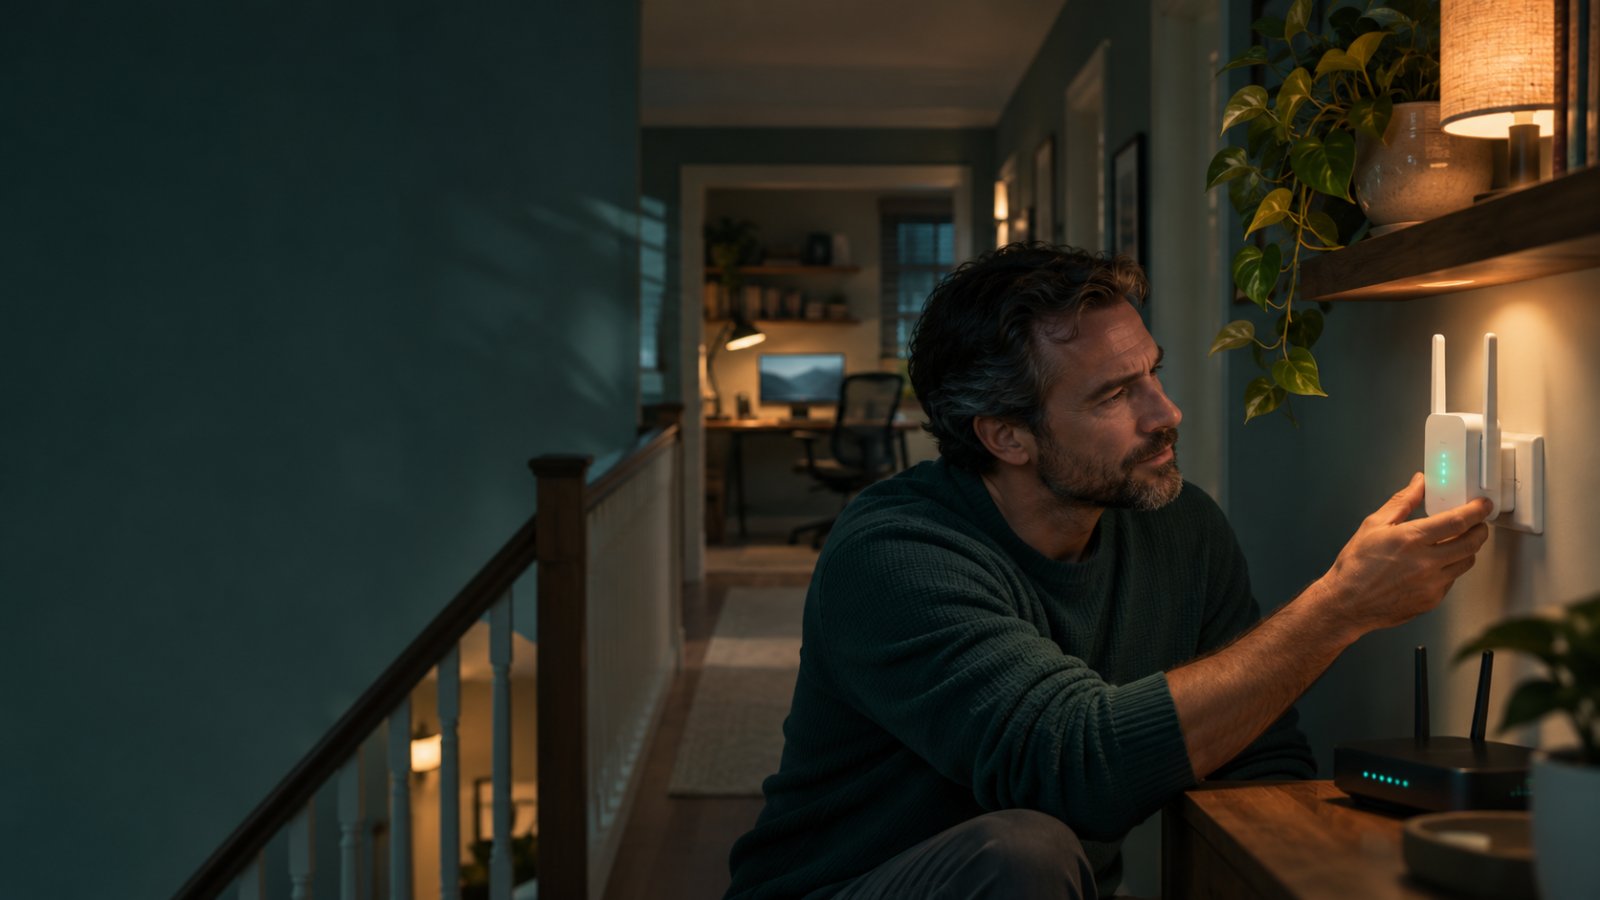
Plug the extender into a wall outlet near your main router.
-
Wait until its startup sequence finishes.
-
Locate the WPS button on your router.
-
Activate WPS according to the router's instructions.
-
Press the extender's WPS button within the pairing window specified by its manufacturer.
-
Wait for the connection indicator to show the result.
-
Open WiFi settings on your phone or laptop.
-
Connect to the extended network if your extender creates a separate network name.
-
Open a website to confirm internet access.
-
Move the extender to an outlet between the router and the room with poor reception.
The installation is successful when your phone or laptop connects through the extender and can access the internet.
A glowing power light only confirms that the extender has electricity. It does not mean the device has connected to your router.
If WPS does not work, use the manual setup method later in this guide.
Some WiFiBlast-style repeaters use 192.168.10.1 as their setup address. Others use a different local address or a device-specific hostname. Use the address supplied with your exact model rather than trying random setup websites.
A Calix GigaSpire BLAST system is also different from a generic plug-in WiFiBlast repeater. Calix equipment is commonly supplied by internet providers and may use a provider-supported application such as CommandIQ. For that equipment, follow your provider's instructions rather than the generic repeater procedure.
What You Need Before Starting
You do not need a networking qualification to install a WiFi extender.
You do need the correct router password, access to a phone or computer, and a working internet connection.
Collect those details before starting. Most setup problems become easier to diagnose when you know which network the extender is supposed to join.
Check Your WiFi Blast Extender Model
Look at the label on the back or underside of the extender.
Find its model number and manufacturer information.
Also check for:
-
Default WiFi network name.
-
Local setup address or hostname.
-
Administrator login details, if provided.
-
WPS button.
-
Reset button.
-
Ethernet port.
-
Supported wireless bands.
-
Instructions for identifying successful connection lights.
If you still have the packaging or printed manual, keep it nearby.
Do not assume that two similarly shaped extenders use the same setup address.
Some basic repeaters operate only on the 2.4 GHz band. Dual-band models can support both 2.4 GHz and 5 GHz.
An AC1200 extender setup may involve separate settings for each band, but AC1200 describes a wireless performance class rather than one specific product.
Find Your Router's WiFi Name and Password
Your extender needs to connect to the same WiFi network used by your household devices.
The network name is also called the SSID.
You can usually find it in the WiFi settings of a phone or laptop that is already connected.
On Windows 11:
-
Open Settings.
-
Select Network & internet.
-
Click Wi-Fi.
-
Check the connected network name.
On an iPhone, open Settings > Wi-Fi.
On Android, open the WiFi section of your network settings. The menu wording may differ between phone brands.
You also need the password used to connect to that network.
The WiFi password is not necessarily the same as your router's administrator password.
If your router broadcasts separate 2.4 GHz and 5 GHz networks, identify both before starting.
For example, your router may have separate network names for each band. The extender might need you to select one or configure both, depending on its capabilities.
Check That Your Router Is Working
Before installing the extender, connect your phone directly to the router's existing WiFi.
Open two or three familiar websites.
If they load normally, you can continue.
If they do not load, check the main internet connection first.
A range extender cannot create internet access when the router itself is offline.
If your router has recently been replaced, confirm that you are using its current WiFi name and password rather than settings from the old router.
Prepare a Phone or Laptop
You can usually complete manual extender setup from a phone, tablet, or laptop.
A laptop can be convenient because it makes it easier to switch between wireless networks and inspect the browser's address bar.
If you use a phone, it may display a warning that the extender's temporary network has no internet.
That warning is often normal.
During initial setup, the temporary WiFi network exists so you can communicate with the extender before it joins your router.
Stay connected to that network.
If your phone automatically switches to mobile data, temporarily turn off mobile data while accessing the local configuration page. Turn it back on after setup.
Method 1: Set Up Your WiFi Blast Extender Using WPS
WPS stands for Wi-Fi Protected Setup.
It allows compatible wireless devices to pair without manually typing the WiFi password.
For a plug-in extender, this can be the quickest installation method.
However, WPS must be supported and enabled on both the router and extender.
Some routers do not offer WPS, particularly under certain wireless security configurations.
If you cannot find the feature, skip to manual setup.
Step 1: Plug the Extender Near Your Router
Find a wall outlet near the router.
Use this location for the initial connection. You can move the extender after it has been configured.
Plug it in and wait for the startup process to finish.
Depending on the model, the power light may flash before becoming steady.
Check the manufacturer's LED instructions rather than relying on a particular color.
What you should see: The extender powers on and completes its normal startup sequence.
What to watch for: If no indicator lights appear, check that the outlet works using another suitable electrical device.
Avoid repeatedly unplugging the extender while it is starting.
Step 2: Locate the WPS Button on Your Router
Check the side or back of the router for a button labeled WPS or marked with a pairing symbol.
Some routers have a dedicated WPS button.
Others provide the function through their administration interface.
Do not confuse WPS with Reset.
Pressing the router's Reset button can erase important network settings.
If you are unsure what a button does, check the router manual before pressing it.
If WPS is unavailable, browser setup is usually the better option.
Step 3: Activate WPS on the Router
Press the WPS button according to the router manufacturer's instructions.
On some models, a WPS indicator begins flashing.
This normally means the router has entered pairing mode.
There is a limited period during which the extender must send its pairing request.
The exact timing depends on the equipment.
What you should see: The router indicates that WPS pairing is active.
What to watch for: If pressing the button produces no response, WPS may be disabled or unsupported.
Do not hold the button for an arbitrary period. On some routers, short and long presses trigger different functions.
Step 4: Activate WPS on the WiFi Blast Extender
Press the extender's WPS button while the router is accepting pairing requests.
Follow the procedure printed in the extender manual.
Many WPS devices use a pairing window of roughly two minutes, but the manufacturer's timing takes priority.
Wait while the devices negotiate the connection.
Avoid pressing WPS repeatedly during the process.
What you should see: The extender's connection indicator changes to the state described as successful in its instructions.
What to watch for: Different extenders use different LED colors and flashing patterns. A steady light is not universal proof of a working router connection.
If pairing fails, check the manual before repeating the process.
Step 5: Confirm That Pairing Worked
Open WiFi settings on your phone or laptop.
Some extenders create a separate network with a name derived from your existing router.
Others reuse the existing network name.
Check the extender instructions to identify the expected network.
Connect to it if necessary.
Open a website and confirm that the page loads.
If the extender reports a successful connection but your device cannot browse, check whether you connected to the correct network.
If WPS fails more than once, use manual configuration. Entering the router details directly is often easier than repeatedly troubleshooting the pairing sequence.
Method 2: Set Up WiFi Blast Extender Without WPS
Manual WiFi extender setup involves connecting to the extender's temporary wireless network, opening its local configuration page, and selecting your home router.
It is useful when WPS is unavailable, pairing fails, or you want to review the extender's settings directly.
The exact screens differ between models.
Follow the labels displayed by your device rather than expecting every menu to match another brand's instructions.
Step 1: Restore Factory Settings if the Extender Was Previously Configured
A brand-new extender normally starts in its initial setup state.
You usually do not need to reset it.
A previously used extender may still contain the WiFi password and network name from another router.
If the device refuses to enter setup mode, restoring factory settings may help.
Find its Reset control and follow the model-specific procedure.
Some models have a recessed button that requires a small pin or similar tool.
What you should see: The extender restarts and returns to its default configuration.
What to watch for: A factory reset removes saved settings. You will need to configure the router connection again.
Make sure you are resetting the extender, not the main router.
Step 2: Connect to the Extender's Temporary WiFi Network
Open the available WiFi networks on your phone or laptop.
Find the temporary network identified on the extender's label or in its instructions.
It may use a name associated with a repeater or extender.
Select it.
If the network requires a password, enter the default wireless password provided with your device.
Your phone might display Connected without internet.
Do not immediately disconnect.
That message can appear because the extender has not joined the main router yet.
The temporary connection is needed to access the setup page.
Step 3: Open the WiFi Blast Setup Page
Keep your device connected to the extender's temporary WiFi network.
Open a browser such as Chrome, Edge, Firefox, or Safari.
Enter the setup address given in your extender's manual.
Some WiFiBlast-style repeaters use:
192.168.10.1
Use this address only if it is specified for your model.
Type the address into the browser's address bar, not into a search engine.
For models using a different local address or hostname, follow the supplied instructions.
What you should see: A local login screen or setup wizard.
What to watch for: If Google search results appear, you probably entered the address into a search field.
If the page does not open, verify that your phone or laptop remains connected to the extender's temporary network.
An active VPN may also interfere with access to some local setup pages.
Temporarily disconnect it if appropriate and try again.
Step 4: Sign In to the Extender
Some extenders require an administrator username and password.
Others ask you to create an administrator password during initial setup.
Use the credentials supplied with your exact model.
Do not assume every WiFiBlast repeater has the same default login.
If the device has been configured before, the administrator password may have changed.
What you should see: A configuration dashboard or setup wizard.
What to watch for: Your router's WiFi password and the extender's administrator password serve different purposes.
The administrator password controls access to the extender's settings.
The WiFi password allows devices to connect to the wireless network.
Step 5: Choose Repeater or Range Extender Mode
Look for the extender's operating mode options.
A typical plug-in device may offer:
-
Repeater Mode.
-
Range Extender Mode.
-
Access Point Mode.
-
Router Mode.
Choose Repeater or Range Extender mode when you want the device to connect wirelessly to your existing router and extend its coverage.
Do not select Router Mode unless you have a specific reason to configure another router.
Access Point Mode normally requires a wired network connection.
If your extender has different labels, consult its manual to identify the mode intended for wireless repeating.
Step 6: Select Your Existing Home WiFi Network
The extender should scan for nearby wireless networks.
Wait for the scan to finish.
Find your router's network name and select it.
If several neighboring networks appear, confirm that you have selected your own.
Dual-band extenders may show separate 2.4 GHz and 5 GHz networks.
The available choices depend on both the router and extender.
What you should see: Your existing router network appears in the available network list.
What to watch for: If your WiFi does not appear, move the extender closer to the router and scan again.
Also check whether your extender supports the frequency band used by the router.
A 2.4 GHz-only repeater cannot connect to a network that broadcasts exclusively on 5 GHz.
Step 7: Enter Your Router's WiFi Password
Enter the password used by your existing home WiFi.
Check the spelling carefully.
WiFi passwords are case-sensitive.
An incorrect capital letter or symbol can prevent the extender from connecting.
If the setup screen allows you to reveal the password, review it before continuing.
Do not use the router's administrator password unless that is also the actual wireless password.
Save the connection information when prompted.
A good result: The extender accepts the credentials and proceeds to save the configuration.
A bad result: The interface reports authentication failure or repeatedly returns to the password screen.
If that happens, reconnect a phone directly to the router using the same password to verify that it is correct.
Step 8: Configure the Extended Network Name
Some extenders automatically generate an extended WiFi name.
Others allow you to choose one.
A separate name can make troubleshooting easier because you can see whether your phone is connected to the router or extender.
For example, you might use a distinct name identifying the upstairs extended network.
Using the same name and password as the main router can be convenient, but it does not guarantee seamless roaming.
The phone or laptop still makes connection decisions based on its wireless behavior and the capabilities of the network equipment.
If you regularly troubleshoot dead spots, a separate network name may be easier to manage.
Step 9: Save Settings and Reconnect
Select the option to apply or save the configuration.
The extender may restart.
Its temporary setup network may disappear during the process.
Wait for the device to reconnect.
Open your phone or laptop's WiFi settings and select the newly configured extended network if necessary.
Enter the appropriate password.
Then open a website.
A good result: Your device connects to the extended WiFi and accesses the internet.
A bad result: Your device connects to WiFi but displays No internet.
If there is no internet, check the extender's connection to the router and verify the saved credentials.
Do not assume that a successful local WiFi connection means the router link is working.
How to Find the Best Location for Your WiFi Blast Extender
An extender can be configured correctly and still perform poorly because of its location.
Wireless repeaters need a reliable connection to the main router.
If the extender is placed where the original WiFi signal is almost unusable, it has little reliable connectivity to extend.
Step 1: Identify Where Your WiFi Signal Becomes Weak
Take a phone or laptop connected to the router.
Start near the router and walk toward the room with poor reception.
Check the connection in the hallway, at the doorway, and near your usual desk or seating position.
Try opening a website at several points.
Note where the connection begins to slow or disconnect.
This gives you a practical idea of how far the router's signal reaches.
Step 2: Move the Extender Toward the Dead Zone
Unplug the configured extender and move it to an outlet between the router and the weak room.
Do not automatically choose the outlet closest to the problem area.
Choose one where the extender can still receive a dependable router signal.
Plug it in and allow it to reconnect.
If the device provides a signal strength indicator or status page, check the connection quality.
If reception is weak, move it closer to the router.
You may need to test more than one outlet.
Step 3: Avoid Common Signal Obstacles
The physical environment affects WiFi reception.
A router signal may pass through an open doorway more easily than a concrete wall.
Avoid placing the extender:
-
Behind a large metal cabinet.
-
Inside enclosed furniture.
-
Directly behind a television.
-
Close to equipment that causes radio interference.
-
Where its ventilation openings are blocked.
-
At the farthest possible point from the router.
An open hallway or landing is often a useful starting location.
If your home office is behind several thick walls, a slightly more central location may perform better than an outlet inside the office.
Step 4: Test Coverage in the Problem Room
Go to the room where the connection previously failed.
Make sure your phone or laptop is connected through the extender.
Open a website, then test the activity that originally caused trouble.
For a home office, try a video meeting or upload.
For a bedroom, test streaming and ordinary browsing.
For a security camera, confirm that it remains connected and can transmit or display video as expected.
A good speed test is useful, but it does not tell you whether the connection will remain stable during longer activities.
Step 5: Adjust Placement if Necessary
If the connection drops during normal use, check the extender's signal quality.
Move it closer to the router if the incoming connection is weak.
If the extender has a strong router connection but cannot reach the target room, you may need a different placement or another networking solution.
Do not keep adding wireless repeaters without checking whether the first repeater has a reliable connection.
For difficult layouts, a wired access point or coordinated mesh system may be a better option.
Connecting Phones, Laptops, TVs, and Security Cameras
After setup, connect the devices that need improved coverage.
If the extender creates a separate WiFi name, selecting that network makes it easier to confirm that the connection is going through the extender.
Connecting a Windows Laptop
On Windows 11:
-
Click the network icon on the taskbar.
-
Open the list of available WiFi networks.
-
Select the extended network.
-
Click Connect.
-
Enter the WiFi password.
-
Wait for the connection to establish.
Open a website to confirm internet access.
If the laptop continues using the original weak network, select the extender network manually when it has a separate name.
You can also review the connected network under Settings > Network & internet > Wi-Fi.
Connecting an iPhone or Android Phone
Open your phone's WiFi settings.
Find the extended network and select it.
Enter its password if prompted.
Once connected, open a website or application.
If the phone automatically switches to mobile data because the extender connection is not yet working, temporarily disable that fallback while troubleshooting.
Restore mobile data after confirming the WiFi connection.
Connecting Smart TVs and Streaming Devices
Open the television or streaming device's network settings.
Choose the extender network if it appears separately.
Enter the password and test a streaming application.
If the device supports both 2.4 GHz and 5 GHz, try the band that gives the most reliable reception.
A fast connection near the router does not guarantee strong 5 GHz reception in a distant room.
For an older television, 2.4 GHz may provide more consistent coverage through walls.
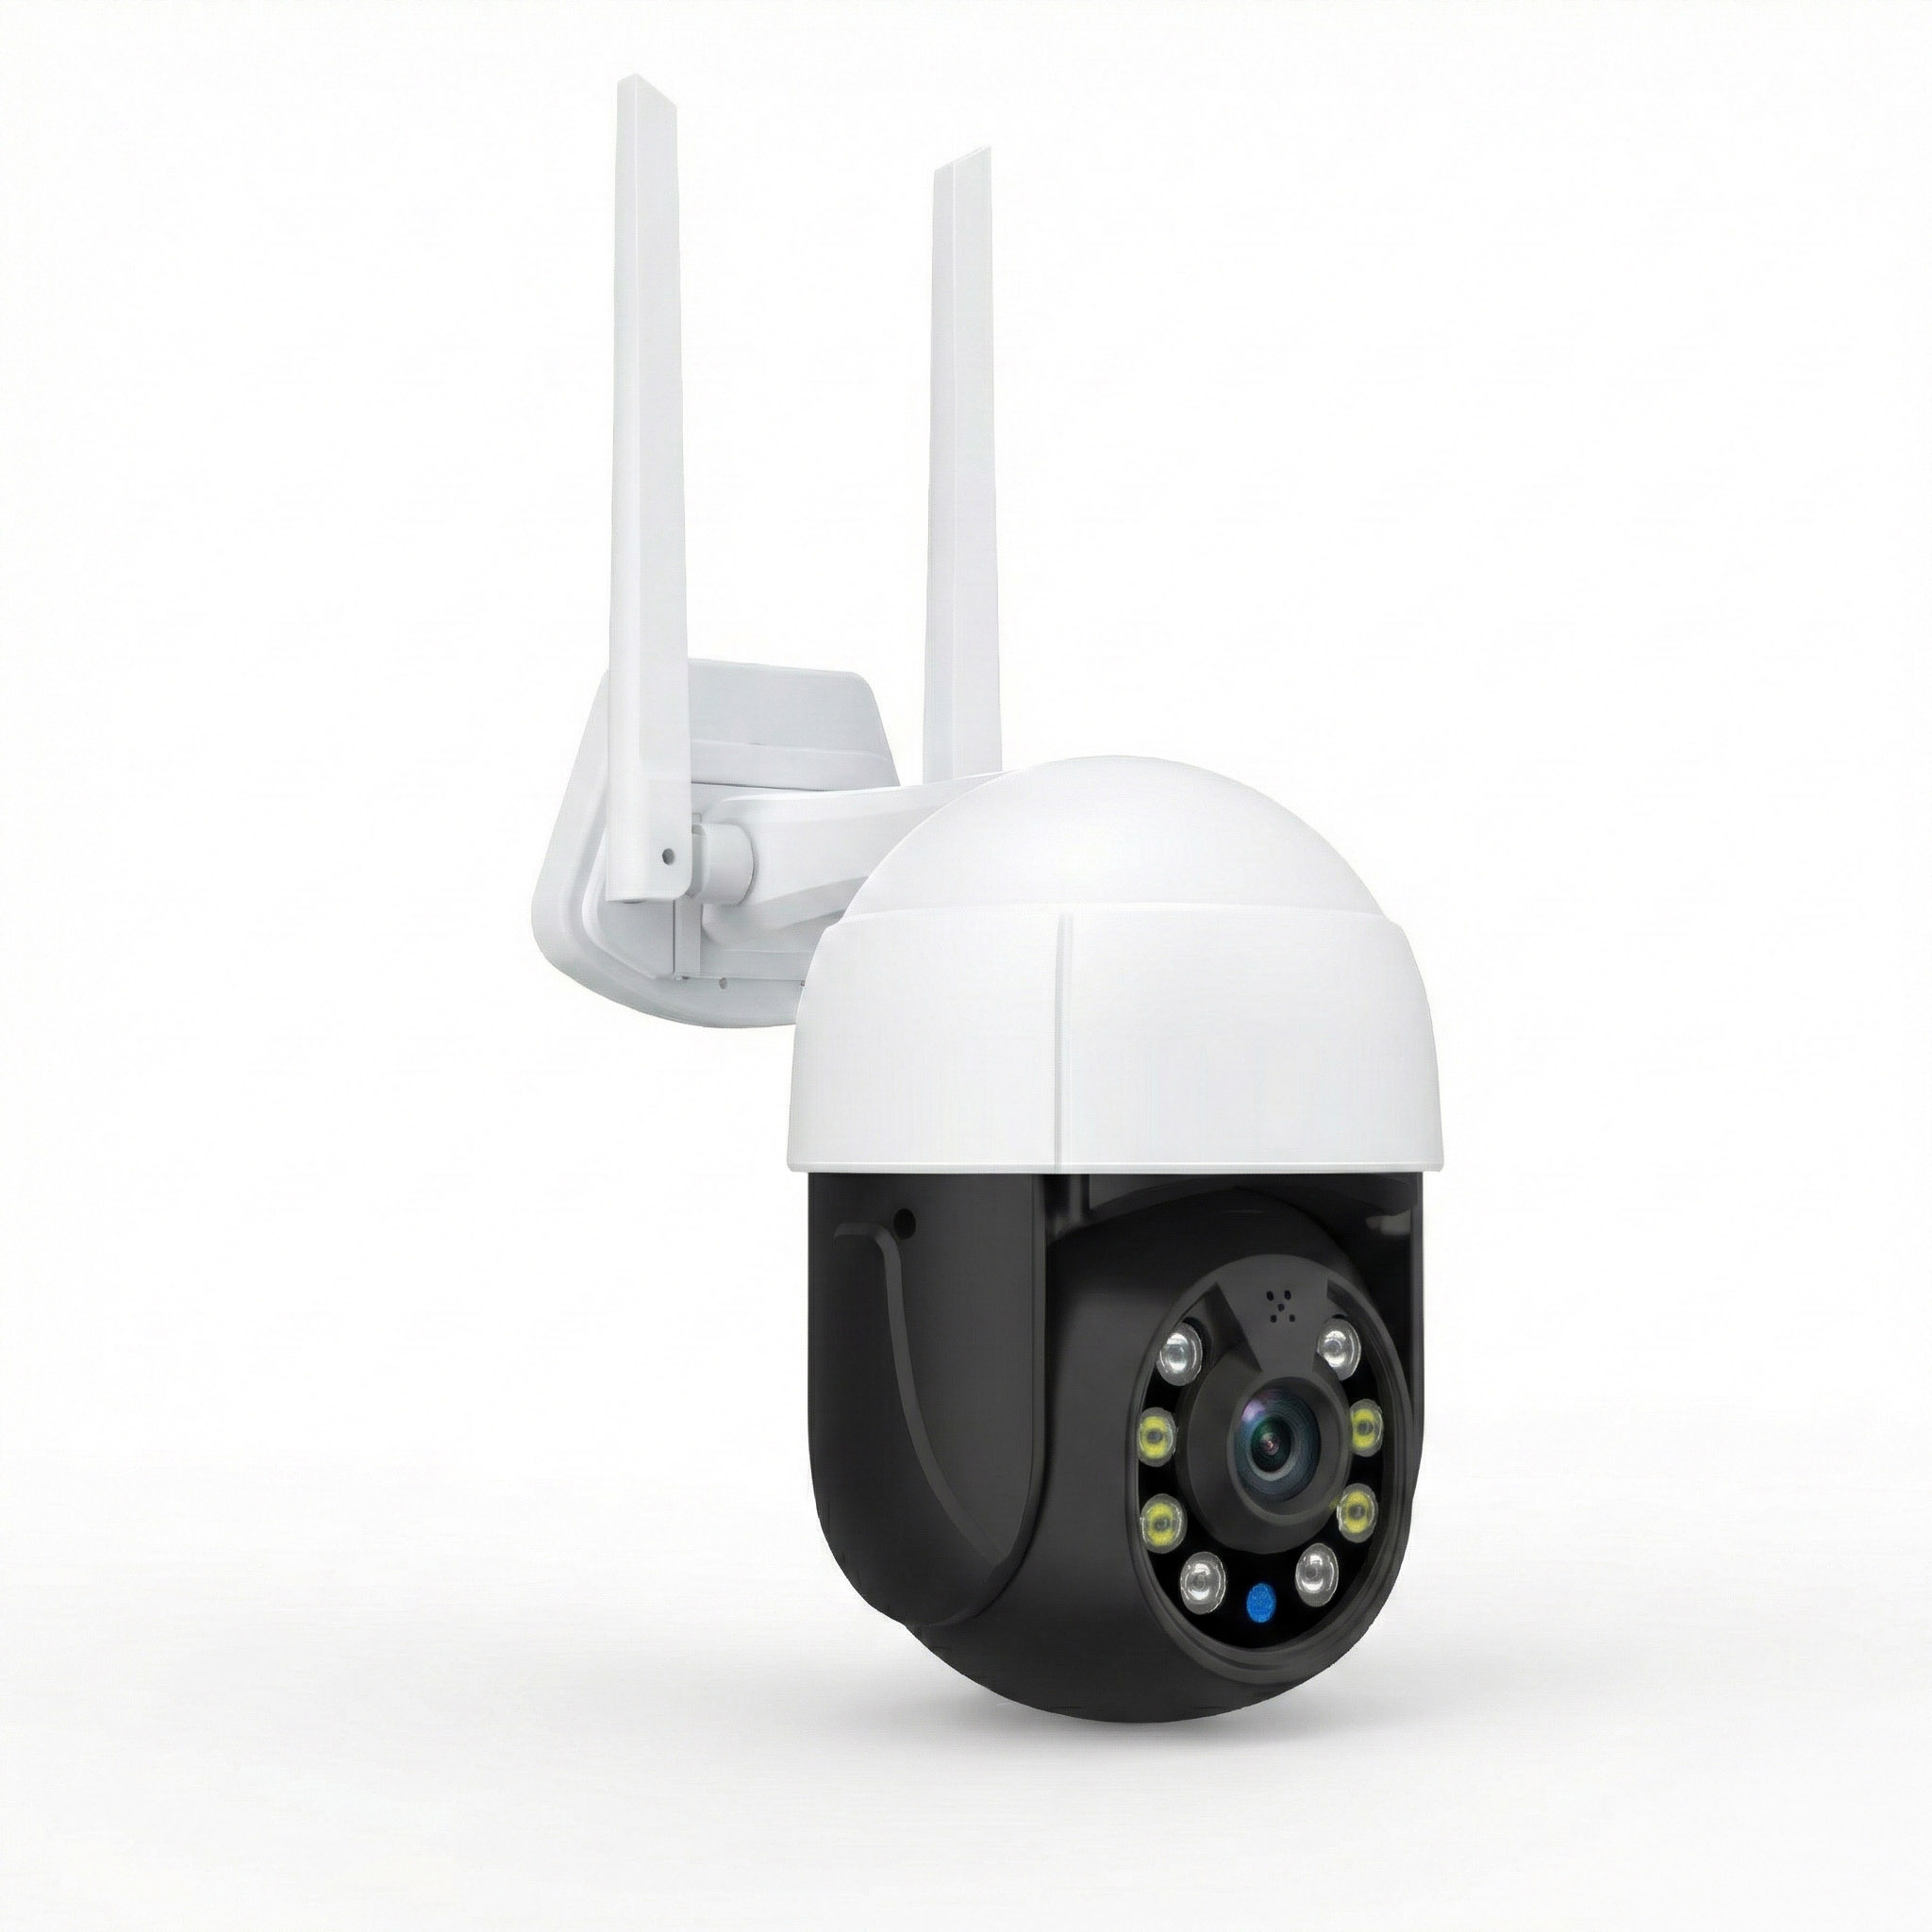
Connecting Wireless Security Cameras
Before moving a camera to the extended network, check its supported WiFi bands.
Many home security cameras operate on 2.4 GHz.
If your camera supports only that band, make sure the extender provides a compatible 2.4 GHz network.
Open the camera manufacturer's application and follow its instructions for changing WiFi networks.
Some cameras require a setup process when the network name changes.
Test the camera from its actual installation location.
A camera mounted outside a brick wall may experience very different reception from a phone tested indoors.
Also check upload performance.
An extender can improve wireless coverage, but it cannot increase the upload bandwidth supplied by your internet service.
Common Blast WiFi Extender Setup Problems and Fixes
Most installation failures have a straightforward cause.
The extender may be connected to the wrong WiFi network, using an incorrect password, or positioned too far from the router.
Use the symptoms to narrow down the problem before resetting everything.
| Problem | Likely cause | What to try first |
|---|---|---|
| Setup page does not open | Wrong network or setup address | Reconnect to extender setup WiFi |
| WPS pairing fails | WPS disabled or incompatible | Use manual setup |
| Router network is missing | Weak signal or unsupported band | Move closer to router and rescan |
| Connected without internet | Failed router connection | Check router password and connection status |
| Weak signal after moving | Extender too far from router | Try a closer outlet |
| Laptop uses original WiFi | Device has not switched networks | Select extender network manually |
| Repeated disconnections | Interference or weak backhaul | Check signal quality and placement |
The Setup Page Does Not Open
Check your current WiFi connection first.
Your device must be connected to the extender's setup network when using its default local management address.
If your phone has switched back to the main router, reconnect to the extender.
Next, check the setup address supplied with your model.
If your manual specifies 192.168.10.1, enter it directly into the browser's address bar.
Do not assume that this address works on every extender.
If the page still does not load, check whether a VPN or phone network switching feature is interfering with local access.
A previously configured extender may also use a different management address.
Consult its manual for the correct recovery process.
The Extender Cannot Find My Router
Move the extender near the router and scan again.
Check that your router's WiFi is enabled and broadcasting on a supported band.
A basic 2.4 GHz-only extender will not detect a 5 GHz-only network.
If your router hides its network name, you may need to enter the SSID manually.
Wireless security settings can also affect compatibility.
An older extender may not support a router configured exclusively for a newer security mode.
Check the supported settings before making changes.
Avoid reducing wireless security simply to connect outdated hardware when a compatible replacement is available.
WPS Pairing Keeps Failing
Confirm that WPS is available and enabled on the router.
Check that you are pressing WPS rather than Reset.
Move the extender closer to the router during initial setup.
Follow the pairing sequence and timing stated in the manuals.
If pairing fails again, use manual browser configuration.
You can then select the router's network name and enter its password directly.
That removes uncertainty about the WPS pairing process.
The Extender Connects but Has No Internet
A phone can connect to an extender even when the extender has no working connection to the main router.
Start by checking whether the router itself has internet access.
Then inspect the extender's router connection status.
If the router connection has failed, check the saved wireless password.
An incorrect password can prevent the extender from joining the network even though its own WiFi remains visible.
If necessary, repeat manual configuration and verify the credentials before saving.
The Extender Works Near the Router but Not Upstairs
The extender may be too far from the main router after you move it.
Try an upstairs landing or a hallway outlet with a clearer signal path.
Check the connection indicator after every move.
If the signal cannot reliably pass through the floor, a conventional repeater may not be suitable.
A wired access point or mesh system with suitable backhaul may provide more consistent coverage.
The Connection Is Slower Through the Extender
Wireless repeating uses radio capacity to receive and transmit network traffic.
Depending on the extender's design and how its radios are used, this can reduce the throughput available to connected devices.
A weak router connection or crowded wireless channel can reduce performance further.
Test near the extender and compare the result with the connection near the main router.
If ordinary browsing and video calls are stable, the lower speed may still be acceptable.
If you regularly transfer large files or run several devices at once, consider a wired connection or access point.
My Phone Keeps Connecting to the Wrong WiFi Network
Your phone may prefer the original router connection even when an extender is nearby.
If the extended network has a separate name, select it manually in WiFi settings.
If both networks use the same name, the phone decides when to switch based on its own roaming behavior and the network's capabilities.
Using identical network names does not guarantee seamless roaming.
For homes where people frequently move between rooms during calls, a coordinated mesh system may provide a better roaming experience.
When to Reset Your WiFi Blast Extender
Factory reset is useful when the extender contains incorrect saved settings or you cannot access its configuration.
It is not the first thing to try when the signal is weak.
A reset will not improve WiFi coverage through thick walls.
Consider resetting the extender when:
-
It was configured for a different router.
-
The household WiFi password changed.
-
You cannot access the settings because the administrator password was forgotten.
-
Previous configuration attempts left the device in an unusable state.
-
The manufacturer recommends a reset for the reported problem.
Follow the reset instructions for your exact model.
After resetting, the extender should return to its default setup state.
Reconnect to its temporary network and repeat configuration.
Remember that a reset removes saved extender settings.
If the device does not power on or respond, verify the electrical outlet and check the manufacturer's troubleshooting instructions.
AC1200 Extender Setup: What Is Different?
Some people searching for blast wifi extender set up instructions own a dual-band AC1200-class extender.
AC1200 describes an advertised wireless performance class.
It does not identify a particular model or guarantee a specific internet speed.
The basic installation may be the same as a single-band repeater, but dual-band equipment introduces additional settings.
Choose the Correct Wireless Band
A dual-band extender may support both 2.4 GHz and 5 GHz connections.
The 2.4 GHz band generally offers better reach through obstacles.
The 5 GHz band can provide higher throughput when the connection is strong.
For a room behind several walls, 2.4 GHz may be more reliable.
For an office closer to the router, 5 GHz may offer better performance.
Some extenders can connect to both bands or use one band for backhaul while serving clients on another.
Follow the available options in your particular device's interface.
Check the Extended Network Names
Some dual-band extenders create separate network names for 2.4 GHz and 5 GHz.
Others offer a combined name.
During testing, check which network your device is using.
If the extender supports band steering, review whether it is enabled and how it manages compatible devices.
Do not assume that every AC1200 extender uses the same band selection method.
Understand the Ethernet Port
An Ethernet port can be useful for a desktop computer, television, or other wired device.
However, check how the extender connects to the router.
When the extender uses wireless backhaul, a computer connected to its Ethernet port still depends on that wireless link.
The computer's connection to the extender is wired, but the path from the extender to the router is not.
Some dual-band extenders also support Access Point mode using a wired uplink.
That can provide more consistent performance when Ethernet cabling is available.
How to Improve Extender Performance After Setup
Once the extender connects successfully, the next goal is keeping the network stable.
A few practical checks can help prevent repeated disconnections.
Keep the Extender Within Strong Router Coverage
The extender cannot reliably rebroadcast a connection it barely receives.
Check its signal quality after placing it in the hallway or near the office.
If it reports weak reception, move it closer to the router.
Do not choose a location simply because the extender's network name is visible from the target room.
Confirm that actual internet access remains stable.
Keep Firmware Updated
Check whether firmware updates are available for your extender model.
Use the manufacturer's official administration interface or update instructions.
Firmware updates may address connection stability, compatibility, and security issues.
Do not install firmware intended for another model, even if its casing looks identical.
Incorrect firmware can damage the device's functionality.
After an update, confirm that the extender reconnects to the router.
Avoid Unnecessary Extender Chains
Connecting one wireless extender through another can create additional wireless hops and complicate troubleshooting.
It may also reduce available throughput.
If several rooms need reliable coverage, consider a coordinated mesh system or wired access points.
A single well-positioned extender is often more useful than several repeaters with weak connections to one another.
Test During Normal Household Use
A network can appear fast when nobody else is online but become unreliable during busy periods.
Test while people are using their usual devices.
For a home office, try a video call while someone else streams or downloads files.
For a security camera, check whether the camera remains connected during normal household activity.
If the connection becomes unreliable only when several devices use the internet heavily, investigate bandwidth congestion.
An extender improves coverage, not the bandwidth supplied by your internet provider.
When a WiFi Extender Is Not Enough
A WiFiBlast repeater is useful for extending coverage into an area where the original router signal has become weak but remains usable nearby.
It is less effective when the incoming signal cannot pass through thick walls or several floors.
It may also struggle when many devices need consistent performance at the far end of the house.
If you cannot find a location where the extender has both a reliable router connection and useful coverage of the target room, consider another approach.
A wired access point connects to your router using Ethernet and creates local WiFi without depending on wireless backhaul.
A mesh WiFi system uses coordinated nodes to cover several rooms. Compatible models may also support Ethernet backhaul.
A direct Ethernet connection can provide consistent connectivity for a desktop computer or compatible laptop at a fixed desk.
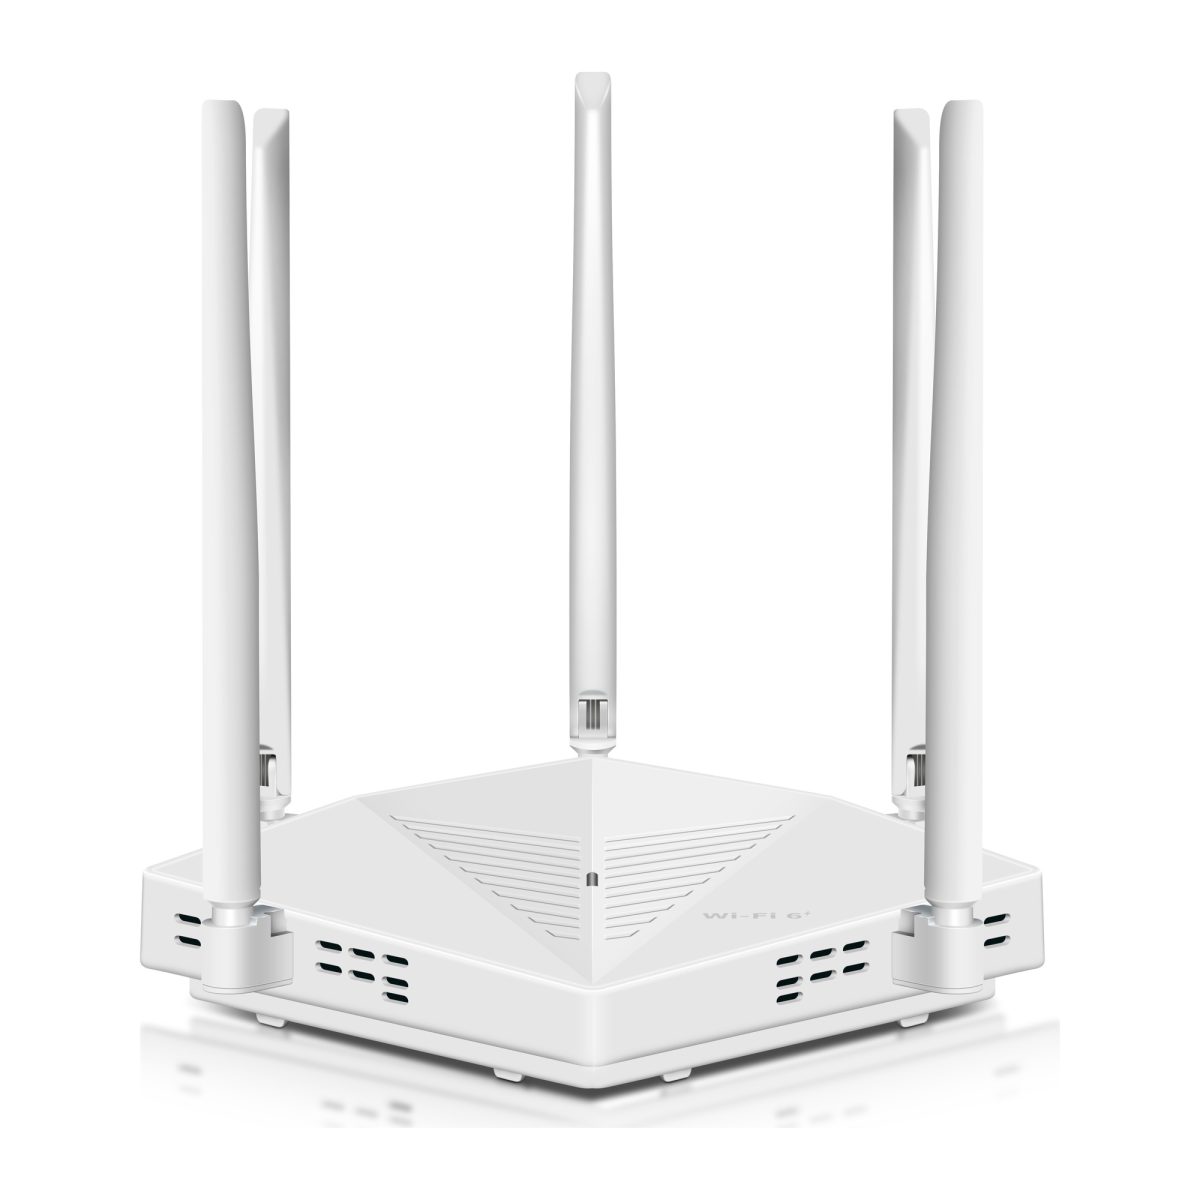
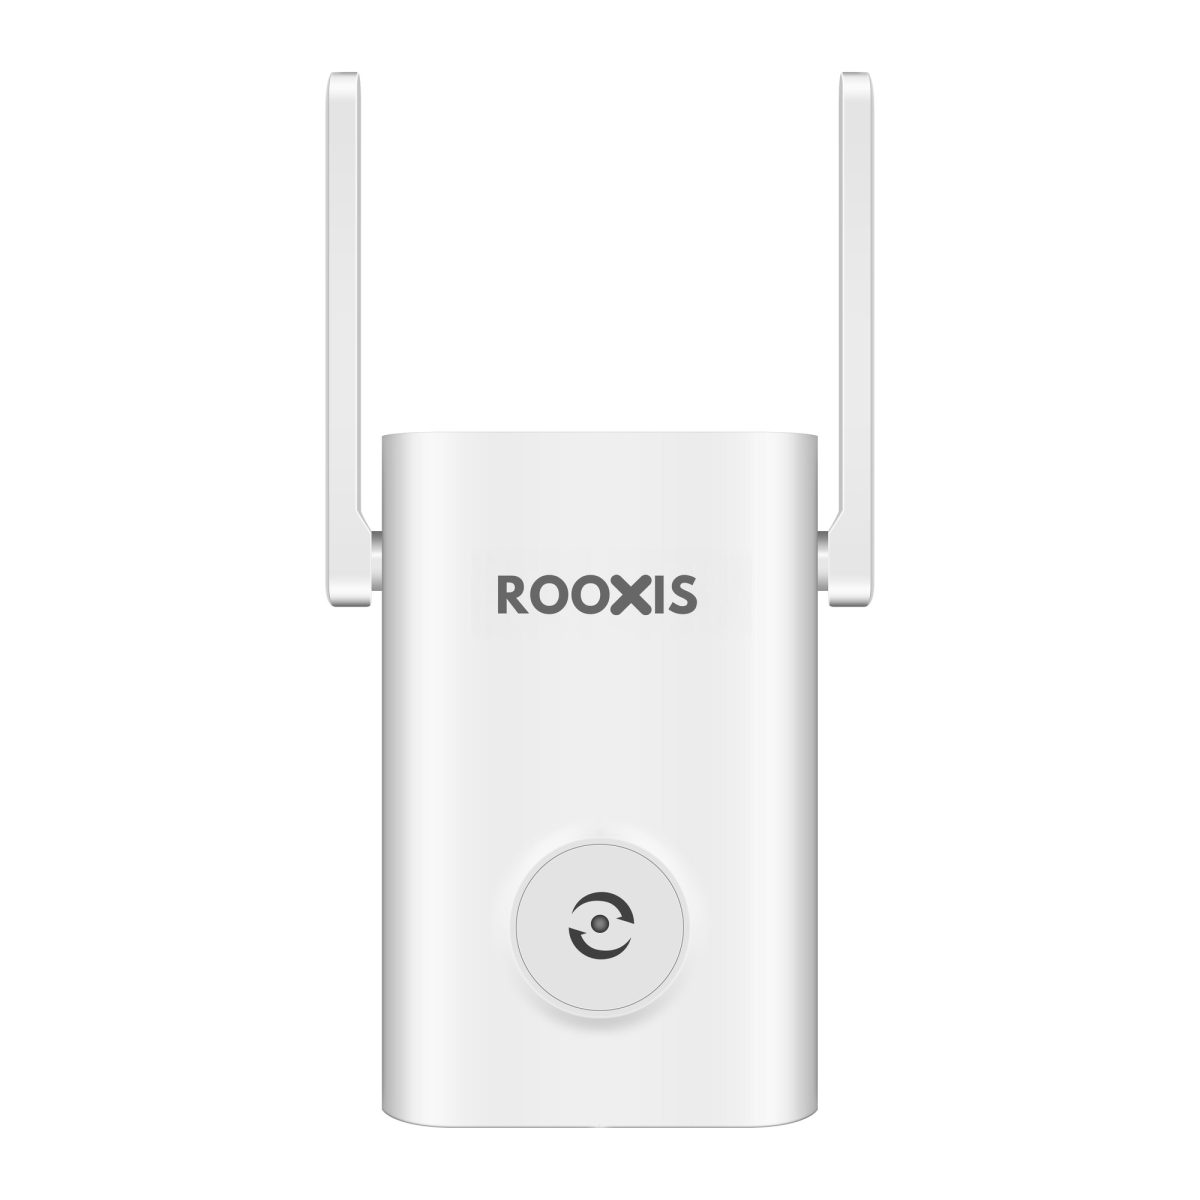
If you are comparing replacement networking equipment, ROOXIS offers routers and range extenders for home WiFi coverage.
Choose equipment based on your layout, connection requirements, and compatibility rather than advertised maximum speed alone.
FAQ
How do I set up a WiFi Blast extender without WPS?
Connect a phone or laptop to the extender's temporary setup WiFi network. Open the local setup address supplied with your model, select Repeater or Range Extender mode, and choose your router's WiFi network. Enter the router's wireless password, save the settings, and test the extended connection.
What is the WiFi Blast extender setup IP address?
Some WiFiBlast-style repeaters use 192.168.10.1 as their local configuration address. Other models use different addresses or hostnames, so check the device label and manual first. Connect to the extender's setup network before opening its local management page.
Why is my WiFi Blast extender connected but not working?
Your phone may be connected to the extender even though the extender has not established a working connection to the router. Check the router's internet access, the saved WiFi password, and the extender's connection status. If the router link is weak, move the extender closer and test again.
Where should I place my WiFi Blast extender?
Place it between the router and the room with poor reception, where it still receives a reliable signal from the router. A hallway or landing often works better than an outlet directly inside the dead zone. Check the extender's signal indicator and test internet access from the room you want to cover.
Can I use a WiFi Blast extender with any router?
Many WiFiBlast-style repeaters work with routers supporting compatible WiFi bands, standards, and security settings. However, compatibility is not guaranteed across every device or configuration. Check the model specifications, particularly if your router uses newer security modes or does not support WPS.
Does a WiFi Blast extender need a separate password?
Some extenders use the same wireless password as the original router, while others allow a separate password for the extended network. The administrator password for the extender's configuration page may also be different. Check the settings chosen during installation and save the correct credentials securely.
Get Your WiFi Blast Extender Working Reliably
For most plug-in WiFiBlast repeaters, setup involves three main tasks: connecting the extender to your router, positioning it where the original WiFi signal is still reliable, and checking internet access in the room that needs better coverage.
Try WPS first if both devices support it. Otherwise, connect through the extender's temporary WiFi network and follow its browser configuration process.
If the extender connects but provides no internet, verify the router password and connection status. If coverage is poor after moving it, try an outlet closer to the router.
Finish by testing a real activity, such as a video call, file upload, or security camera connection.
The setup is complete when your devices stay connected where you actually need WiFi, not simply when the extender's power light turns on.