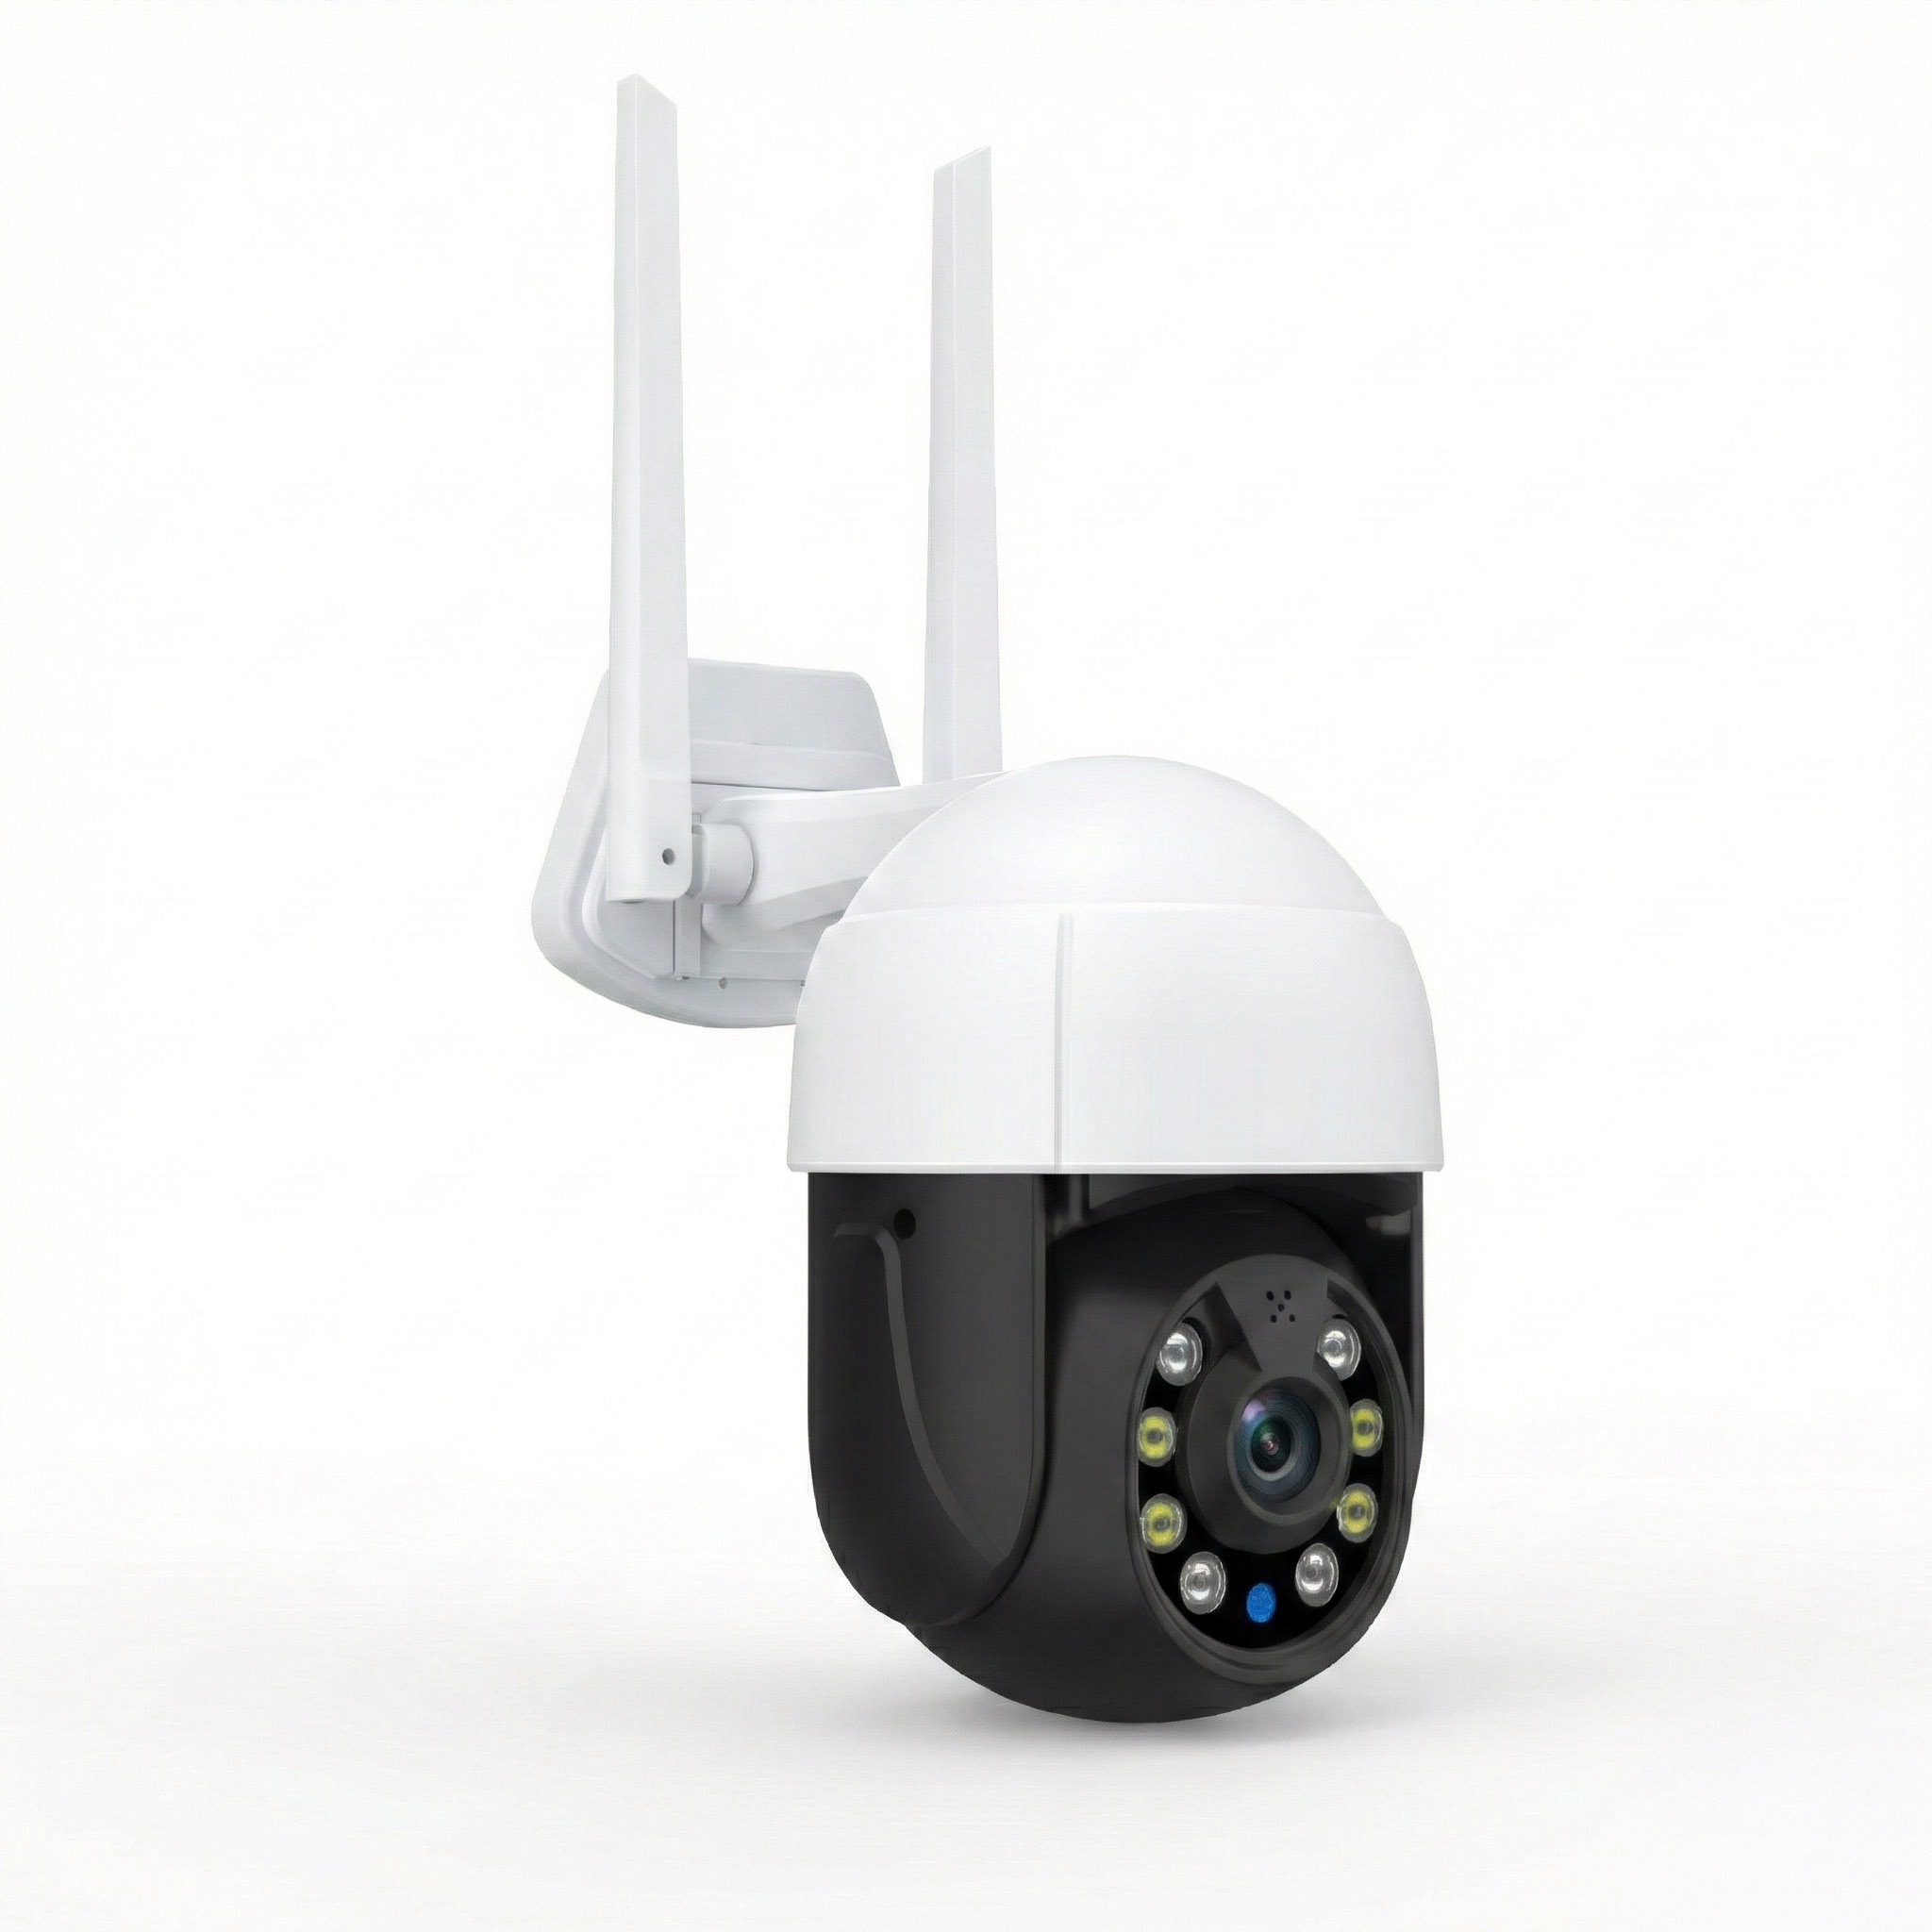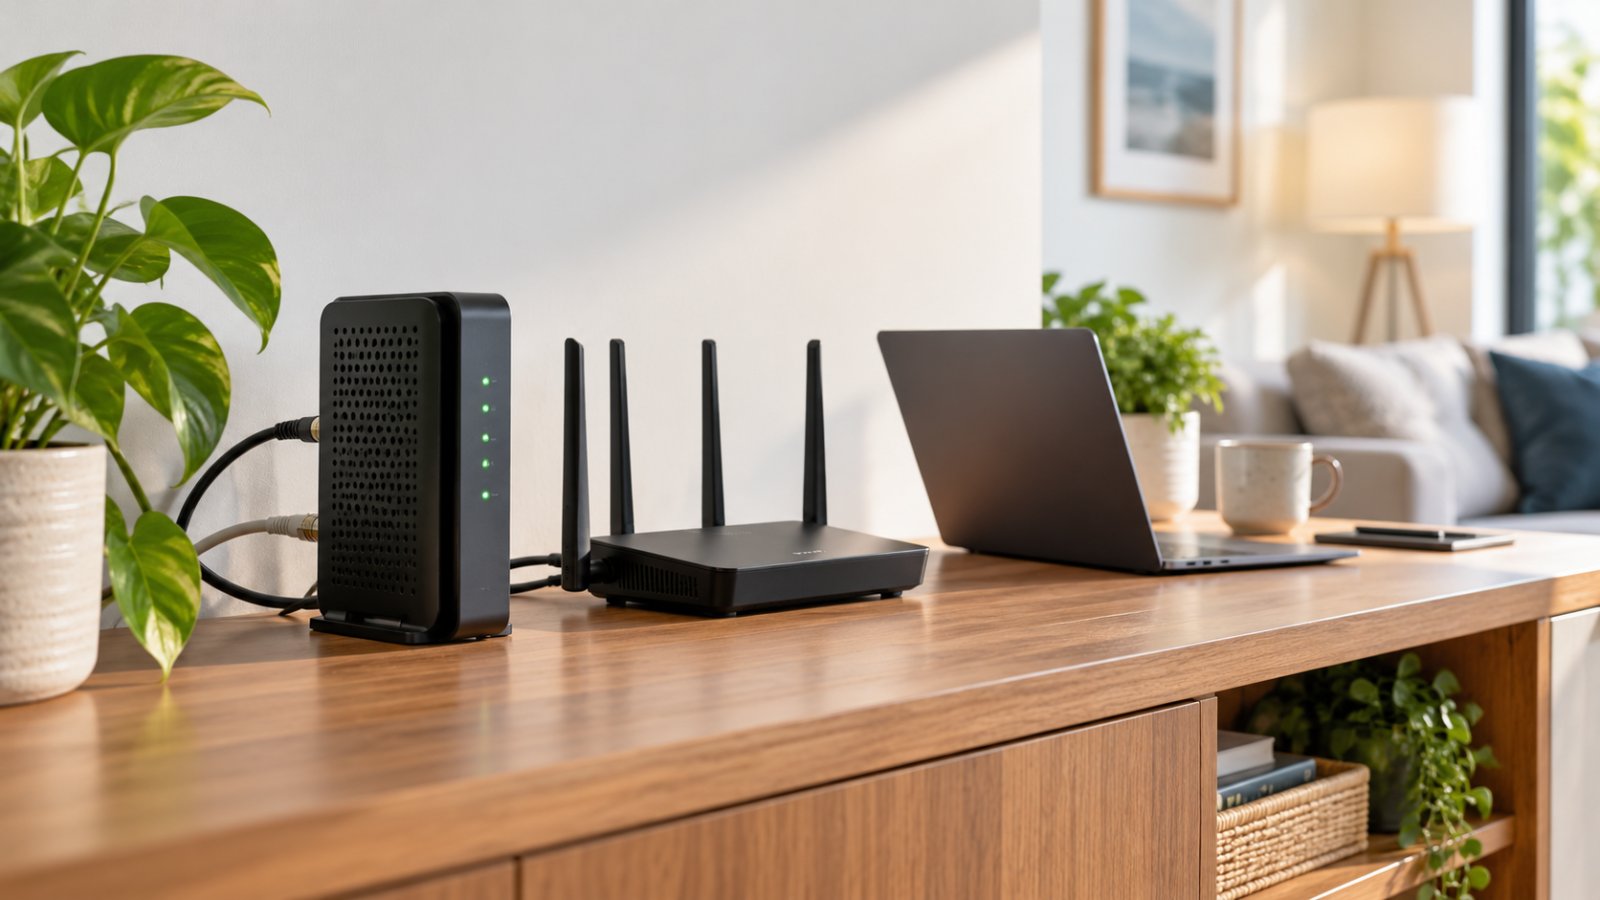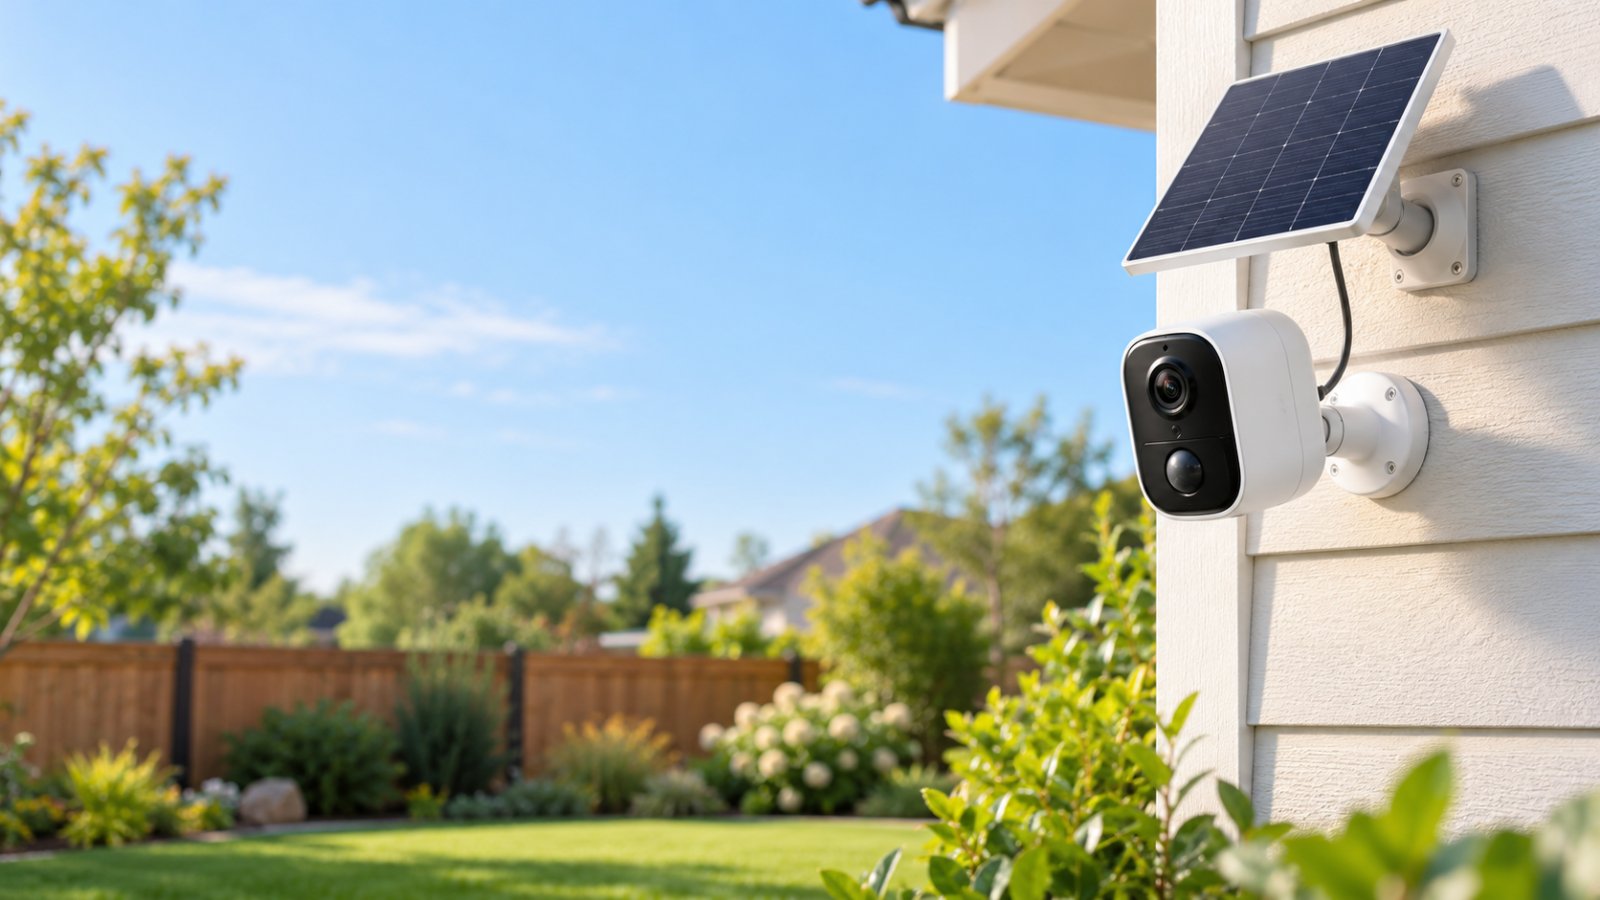
Wireless security cameras solar powered use a rechargeable battery and a compatible solar panel to monitor outdoor areas without needing a permanent power connection. The solar panel charges the battery during daylight hours, while the camera uses WiFi for supported features such as live viewing, motion alerts, and remote access.
Getting one to work reliably takes more than mounting a camera and attaching a solar panel. You need a location with dependable WiFi, enough sunlight to maintain the battery, and a clear view of the area you want to monitor.
A camera above a garden gate might receive plenty of sunlight but struggle to connect to the router. Another camera could have excellent WiFi coverage but sit beneath a roof overhang that prevents the panel from charging properly.
Both installations can cause problems.
This guide explains how solar-powered security cameras work, what to check before buying, how to install them correctly, and what to do when charging, recording, or wireless connectivity becomes unreliable.
How Solar Powered Wireless Security Cameras Work
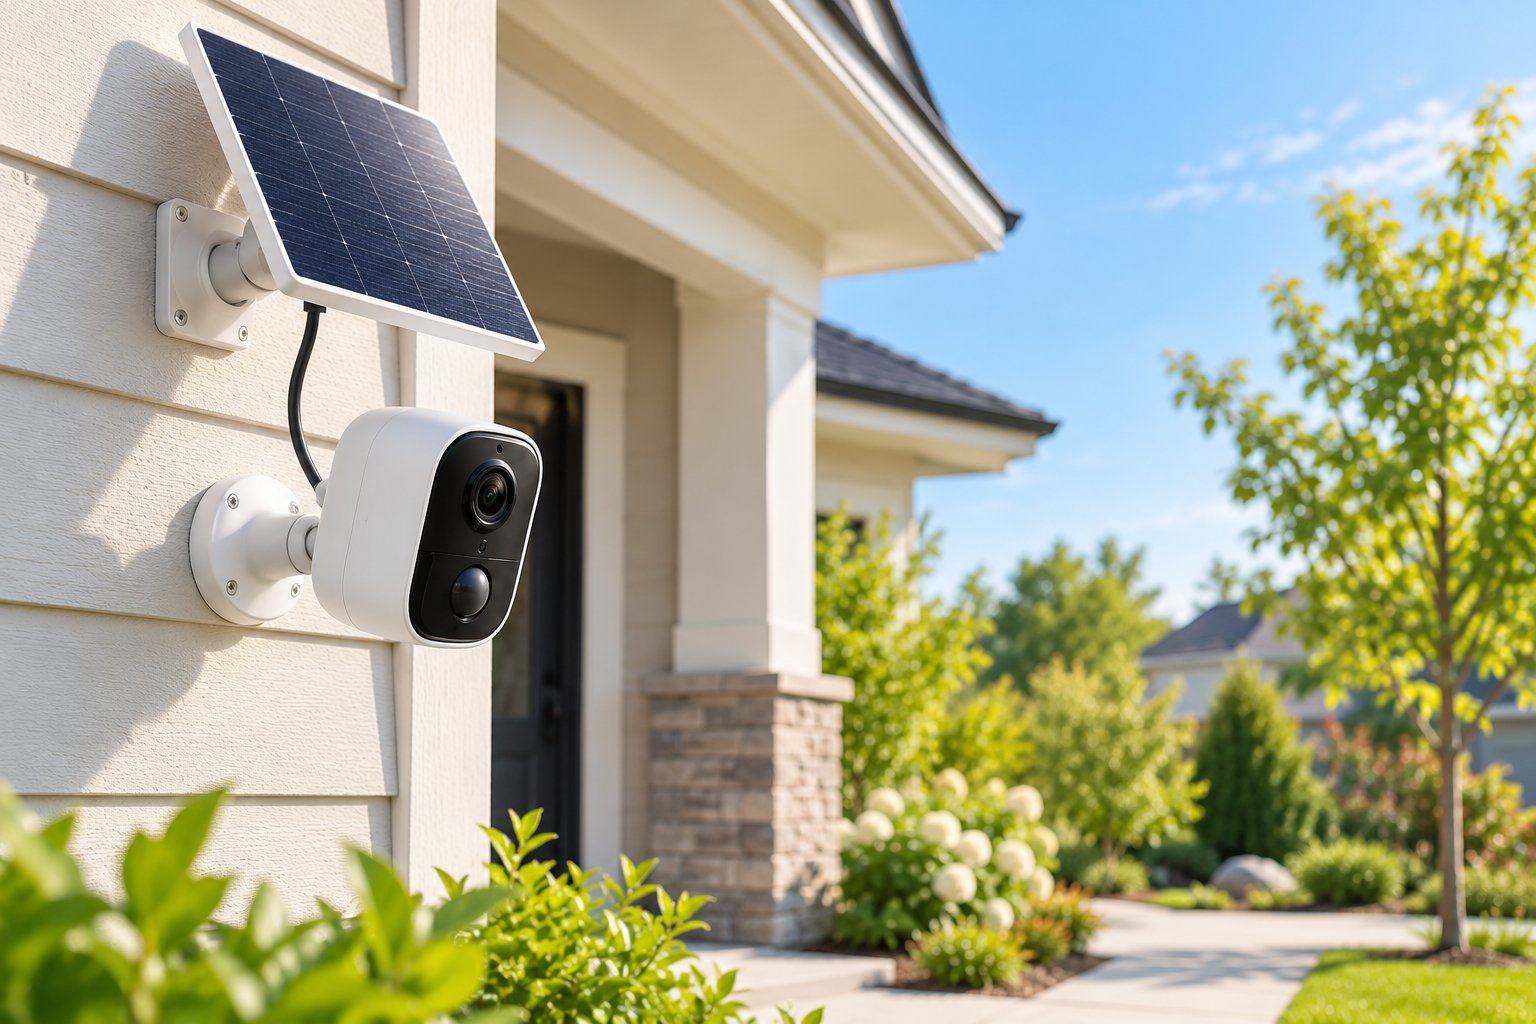
A solar-powered wireless security camera has three essential components: a camera, a rechargeable battery, and a compatible solar panel.
The camera records video and detects activity. The battery provides the electricity needed to operate the camera, including after sunset. The solar panel collects sunlight and helps replace the energy the camera uses.
Most residential WiFi models connect to an existing wireless network for live viewing, notifications, and remote access.
Some also support local recording through a MicroSD card.
One detail matters when comparing products: not every wireless security camera supports solar charging.
A camera designed for continuous power from a wall adapter is different from a battery-powered model designed to accept solar charging.
Before purchasing a panel, confirm that the camera supports it. The connector, charging voltage, power requirements, and weather-resistant connections must be compatible.
Solar Panel to Battery Power Flow
A solar panel contains photovoltaic cells that convert sunlight into electrical energy.
In a compatible camera system, charging circuitry manages how that energy reaches the rechargeable battery.
The battery then powers the camera.
The process follows a simple sequence:
Sunlight → Solar panel → Charging circuitry → Battery → Camera
During bright daylight, the panel may generate enough energy to operate the camera and replenish some of the battery's stored charge.
At night, the camera relies on the battery.
During cloudy weather, the panel may produce less energy. If charging cannot keep up with consumption, the battery level will gradually fall.
That is why the battery and panel need to be considered together.
A large battery is useful, but it still needs enough charging energy over time.
How Continuous Trickle Charge Works
Many solar camera systems are designed to provide a continuous trickle charge when useful sunlight is available.
The phrase describes supplementary charging that helps maintain battery power during ordinary use.
It does not mean the battery receives electricity continuously.
Solar output changes throughout the day. Charging may slow or stop when sunlight is weak, the battery is full, or the battery management system restricts charging.
Consider two installations.
One camera monitors a quiet garden entrance and records only occasional motion events.
Another faces a busy driveway, where vehicles and people trigger recordings repeatedly.
The second camera will often use more electricity because it wakes more frequently, records more footage, and communicates with the network more often.
Even with identical solar panels, their battery performance may differ.
A useful solar installation must replace enough energy over time to support the camera's actual workload.
Why Lithium-Ion Batteries Are Common
Many rechargeable outdoor security cameras use a lithium-ion battery because it stores a useful amount of energy in a compact package.
That makes it suitable for cameras mounted on walls, poles, and other locations where large batteries would be inconvenient.
However, lithium-ion batteries are sensitive to temperature and charging conditions.
Cold weather can reduce available battery performance. Many battery systems also restrict charging at very low temperatures to protect the cells.
High temperatures can create charging limitations as well.
The supported temperature range depends on the camera and its battery management system.
For example, a camera installed in a region with freezing winters may remain powered by its battery while solar charging is temporarily restricted.
Do not assume the camera will recharge normally just because sunlight reaches the panel.
Check the manufacturer's operating and charging temperature limits before choosing equipment for extreme weather.
Solar Charging Does Not Mean Unlimited Power
A solar panel cannot guarantee that a camera will remain charged indefinitely.
Its output depends on several conditions:
-
Hours of useful direct sunlight.
-
Cloud cover and seasonal weather.
-
Panel size and rated output.
-
Panel direction and tilt.
-
Shade from nearby buildings or trees.
-
Dirt, leaves, or snow on the panel.
-
Charging system efficiency.
-
Camera recording activity.
-
Battery condition and temperature.
A panel installed beneath a large tree may produce much less useful energy than the same panel mounted in an unobstructed location.
Likewise, increasing motion detection sensitivity can increase battery consumption.
If the camera uses more energy than the panel can replace, its battery will eventually need manual charging.
This does not necessarily mean the equipment is defective. It may mean the installation needs adjustment.
Wireless Data Transmission and Local Storage
Solar charging provides power, but it does not provide an internet connection.
A solar-powered WiFi camera still needs a suitable wireless network for supported functions such as remote viewing and internet-based notifications.
A fully charged camera can appear offline when its wireless connection fails.
A camera with strong WiFi can also stop operating when its battery is depleted.
Troubleshooting becomes easier when you treat charging and connectivity as separate systems.
How WiFi Security Cameras Connect
Many battery-powered outdoor cameras connect through the 2.4 GHz WiFi band.
This band often provides better reach through certain obstacles than 5 GHz, although it can be more congested.
Some cameras support other wireless configurations, so check the exact model.
For example, a camera mounted on the outside of a brick wall may receive a weaker signal than a phone sitting beside the router indoors.
The wall, camera antenna, and distance all affect performance.
A detached garage can create an even greater challenge.
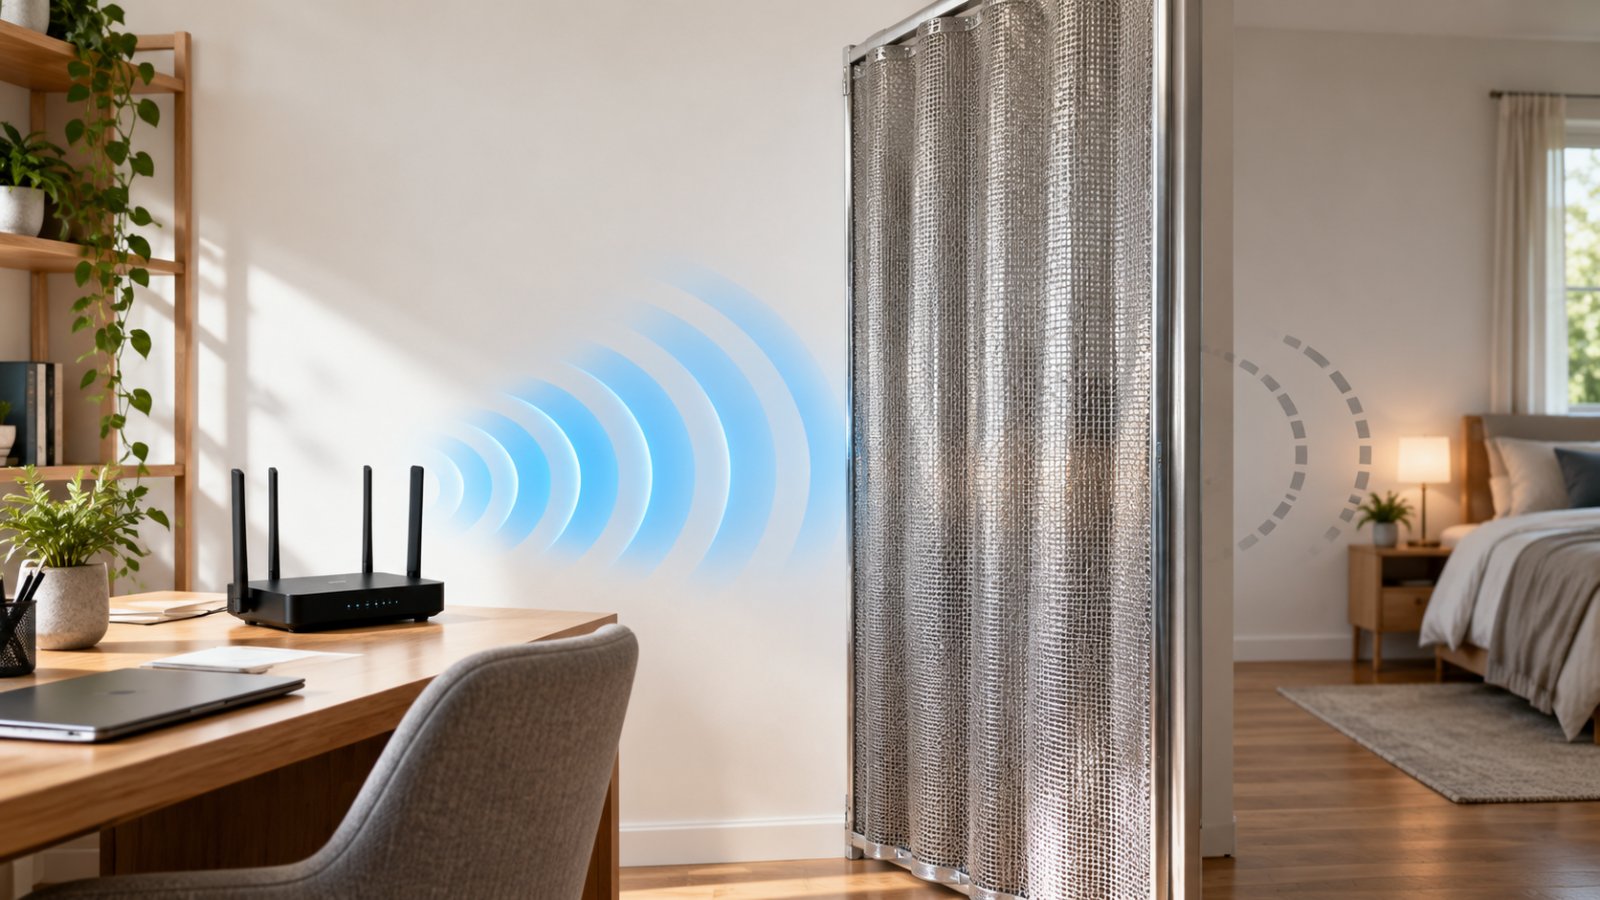
The camera may be only a short distance from the house, but several walls and a metal garage door may sit between it and the router.
Test the actual camera at its intended location rather than assuming the network will reach.
What Happens When the Internet Goes Down?
The answer depends on the camera's recording features.
Some models can continue saving footage to supported local storage while internet access is unavailable, provided the camera still has power and the local recording function remains active.
Remote viewing and internet-dependent notifications generally stop working until connectivity returns.
Other cameras may have more limited offline functionality.
Before purchasing, check whether recording continues during an internet outage and how those recordings can be accessed afterward.
A local MicroSD card is useful only if the camera actually supports offline recording to it.
Using a MicroSD Card for Local Storage
Some wireless solar cameras support a MicroSD card for recording video directly on the device.
Local storage may reduce dependence on cloud recording for supported functions.
However, card compatibility varies.
Check the camera's specifications for:
-
Supported MicroSD capacity.
-
Recommended card type.
-
Required formatting.
-
Recording modes.
-
Automatic overwriting of older footage.
-
Offline recording support.
-
Video export options.
-
Storage encryption, where available.
For example, a camera configured for motion-triggered recording may only save footage when a detection event occurs.
It will not necessarily have a continuous recording history.
MicroSD cards can also wear out or become damaged.
If a recording is important, export it using the camera's supported method rather than assuming it will remain stored indefinitely.
How PIR Motion Sensors Reduce Power Consumption
Many battery-powered cameras use a PIR motion sensor, or Passive Infrared sensor.
The sensor detects changes in infrared radiation associated with movement across its detection area.
When motion is detected, the camera can wake and begin recording.
This reduces the need to keep all recording components operating continuously.
For example, a camera monitoring a side entrance may remain in a lower-power state between visitors.
When someone walks through its detection area, the camera becomes active.
PIR detection depends on the position and movement of the subject.
Movement across the sensor's field can be easier to detect than movement directly toward it.
Distance, temperature, and mounting angle also affect detection.
That makes camera positioning particularly important for battery-powered models.
Key Benefits of Wire-Free Outdoor Solar Cameras
The main advantage of a solar-powered wireless camera is installation flexibility.
You can place compatible equipment in locations where running a permanent power cable would be difficult.
Solar charging may also reduce how frequently the battery requires manual charging.
However, the camera still needs adequate sunlight, suitable wireless coverage, and periodic maintenance.
Solar power removes one installation constraint. It does not eliminate every other requirement.
1. More Flexible Camera Placement
A conventional externally powered security camera generally needs a suitable electrical connection.
That may limit where it can be installed.
A battery-powered solar camera can be useful near:
-
Garden entrances.
-
Detached garages.
-
Sheds.
-
Side gates.
-
Driveways.
-
Outdoor storage areas.
-
Certain fences and exterior walls.
For example, a homeowner may want to monitor a gate at the far end of a garden.
Running a permanent power cable may be inconvenient.
A solar-compatible battery camera could be practical if the location receives enough sunlight and has dependable data connectivity.
But placement should not be decided by sunlight alone.
A camera that cannot maintain its network connection may fail to provide reliable remote monitoring.
2. Less Frequent Manual Charging
A battery powered outdoor security camera may need periodic charging when used without a solar panel.
A compatible solar panel can help maintain the battery between charging sessions.
Consider a camera mounted above a garden shed.
Without solar charging, the homeowner may need to remove or access the camera to recharge it.
With suitable solar exposure, that maintenance may be less frequent.
However, the battery should still be checked periodically.
If the charge level falls consistently over several days, investigate the installation rather than waiting until the camera stops working.
3. Useful for Detached Buildings
Detached garages and sheds often have limited electrical access.
Solar charging can make camera installation easier in these locations.
However, detached buildings also present wireless coverage challenges.
A camera may receive excellent sunlight while struggling to reach the home router.
Before installation, test WiFi at the proposed mounting position.
You may need a more suitable router location, additional access point, or compatible range extender.
If the building is far beyond reliable WiFi coverage, another networking arrangement may be required.
4. Less Dependence on a Nearby Outlet
A charged battery camera can continue operating without a local wall outlet.
This is useful when an outdoor electrical connection is unavailable.
It may also allow the camera to remain powered during a household electricity outage.
However, remote connectivity is another matter.
If the home's router and internet equipment lose power, a battery-powered camera may remain operational but lose remote access.
Some models may continue recording locally.
Battery backup for the camera does not automatically provide backup power for the WiFi network.
If continuous connectivity during outages matters, the router and upstream networking equipment also need an appropriate power arrangement.
5. Motion-Based Recording Can Conserve Energy
Many solar battery cameras use event-based recording to reduce energy consumption.
Rather than recording continuously, they wake when supported motion detection occurs.
This is useful for locations with occasional activity.
A side gate may only need to record when someone approaches.
A busy driveway may be different.
Frequent movement can trigger more recordings and increase battery usage.
Before buying, check whether the camera's recording behavior suits the location.
Some battery-powered cameras do not provide continuous recording.
If uninterrupted footage is essential, an externally powered camera may be more suitable.
6. Less Visible Power Cabling
A solar-powered system may use a relatively short cable between the panel and camera.
This can eliminate the need for a longer electrical power cable running back into the building.
However, the solar cable still needs proper installation.
A loose cable can move in the wind, rub against rough surfaces, or become damaged near doors and gates.
Use the manufacturer's recommended routing method.
Keep connectors protected as instructed and avoid unnecessary tension on the cable.
Solar Camera vs. Conventional Outdoor Camera
| Feature | Solar-powered battery camera | Externally powered outdoor camera |
|---|---|---|
| Main power source | Rechargeable battery | External electrical supply |
| Charging support | Compatible solar panel | Not normally required |
| Dependence on sunlight | Important for ongoing solar charging | Not required |
| Installation flexibility | Useful where power wiring is difficult | Requires suitable power access |
| Recording behavior | Often motion-focused | Continuous recording may be available |
| Maintenance | Battery, panel, and connections | Power connections and camera maintenance |
| Network requirement | Depends on model | Depends on model |
| Suitable applications | Remote areas with sunlight and connectivity | Locations needing dependable external power |
A solar camera is not automatically the better option.
For a location requiring sustained video recording, external power may be preferable.
For a quiet entrance without convenient electricity, solar charging may be a practical choice.
What to Check Before Buying
Before purchasing security cameras wireless solar equipment, confirm the features of the exact model.
Look beyond the product title.
Check:
-
Solar charging compatibility.
-
Supported solar panel specifications.
-
Battery type and capacity.
-
Supported WiFi frequency bands.
-
Local recording options.
-
Motion detection capabilities.
-
Weather resistance.
-
Operating temperature limits.
-
Charging temperature limits.
-
Mounting requirements.
-
Compatible charging connectors.
Do not assume a camera supports solar power simply because it is wireless.
Likewise, do not assume two products with similar charging connectors are electrically compatible.
Use only manufacturer-approved or explicitly compatible charging equipment.
Step-by-Step Installation and Setup Guide
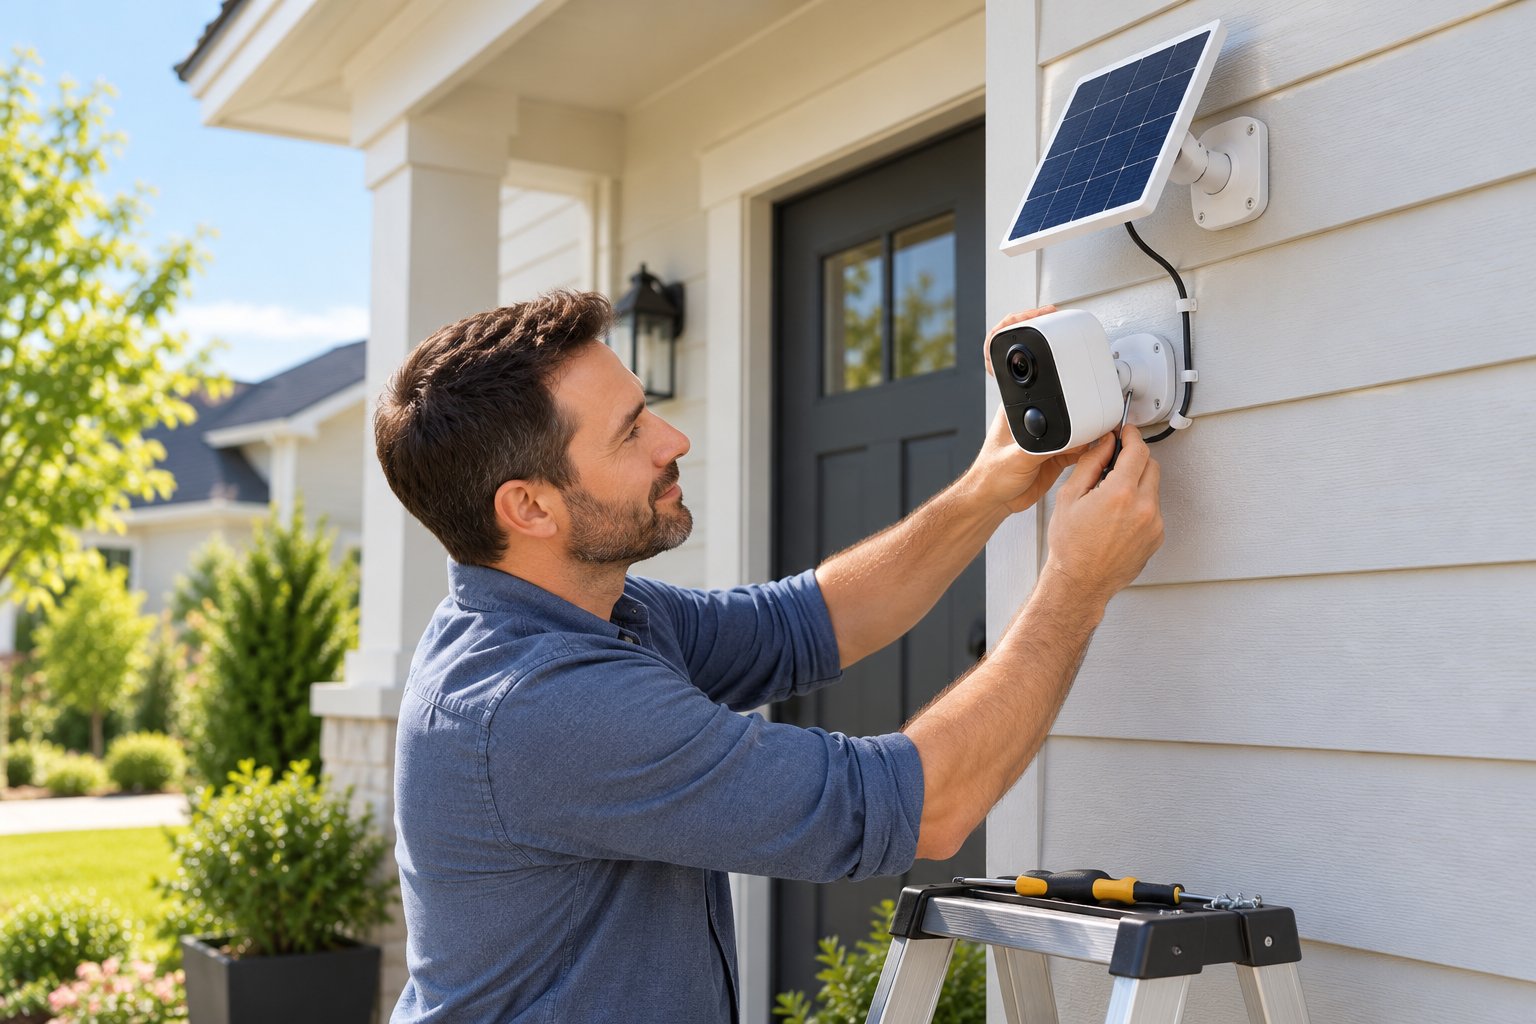
The best camera location must satisfy three requirements.
It needs a useful view of the area being monitored, reliable wireless connectivity, and enough sunlight for the solar panel.
Finding that position may take several attempts.
For example, a camera installed beneath a roof overhang might have a good view of the driveway and a strong WiFi connection, but the solar panel may remain shaded.
Moving the camera and panel arrangement slightly could improve charging without compromising the view.
The practical approach is to configure and test the camera before permanently mounting it.
Before You Start: Prepare the Equipment
Gather the components supplied or approved for your camera.
Depending on the system, these may include:
-
Solar-compatible security camera.
-
Compatible solar panel.
-
Camera mounting bracket.
-
Solar panel mounting bracket.
-
Approved charging cable.
-
Suitable screws and anchors.
-
Smartphone with the supported application.
-
Compatible MicroSD card, if supported.
-
Outdoor cable clips.
-
Appropriate installation tools.
Charge the camera's battery using the approved method before beginning installation.
A small solar panel may be intended primarily to maintain charge, not quickly refill a nearly depleted battery.
Starting with a charged battery makes pairing and testing easier.
Also check that the camera and panel are suitable for the intended outdoor environment.
Step 1: Check WiFi Signal Strength at the Location
Start by checking the wireless connection at the proposed camera position.
A strong solar charging location is not useful for remote monitoring if the camera cannot reach the network.
Test WiFi before drilling holes.
Test the Existing WiFi Network
Take a smartphone to the proposed camera location.
Connect to the WiFi band the camera requires.
If the camera supports only 2.4 GHz, make sure that network is available.
Open a website and check whether the connection remains usable.
Move slightly around the mounting area and compare reception.
A small change in position can affect coverage, especially near metal objects or thick walls.
Do not rely entirely on the phone's signal bars.
The camera may have different wireless capabilities.
Use the phone as an initial check, then test the actual camera.
Pair the Camera Before Mounting
Complete the initial setup while the camera is easy to reach.
The general process is:
-
Charge the camera battery.
-
Install the supported camera application.
-
Power on the camera.
-
Add the camera using the application's setup process.
-
Select the compatible WiFi network.
-
Enter the correct wireless password.
-
Complete pairing.
-
Open the live view.
-
Test motion detection where supported.
-
Confirm that the camera appears online.
After pairing, carry the camera to the intended installation location.
Check whether the live view still opens reliably.
If it repeatedly disconnects, solve the connectivity problem before mounting.
What If the Outdoor WiFi Signal Is Weak?
First, examine the location of your router.
A router hidden inside a cabinet or positioned behind thick walls may struggle to provide outdoor coverage.
Changing its position can sometimes improve reception.
For practical guidance, see ROOXIS's router placement tips.
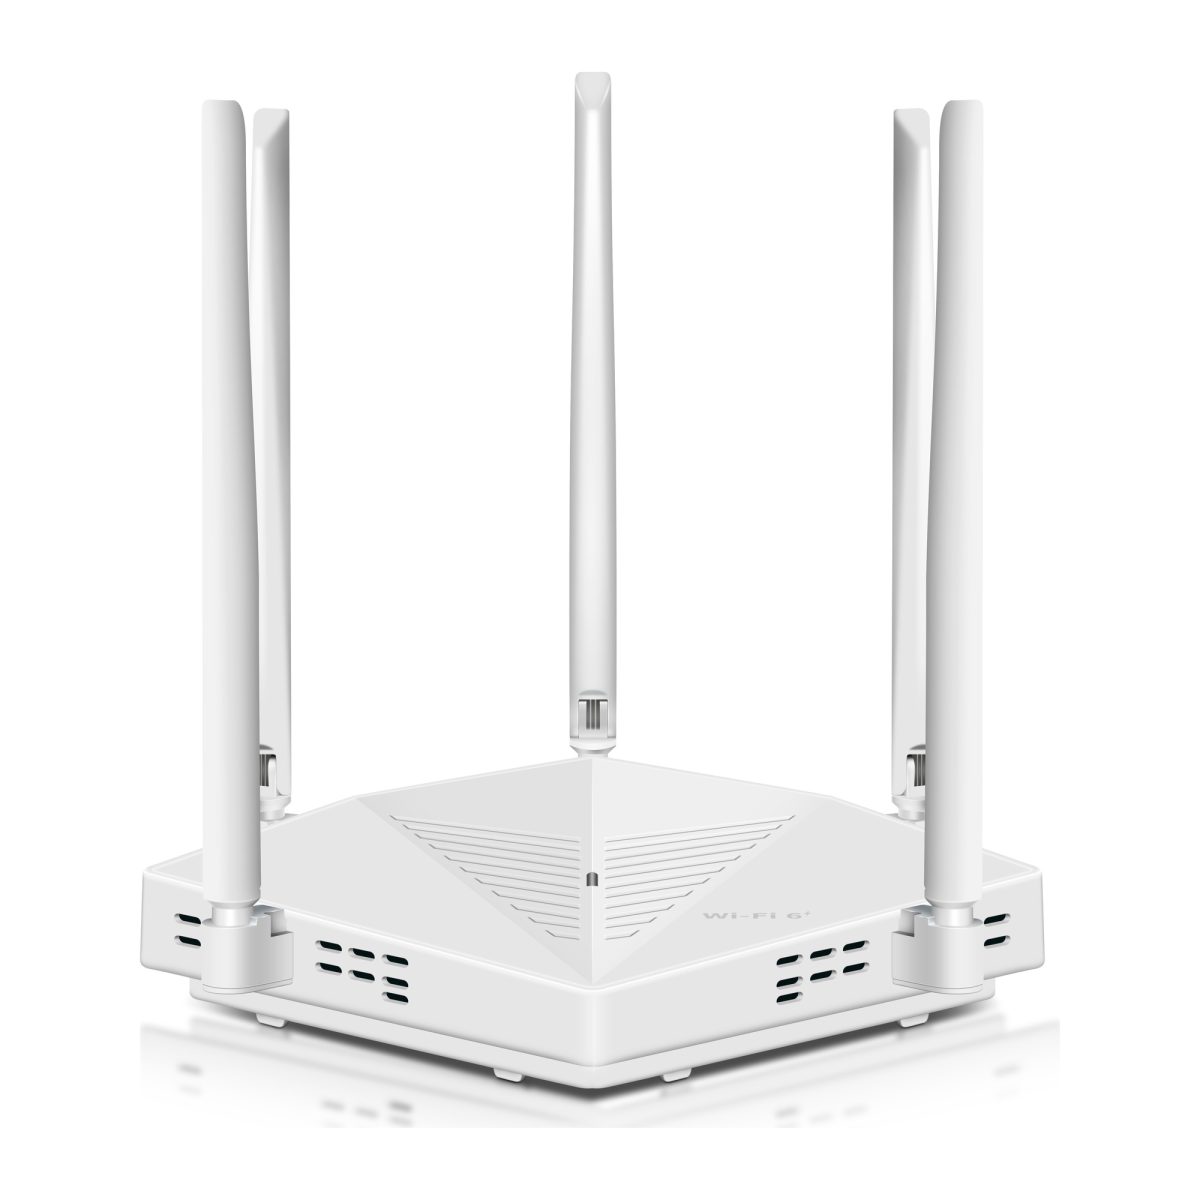
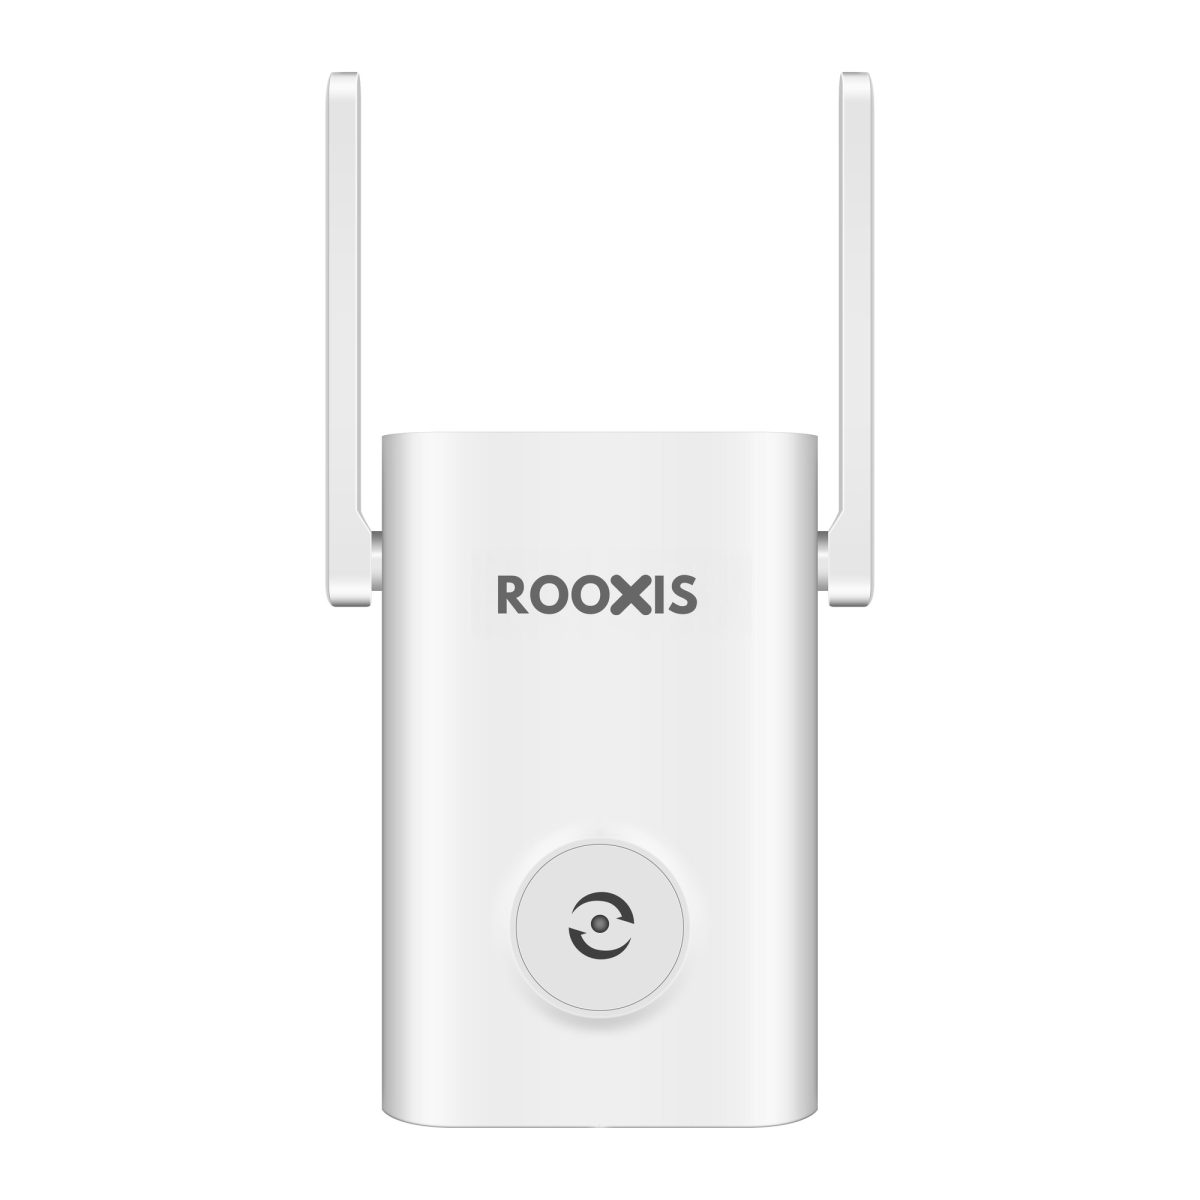
If placement changes are insufficient, a suitable WiFi extender or additional access point may help.
For example, positioning an access point closer to the garden-facing wall may improve the connection to an outdoor camera.
Any equipment installed outdoors must be rated for those conditions.
Do not expose an ordinary indoor extender directly to rain.
Test the Actual Camera Connection
Once the camera is paired, test it at the proposed mounting position.
Check that:
-
The live view opens.
-
Video remains available during normal use.
-
Motion notifications work.
-
Recordings are saved when expected.
-
The camera reconnects after restarting.
-
Nearby doors or gates do not cause repeated disconnections.
A metal garage door can significantly change WiFi reception between open and closed positions.
Test under normal conditions.
If the camera only works when the garage door is open, the installation location needs adjustment.
Step 2: Choose the Optimal Solar Panel Angle and Direction
The solar panel needs enough useful sunlight to maintain the camera's battery.
Look for a location with good exposure and minimal shade.
A panel can appear well positioned while receiving much less sunlight than expected.
Rooflines, trees, fences, and neighboring buildings may block it during different parts of the day.
Check the Sunlight Throughout the Day
Observe the proposed panel location during morning, midday, and afternoon.
Do not judge it from a single moment.
For example, a wall may receive direct morning sunlight but fall into shade for the rest of the day.
Another location may receive longer exposure even though it is less convenient for mounting.
Seasonal changes also matter.
A panel with good summer sunlight may receive significantly less during winter when the sun follows a lower path.
Choose a location that offers useful exposure across the seasons, where practical.
Which Direction Should the Solar Panel Face?
In the Northern Hemisphere, a generally south-facing direction is often a useful starting point.
In the Southern Hemisphere, a generally north-facing orientation is often suitable.
However, the best direction and tilt depend on latitude, obstructions, and seasonal conditions.
A panel facing the theoretically preferred direction may perform poorly if a nearby building blocks the sunlight.
Actual exposure matters more than following a compass direction without considering shade.
Use the manufacturer's mounting guidance and observe the property.
Can the Panel Be Mounted Separately From the Camera?
Some systems allow the solar panel to be mounted away from the camera.
This can be useful when the camera needs to face a shaded entrance while the panel needs direct sunlight elsewhere.
For example, the camera may be mounted above a covered doorway, while the panel sits on a nearby exterior wall receiving more sunlight.
This arrangement must be supported by the hardware.
Use the approved cable and mounting method.
Do not extend charging cables with improvised wiring or connectors.
The additional distance must remain within the product's supported requirements.
How Much Sunlight Is Enough?
There is no single daily sunlight requirement that applies to every solar security camera.
Charging needs depend on battery capacity, panel output, recording frequency, weather, and temperature.
A quiet camera may consume less energy than one monitoring a busy entrance.
A manufacturer may recommend a particular amount of direct sunlight for its system.
Follow that guidance.
Then monitor battery performance after installation.
If the battery falls steadily over several days, the available solar charging may not be sufficient.
Keep the Panel Accessible for Cleaning
A solar panel can collect dust, pollen, leaves, and other debris.
These can reduce the sunlight reaching its photovoltaic cells.
Choose a mounting position that can be inspected safely.
A panel on an accessible exterior wall may be easier to maintain than one positioned high above a difficult roofline.
Clean it using the manufacturer's approved method.
Avoid abrasive materials that could damage the panel surface.
Step 3: Mount the Camera and Secure Cables
After confirming WiFi and sunlight exposure, prepare the final installation.
The camera should capture the intended area clearly.
The panel should remain securely positioned toward useful sunlight.
Both need suitable weather protection.
Choose the Right Camera Height and Angle
Mount the camera where it provides a practical view without being unnecessarily easy to tamper with.
A camera installed too low may be vulnerable to interference.
A camera installed too high may capture less useful detail.
For example, a camera monitoring a side entrance should show people approaching the doorway rather than mainly recording the roof or sky.
Check the motion detection area as well.
For PIR-equipped cameras, people moving across the field of detection may be easier to detect than those approaching directly.
Avoid pointing the camera toward unnecessary motion such as busy roads or moving tree branches when the intended monitoring area is elsewhere.
Check Privacy and Field of View
Review the live image before securing the mount.
Make sure the camera covers the intended entrance, driveway, or outdoor area.
Avoid recording neighboring private spaces unnecessarily.
If the camera supports privacy zones, configure them as appropriate.
Also consider whether audio recording is enabled.
Local rules concerning surveillance, privacy, and audio recording can apply.
Position the equipment with those requirements in mind.
Secure the Mounting Brackets
Use mounting hardware appropriate for the surface.
Timber, masonry, and other materials may require different anchors.
Before drilling, check for hidden electrical wiring, plumbing, and other services.
If installation requires working at height or modifying a roof, use appropriate professional assistance.
The mounting surface must support the weight of the equipment.
After installation, check that the camera and panel brackets are secure.
Loose hardware can allow the panel to shift or cables to become damaged during wind.
Route the Solar Charging Cable Carefully
The cable connecting the panel and camera should be secured without excessive tension.
Avoid sharp bends and abrasion points.
Keep it away from moving doors, gates, and other mechanical parts.
Use appropriate outdoor clips when recommended.
Allow the cable routing and connector position to follow the manufacturer's instructions.
Where specified, use a drip loop to help prevent water from running along the cable toward the connector.
A drip loop does not replace a correctly sealed connection.
Protect the Charging Connection
The charging connector may be exposed to moisture, temperature changes, and outdoor movement.
Use the approved weather-resistant connector arrangement.
Make sure it is seated fully.
Do not force a connector that does not fit.
Avoid improvised adapters.
A camera's weatherproof enclosure does not automatically make every attached cable connection weatherproof.
Follow the complete system's installation instructions.
Understanding IP65 Weatherproofing
Some outdoor cameras advertise IP65 weatherproofing.
An IP rating describes protection against solids and water ingress under specified test conditions.
For IP65:
-
The first digit, 6, means the enclosure is dust-tight.
-
The second digit, 5, indicates protection against water jets under the relevant test conditions.
IP65 does not mean the camera can be submerged.
It also does not guarantee protection against every weather condition or installation mistake.
Check the rating of the exact camera and solar panel.
Different components may have different environmental requirements.
Do not assume every ROOXIS camera or solar accessory carries an IP65 rating unless that specification is confirmed for the model.
Complete the Final Setup
Once everything is mounted, perform a final functional check.
-
Open the camera's live view.
-
Confirm that it remains connected to WiFi.
-
Adjust the viewing angle.
-
Test motion detection.
-
Check notification settings.
-
Confirm the solar panel connection.
-
Review the battery level.
-
Check local recording if supported.
-
Inspect the cable routing.
-
Test the image after dark.
Night viewing deserves particular attention.
Nearby walls and reflective surfaces can cause glare when infrared illumination is active.
If the image looks washed out or poorly lit, adjust the camera position or supported night vision settings.
Setting Up Recording and Motion Detection
Motion settings affect both monitoring quality and battery consumption.
Depending on the camera, available controls may include:
-
PIR sensitivity.
-
Activity zones.
-
Recording duration.
-
Detection schedules.
-
Person detection.
-
Alert frequency.
-
Night vision behavior.
-
Time between recording events.
For example, a camera facing a driveway may generate excessive alerts when vehicles pass on a nearby road.
If the intended monitoring area is the driveway entrance, adjust the viewing angle or activity zone where supported.
This can reduce unnecessary recordings.
However, do not lower sensitivity so far that important movement is missed.
Test the result using normal activity in the monitored area.
Checking the Battery During the First Few Days
After installation, review the battery status regularly.
Some variation is normal.
The battery may gain charge during sunny periods and lose charge overnight.
The important question is whether it remains adequately charged over time.
If the battery level keeps falling, investigate:
-
Panel shade.
-
Charging connection.
-
Motion recording frequency.
-
Live viewing activity.
-
Battery temperature.
-
Panel orientation.
A camera that works for one sunny afternoon has not necessarily demonstrated that its solar charging arrangement is sufficient.
Observe performance across several ordinary days.
Troubleshooting Common Outdoor Solar Camera Issues
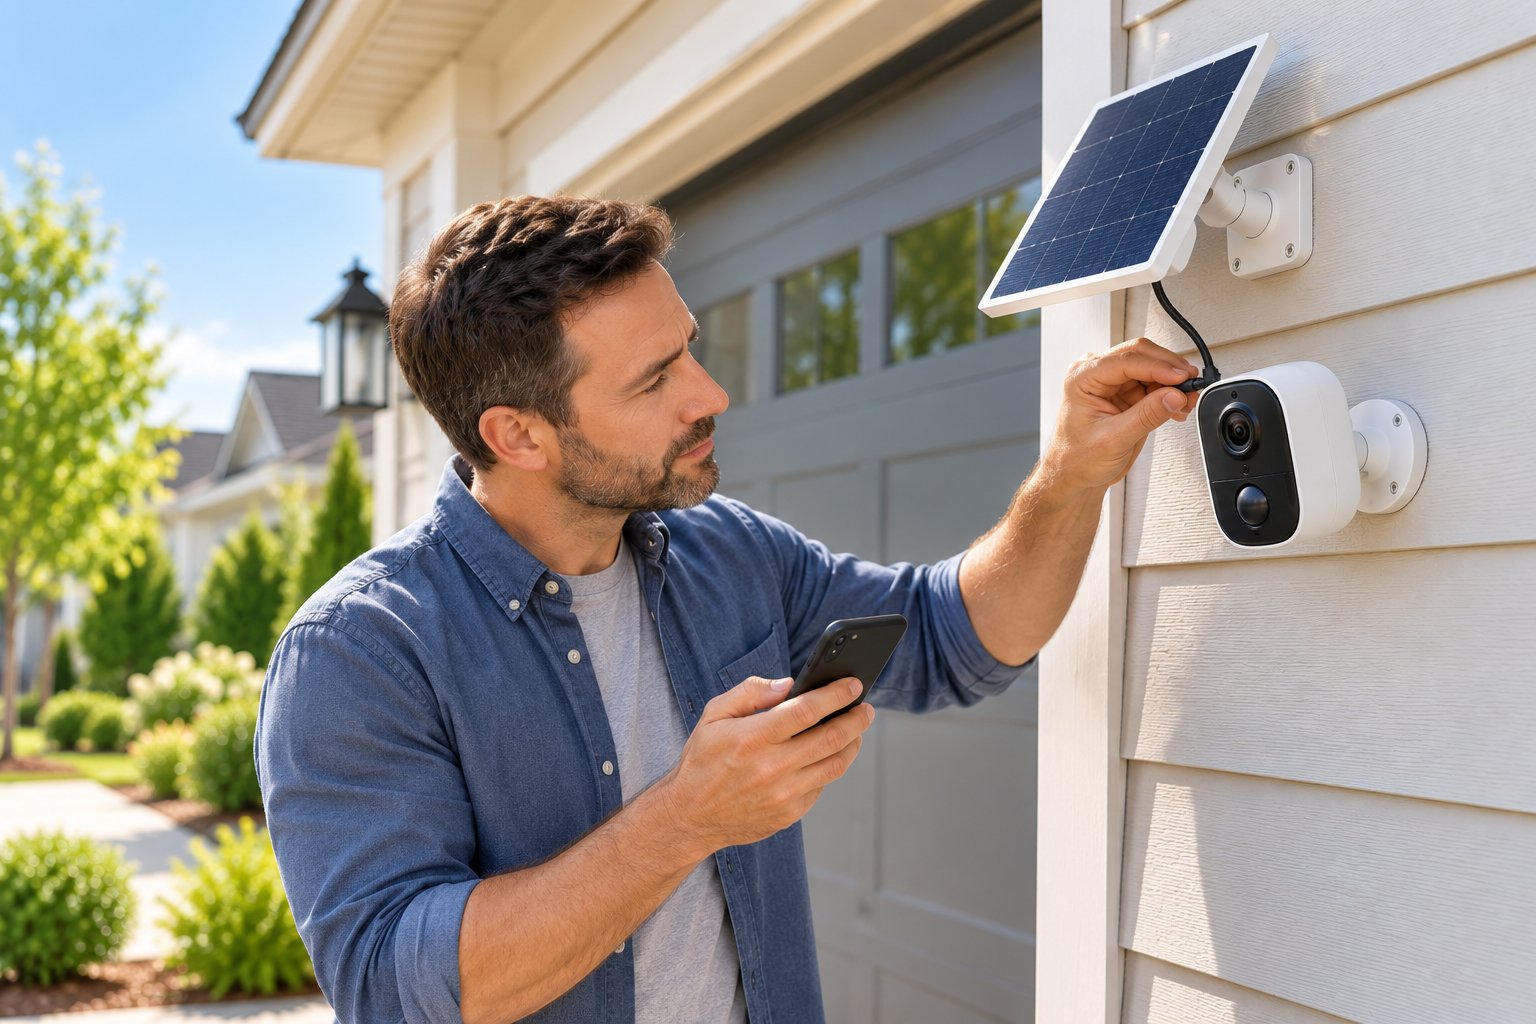
When a solar security camera stops working properly, identify whether the issue involves power, WiFi, motion detection, or storage.
Do not reset the camera immediately.
A reset may remove configuration without fixing the actual cause.
Start with the battery status, charging indication, and network connection.
Then narrow down the problem.
Problem 1: Solar Panel Is Not Charging the Camera
Check the camera's charging status in its supported application.
Then inspect the panel.
Possible causes include:
-
Insufficient direct sunlight.
-
Shade from trees or structures.
-
Dirt covering the panel.
-
Loose charging connections.
-
An incompatible solar panel.
-
Cable damage.
-
Temperature-related charging restrictions.
-
Battery charging controls.
For example, a panel installed beneath a roof edge may receive direct sunlight for only a small portion of the day.
Repositioning it may improve charging.
If the connection is loose, follow the approved procedure for reconnecting it.
Do not open sealed battery components or attempt electrical repairs without appropriate expertise.
Problem 2: Battery Drains Despite Sunlight
A solar panel may generate electricity while the camera consumes more than it receives.
Frequent motion events are one possible reason.
A camera facing a busy road may record much more often than one covering a quiet side entrance.
Check recording activity and supported sensitivity settings.
Then review panel exposure.
A panel that receives brief sunlight may not replace enough energy during the day.
If the battery continues to decline, compare the installation with the manufacturer's charging requirements.
Problem 3: Camera Disconnects From WiFi
Start by checking whether the home router and internet connection are working.
Then test the signal near the camera.
Outdoor walls, metal structures, and distance can weaken WiFi.
For example, a garage-mounted camera may connect reliably when the metal garage door is open but disconnect when it closes.
Try another mounting position or improve network coverage.
A suitable range extender or access point may help.
Also confirm that the camera is connected to a supported wireless frequency band.
Problem 4: Motion Detection Is Inconsistent
Check the camera's position and detection settings.
A PIR sensor may respond differently to movement across its field than to movement directly toward it.
Distance and temperature can also affect detection.
Test by walking through the intended monitoring area.
If detection is inconsistent, adjust the camera angle or supported sensitivity setting.
Check for obstructions and make sure the required area is within the sensor's effective coverage.
Problem 5: Too Many False Motion Alerts
Unwanted motion alerts can increase battery consumption and make important notifications harder to identify.
Possible causes include:
-
Moving branches.
-
Passing vehicles.
-
Animals.
-
Heat-related changes.
-
Excessive sensitivity.
-
Poor camera positioning.
For example, a camera intended to monitor a front entrance may repeatedly react to road traffic.
Reposition it to focus more closely on the doorway.
Use supported activity zones or detection settings where available.
After adjusting, test whether important movement is still detected.
Problem 6: Camera Works During the Day but Not at Night
A low battery may be responsible.
The panel does not provide meaningful charging after sunset, so the camera depends on stored energy.
Check the battery level and daytime charging performance.
If the camera remains online but the night image is poor, inspect nearby reflective surfaces.
A wall close to the lens may reflect infrared illumination and interfere with visibility.
Adjust the viewing angle or night vision settings where supported.
Problem 7: MicroSD Recordings Are Missing
Confirm that the camera supports MicroSD recording and that the card is compatible.
Check the card status in the application.
Possible causes include:
-
Unsupported capacity.
-
Incorrect formatting.
-
Storage errors.
-
Card failure.
-
Disabled recording settings.
-
No qualifying motion event.
Some cameras record only when movement is detected.
If no event occurred, there may be no clip.
Check the configured recording mode before replacing the card.
Problem 8: Solar Charging Stops During Cold Weather
Lithium-ion batteries have temperature-related charging restrictions.
Some cameras temporarily prevent charging when the battery is too cold.
This protects the battery.
Do not attempt to bypass the restriction.
Check the supported charging temperature range.
Also inspect the panel for snow or debris when it is safe to do so.
If manual charging is required, use the approved charging method under suitable conditions.
Problem 9: Solar Camera Overheats or Stops Charging in Hot Weather
Direct sunlight can raise the temperature of outdoor equipment.
Some battery systems reduce or pause charging when temperatures exceed their permitted range.
The panel may receive sunlight while the camera's battery management system temporarily limits charging.
Check the product's operating and charging temperature specifications.
If supported, mounting the panel separately from the camera may allow the panel to receive sunlight while the camera sits in a less exposed position.
Do not improvise cooling methods or modify the camera housing.
Problem 10: Camera Has Power but Remote Viewing Fails
A charged camera may still appear offline because of network problems.
First, check the home's internet connection.
Then confirm that the camera is connected to WiFi.
If local recording continues but remote viewing fails, the problem may involve internet connectivity, account settings, or the camera's supported remote access service.
Follow the manufacturer's troubleshooting procedure.
Avoid factory resetting the camera until simpler checks have been completed.
Quick Solar Security Camera Troubleshooting Table
| Problem | Possible cause | First action |
|---|---|---|
| Battery is not charging | Shade, connector issue, or temperature restriction | Check sunlight and charging status |
| Battery drains quickly | Frequent recording or insufficient solar input | Review activity and panel exposure |
| Camera disconnects | Weak WiFi signal | Test network coverage at the camera |
| Motion is missed | PIR angle or sensitivity | Test movement through the detection area |
| Too many alerts | Unwanted movement in the camera's view | Adjust angle and supported detection settings |
| Camera stops overnight | Low stored battery energy | Check charging performance |
| Night image is poor | Reflective surfaces or unsuitable positioning | Inspect night vision conditions |
| Recordings are missing | Storage or recording configuration issue | Check MicroSD status and recording mode |
| Charging stops in winter | Temperature restrictions | Review charging temperature limits |
| Remote viewing fails | Network or service problem | Check internet and WiFi connectivity |
Maintaining a Solar Security Camera
Solar cameras need occasional maintenance, even when the charging system works well.
Inspect the panel periodically.
Remove dirt and debris using the recommended cleaning method.
Check the mounting brackets after severe weather when it is safe to do so.
Inspect exposed cables for wear.
Review battery performance and confirm that recordings still work.
Also check for firmware updates from the camera manufacturer.
A camera may remain connected while its solar panel has shifted or become shaded.
Checking the complete installation helps catch these problems before the battery runs down.
Frequently Asked Questions
How much direct sunlight does a solar security camera need each day?
There is no universal sunlight requirement because panel output, battery capacity, camera usage, and weather conditions vary. Many small solar camera systems benefit from several hours of unobstructed direct sunlight, but the manufacturer's recommendation should guide installation. Monitor the battery over several days to see whether the panel replaces enough energy.
Do wireless solar security cameras work during cloudy or rainy weather?
Yes, a solar-powered camera can continue operating from its rechargeable battery during cloudy or rainy weather if sufficient charge remains. Solar charging may be reduced when sunlight is limited, so prolonged poor weather can gradually lower the battery level. Actual operating time depends on battery capacity, temperature, and camera activity.
Can solar security cameras operate without a paid cloud subscription?
Yes, some solar cameras support recording to a MicroSD card or other local storage without requiring paid cloud storage. However, local recording and remote access capabilities differ by model. Check the exact camera's supported features before purchasing.
How far can a solar security camera be placed from a home WiFi router?
There is no fixed distance that works for every installation. WiFi range depends on the router, camera antenna, walls, metal obstacles, frequency band, and outdoor conditions. Test the camera at its intended mounting location and improve network coverage if the connection is unreliable.
Solar-powered wireless security cameras are useful when you want outdoor monitoring without running permanent power wiring to every location.
The best installations balance sunlight, WiFi coverage, and camera positioning.
Start by checking solar compatibility. Pair the camera indoors, test it outside, position the panel for useful sunlight, and confirm recording and battery performance after mounting.
ROOXIS provides outdoor security cameras, WiFi routers, and range extenders for connected homes. If you are considering ROOXIS equipment for a solar-powered installation, check the specifications of the exact camera model before purchasing a panel or charging accessory.
A dependable solar security camera setup should stay charged, maintain its network connection, and capture the activity you need to monitor.