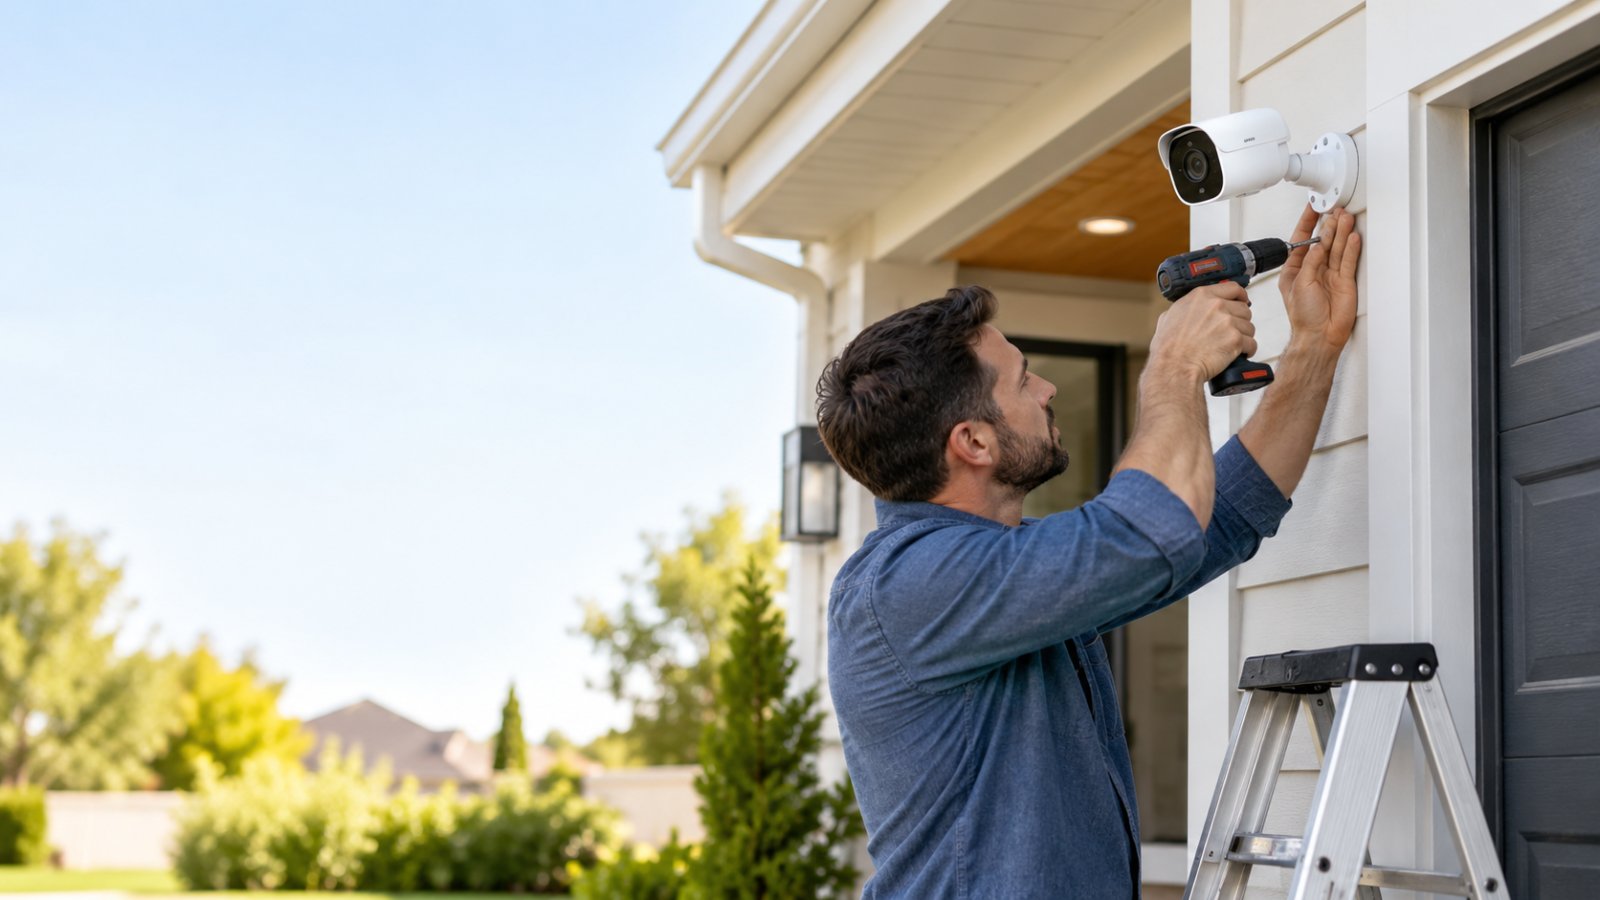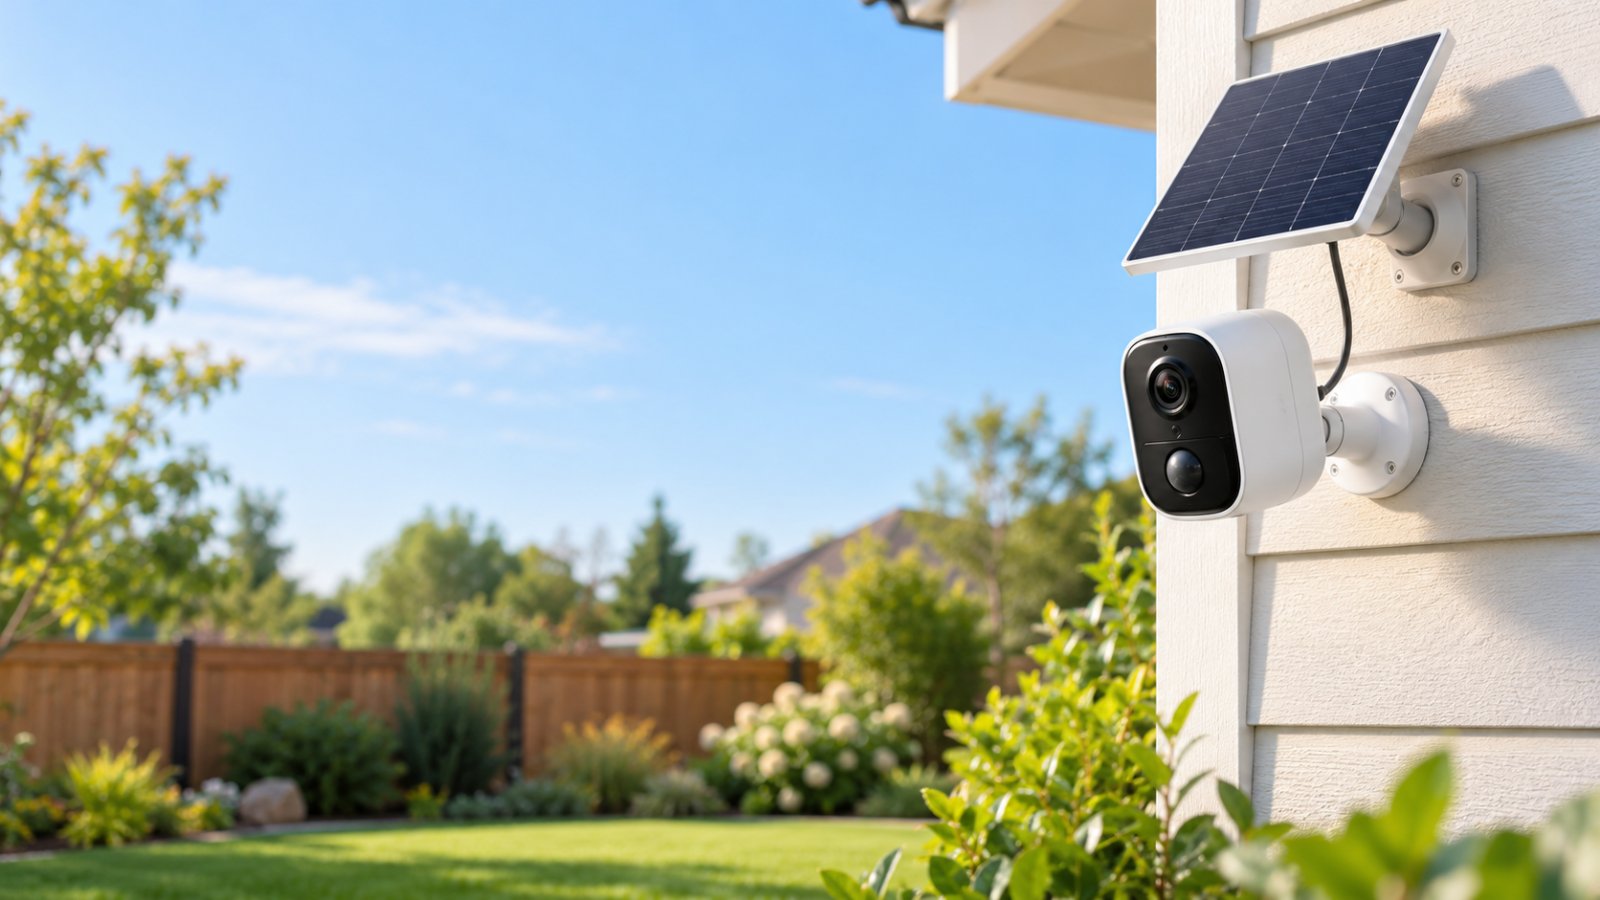
Mounting security cameras correctly starts with three decisions: where the camera should go, what surface will hold it securely, and what the footage needs to capture. For most outdoor home cameras, a mounting height of around 8 to 10 feet provides a useful starting point, but the right position depends on the camera model, the entrance or area you are monitoring, and the building itself.
Poor placement causes problems that homeowners often blame on the camera. A lens pointed too far downward misses faces. A loose bracket produces shaky recordings. A camera installed beside a reflective wall might look fine during the day but produce washed-out night footage.
Before drilling, check the camera's live view, power connection, WiFi signal, and mounting surface. These simple checks can prevent unnecessary holes, damaged siding, and the frustration of reinstalling a camera that looked properly positioned from the ground.
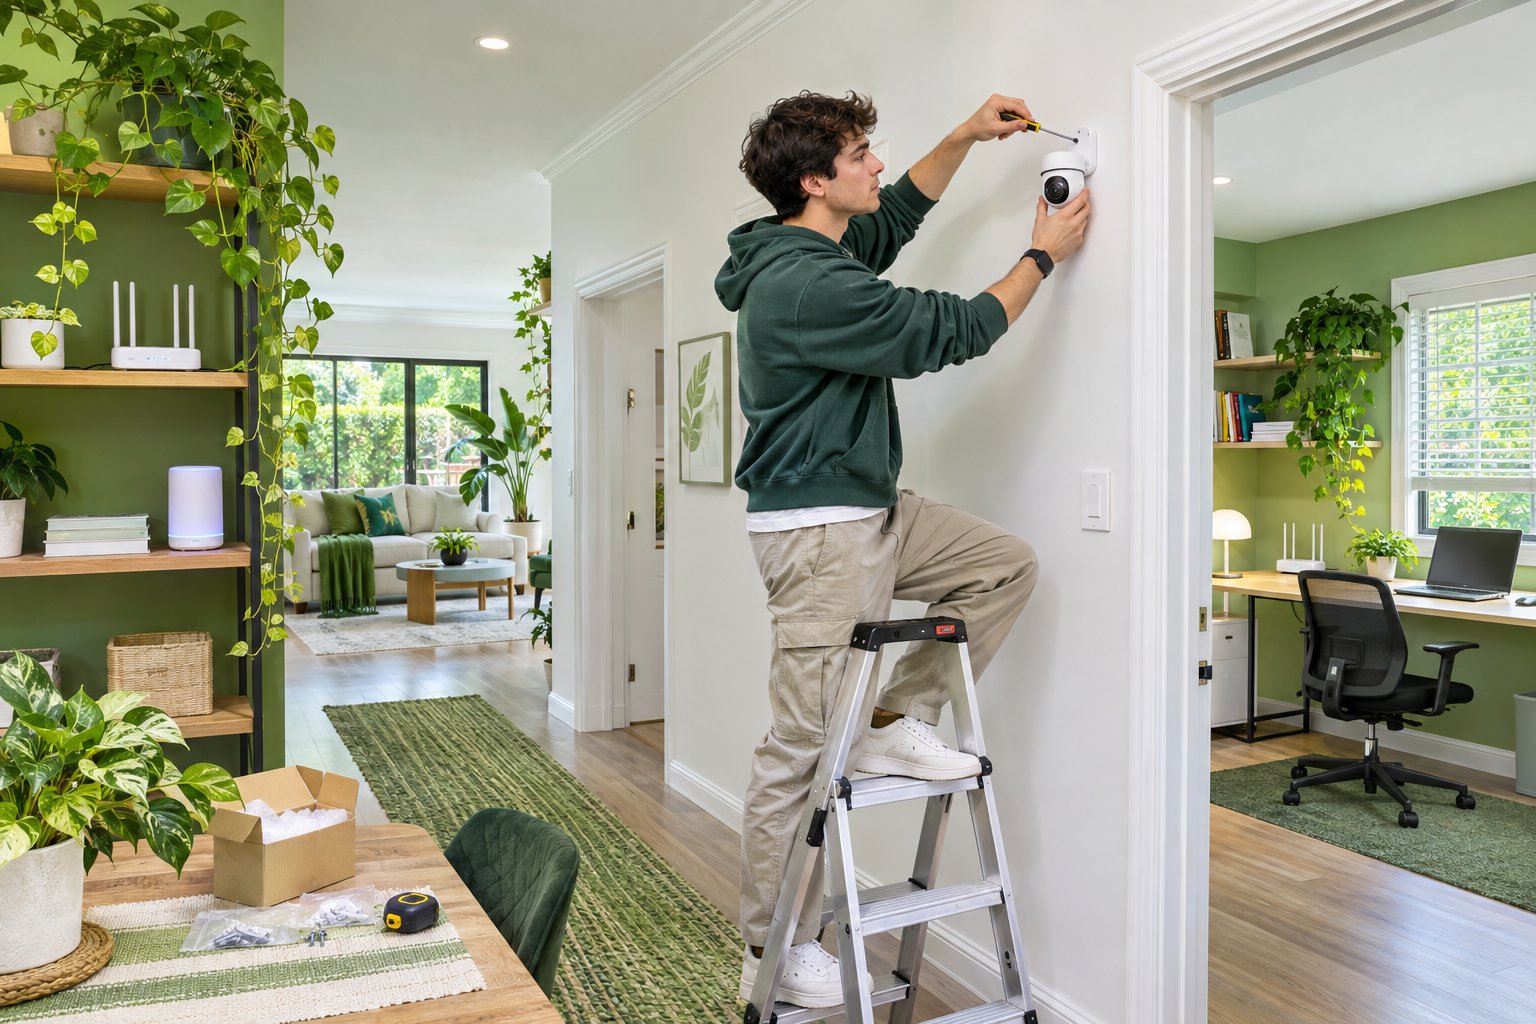
What Does Mounting Security Cameras Actually Involve?
Mounting a security camera means attaching it to a stable surface and positioning its lens so the area you want to monitor remains visible.
Most outdoor cameras use a mounting bracket fixed to a wall, soffit, or suitable structural support. The camera connects to the bracket and can often be tilted or rotated before being locked into position.
Indoor cameras may sit on a shelf or use a wall or ceiling bracket.
The installation involves more than tightening a few screws.
You need to consider what the camera sees during the day, how it performs at night, where it gets electricity, and whether its WiFi connection remains reliable at the mounting location.
A camera above a garage might show every vehicle entering the driveway but provide poor facial detail near the front door. Another camera mounted beside the entrance could capture visitors more clearly.
The better position depends on the job you expect the camera to do.
How Camera Mounting Brackets Work
Home security cameras generally use a few common mounting designs.
Fixed brackets
These hold the camera in one position after installation.
They're useful for monitoring areas that rarely change, such as a front door, side gate, or garage entrance.
Once the camera is aimed correctly, the bracket should stay firmly in place.
Adjustable ball-joint brackets
These allow you to tilt or rotate the camera before tightening the joint.
For example, a camera mounted on a garage wall may need to point diagonally across the driveway rather than straight ahead.
The adjustable bracket makes that possible without relocating the mounting screws.
Pan-and-tilt camera mounts
Motorized pan-and-tilt cameras change viewing direction through their applications.
This is useful when you need to inspect different parts of a yard or driveway.
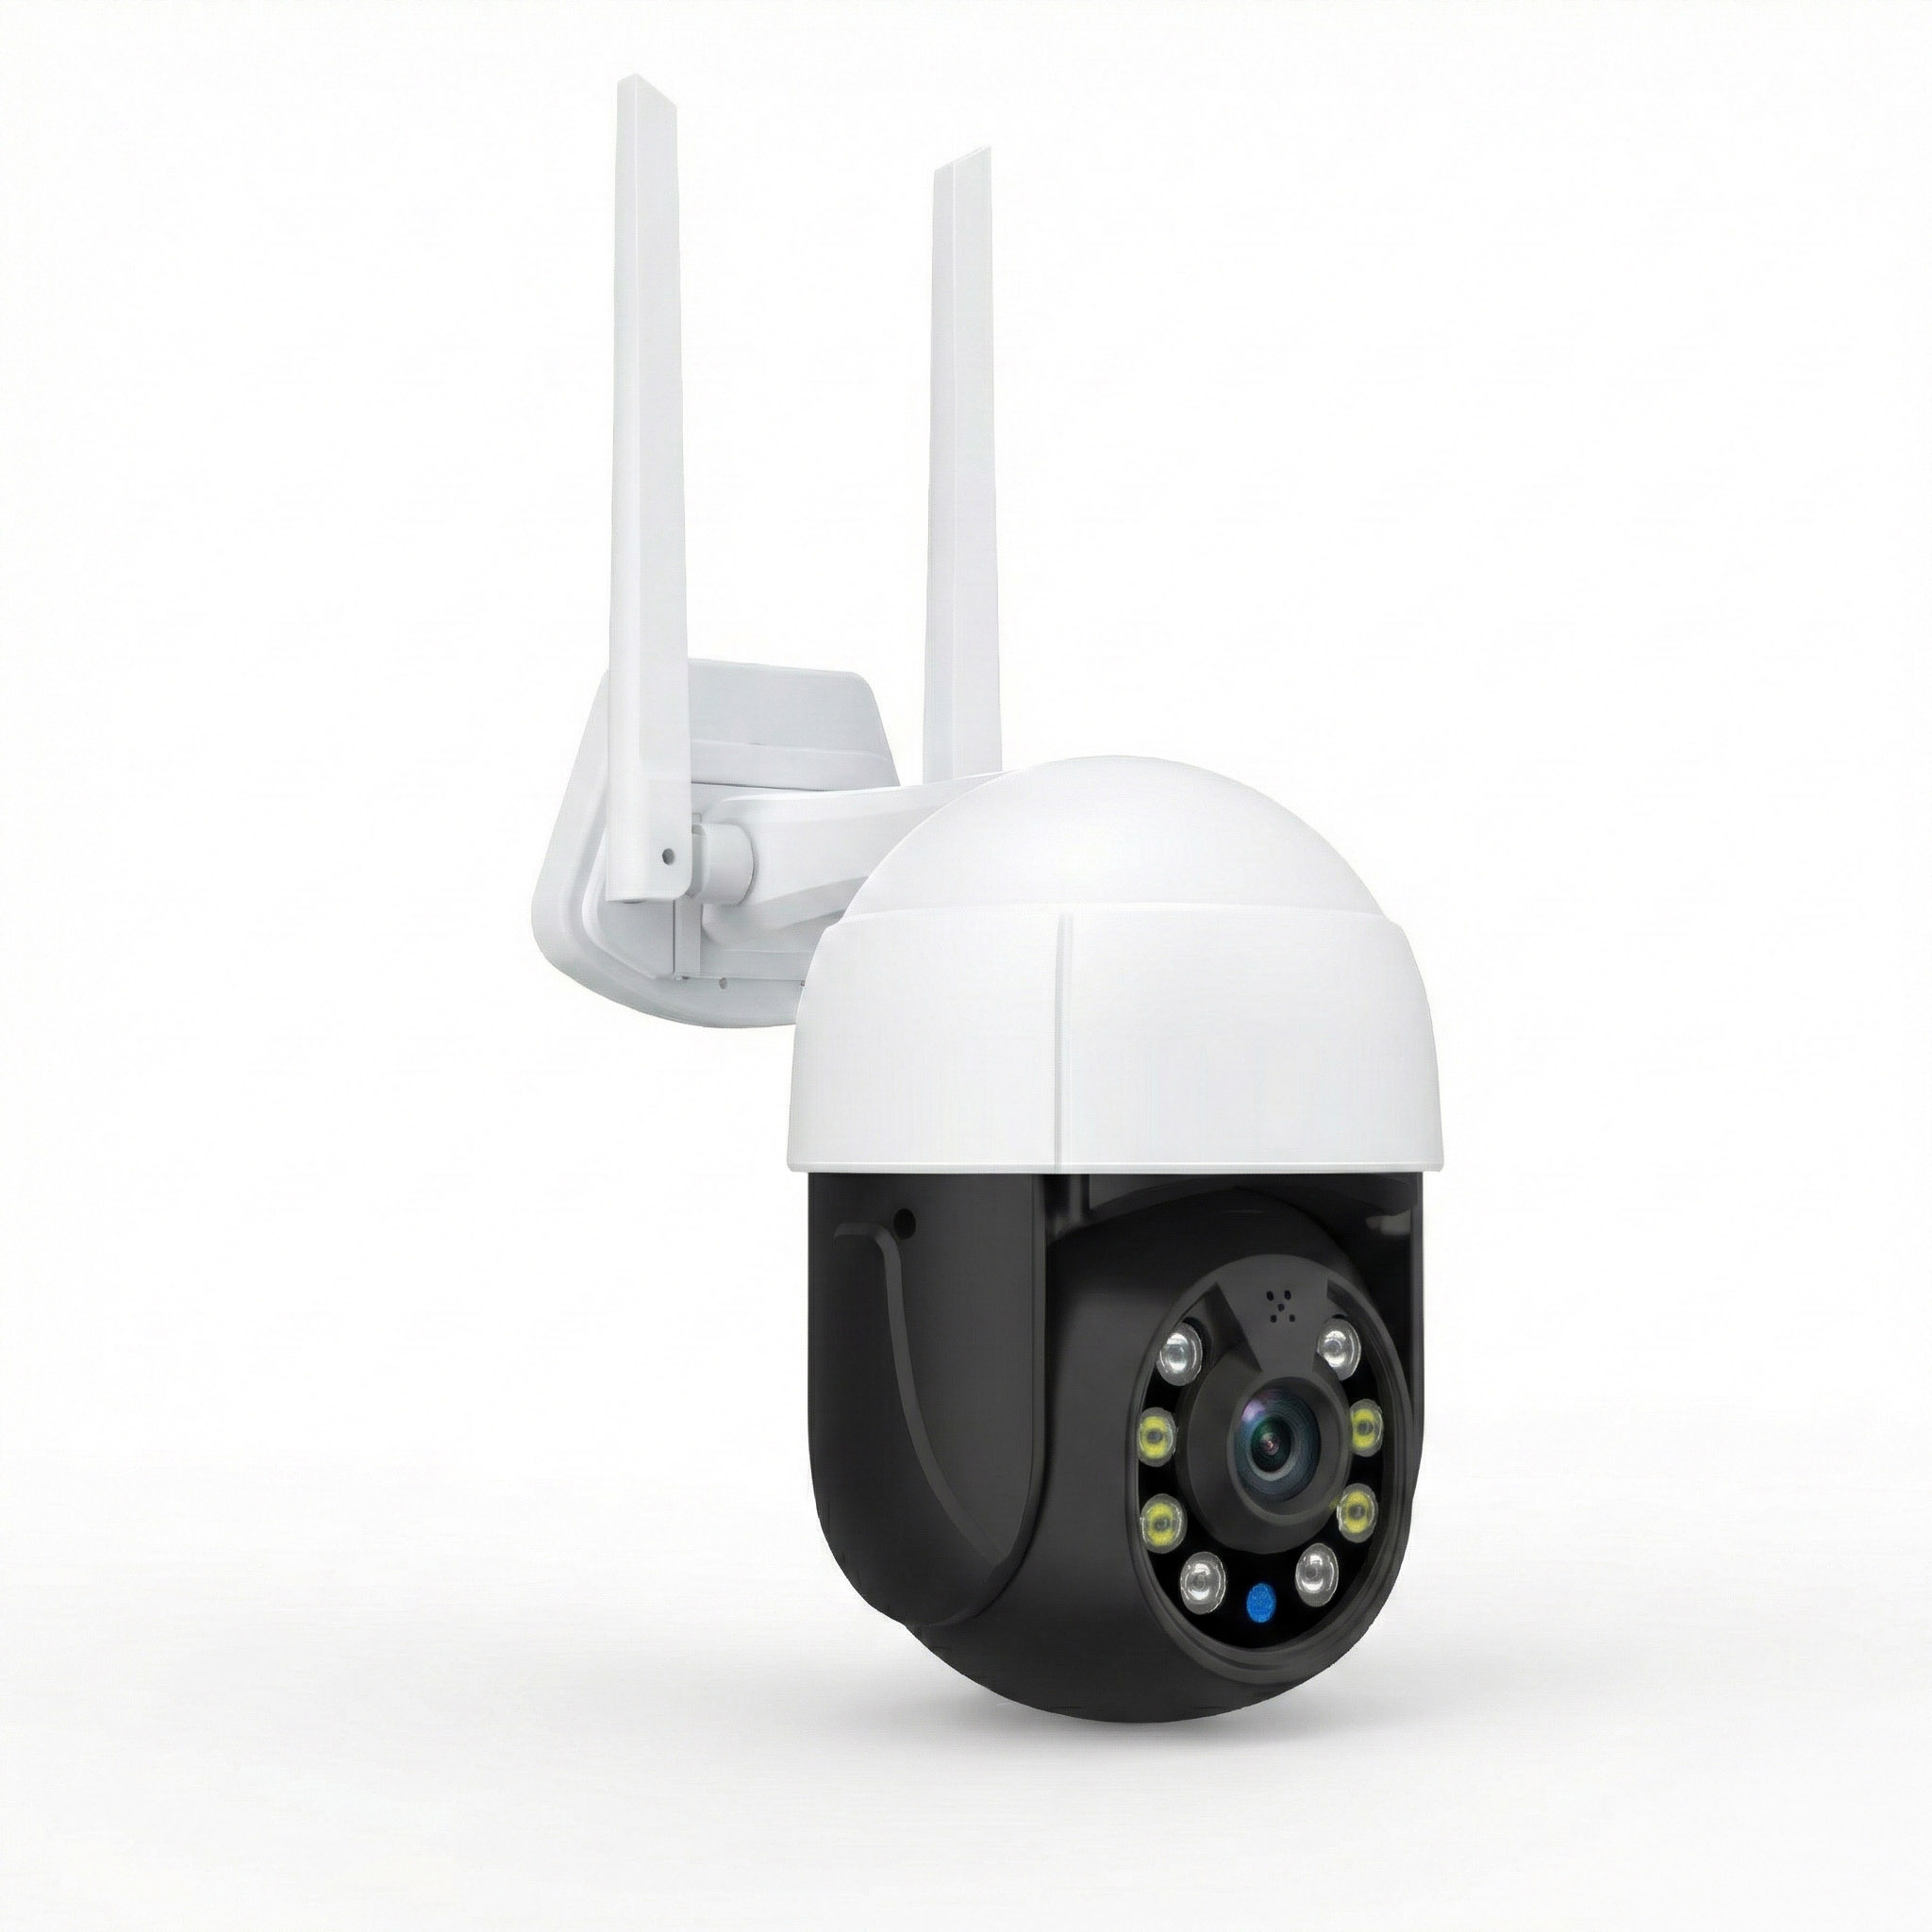
For example, the outdoor camera available among ROOXIS networking and security products supports motorized pan-and-tilt movement.
Even with motorized controls, the mounting surface must remain stable, and the camera needs enough clearance to move without hitting a wall or roof edge.
Magnetic and removable mounts
Some compact cameras use magnetic brackets or quick-release mechanisms.
These can make battery charging and maintenance easier.
However, not every magnetic mount is suitable for exposed outdoor locations. Check its weight rating and the manufacturer's installation requirements before relying on it.
Why Mounting Position Matters More Than Camera Resolution
A camera can record detailed video and still miss what matters.
Consider a camera mounted high above a front entrance.
It may capture the entire porch, front lawn, and street. However, a visitor standing directly beneath it could appear mainly as the top of a head.
Moving the camera slightly to one side might provide a better view of the person's face.
The same principle applies to driveways.
If your goal is to monitor parked cars, the camera should clearly show the parking area.
If you want to see people approaching the garage, the route they walk may be more important than including the entire driveway.
Before selecting a mounting position, answer one question:
What do I need to recognize when reviewing the recording?
Your answer should guide the mounting height, viewing angle, and camera location.
Where Should You Mount Security Cameras Around Your Home?
Start with the entrances and access routes people actually use.
Common locations include the front door, driveway, side passage, backyard entrance, and garage.
You don't necessarily need a camera on every exterior wall.
A camera positioned correctly at an important entrance is more useful than several cameras recording large areas with little detail.
Mounting Cameras Above the Front Door
A front-door camera should capture someone approaching, standing near, and leaving the entrance.
Mounting directly above the door is convenient, especially when there's a covered porch.
But check the viewing angle carefully.
If the camera points almost straight down, you may see packages on the ground while missing a visitor's face.
A slightly offset location can produce a more useful view.
Before drilling, check these details:
-
Can you see someone approaching the entrance?
-
Is the visitor's face visible when standing at the door?
-
Does opening the door block the lens?
-
Does the porch roof cover part of the picture?
-
Will a nearby outdoor light shine directly into the camera?
A camera under an overhang may be better protected from rain.
However, the overhang should not interfere with the lens or the camera's night vision.
Check the live image before choosing the final position.
Mounting Security Cameras Over a Driveway
Driveway cameras work best when the main parking and approach areas occupy a useful portion of the image.
A mounting position above the garage door often provides a wide view.
However, a camera near the top of a tall garage may capture people at a steep downward angle.
Try checking the image while someone walks from the driveway toward the house.
Look at how large the person appears in the frame.
If the entire scene looks distant, consider a lower position or a different angle.
For a long driveway, one camera may not capture useful details at every distance.
Prioritize the area you most want to monitor, such as parked vehicles or the garage entrance.
Also check for outdoor lights that could create glare after dark.
Mounting Cameras Along Side Passages
Side passages are often narrow, with walls, fences, drainpipes, and gates limiting the viewing angle.
Mount the camera so it looks along the passage rather than directly across it.
This gives the camera more time to capture someone walking through the area.
Check whether the gate blocks the view when open.
Other common obstructions include:
-
Downpipes close to the lens.
-
Fence posts.
-
Outdoor storage units.
-
Overgrown plants.
-
Wall-mounted lights.
-
Roof overhangs.
If the camera uses passive infrared motion detection, movement across its detection area may be easier to detect than movement directly toward it.
Follow the manufacturer's recommendations for your camera's sensor and mounting position.
Mounting Cameras in Backyards
A backyard camera often needs to monitor a patio, rear entrance, or garden gate.
A location beneath the roof eaves can provide weather protection while allowing a useful view across the yard.
Avoid pointing the lens directly into strong sunlight when another suitable angle is available.
If the camera faces west, late-afternoon sun may make part of the picture difficult to see.
Nighttime conditions are just as important.
A camera facing a white wall, nearby post, or reflective window may experience glare when infrared night vision activates.
Test the image after dark before treating the installation as finished.
What Is the Best Height for Mounting Security Cameras?
For many outdoor residential cameras, mounting around 8 to 10 feet above ground level provides a practical balance between coverage and accessibility.
This is a starting point rather than a fixed requirement.
Some battery-powered cameras have specific height recommendations because their motion sensors are designed to detect movement within a particular range.
Doorbell cameras also have different placement needs.
Use the manufacturer's guidance first, then check whether the resulting view meets your needs.
Why Mounting Too High Can Be a Problem
Mounting a camera near a second-story roofline may seem attractive because it gives you a broad overview.
The problem is distance.
People near the front entrance may appear small, making useful details harder to distinguish.
A high camera may also show the tops of heads instead of faces.
Maintenance becomes more difficult too.
Cleaning the lens, checking the bracket, or changing a battery may require access equipment that makes a simple task unsafe.
For most entrances, avoid choosing an unnecessarily high position just to keep the camera out of reach.
Why Mounting Too Low Can Be a Problem
A low camera can capture good facial detail.
However, it may also be easier to cover, move, or damage.
Nearby plants, parked vehicles, and outdoor furniture can obstruct the view.
A camera close to the ground may also collect more dirt and water splashes.
For example, a camera mounted beside a garden bed might work well when installed but become partly blocked after the plants grow.
Choose a position that balances useful image detail with protection from tampering and everyday obstructions.
Finding the Right Camera Angle
After selecting the height, adjust the lens direction.
Start with the camera pointing toward the area you need to monitor.
Then tilt it gradually until the important part of the scene occupies most of the image.
A useful camera view should show:
-
The entrance, gate, driveway, or walkway clearly.
-
People at a recognizable size.
-
Enough surrounding area to understand what's happening.
-
Minimal interference from walls, roofs, and nearby objects.
A poorly positioned camera may show:
-
Too much sky.
-
Mostly ground directly beneath the camera.
-
A nearby wall covering much of the picture.
-
People appearing too small.
-
Important activity taking place outside the frame.
Use the live view to make adjustments.
Do not rely on how the camera looks when you're standing beneath it.
Mounting Security Cameras on Different Wall Surfaces
The wall material determines which fasteners you need.
Wood, brick, concrete, drywall, vinyl siding, and stucco do not hold screws the same way.
Using unsuitable anchors is one of the easiest ways to end up with a loose camera.
Identify the material before drilling.
How to Mount a Security Camera on Wood
Wood is often straightforward to work with when it is solid and properly supported.
Suitable locations may include structural posts, framing, and sound exterior trim attached to appropriate backing.
Start by checking the wood.
If it feels soft, shows signs of rot, or moves when pressed, find another location.
Installation steps:
-
Hold the bracket against the mounting surface.
-
Mark the screw holes.
-
Choose a drill bit suitable for the screws.
-
Drill pilot holes.
-
Position the bracket.
-
Insert and tighten the screws.
-
Check that the bracket cannot move.
Pilot holes help guide the screws and reduce splitting.
For outdoor installations, use corrosion-resistant screws suitable for the environment.
Avoid attaching cameras to loose decorative boards or thin unsupported trim.
How to Mount Security Cameras on Brick
Brick requires masonry-compatible drilling equipment and anchors.
A standard wood drill bit is not suitable for this task.
First, inspect the brick.
Avoid visibly cracked, loose, or deteriorating sections.
Mark the mounting holes using the bracket or its template.
Choose anchors designed for the particular brick construction.
Solid and hollow bricks can require different fastening systems.
Basic process:
-
Check the drilling area for concealed services.
-
Mark the mounting holes.
-
Use the correct masonry bit.
-
Drill to the anchor manufacturer's specified depth.
-
Remove drilling dust.
-
Fit the anchors.
-
Secure the mounting bracket.
-
Check for movement.
Do not assume drilling into mortar is always preferable to drilling into brick.
The correct location depends on the material, anchor type, and condition of the wall.
If the brickwork is deteriorating or you cannot identify a suitable fastening method, use a qualified installer.
How to Mount Cameras on Concrete
Concrete provides a strong mounting surface when suitable anchors are installed correctly.
However, concrete drilling requires more care than drilling into wood.
Use a drill and masonry bit appropriate for the material.
Follow the selected anchor manufacturer's instructions for hole size, depth, and spacing.
Wear eye protection and use appropriate dust controls.
Drilling concrete can release fine silica dust, so suitable extraction and respiratory protection may be necessary.
Before drilling, make sure there are no concealed pipes, cables, or other services in the intended location.
Avoid damaging embedded reinforcement or structural elements.
If the wall construction is uncertain, professional installation is safer than experimenting with fasteners.
How to Mount Security Cameras on Vinyl Siding
Vinyl siding is not normally designed to hold the weight of a camera by itself.
Installing screws directly through a thin siding panel may leave the bracket unstable.
A permanent installation should use a suitable mounting block or another approved method that connects to appropriate backing material.
The installation also needs to allow for siding movement and proper drainage.
Before mounting:
-
Identify the material behind the siding.
-
Check whether a compatible mounting block is available.
-
Follow the siding manufacturer's requirements.
-
Avoid unnecessary pressure that distorts the panel.
-
Plan how any holes will be protected from water.
Some removable siding mounts are designed for lightweight cameras.
Use them only when they are compatible with the camera and rated for the intended conditions.
Mounting Cameras on Stucco or Exterior Cladding
Stucco and other exterior cladding materials can conceal insulation, moisture barriers, or other building components.
Drilling through them without a suitable mounting and sealing method may allow water into the wall.
A permanent camera bracket needs secure backing and proper weather protection.
Be especially careful with insulated exterior finish systems.
These may require specialized mounting hardware and penetration details.
If you're unsure how the exterior wall is constructed, consult an installer familiar with that type of cladding.
A loose bracket is inconvenient. Water entering an exterior wall can cause a much more expensive problem.
Can You Mount a Security Camera on Drywall?
Drywall can support certain lightweight indoor cameras when suitable anchors are used.
However, fixing the bracket to a wall stud is often preferable.
Use a stud finder and verify the installation location before drilling.
For heavier cameras, adjustable mounts, or equipment that may be moved frequently, follow the manufacturer's requirements for structural support.
Do not assume an anchor designed for drywall will work in brick or concrete.
If the camera is mounted overhead, make sure the bracket and fasteners are specifically suitable for that installation.
What to Check Before Drilling Mounting Holes
A camera should be tested at its intended location before the mounting holes become permanent.
Check power, connectivity, viewing angle, and the surface that will hold the bracket.
These checks are particularly useful when the camera is going outside.
Check the Camera's Power Requirements
A camera described as wireless may still need an electrical cable.
Wireless usually refers to how it connects to the network.
Check whether your camera uses:
-
A rechargeable battery.
-
A continuous power adapter.
-
A solar charging accessory.
-
Power over Ethernet.
-
Another manufacturer-approved power source.
For plug-in cameras, measure the cable route.
Do not measure only the straight-line distance to the nearest outlet.
The cable may need to follow a wall, pass around a door frame, or run through appropriate protective routing.
Keep cables away from moving doors, sharp edges, standing water, and places where someone could trip.
Never use an ordinary indoor extension cord as permanent outdoor wiring or route one through a wall.
Use approved power equipment and arrange professional electrical work when new fixed wiring or outdoor outlets are required.
Check WiFi Signal at the Exact Mounting Spot
A camera that connects reliably indoors may have a weak connection outside.
Exterior walls, metal cladding, insulation, and distance can all affect WiFi reception.
Test the camera at the planned mounting position before attaching it permanently.
What to do:
-
Power the camera safely.
-
Connect it to the intended WiFi network.
-
Position it temporarily near the proposed mounting location.
-
Open the camera application.
-
Watch the live video.
-
Check whether the picture freezes or disconnects.
-
Test any supported pan-and-tilt controls.
A good result is a stable live feed with responsive controls.
A poor result includes repeated buffering, unexpected offline notifications, or controls that respond slowly.
Check which WiFi band the camera supports.
Some security cameras require 2.4 GHz WiFi and cannot connect to a 5 GHz-only network.
If the outdoor signal is weak, improve network coverage before completing the installation.
A properly positioned extender or access point may help.
Test the View Before Making Permanent Holes
Ask another adult to help check the proposed camera position.
One person can safely hold the camera while the other views its live feed.
Do not balance a loose camera on a ladder or leave it hanging by its cable.
For an entrance, walk toward the door and stand where visitors normally wait.
For a driveway, walk near the parked vehicles and garage.
For a side passage, check whether someone remains visible while moving toward the gate.
Review the live image.
If the camera misses the important activity, adjust its position before drilling.
This is the easiest point in the installation to change your mind.
Gather the Correct Tools
A typical home camera installation may require:
-
A drill with suitable bits.
-
A screwdriver or driver.
-
A tape measure.
-
A pencil.
-
A spirit level.
-
Mounting screws and compatible anchors.
-
A stable ladder when appropriate.
-
Safety glasses.
-
Suitable drilling dust protection.
-
Outdoor-rated cable clips where needed.
-
Compatible weatherproofing materials.
Use the camera manufacturer's supplied fasteners when they are suitable for your wall.
If they are not, choose correctly rated alternatives.
Check for concealed wiring and plumbing before drilling.
A stud finder can help identify certain hidden objects, but it cannot guarantee that drilling is safe.
Avoid drilling where the wall construction or concealed services are uncertain.
How to Mount a Security Camera Step by Step
Once the location, viewing angle, power supply, and WiFi signal have been checked, you can install the bracket.
Follow the instructions supplied with your camera because mounting mechanisms and fastener requirements vary.
Step 1: Mark the Mounting Position
Hold the bracket against the chosen surface.
Make sure it sits flat.
Check whether the camera will have room to tilt or rotate once installed.
For motorized cameras, leave clearance for the moving parts.
Mark the screw holes.
If the manufacturer supplies a drilling template, use it.
Before drilling, step back and confirm that the bracket is positioned where you tested the camera.
Step 2: Drill the Pilot Holes
Choose the correct drill bit for the surface and fasteners.
Wood requires different preparation from masonry.
Follow the anchor or screw manufacturer's specifications.
Keep the drill aligned with the intended holes.
For masonry anchors, remove dust before inserting them.
If the wall begins cracking, crumbling, or failing to hold an anchor, stop.
Do not try to compensate for damaged material by tightening the screws harder.
Find sound material or use a suitable alternative mounting system.
Step 3: Attach the Mounting Bracket
Insert the required anchors.
Align the bracket with the holes and install the screws.
Tighten them evenly.
The bracket should sit firmly against the surface without bending or cracking.
Avoid overtightening plastic mounting components.
Once installed, gently check for movement.
If the bracket rocks, twists, or pulls away from the wall, identify the cause before attaching the camera.
Step 4: Secure the Camera to the Bracket
Attach the camera using its specified locking mechanism.
Depending on the model, this may involve a threaded connection, mounting plate, sliding fitting, or locking screw.
Make sure the camera is fully secured.
Adjust the viewing direction before tightening any adjustable joints.
For motorized pan-and-tilt models, use the application controls instead of forcing the camera head by hand.
If your camera uses a safety cable or other retention accessory, install it according to the manufacturer's instructions.
Step 5: Protect the Cables and Connections
Route cables so they are not left hanging loosely.
Use appropriate clips or protection for exposed cable runs.
Keep connectors away from direct water exposure unless they are specifically rated and installed for those conditions.
Remember that a weather-resistant camera housing does not automatically make its power adapter weatherproof.
If a cable passes through an exterior wall, the opening needs an appropriate penetration and sealing method for that wall construction.
Do not block intended drainage paths or seal ventilation openings.
For unfamiliar exterior wall systems, a professional installation may be the safer choice.
Step 6: Adjust the View and Test Recording
Open the camera application.
Check the live image and adjust the angle.
Then walk through the monitored area.
Look for these results:
-
The important entrance or path remains visible.
-
People appear large enough to provide useful detail.
-
The camera stays steady.
-
Motion detection responds as expected.
-
The WiFi connection remains stable.
-
Recorded footage can be played back.
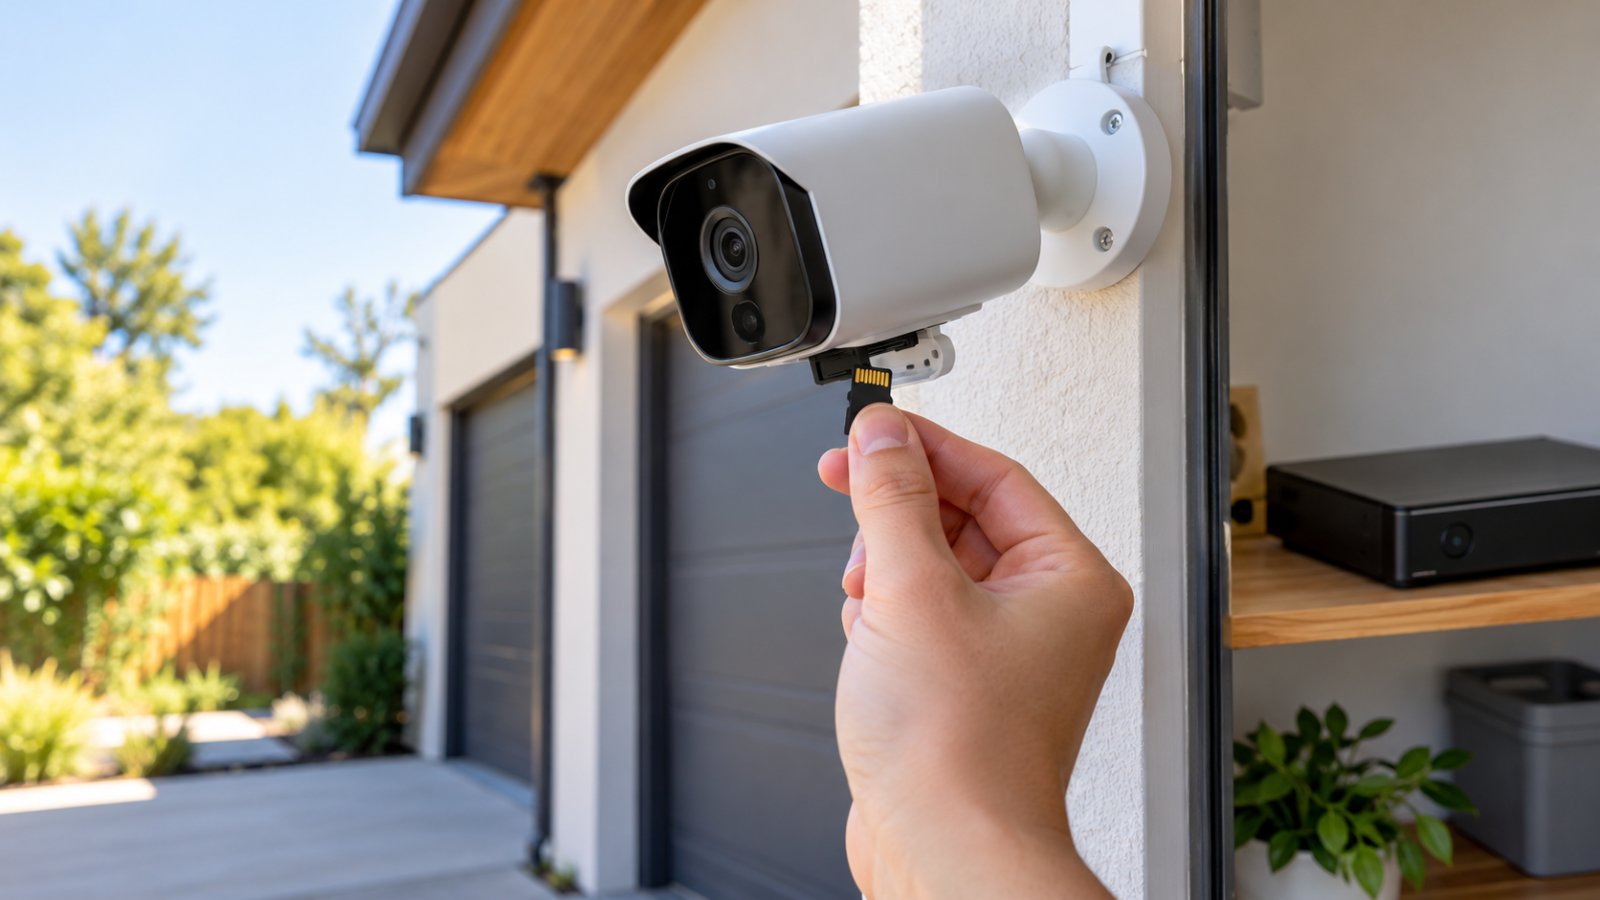
If your camera uses local storage, check that the memory card or other storage device is recognized.
Open the playback section and confirm that a recent recording is available.
Do not assume recording is active just because live video works.
Finally, test the night image.
A camera may look correctly positioned in daylight but suffer from infrared reflections after dark.
Battery, Plug-In and Wired Cameras: What Changes During Mounting?
The camera's power source affects where it can be installed and how much maintenance it will require.
Choose the mounting location with those practical differences in mind.
Battery-Powered Cameras
Battery cameras are useful where running a power cable would be difficult.
You still need reliable WiFi and a suitable bracket.
Think about charging before mounting the camera.
A camera positioned high above a garage may require repeated ladder access whenever its battery needs charging.
Choose a location that can be accessed safely.
Also check the manufacturer's recommended height and angle for motion detection.
Battery models may use particular sensor arrangements and power-saving behavior that affect when recording begins.
Plug-In WiFi Cameras
Plug-in WiFi cameras use wireless networking but require continuous electrical power.
This makes outlet location and cable routing important.
Before drilling, confirm the approved cable reaches the planned camera position without being stretched.
Keep power adapters and connections in suitable locations.
Do not assume that because the camera is outdoor-rated, its adapter can be left exposed to rain.
If no suitable outlet exists, consider having an electrician install one.
Power over Ethernet Cameras
Power over Ethernet cameras receive network data and electrical power through a compatible Ethernet connection.
This can be useful where WiFi reception is unreliable.
The installation requires a suitable PoE switch or injector and correctly rated network cabling.
Outdoor cable runs need appropriate protection.
Check the camera's power specifications and make sure the network equipment provides compatible power.
Where cables must pass through walls, ceilings, or outdoor areas, follow the applicable installation requirements.
Common Problems After Mounting Security Cameras
A camera may be securely attached and still perform poorly.
The cause is often the viewing angle, wireless connection, lighting, or mounting surface.
Check the symptoms before moving the bracket.
The Video Looks Blurry or Shaky
If the image is blurry, inspect the lens.
Shipping film, fingerprints, dust, or water spots can affect clarity.
Clean the lens using the manufacturer's recommended method.
If the picture shakes during windy conditions, check the bracket.
Look for loose screws, flexible siding, or damaged mounting material.
A camera fixed to thin decorative trim may move even when the screws appear tight.
If nearby objects are clear but distant people appear indistinct, the issue may be distance or viewing angle rather than focus.
Repositioning the camera may provide better detail.
The Camera Keeps Disconnecting From WiFi
Frequent disconnections may indicate weak wireless reception.
Open the camera application and check its connection information if available.
Watch for repeated buffering or unexpected offline messages.
Check the camera's power supply as well.
An unstable electrical connection can cause restarts that resemble WiFi failures.
If the signal is weak, investigate router placement and obstacles between the router and camera.
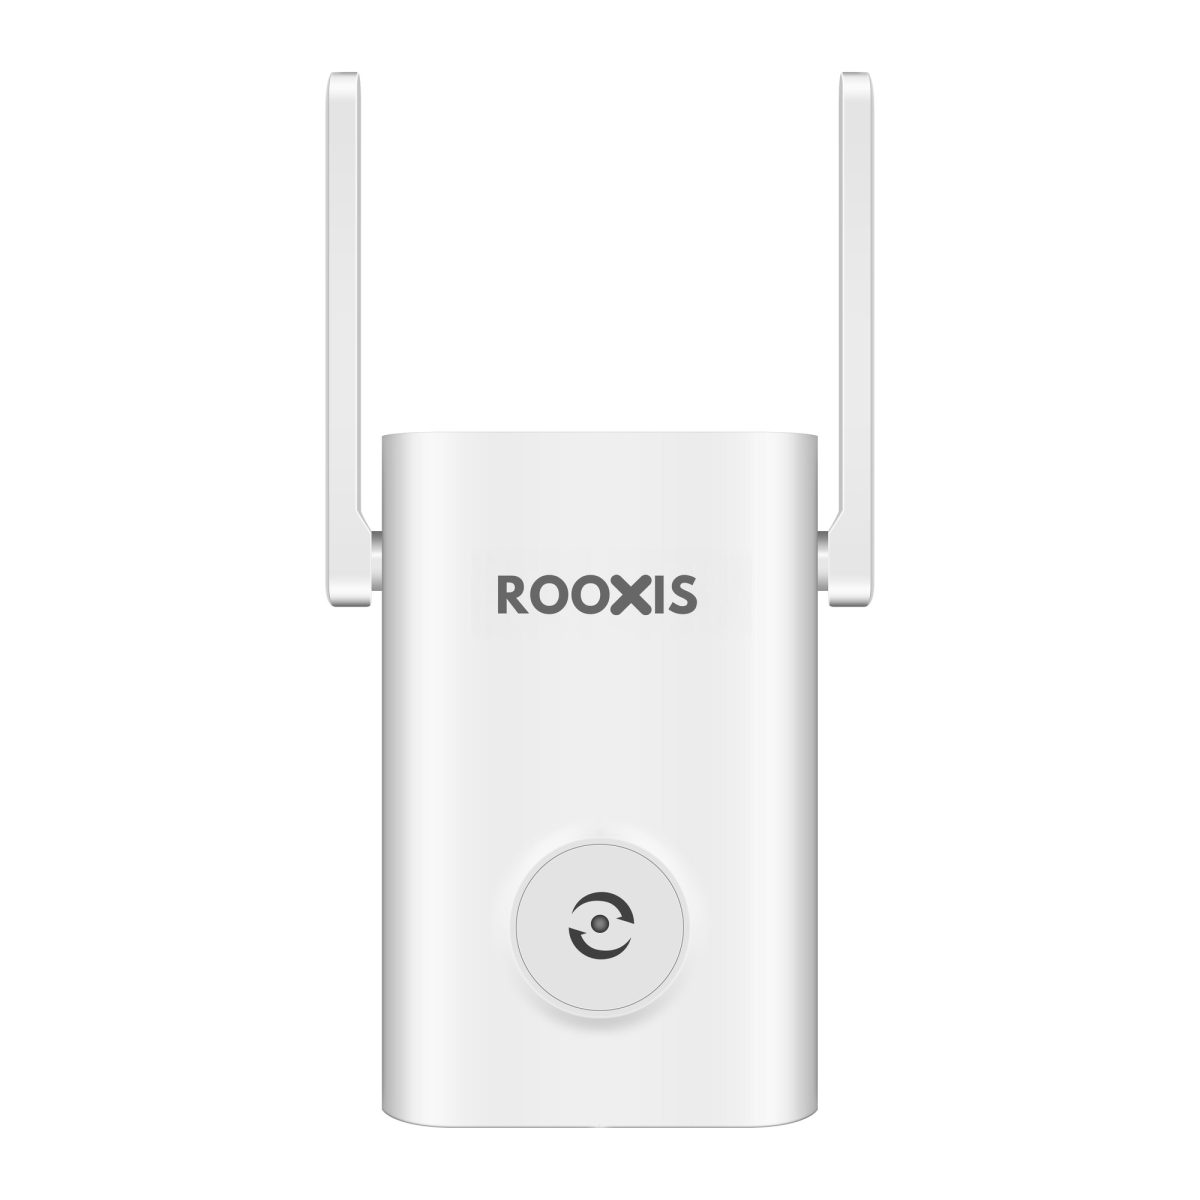
An extender can help when it is placed where the existing WiFi remains strong enough to provide a reliable connection.
Installing an extender inside a complete dead zone will not solve the underlying problem.
Night Vision Produces a White or Washed-Out Image
Night vision glare often happens when infrared light reflects off something close to the lens.
Common causes include:
-
Nearby white walls.
-
Gutters and roof edges.
-
Window glass.
-
Spiderwebs.
-
Reflective metal surfaces.
-
Objects positioned close to the infrared LEDs.
For example, a camera installed too close to a pale soffit may reflect infrared light back toward the lens.
The result can be a bright foreground and very little visible detail beyond it.
Move the viewing angle away from nearby reflective surfaces.
Clean the lens and surrounding housing.
Check the image again after dark.
Motion Alerts Keep Triggering Unnecessarily
A camera facing the road may repeatedly notify you about passing vehicles.
Moving tree branches, insects, animals, and changes in lighting can also trigger motion alerts, depending on the detection system.
Open the camera's motion detection settings.
Look for options such as sensitivity, detection zones, person detection, or notification schedules.
Where available, adjust the detection area to focus on the entrance or walkway.
Avoid lowering sensitivity so much that important movement is missed.
After changing the settings, walk through the intended monitoring area and confirm that detection still works.
Water Appears Around the Mounting Point
Water stains or dampness near mounting screws should be investigated.
Possible causes include damaged sealant, poorly detailed cable openings, loose fittings, or unsuitable mounting hardware.
Water entering an exterior wall can damage materials behind the visible surface.
If electrical components are wet or damaged, stop using the affected equipment and disconnect power safely where appropriate.
Do not continue operating equipment with exposed electrical connections.
For problems involving siding, stucco, or concealed wall assemblies, consult a qualified installer or building professional.
Common Misconceptions About Mounting Security Cameras
Many installation problems start with assumptions that sound reasonable but do not hold up during use.
Understanding these differences can prevent unnecessary drilling and equipment changes.
Myth 1: Higher Mounting Always Gives Better Security
A higher camera may cover more ground and be harder to reach.
However, people often appear smaller as the distance increases.
For entrance monitoring, a clear image of someone approaching the door may be more valuable than a wide view of the entire front yard.
Choose the mounting height based on the footage you actually need.
Myth 2: Wireless Cameras Never Need Cables
Wireless networking and wireless power are different things.
A WiFi camera may still need a constant electrical connection.
Battery-powered models avoid a permanent power cable but require charging or battery replacement.
Check the power specifications before planning the installation.
Myth 3: Any Screw Will Hold a Small Camera
A small camera can still become loose when installed with unsuitable hardware.
Screws that work in wood may fail in hollow brick or unsupported siding.
Use fasteners designed for the wall material.
Also account for outdoor weather, bracket movement, and the camera's mounting requirements.
Myth 4: Weatherproof Cameras Can Be Installed Anywhere
An outdoor camera's weather-resistance rating applies under the manufacturer's specified conditions.
It does not mean the power adapter, cable connections, or wall penetrations are automatically protected.
Mounting beneath an overhang can reduce direct exposure, but correct electrical and weatherproofing arrangements are still necessary.
Read the manufacturer's installation requirements before choosing an exposed location.
Myth 5: Pan-and-Tilt Cameras Do Not Have Blind Spots
A motorized camera can change direction, but it cannot see every direction at once.
If the camera faces the driveway, it may not be recording the side gate at the same moment.
Tracking and patrol functions vary by model.
Mount the camera so the most important area remains visible in its normal position.
Mounting Security Cameras in Rental Homes and Apartments
Renters often need a camera that can be installed without permanent changes to the property.
Start by checking the rental agreement.
Some landlords permit small mounting holes, while others restrict changes to external walls, doors, or shared spaces.
Even a minor installation can create problems if it damages waterproofing or building finishes.
Consider Non-Permanent Mounting Options
Some cameras can be used with removable accessories.
Options may include:
-
Freestanding indoor bases.
-
Manufacturer-approved clamp mounts.
-
Compatible removable wall brackets.
-
Rated no-drill accessories.
Choose the accessory according to the camera's weight and installation environment.
Do not assume ordinary adhesive strips will hold an outdoor camera securely.
Heat, rain, surface texture, and temperature changes can reduce adhesive strength.
A falling camera may damage property or injure someone.
For indoor monitoring, a stable shelf may be a simpler choice than wall mounting.
Respect Privacy and Shared Spaces
Position cameras to monitor areas you have a legitimate reason to protect.
Avoid unnecessarily capturing neighbors' windows, private gardens, or indoor spaces.
In apartment buildings, shared hallways and entrances may be subject to building rules.
Audio recording can also have separate legal requirements.
Review applicable local rules before recording conversations.
If your camera supports privacy zones, use them to exclude areas that do not need to be monitored.
How to Maintain Cameras After Mounting
Outdoor cameras deal with dust, rain, temperature changes, and occasional vibration.
A secure installation should remain stable through normal weather conditions.
Include a short camera check in your regular home maintenance schedule.
Check the Mounting Hardware
Inspect the bracket for movement, corrosion, or damaged fasteners.
Look at the wall around the mounting point.
Loose screws, cracked material, or soft wood may indicate that the bracket needs attention.
Do not simply tighten screws harder when the underlying material is damaged.
Repair or replace the affected mounting components.
For cameras installed at height, arrange safe access rather than leaning dangerously from a ladder.
Clean the Lens and Housing
Dust, pollen, water spots, and spiderwebs can reduce image clarity.
Use cleaning materials recommended by the camera manufacturer.
Avoid abrasive cloths or harsh chemicals that could damage the lens or coating.
Check the area around infrared lights.
Spiderwebs close to the lens can create severe glare at night.
After cleaning, review both daytime and nighttime footage.
Review Recording and Motion Detection
Open the camera application and check the live feed.
Then inspect recent recordings.
If the camera uses a memory card, confirm that storage remains available and recorded footage can be played.
Check whether plants, outdoor decorations, or furniture now block part of the view.
Seasonal changes can also affect sunlight and shadows.
A camera that was correctly positioned during installation may need a small adjustment later.
Know When to Call a Professional
Many basic home camera installations are manageable with suitable tools and a straightforward mounting surface.
Other situations require additional expertise.
Consider professional help when:
-
New outdoor electrical wiring is needed.
-
The mounting location is difficult to access safely.
-
The wall contains unknown services.
-
Exterior cladding needs specialist waterproofing.
-
The fixing surface is damaged or unsuitable.
-
Multiple cameras need concealed network or power cables.
A camera installation should not create a fall hazard, electrical problem, or water leak.
If you cannot safely identify the mounting surface or power requirements, get qualified help before drilling.
FAQ
How high should security cameras be mounted outside?
For many residential outdoor cameras, 8 to 10 feet above ground level is a practical starting point. The best height depends on the camera's viewing angle, motion detection system, and the area being monitored. Follow the manufacturer's instructions and check whether people remain clearly visible in the footage.
Can I mount a security camera without drilling holes?
Some cameras support freestanding bases, clamp mounts, magnetic accessories, or compatible no-drill brackets. The accessory must be rated for the camera's weight and intended location. For outdoor installations, check whether wind, moisture, and temperature changes could affect the mount.
Is it better to mount security cameras on a wall or ceiling?
Both can work when supported by the camera's mounting design. Wall mounting is often convenient for front entrances, driveways, and side passages, while ceiling or soffit mounting may provide a more sheltered location. Choose the option that gives a clear view and secure attachment without making maintenance unnecessarily difficult.
Do wireless security cameras need to be plugged into power?
Some wireless security cameras use rechargeable batteries, while others require continuous power through an adapter. Wireless usually describes the network connection, not the power source. Check the camera's specifications before choosing a location, especially when installing it outdoors.
How do I prevent glare on an outdoor security camera?
Avoid pointing the camera directly toward bright lights, reflective windows, or strong sunlight when possible. Check for nearby roof edges, pale walls, and spiderwebs that can reflect infrared light at night. Test the live image after dark and adjust the camera if glare hides important details.
Can I mount a security camera directly on vinyl siding?
Attaching a camera directly to unsupported vinyl siding is generally not suitable for a dependable permanent installation. Use a compatible mounting block or an approved system secured to appropriate backing material. Follow the siding manufacturer's instructions to avoid interfering with drainage, expansion, or weather protection.
Before you install your camera, test the exact position where it will sit. Check the live view while someone walks through the entrance or driveway. Confirm that the WiFi connection works there, the power cable reaches safely, and the mounting surface can hold the bracket securely.
Once installed, review a daytime recording, a nighttime recording, and a motion alert. If all three show the activity you wanted to capture, the camera is doing its job. If something is missing, adjust it while the installation is still fresh rather than discovering the problem when you need the footage.