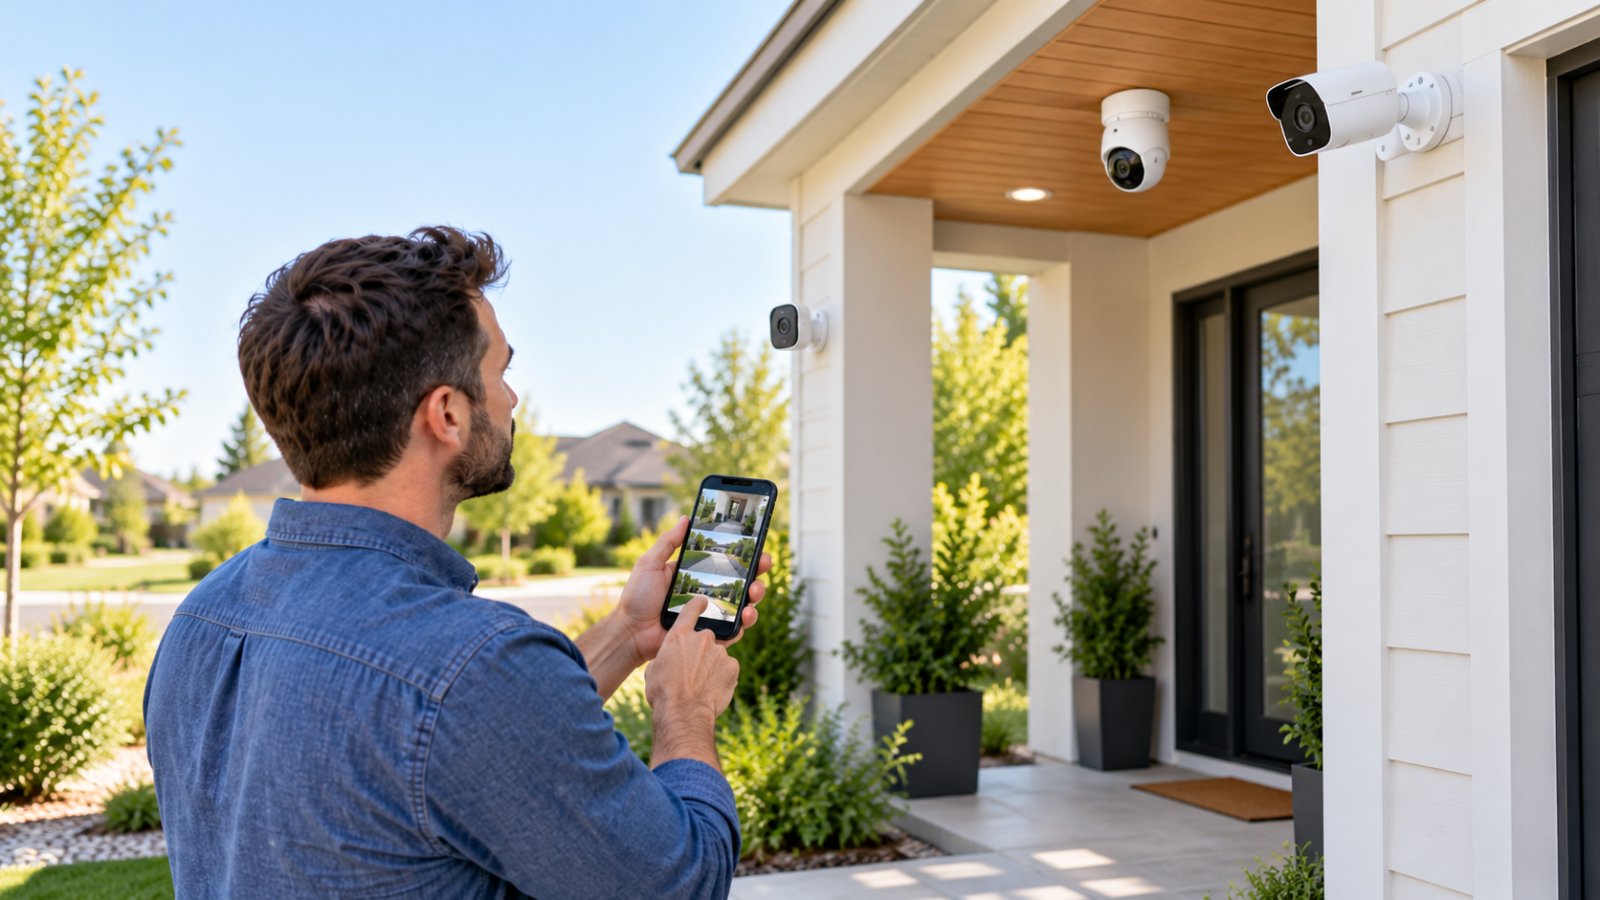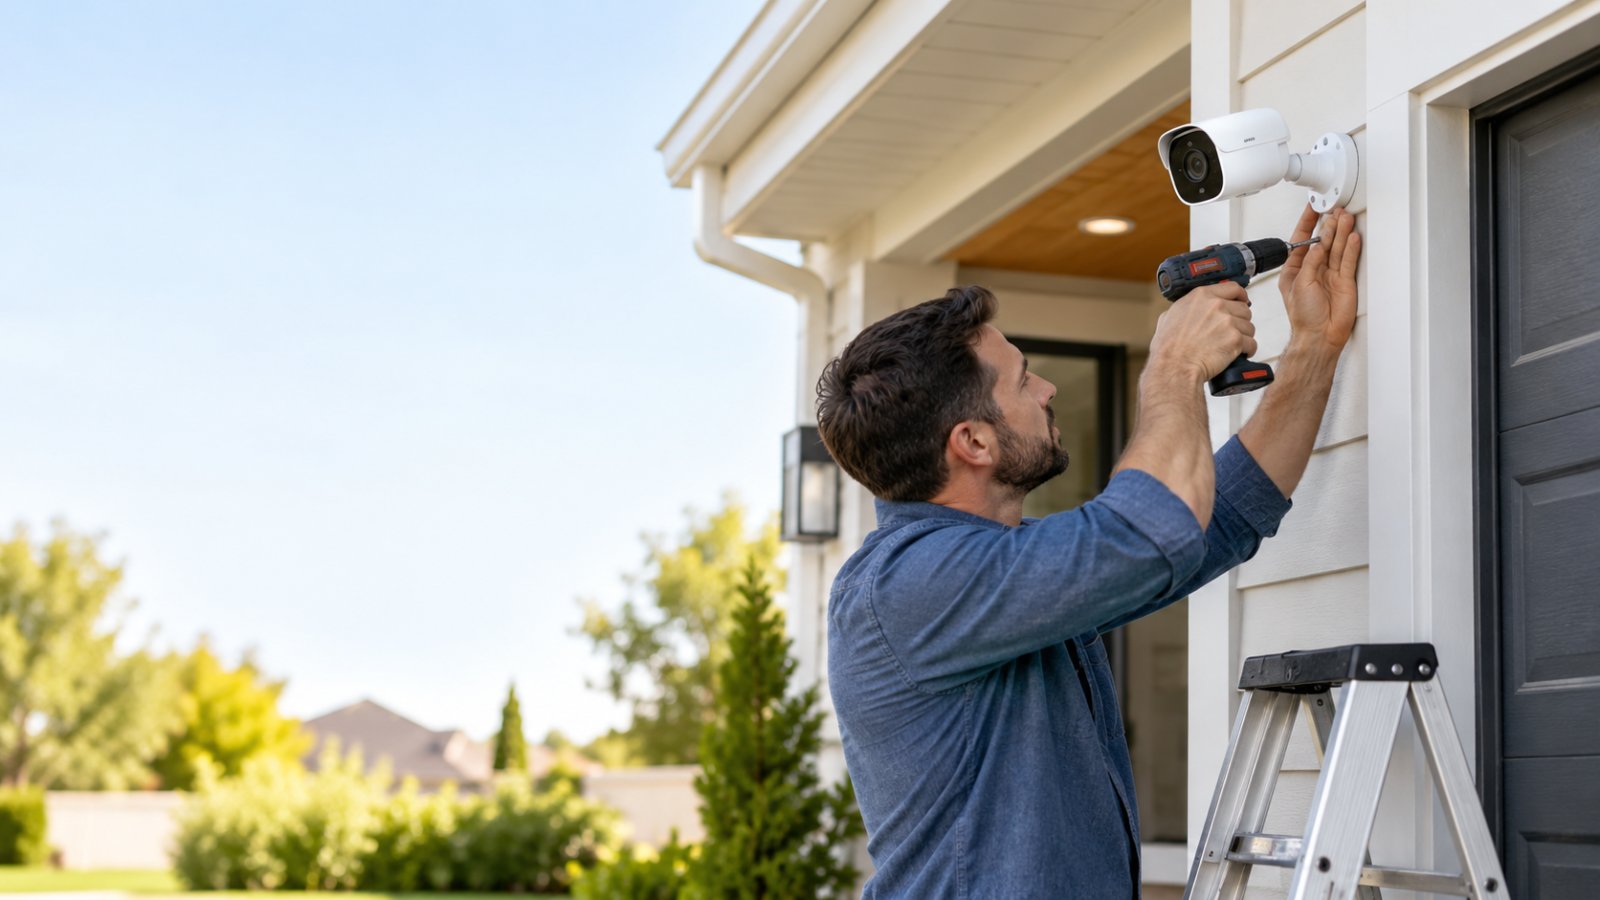
Security cameras installation is easier when you plan the camera's position, check WiFi coverage, and confirm the power source before drilling. For most outdoor installations, the process involves choosing a mounting height, marking and drilling pilot holes, securing the mounting bracket, protecting any exposed cables, and adjusting the camera's view. Getting those details right saves you from having to move the camera or drill additional holes later.
A camera above your front door needs a different viewing angle from one overlooking a long driveway. Wall materials also matter. Mounting into solid wood is different from installing a bracket on brick, concrete, or vinyl siding.
This guide walks through each stage, from choosing a location to testing night vision and motion alerts. It covers common installation mistakes, the tools you'll need, and practical advice for setting up ROOXIS outdoor security cameras with WiFi and local microSD storage.
Planning Your Camera Placement and Angles
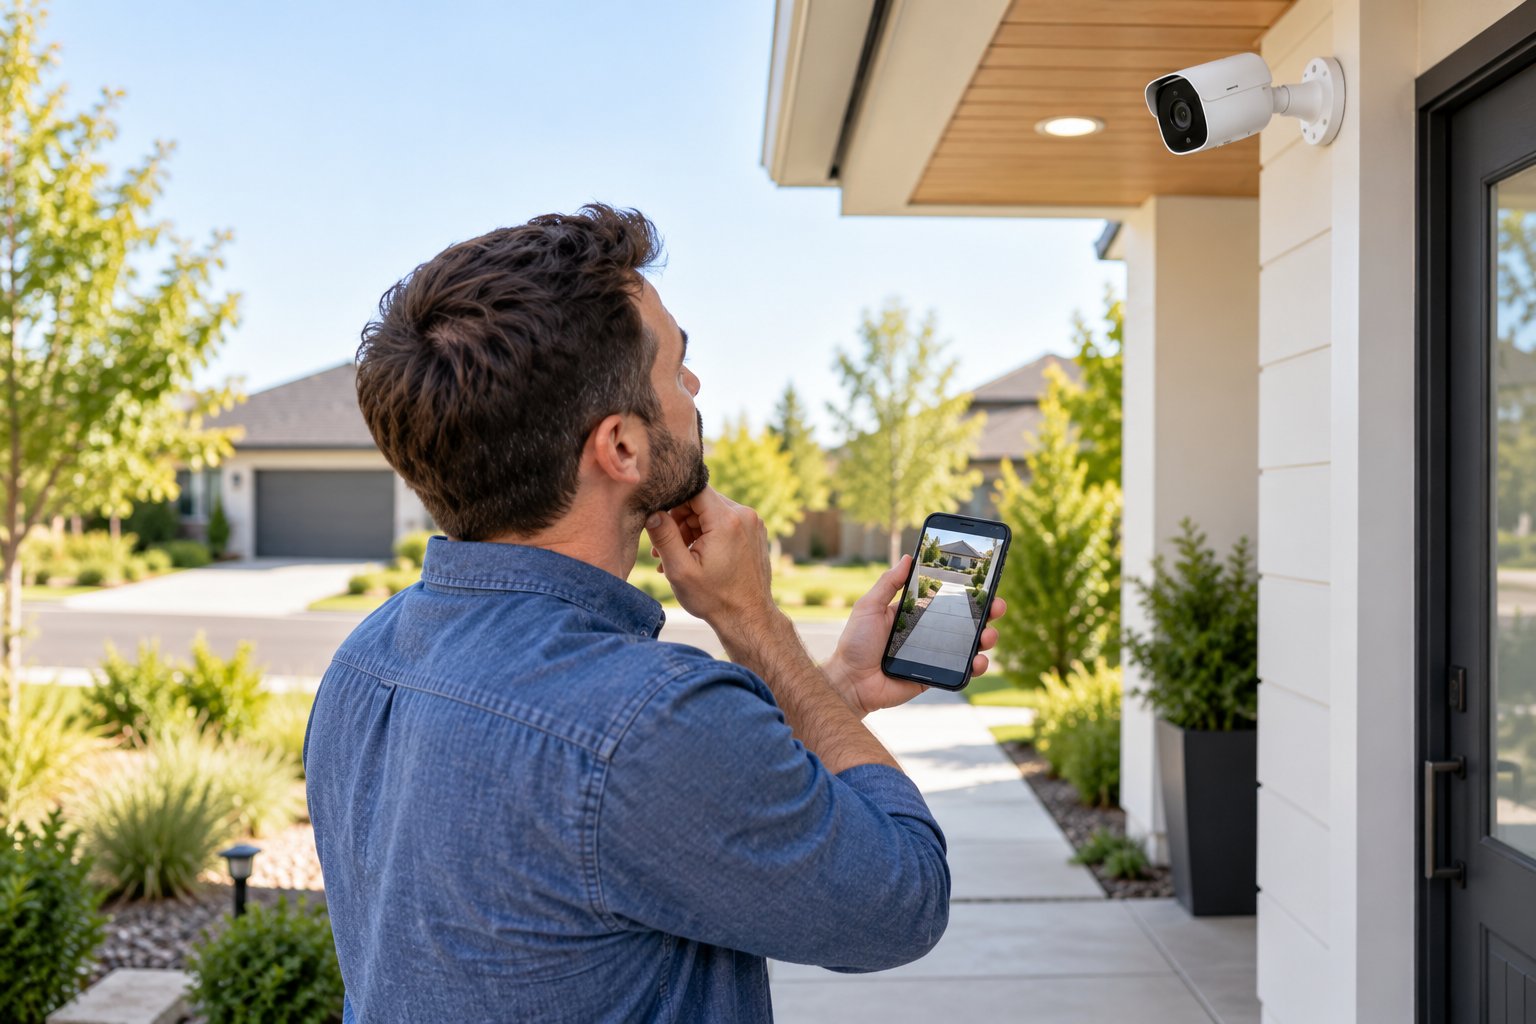
Decide what you want the camera to record before choosing a mounting location.
A wide view of the front yard might look useful, but it won't help much if visitors appear too small to recognize. Similarly, a camera pointed straight down at the doorstep may record delivered packages clearly while missing someone approaching from the driveway.
Start by walking around your property. Look at the entrances, paths, and areas where someone would naturally approach the house.
Start by identifying the areas that matter most.
Most homes have a few locations worth prioritizing:
-
Front entrance: Record visitors approaching the door, the doorstep, and packages left near the entrance.
-
Driveway: Monitor parked vehicles, movement around the garage, and the driveway entrance.
-
Backyard: Cover rear doors, patio entrances, and access gates.
-
Side passage: Monitor narrow walkways between the house and boundary fence.
-
Garage entrance: Capture activity around garage doors, external storage areas, and nearby access points.
You probably don't need a separate camera for every corner of the property.
For example, a camera mounted near the front corner of a garage might cover the driveway and part of the walkway leading to the front door. Before choosing that position, check whether the garage roof, nearby trees, or parked vehicles will block important parts of the image.
It is usually better to have a clear view of two important areas than a wide image containing several areas with too little detail.
Check the complete view before installation.
Stand below the proposed mounting location and look toward the area you want to monitor.
Pay attention to anything that could obstruct the camera:
-
Roof overhangs and gutters.
-
Tree branches and hanging plants.
-
Fence posts and exterior pillars.
-
Parked vehicles.
-
Outdoor lamps and floodlights.
-
Decorative walls and large garden features.
Obstructions close to the camera can occupy a large part of its field of view.
A branch that seems harmless from ground level may block the walkway when viewed through a camera mounted several feet higher.
Also consider neighboring properties. Position cameras toward your entrances, driveway, and other areas you have a legitimate reason to monitor. Avoid unnecessarily recording neighboring windows, private gardens, or spaces outside your property.
Check local requirements for outdoor video recording and audio recording before enabling microphone features.
Determining Ideal Mounting Height and Field of View
For many homes, 8 to 10 feet above ground level is a sensible starting height for an outdoor security camera.
This puts the camera above easy reach without placing it so high that nearby faces appear mostly as the tops of people's heads.
The correct height depends on the camera's lens, the distance to the area being monitored, and the shape of the building.
A front-door camera should capture the approach and the place where visitors stand. A driveway camera may need a slightly higher position to see over parked vehicles.
Recommended starting heights and angles
| Camera location | Suggested mounting height | Starting downward angle | Main area to monitor |
|---|---|---|---|
| Front entrance | 8 to 9 feet | 20 to 30 degrees | Doorstep and approach |
| Driveway | 9 to 10 feet | 15 to 25 degrees | Vehicles and driveway entrance |
| Backyard | 8 to 10 feet | 15 to 30 degrees | Patio, rear entrance, and gates |
| Side passage | 8 to 9 feet | 15 to 25 degrees | Walkway and access points |
| Garage exterior | 9 to 10 feet | 15 to 25 degrees | Garage door and nearby movement |
Treat these measurements as starting points. The camera's live view should determine the final position.
Understand the camera's field of view.
The field of view describes how much of the surrounding area appears in the recorded image.
A wide viewing angle can capture more of a yard or driveway. However, people and objects farther away will occupy a smaller portion of the image.
A narrower view can show more detail within a smaller area.
For an entrance camera, think about where visitors will stand.
If someone normally stops two or three feet from your front door, make sure that location is clearly visible. Do not let the camera spend most of its image on the roof, nearby wall, or empty garden.
For a driveway, position the camera so that parked vehicles and the route toward the garage remain visible.
Adjust the downward angle carefully.
A downward tilt of approximately 15 to 30 degrees is a useful starting point for many wall-mounted outdoor cameras.
Open the live view before making the final adjustment.
If most of the picture shows the ground immediately beneath the camera, reduce the downward tilt.
If the image contains too much sky and very little of the driveway or walkway, aim the camera lower.
A small adjustment can make a noticeable difference.
Consider pan-and-tilt cameras.
Some outdoor cameras allow you to change the viewing direction through an app.
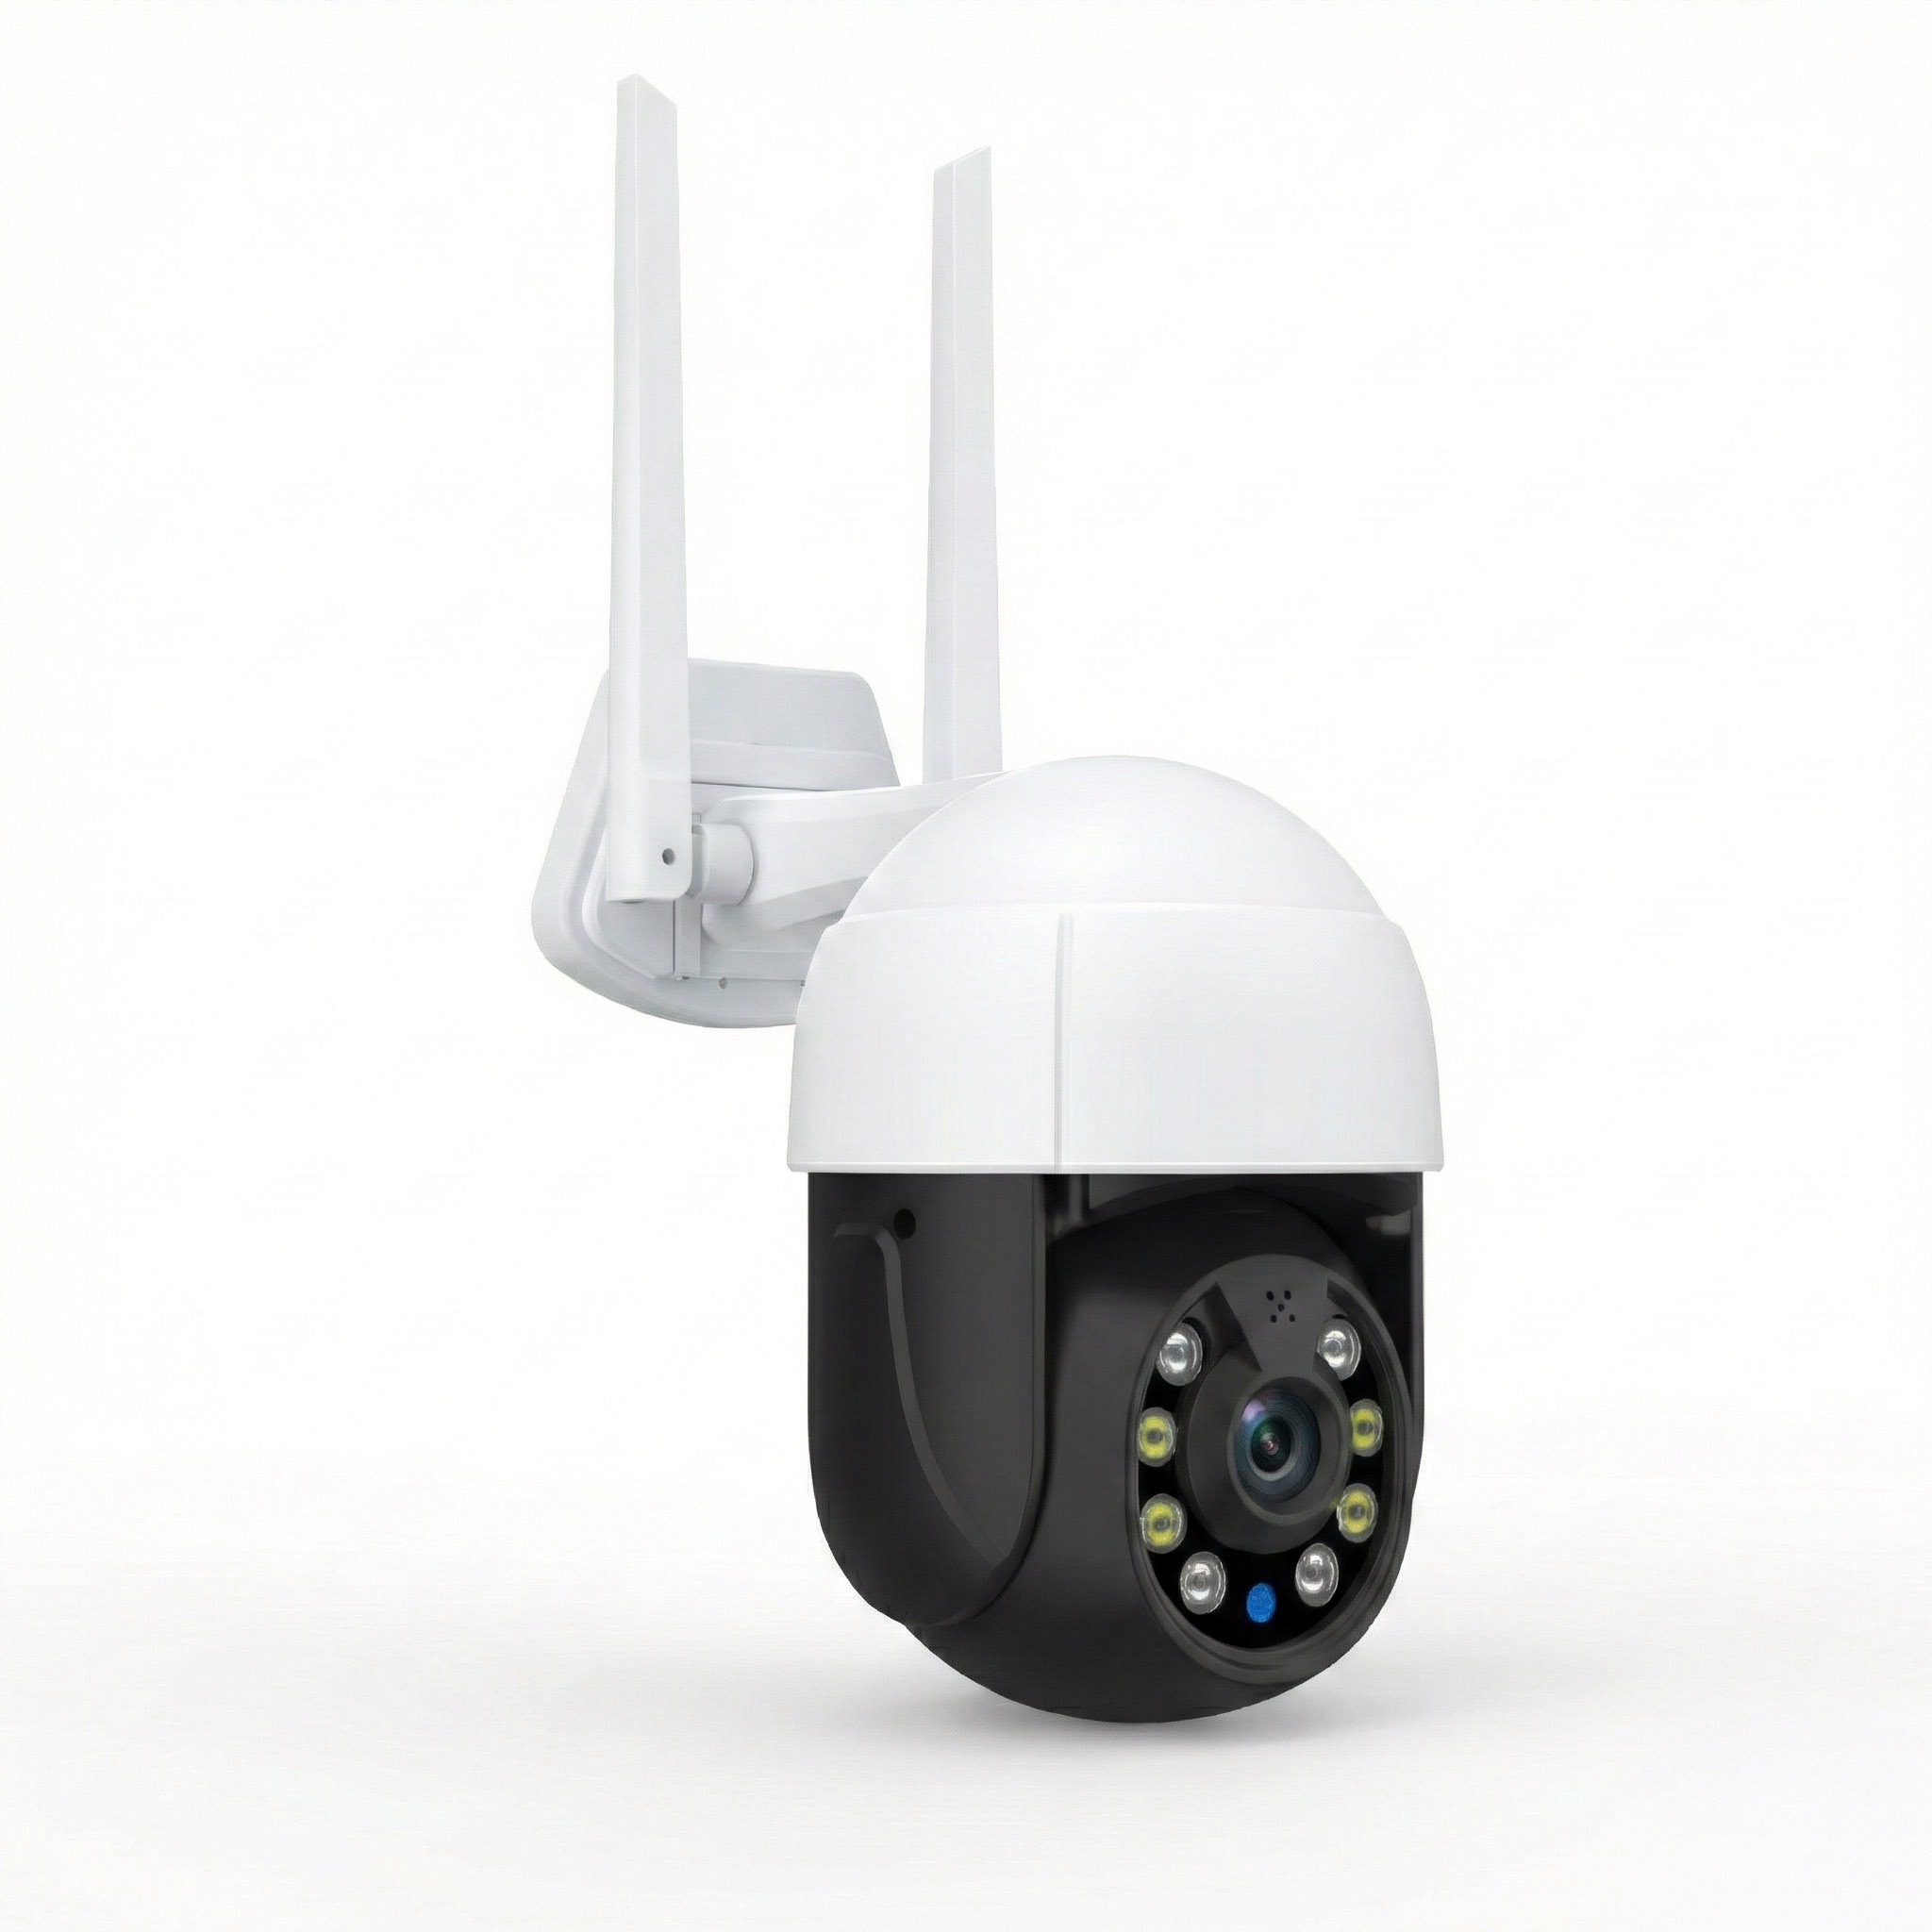
The ROOXIS RXC1, for example, supports 355-degree horizontal pan and 90-degree tilt.
That provides flexibility after installation, but the position of the mounting bracket still matters.
If you mount the camera close to a projecting wall or column, part of its movement may be obstructed.
Give the camera enough clearance to move freely.
Set its normal resting view toward the main entrance or area you want to monitor. That way, the most important location remains visible when you are not manually moving the camera.
Checking WiFi Coverage and Power Sources
Before mounting any wireless security camera, confirm that it can connect to your home network from the proposed location.
Exterior walls often weaken WiFi more than people expect.
A camera mounted just outside a room may receive a poorer signal than a phone inside that room, especially when the wall contains brick, reinforced concrete, metal framing, or foil-backed insulation.
Check WiFi signal strength at the mounting location.
Start by connecting the camera to your wireless network while it is still indoors.
Once pairing is complete, bring the powered camera close to the proposed outdoor mounting position.
Open the live feed on your phone.
Check whether:
-
The video opens without repeated connection errors.
-
The image plays without frequent freezing.
-
Camera controls respond normally.
-
The app reports a usable WiFi signal.
-
The camera remains connected during a few minutes of ordinary operation.
A phone can help you check whether WiFi reaches an area, but the camera itself is the better test.
Different devices have different antennas and wireless capabilities.
Check the supported WiFi band.
Not every security camera supports both 2.4 GHz and 5 GHz.
The ROOXIS RXC1 outdoor camera uses 2.4 GHz WiFi.
If your router broadcasts separate network names, select the 2.4 GHz network during setup.
A 5 GHz-only connection will not work with a camera designed exclusively for 2.4 GHz.
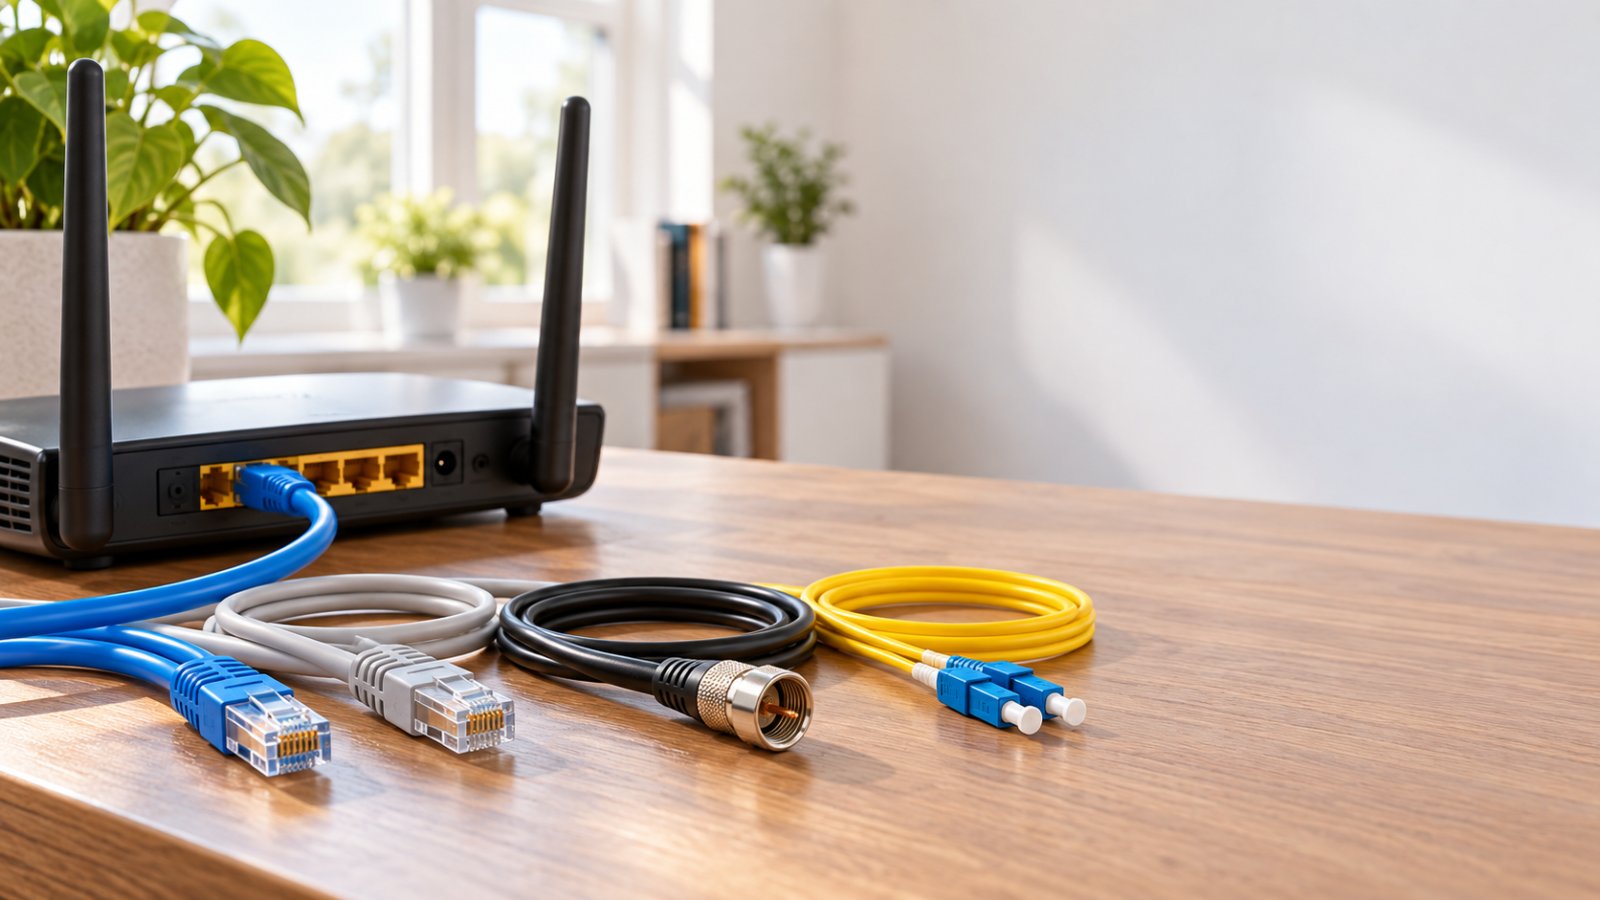
If the camera struggles to connect outside, examine your router's location. A router inside a metal cabinet or behind several walls may provide poor outdoor coverage.
These router placement tips explain how moving a router into a more open position can improve reception.
A range extender may help if the camera's intended location is beyond reliable router coverage. Install the extender where it still receives a strong signal from the router, not directly inside the dead zone.
Check the power requirements.
Wireless does not always mean battery-powered.
Many WiFi security cameras still need a continuous power connection.
The ROOXIS RXC1 uses a DC 12V/2A power adapter.
Check that its power cable can reach an appropriate outlet before selecting the mounting position.
Consider the entire cable route, not just the straight-line distance.
A cable that reaches the camera when pulled tight may be too short once you route it around a doorframe, underneath an eave, and along the wall.
Plan a route that avoids sharp edges, moving doors, and places where the cable could be damaged.
Use the supplied or manufacturer-approved power adapter. Keep the adapter and electrical connections in locations suitable for their weather-exposure ratings.
If you need a new outdoor electrical outlet, have a qualified electrician install it.
Tools and Materials Needed for Security Cameras Installation
You do not need an extensive collection of tools to mount a typical outdoor camera.
A cordless drill, suitable drill bits, a screwdriver, and a stable ladder will handle many straightforward installations.
The important part is matching the tools and fasteners to the material you're drilling into.
Basic installation tools
-
Cordless drill or drill driver: For drilling pilot holes and installing screws.
-
Drill bits: Wood, metal, or masonry bits, depending on the wall.
-
Phillips screwdriver: For tightening bracket screws and small mounting hardware.
-
Tape measure: For checking mounting height and cable length.
-
Pencil or marker: For marking the mounting holes.
-
Spirit level: For aligning the mounting bracket.
-
Stud finder: For locating framing and helping identify potential wall obstructions.
-
Hammer drill: For suitable brick or concrete installations.
-
Allen wrench: For adjustable brackets that use hex-head screws.
-
Stable ladder: For reaching the installation location safely.
A small vacuum or brush is also useful for removing dust from masonry holes before anchors are installed.
Mounting and cable materials
Keep the following ready:
-
Camera mounting bracket.
-
Manufacturer-supplied screws.
-
Suitable wall anchors.
-
Exterior-rated fasteners where required.
-
Weather-resistant cable clips.
-
Outdoor-rated cable protection or conduit.
-
Exterior sealant compatible with the wall.
-
Weatherproof junction box where required.
-
Cable grommets or sleeves for wall penetrations.
-
Compatible microSD card for local recording.
The ROOXIS RXC1 includes a mounting bracket, screws, an Allen wrench, and a power adapter.
However, the hardware included with a camera may not suit every wall type.
Before drilling into brick, concrete, or siding, check whether the supplied fasteners are appropriate.
Choose hardware based on the mounting surface.
| Mounting surface | Recommended tools and hardware | Important precaution |
|---|---|---|
| Solid wood | Wood drill bit and exterior-rated screws | Secure into sound wood or framing |
| Brick | Hammer drill, masonry bit, and suitable anchors | Check the brick condition and anchor requirements |
| Concrete | Masonry drill bit and concrete-rated anchors | Avoid concealed services and reinforcement |
| Stucco | Suitable drill bit, structural fasteners, and sealant | Protect the underlying weather barrier |
| Vinyl siding | Compatible siding mount or structural fastening system | Do not crush or deform the siding |
| Metal surface | Metal drill bit and appropriate fasteners | Protect drilled areas from corrosion |
Use the correct pilot hole size.
Pilot holes make screws easier to install and help reduce damage to the mounting surface.
In wood, the pilot hole should be sized for the screw and material.
For masonry anchors, follow the anchor manufacturer's specified drill diameter and depth.
Do not guess based on the appearance of the screw.
A hole that is too large may leave the anchor loose. A hole that is too small may prevent the anchor from seating correctly.
Inspect the wall before drilling.
Look for electrical outlets, light fixtures, plumbing, and other clues that wiring or pipes may pass through the wall.
Check the opposite side if it is accessible.
A stud finder may help locate framing and certain hidden objects, but it is not a guarantee that the drilling area is clear.
If you cannot establish a safe drilling location, use a qualified installer rather than risking damage to concealed electrical or plumbing services.
Step-by-Step: Mounting an Outdoor Security Camera
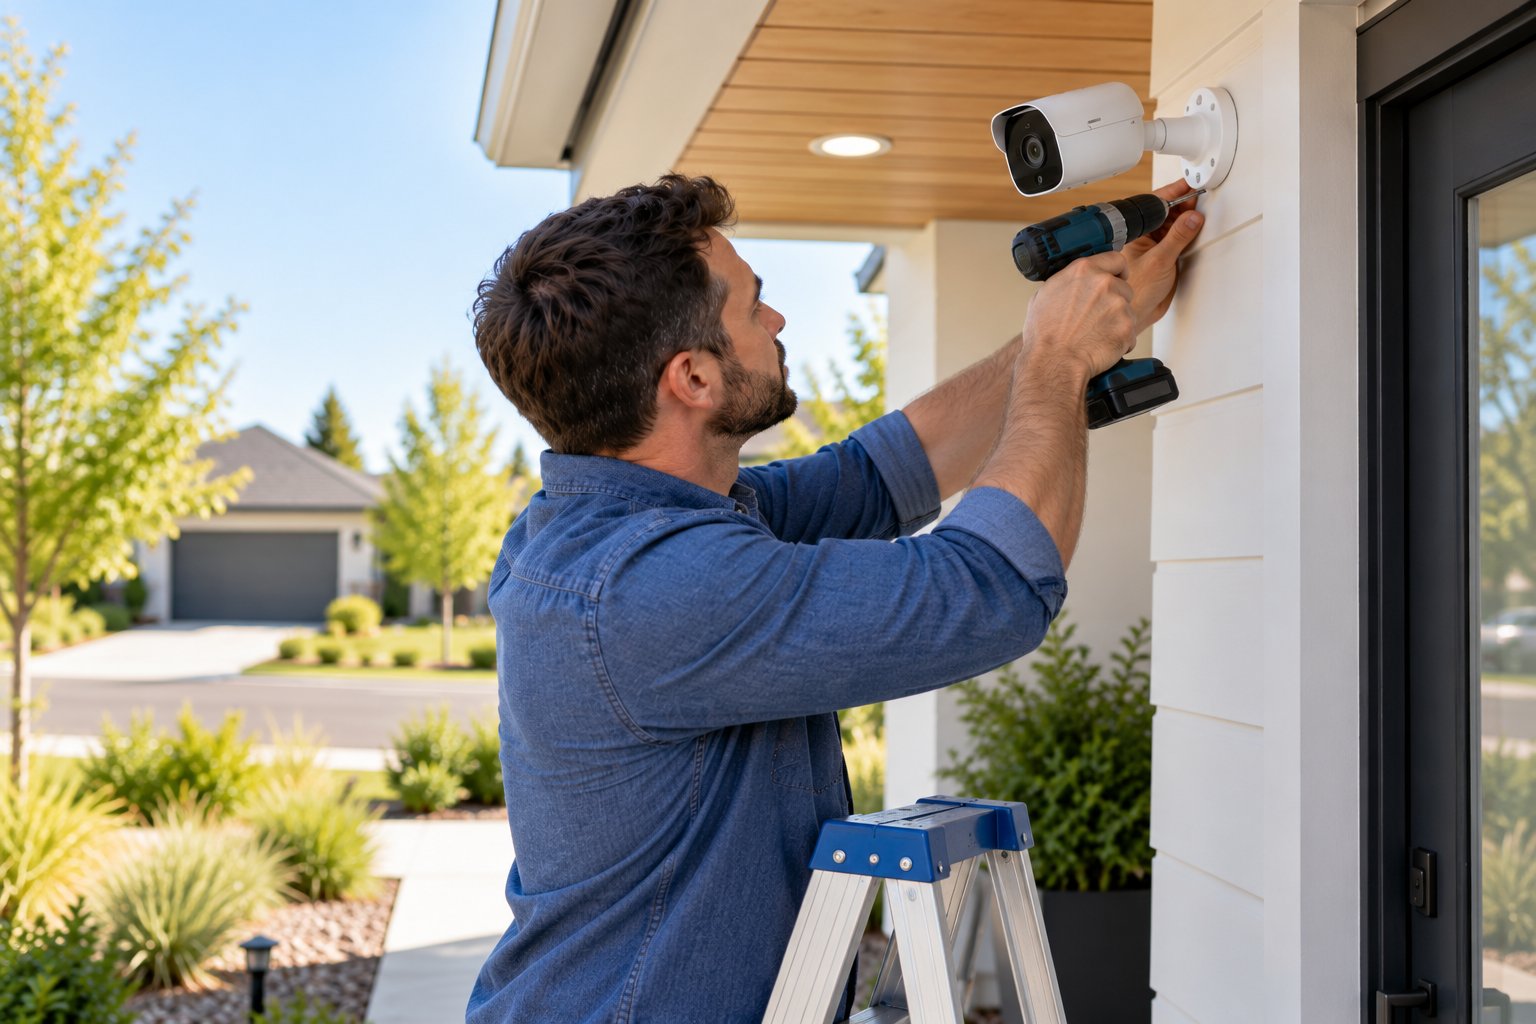
The basic process for mounting outdoor camera equipment is similar across many residential models.
Test the camera, mark the bracket, drill suitable holes, attach the camera, and finish the configuration.
Don't rush into drilling as soon as you open the box.
A few checks before installation can save you from having to remove the bracket and start again.
Step 1: Test the Device and WiFi Signal On-Site
Unbox the camera and inspect it before installing anything.
Check the housing, lens, connectors, and mounting hardware for visible damage.
Make sure the supplied bracket and fasteners match the parts shown in the camera's instructions.
Begin with the basic checks.
-
Connect the camera to its approved power supply.
-
Allow the camera to complete startup.
-
Install the supported mobile application.
-
Pair the camera with your home WiFi network.
-
Open the live video feed.
-
Test the camera controls and motion detection.
-
Confirm that the image is clear.
For the ROOXIS RXC1, the supported application is Smart Life.
Install the app and follow its device-pairing instructions.
During QR-code pairing, hold your phone roughly 6 to 8 inches from the camera lens so the camera can read the displayed code.
Complete pairing using a supported 2.4 GHz WiFi network.
Once the camera is online, check its live feed.
Test the intended installation location.
Move the powered camera near the proposed mounting point.
Keep it securely supported. Do not balance it on a ladder or leave it hanging by its power cable.
If the location is above comfortable reach, ask another adult to help. One person can safely support the camera while the other checks the image on a phone.
Look at the screen carefully.
Does the image include the doorway or gate you want to monitor?
Can you see the approach path?
Are nearby branches, roof edges, or pillars blocking part of the view?
Check the camera's WiFi connection while it is in that position.
If the live feed repeatedly freezes, fix the connection problem before drilling.
A mounting bracket will not improve WiFi reception by itself.
Step 2: Position the Mounting Bracket and Drill Pilot Holes
Once you're satisfied with the proposed location, mark the holes.
For many residential outdoor cameras, begin with a mounting height of approximately 8 to 10 feet.
Check that the location provides enough clearance for the camera housing and any adjustable joints.
Mark the bracket position.
Place the mounting bracket against the wall.
Hold it steady and use a spirit level where appropriate.
Mark each mounting hole with a pencil.
If the camera includes a paper drilling template, use it.
Before drilling, hold the camera near the marked position one final time. Make sure the bracket won't force the camera into an angle that blocks its view.
Drill the pilot holes.
Different wall materials require different methods.
For wood:
Use a suitable wood drill bit.
Secure the bracket into solid wood or framing capable of supporting the camera.
If mounting to exterior trim, check that the trim is sound and firmly attached.
Avoid relying on thin, damaged, or loose boards.
For brick or concrete:
Use a masonry bit of the diameter specified for your chosen anchors.
A hammer drill can make drilling into suitable masonry easier.
Mark the drilling depth using a depth stop or tape on the drill bit.
Drill steadily, keeping the bit aligned with the intended hole.
Remove drilling dust before installing the anchors.
Use anchors rated for the substrate and mounting conditions.
Damaged brick, weak mortar, and deteriorated surfaces may require a different fastening approach.
For vinyl siding:
Consider a compatible siding mount if the accessory is rated for the camera and local exposure conditions.
If permanent fastening is necessary, attach the mounting system to suitable structural backing.
Do not simply tighten screws until the siding panel bends inward.
Vinyl siding needs space for normal temperature-related movement.
For stucco:
The correct approach depends on the stucco system and the wall beneath it.
Use suitable fastening hardware and take care not to damage the weather barrier.
Where appropriate, a purpose-designed mounting block can provide a better installation surface.
Check the holes before proceeding.
Place the bracket against the drilled holes.
Make sure every hole lines up.
Insert the required anchors and confirm they are seated properly.
Do not force screws into misaligned holes. Correct the alignment before securing the bracket.
Step 3: Secure the Camera Base and Route Cables
With the mounting holes ready, attach the bracket.
Insert the anchors where required.
Position the mounting bracket and install the screws.
Tighten them evenly so the bracket sits flat against the wall.
Do not overtighten. Excessive force can crack plastic components or damage softer mounting materials.
Attach the camera to the bracket.
Follow the instructions for your particular mounting system.
Some cameras use screws to connect the camera body to the base. Others slide or lock into a separate bracket.
The ROOXIS RXC1 uses an adjustable bracket with a ball joint.
Position the camera and tighten the joint using the appropriate tool.
Check that it stays in place when you gently adjust it.
A loose bracket may allow the viewing angle to change after installation, especially outdoors.
Plan the cable route carefully.
A powered camera needs a cable route that is both practical and protected.
Where possible, run the cable along an exterior wall or beneath an overhang.
Use weather-resistant cable clips to keep it secure.
Leave enough slack to avoid pulling on the camera connection, but do not leave large loops hanging where they can catch on objects.
Avoid:
-
Sharp bends near connectors.
-
Cable runs across doorways.
-
Loose cables near walkways.
-
Unprotected routes along sharp metal edges.
-
Areas exposed to repeated rubbing or movement.
-
Direct contact with hot surfaces.
If the cable needs to pass through a wall, use a suitable sleeve or grommet.
Create a drip loop.
A drip loop is a downward curve in the cable before it reaches a connection or wall entry.
Its purpose is simple.
Water running along the cable should reach the bottom of the loop and drip off rather than following the cable into the opening.
Position the loop below the point where the cable enters the building or connection enclosure.
Secure the cable so the loop remains in place.
Protect exposed connections.
A weather-resistant camera housing does not make every attached power connector weatherproof.
The ROOXIS RXC1 has an IP66-rated enclosure, which provides protection against dust and water jets under specified test conditions.
That rating applies to the enclosure as designed. It does not mean an indoor-rated power adapter or exposed electrical connector can safely remain in direct rain.
Use suitable outdoor-rated electrical fittings and weatherproof enclosures where required.
Keep the power adapter in a location appropriate for its rating.
Seal wall penetrations using a product compatible with the exterior wall material.
When the installation involves new mains wiring or outlets, use a qualified electrician.
Step 4: Adjust Angle and Finalize Pairing
The camera is now mounted, but the installation is not finished until you check what it records.
Open the live feed from the camera's final position.
Pay attention to the areas that matter rather than trying to include as much scenery as possible.
Adjust the field of view.
For a front entrance, make sure visitors are visible as they approach the doorway and when they stand at the doorstep.
For a driveway, include the parked vehicles and the route toward the garage.
For a backyard, prioritize the rear entrance, patio, and access gate.
Start with a downward angle of around 15 to 30 degrees where appropriate, then adjust based on the image.
If the camera supports pan and tilt, move it through its available range.
Check whether nearby walls, gutters, or roof edges enter the image.
Return it to the main area you intend to monitor.
Configure motion detection zones.
Motion zones allow compatible cameras to prioritize specific parts of the image.
For example, a camera overlooking the driveway might also capture passing vehicles on the street.
Without a carefully selected detection zone, the camera may send notifications for activity that has little to do with your property.
In Smart Life, supported ROOXIS cameras allow adjustment of motion detection settings and areas.
For a driveway camera, focus the zone on the parking area and entrance.
For a front-door camera, prioritize the walkway and doorstep.
Keep unnecessary street activity outside the active zone where the available controls allow it.
Start with a moderate sensitivity setting and make adjustments after testing.
Test motion detection.
Walk through the monitored area.
Check whether the camera detects your movement and sends the expected alert.
Repeat the test at different distances.
Try approaching from the side as well as walking directly toward the camera.
Motion detection performance can vary with distance, movement direction, lighting, and the camera's detection method.
If alerts are missed, adjust the detection area or sensitivity.
If you receive too many unnecessary alerts, narrow the active zone or reduce sensitivity where appropriate.
Check night vision.
Daylight footage can look excellent while nighttime video suffers from reflections or glare.
After dark, open the live feed.
Look for bright areas caused by nearby walls, windows, gutters, or outdoor lights.
If the camera uses infrared night vision, a reflective surface close to the lens may wash out part of the picture.
Move the camera slightly away from the obstruction or adjust the angle.
If the camera has a built-in spotlight, test the lighting settings to find a useful balance between visibility and glare.
Configure local storage.
If the camera supports microSD recording, set it up before considering the installation complete.
The ROOXIS RXC1 supports microSD cards up to 128GB.
Use a compatible Class 10 or higher card as recommended by ROOXIS. For frequent recording, a high-endurance card designed for video surveillance is worth considering.
Insert the card as directed by the camera instructions.
Open Smart Life and locate the storage settings.
Format the card through the app if required.
Choose the available recording mode that suits your needs.
Continuous recording stores footage regularly but uses storage more quickly. Event-based recording saves footage around detected activity when supported.
Confirm that recording works.
Do not assume that inserting a memory card automatically enables recording.
Trigger a test event or create a short recording.
Open the playback section.
Check that the footage is present and plays correctly.
If local storage is part of your security plan, repeat this check periodically.
ROOXIS supports local recording without requiring a paid cloud subscription for that storage method.
Complete a final installation inspection.
Before putting away the ladder and tools, check the following:
-
The mounting bracket is secure.
-
The camera holds its position.
-
The live view covers the intended area.
-
No important part of the image is blocked.
-
Power cables are properly supported.
-
Exterior cable entries are weather-sealed.
-
Electrical connections have suitable protection.
-
The WiFi connection is stable.
-
Motion detection behaves as expected.
-
Night vision works correctly.
-
Local footage can be played back if enabled.
These checks help catch problems while the installation is still fresh.
Common Camera Installation Mistakes to Avoid
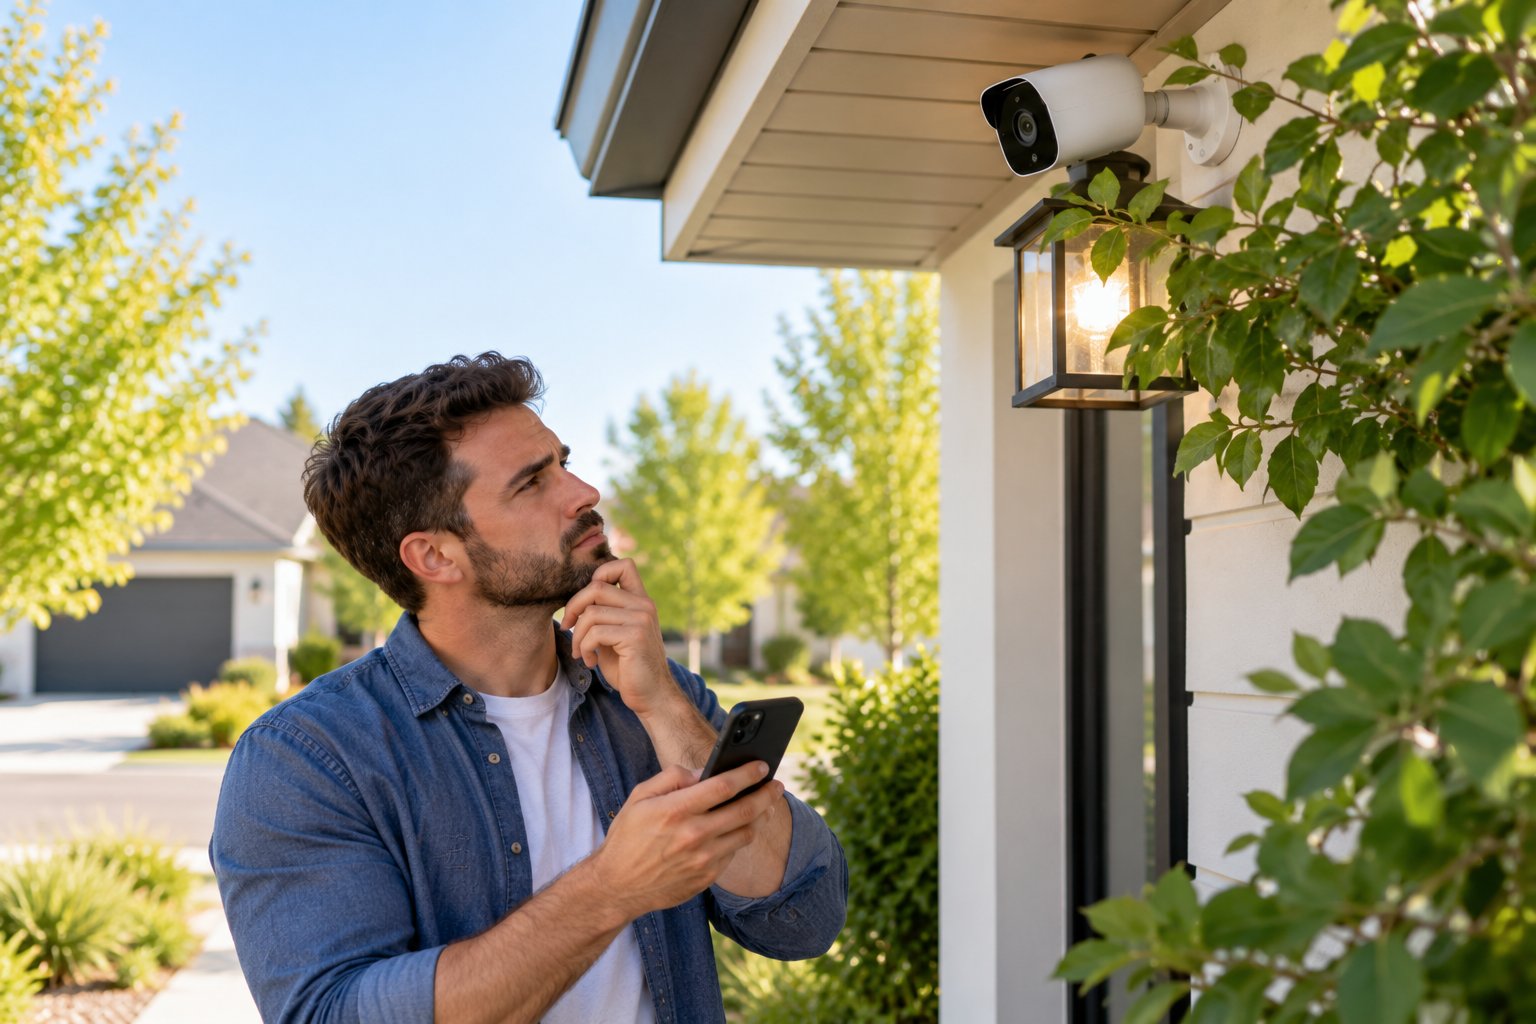
A camera can be mounted securely and still provide disappointing footage.
The most common problems involve mounting height, poor viewing angles, weak WiFi, unsuitable fasteners, or insufficient weather protection.
Most are easier to prevent before drilling than to correct afterward.
1. Installing the camera too high
A camera mounted well above the entrance may show a large area but capture little facial detail.
People close to the building may appear mainly as the tops of their heads.
For a typical residential entrance, start around 8 to 10 feet above ground level.
Check the actual view from that height.
If the camera cannot clearly show people standing near the door, adjust the position or angle.
2. Pointing the camera directly toward the sun
A camera facing strong, low sunlight can produce washed-out images.
Morning and evening glare may be worse than midday glare, depending on which direction the camera faces.
Where possible, mount the camera beneath a suitable roof overhang.
Avoid aiming it directly toward the rising or setting sun.
If glare remains a problem, adjust the camera angle slightly downward or move the mounting point.
Check the image at different times of day before permanently fixing the camera if sunlight is likely to be an issue.
3. Ignoring WiFi signal strength
A camera may pair successfully indoors but struggle after being mounted outside.
Exterior building materials and distance can weaken the wireless connection.
Test the camera at the proposed mounting point before drilling.
If it uses 2.4 GHz WiFi, confirm that the signal from that band reaches the location.
Do not rely entirely on a phone's signal indicator.
The camera's own live feed and connection status provide more relevant information.
4. Using the wrong mounting anchors
A screw that holds firmly in wood may not provide a secure fixing in brick or concrete.
Similarly, a small drywall anchor is not a suitable substitute for masonry hardware.
Use screws and anchors designed for the actual wall material.
Check their load capacity and installation requirements.
On vinyl siding, fasten to appropriate structural material or use a compatible mounting accessory.
Never rely on loose trim or unsupported panels for a permanent exterior installation.
5. Leaving power connections exposed
An outdoor camera may be weather-resistant while its power adapter is intended for a protected location.
Do not leave indoor-rated adapters or unprotected plugs in direct rain.
Use electrical fittings suitable for outdoor conditions.
If necessary, install an appropriate weatherproof enclosure.
For new electrical outlets or changes to fixed wiring, hire a qualified electrician.
6. Forgetting cable weatherproofing
A poorly sealed cable entry can allow water to enter the wall.
Use appropriate grommets or sleeves and compatible exterior sealant.
Include a drip loop where suitable.
Protect the cable from sharp edges and repeated movement.
Check the sealant and cable condition during routine exterior maintenance, particularly after severe weather.
7. Setting motion sensitivity too high
High motion sensitivity can generate frequent notifications from ordinary movement.
Passing cars, moving vegetation, or shifting shadows may trigger alerts depending on the camera's detection system.
Start with moderate sensitivity.
Use motion detection zones to focus on entrances and other useful areas.
Test the settings by walking through the monitored space.
Adjust them based on actual alerts rather than assuming the highest sensitivity is always best.
8. Failing to check nighttime footage
A camera can have a clear daytime picture and poor nighttime visibility.
Nearby white walls or reflective objects can create infrared glare.
Outdoor lights may also cause bright spots or reduced contrast.
Check the camera after dark.
If the image is washed out, change the angle or adjust lighting settings.
Night testing is particularly important for entrance cameras that may need to record visitors after sunset.
9. Assuming wireless means battery-powered
A wireless camera may still require a power cable.
The ROOXIS RXC1, for example, uses a DC 12V/2A adapter.
Check the power requirements before choosing a mounting point.
Do not buy a WiFi camera assuming it can operate without an electrical connection.
If there is no suitable power source at the intended location, select equipment designed for battery operation or arrange a safe electrical supply.
10. Not testing local recording
A working live feed does not prove that footage is being saved.
If you use a microSD card, confirm that the camera recognizes it and that recording is enabled.
Trigger a test recording.
Open the playback section and check the footage.
Storage cards can wear out or fail, especially with frequent recording.
Check the storage status periodically and replace the card if the camera reports errors.
Quick installation checklist
| Installation area | What to check | Why it matters |
|---|---|---|
| Camera height | Start around 8 to 10 feet | Balances coverage and useful image detail |
| Viewing angle | Aim at entrances and expected movement | Keeps relevant activity in view |
| WiFi connection | Test the live feed at the mounting position | Helps prevent buffering and dropouts |
| Mounting bracket | Secure to suitable structural material | Prevents unwanted movement |
| Pilot holes | Use the correct drill bit and anchor size | Protects the wall and improves fastening |
| Weatherproofing | Seal penetrations and protect connections | Reduces moisture-related problems |
| Motion detection | Configure useful detection areas | Limits unnecessary notifications |
| Night vision | Check the view after dark | Reveals glare and lighting problems |
| Local storage | Test recording and playback | Confirms footage is being saved |
When should you hire a professional installer?
Many homeowners can install a camera on an accessible exterior wall.
However, not every location is suitable for a DIY installation.
Professional help is worth considering when:
-
The camera must be installed high above the ground.
-
The mounting location is difficult to reach safely.
-
New electrical wiring or an exterior power outlet is required.
-
The wall contains unknown services or complicated structural elements.
-
The installation involves a fragile or specialist exterior cladding system.
-
Several cameras require concealed cable routes.
-
You cannot safely identify an appropriate drilling location.
A professional can also help where waterproofing or structural details make drilling risky.
For a straightforward installation, use suitable tools, follow the camera instructions, and avoid taking shortcuts with power connections or mounting hardware.
Frequently Asked Questions
How high should outdoor security cameras be mounted?
For most homes, begin with a mounting height of approximately 8 to 10 feet above ground level. This provides a useful balance between coverage, image detail, and keeping the camera above easy reach. Adjust the final position based on the camera's field of view and the distance to the entrance or area being monitored.
Do wireless security cameras need to be plugged into power?
Some wireless security cameras operate on rechargeable batteries, but others require a continuous power connection. Wireless usually refers to the way the camera connects to your network, not necessarily how it receives electricity. The ROOXIS RXC1 outdoor camera uses a specified DC 12V/2A power adapter.
How do I ensure a strong WiFi connection for outdoor cameras?
Connect the camera to your home network and test its live feed at the proposed mounting location before drilling. Use the correct WiFi band, such as 2.4 GHz for the ROOXIS RXC1, and check that the connection remains stable. If reception is weak, improve router placement or use a properly positioned WiFi extender where appropriate.
Can I install security cameras on brick or siding without damaging the wall?
You can mount cameras on brick or siding using suitable hardware, although drilling creates permanent holes and requires care. Brick usually needs compatible masonry bits and anchors, while some siding installations can use a properly rated mounting accessory that avoids drilling. If you drill through an exterior surface, protect the penetration against moisture and secure the mount to suitable structural material.
How do I prevent direct sunlight or glare on the camera lens?
Mount the camera beneath a suitable roof overhang where possible, and avoid aiming it directly toward strong morning or evening sunlight. Adjust the angle to reduce excessive sky and reflections from nearby surfaces. Check the live image in daylight and after dark, since outdoor lights and infrared reflections can also cause glare.
Conclusion
A reliable outdoor camera installation comes down to a few practical decisions: mount the camera at a suitable height, aim it toward the activity you want to record, check WiFi before drilling, and protect the mounting hardware and electrical connections from weather.
ROOXIS outdoor security cameras offer features such as WiFi connectivity, adjustable viewing angles, motion detection, night vision, and local microSD recording. With careful installation and a properly configured network, they can provide a useful way to monitor entrances, driveways, and outdoor areas without relying on a paid cloud recording subscription.