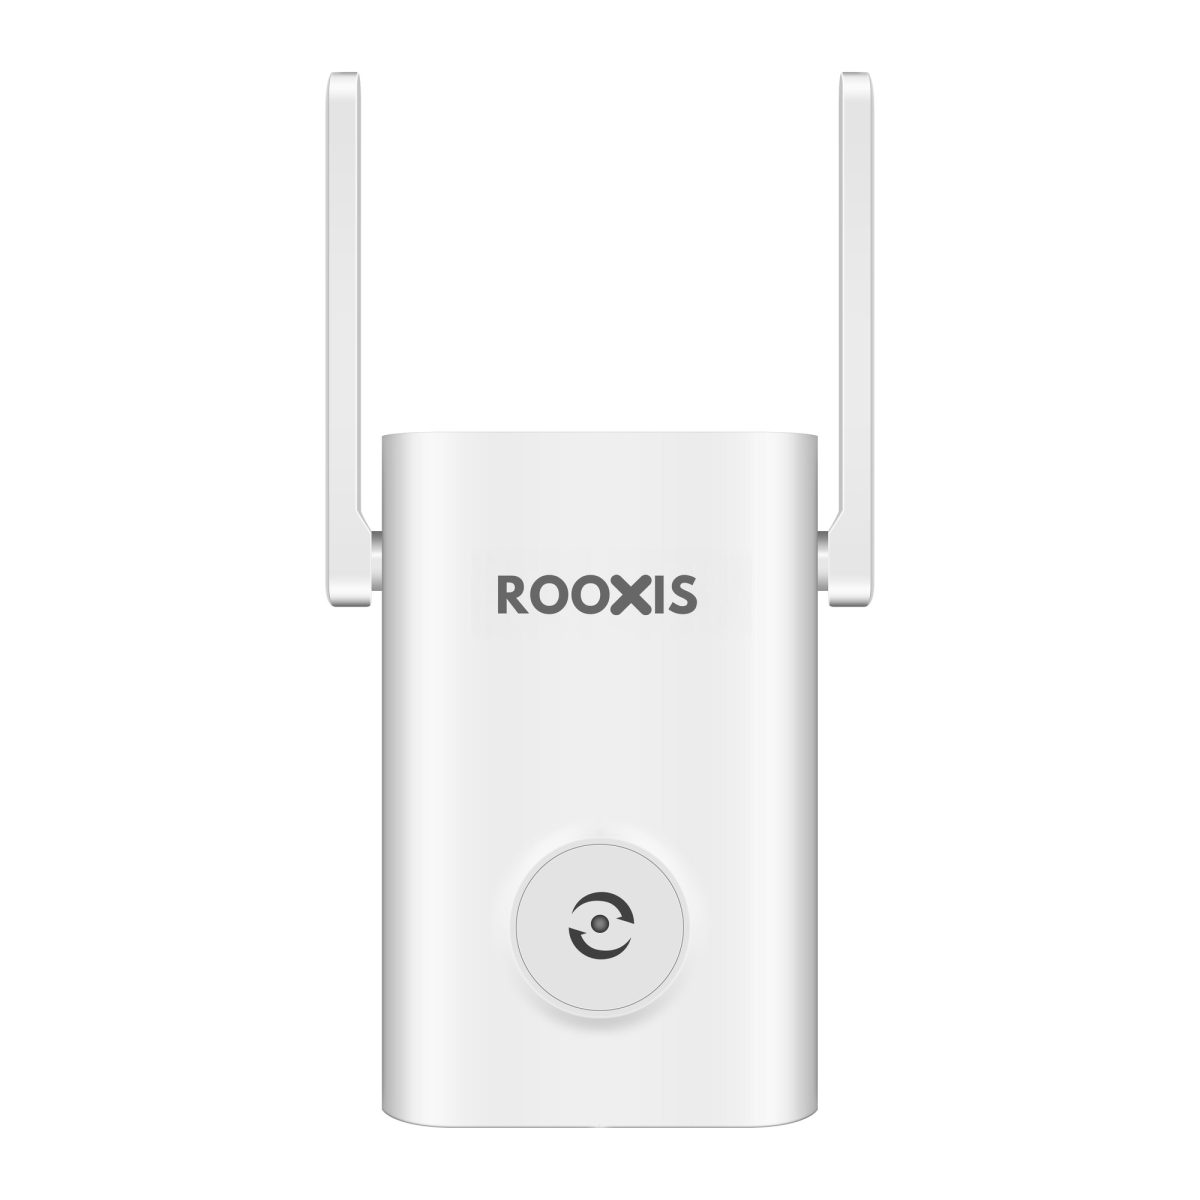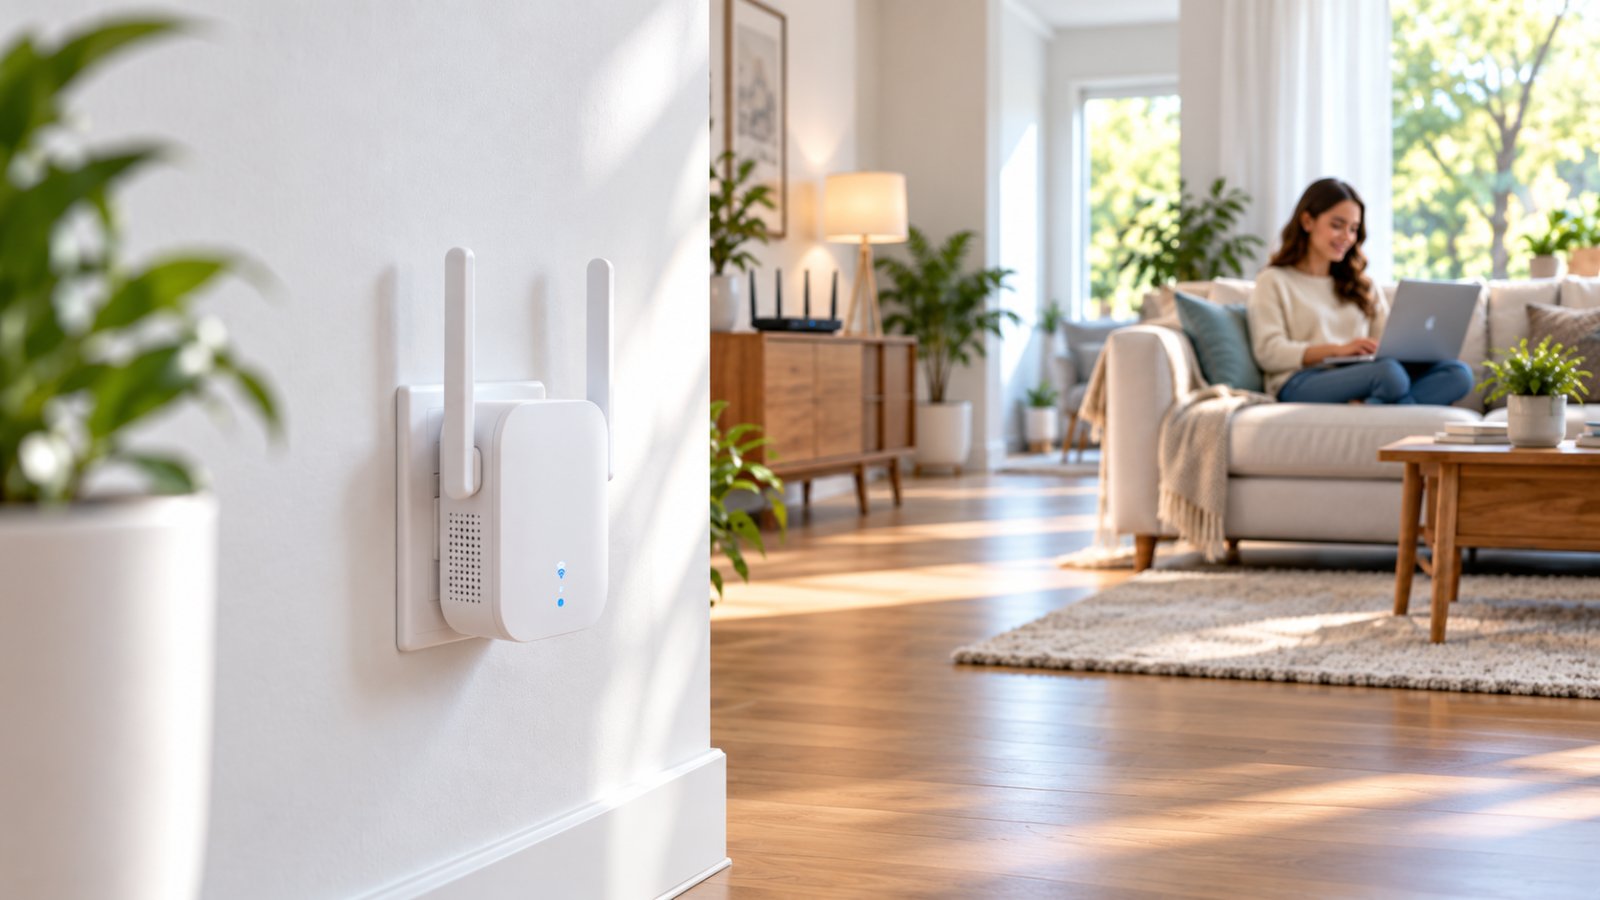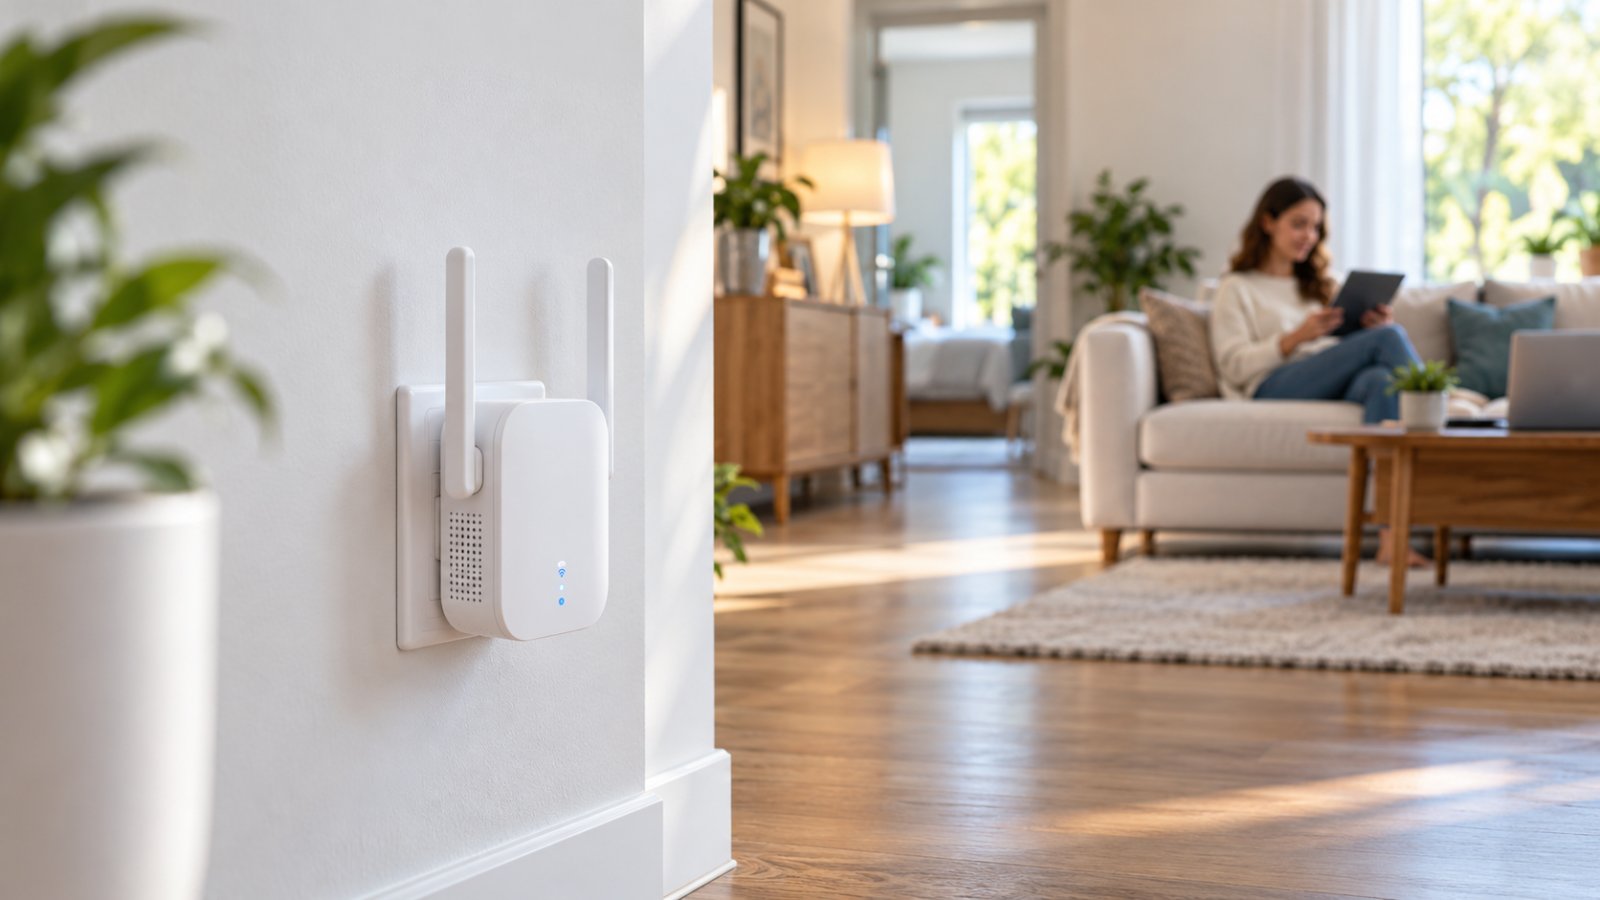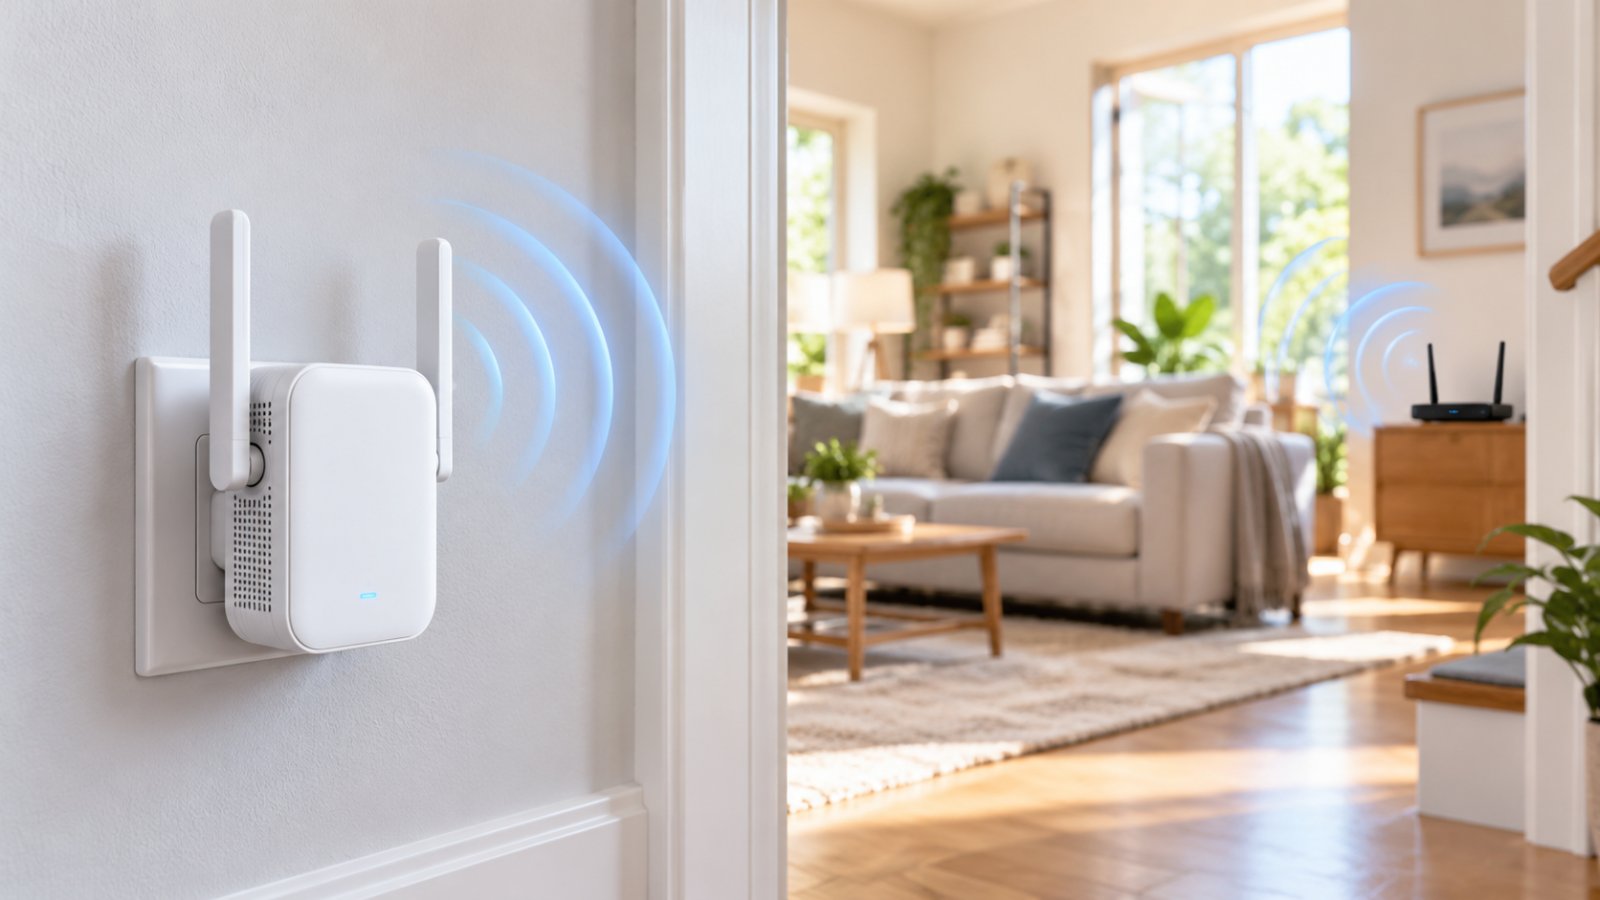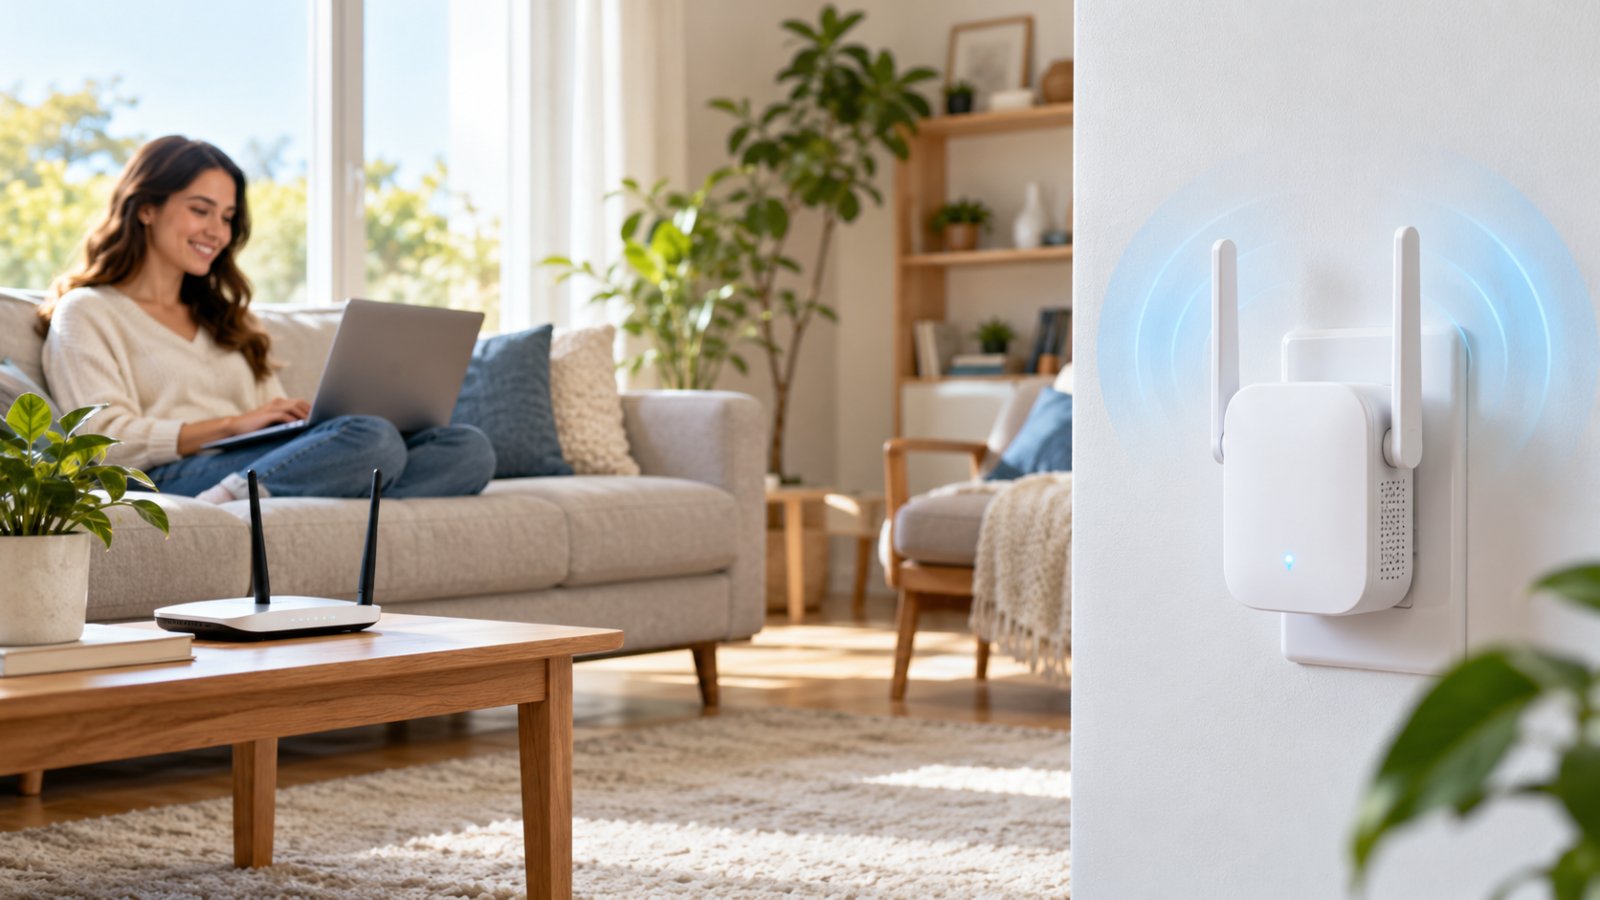
The ROOXIS WiFi extender helps improve wireless coverage in rooms where your main router's signal is too weak for a reliable connection. You can set it up using the WPS button or through a web browser, then place it somewhere between your router and the area with poor reception.
If your internet works well in the living room but struggles in an upstairs bedroom, home office, or garage, a WiFi extender may help. The ROOXIS AC1200 model supports both 2.4 GHz and 5 GHz networks, includes an Ethernet port, and offers two setup methods.
This guide explains how to set up your ROOXIS extender, what its features actually do, where to place it, and how to fix common connection problems.
Overview of the ROOXIS WiFi Extender
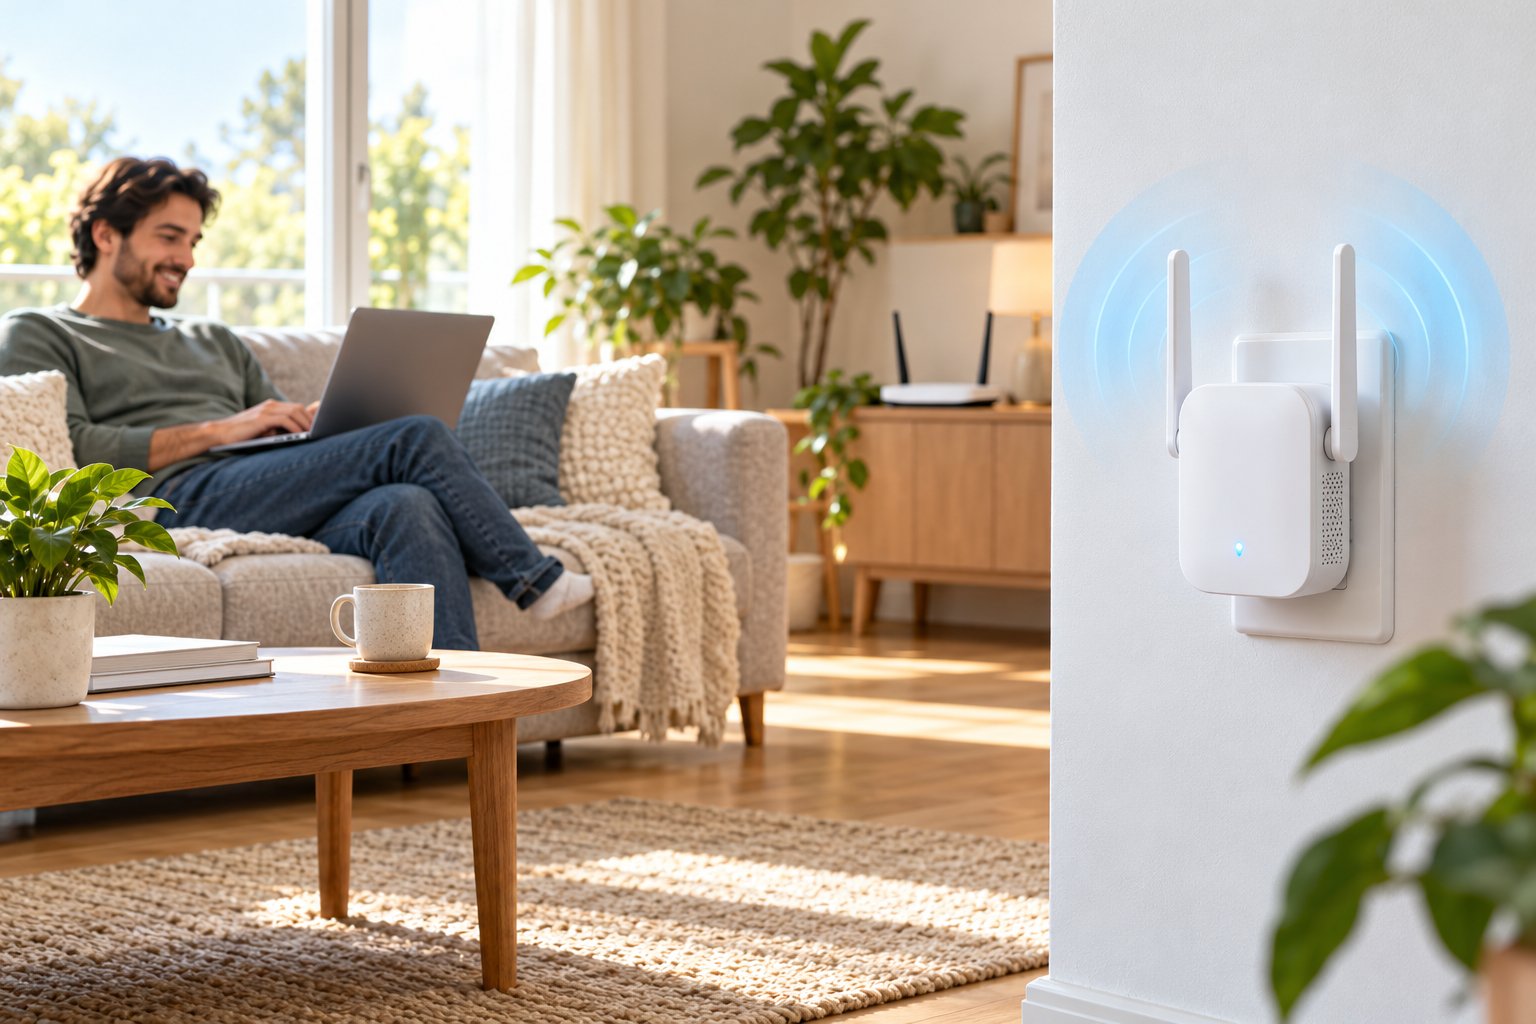
A WiFi extender is designed to improve wireless coverage in areas where your existing router struggles to provide a usable signal.
For example, your router might sit in the living room while your home office is two rooms away. The internet works normally near the router, but video calls freeze or websites take longer to load in the office.
An extender can help by receiving the router's wireless signal and making that connection available farther away.
The ROOXIS WiFi Extender Signal Booster AC1200 is designed for this purpose. It supports dual-band wireless connectivity and provides several ways to connect devices around the home.
Its main features include:
-
Dual-Band WiFi: Supports both 2.4 GHz and 5 GHz wireless networks.
-
AC1200 wireless class: Advertised wireless link rates of up to 300 Mbps on 2.4 GHz and 867 Mbps on 5 GHz.
-
WPS connection: Allows quick pairing with compatible routers using a button.
-
Browser-based setup: Lets you configure the extender from a smartphone, tablet, or computer.
-
Ethernet Port: Supports a wired connection for compatible devices.
-
Repeater Mode: Extends an existing WiFi network wirelessly.
-
Access Point Mode: Creates WiFi coverage using an Ethernet connection to the main network.
-
External antennas: Help transmit and receive wireless signals.
ROOXIS also provides an LED indicator that helps you identify whether the extender is connected properly and whether its position needs adjusting.
One useful distinction is that an extender does not create a separate internet connection.
It relies on your existing router. If your internet connection is slow even when you sit next to the router, adding an extender will not solve the underlying problem.
Likewise, an extender cannot guarantee that every room will receive the same connection speed. Thick walls, concrete floors, nearby wireless networks, and the router's position all influence the results.
Choosing Between Repeater Mode and Access Point Mode
The ROOXIS extender supports two operating modes.
Repeater Mode is generally easier to set up because it does not require a network cable between the router and extender.
The extender connects to your router over WiFi and broadcasts an extended wireless connection.
This is useful when you want better reception in a bedroom, hallway, or another part of the house without installing additional wiring.
Access Point Mode works differently.
Instead of relying on a wireless connection back to the router, the extender receives its network connection through an Ethernet cable.
For example, if your home office already has an active Ethernet wall socket connected to your router, Access Point Mode may provide a more consistent connection than repeating WiFi through several walls.
Both options have their uses. The right choice depends on your home's layout and whether Ethernet wiring is available.
You can review the product details on the ROOXIS AC1200 WiFi extender page.
ROOXIS networking equipment is also available through Amazon, and the extender does not require a subscription to perform its normal network extension functions.
Key Specifications and Dual-Band Performance
Before starting your ROOXIS extender setup, it helps to understand what the AC1200 rating means.
The specifications explain what the device supports, but they do not guarantee a particular internet speed or coverage distance in your home.
| Feature | ROOXIS AC1200 Specification | Practical Benefit |
|---|---|---|
| WiFi technology | AC1200 Dual-Band | Supports 2.4 GHz and 5 GHz connections |
| 2.4 GHz band | Up to 300 Mbps theoretical link rate | Useful for longer distances and some wall obstructions |
| 5 GHz band | Up to 867 Mbps theoretical link rate | Higher wireless capacity over shorter distances |
| Wireless compatibility | 802.11ac and compatible earlier standards | Works with many existing routers |
| Antennas | Two external dual-band antennas | Support wireless signal transmission and reception |
| Ethernet Port | One 10/100 Mbps port | Connects compatible wired devices |
| Operating modes | Repeater and Access Point | Supports wireless or wired network extension |
| Setup methods | WPS and web browser | Allows different configuration options |
| Status LED | Blue, yellow, red, and blinking states | Helps identify connection quality and setup problems |
AC1200 Speeds on 2.4 GHz and 5 GHz Bands
The term AC1200 describes a wireless performance class.
For the ROOXIS extender, the advertised maximum link rates are:
-
2.4 GHz: Up to 300 Mbps
-
5 GHz: Up to 867 Mbps
These figures represent theoretical wireless link rates under suitable conditions.
They do not mean that one device will receive both speeds combined, or that your internet connection will reach those speeds.
For instance, if your internet plan provides 100 Mbps, an AC1200 extender cannot increase that internet service to 300 Mbps or 867 Mbps.
Your actual speed also depends on how well the extender communicates with your router.
Understanding the 2.4 GHz Band
The 2.4 GHz band generally provides better reach than 5 GHz.
It can be helpful for devices located farther away or separated by walls.
Common examples include:
-
Smart plugs and other connected household devices
-
Wireless printers
-
Basic security cameras
-
Older phones and tablets
-
Devices that only support 2.4 GHz WiFi
However, the 2.4 GHz band is frequently crowded.
Neighboring WiFi networks, Bluetooth equipment, and some household electronics can contribute to interference.
That can affect connection quality even when the signal appears reasonably strong.
Understanding the 5 GHz Band
The 5 GHz band offers greater wireless capacity at shorter distances.
It is often a good choice for:
-
Laptops used for video calls
-
Smart TVs streaming high-resolution video
-
Modern smartphones
-
Tablets used near the extender
-
Computers transferring files across a local network
The trade-off is range.
A 5 GHz connection can weaken more quickly through walls, floors, and other obstacles.
Imagine that your laptop sits in a bedroom one wall away from the extender. The extended 5 GHz connection may perform well there.
Move into a room separated by several walls, and the 2.4 GHz connection might become more reliable.
The practical rule is to choose stability over the highest advertised speed.
If a device frequently disconnects from 5 GHz, test the 2.4 GHz network before assuming the extender is faulty.
What Affects Actual Extender Performance?
Several factors determine the connection speed you experience.
Your internet plan: An extender cannot provide internet speeds above what your internet service and router deliver.
Router-to-extender distance: If the extender receives a poor signal, it has less usable capacity to pass along to connected devices.
Walls and building materials: Concrete, brick, metal, and reinforced floors can weaken WiFi signals.
Wireless interference: Nearby routers and electronic equipment may compete for wireless channels.
Connected devices: Multiple active devices share available network capacity.
Repeater operation: Wireless repeating uses capacity to receive data from the router and transmit it again to connected devices.
ROOXIS also lists 2x2 MU-MIMO support. This technology can help compatible wireless equipment handle multiple data streams more efficiently, although the benefit depends on the devices and network conditions.
Do not judge the extender solely by the AC1200 label. What matters most is whether it delivers a stable connection in the rooms where you need it.
Ethernet Port Functionality for Wired Devices
The ROOXIS AC1200 extender includes a 10/100 Mbps Ethernet port.
This port can be useful when you have a device with an Ethernet connection but an unreliable built-in WiFi connection.
For example, some smart TVs struggle to maintain WiFi reception when installed near a wall or behind other electronics.
You can connect the TV to the extender with an Ethernet cable.
In Repeater Mode, the extender still communicates wirelessly with your router, but the TV uses a cable for its connection to the extender.
This may reduce interruptions between the TV and extender.
Other devices that may benefit include:
-
Desktop computers
-
Smart TVs
-
Game consoles
-
Network-enabled media players
-
Printers with Ethernet connections
There is one limitation worth understanding.
The Ethernet port supports a maximum wired link rate of 100 Mbps. A device connected through that port cannot use a faster wired link through the extender.
For everyday browsing and many streaming tasks, that may be sufficient. For large file transfers or faster internet plans, it can become a bottleneck.
Using the Ethernet Port in Access Point Mode
In Access Point Mode, the Ethernet port provides the connection from your main network to the extender.
This can be useful if you have an Ethernet cable reaching a room where the router's WiFi is weak.
Instead of repeating a distant wireless signal, the ROOXIS device creates local wireless coverage from the wired network connection.
The benefit is that the link back to the router no longer depends on WiFi reception.
Keep in mind that the port's 100 Mbps rating still applies.
How to Set Up Your ROOXIS WiFi Extender
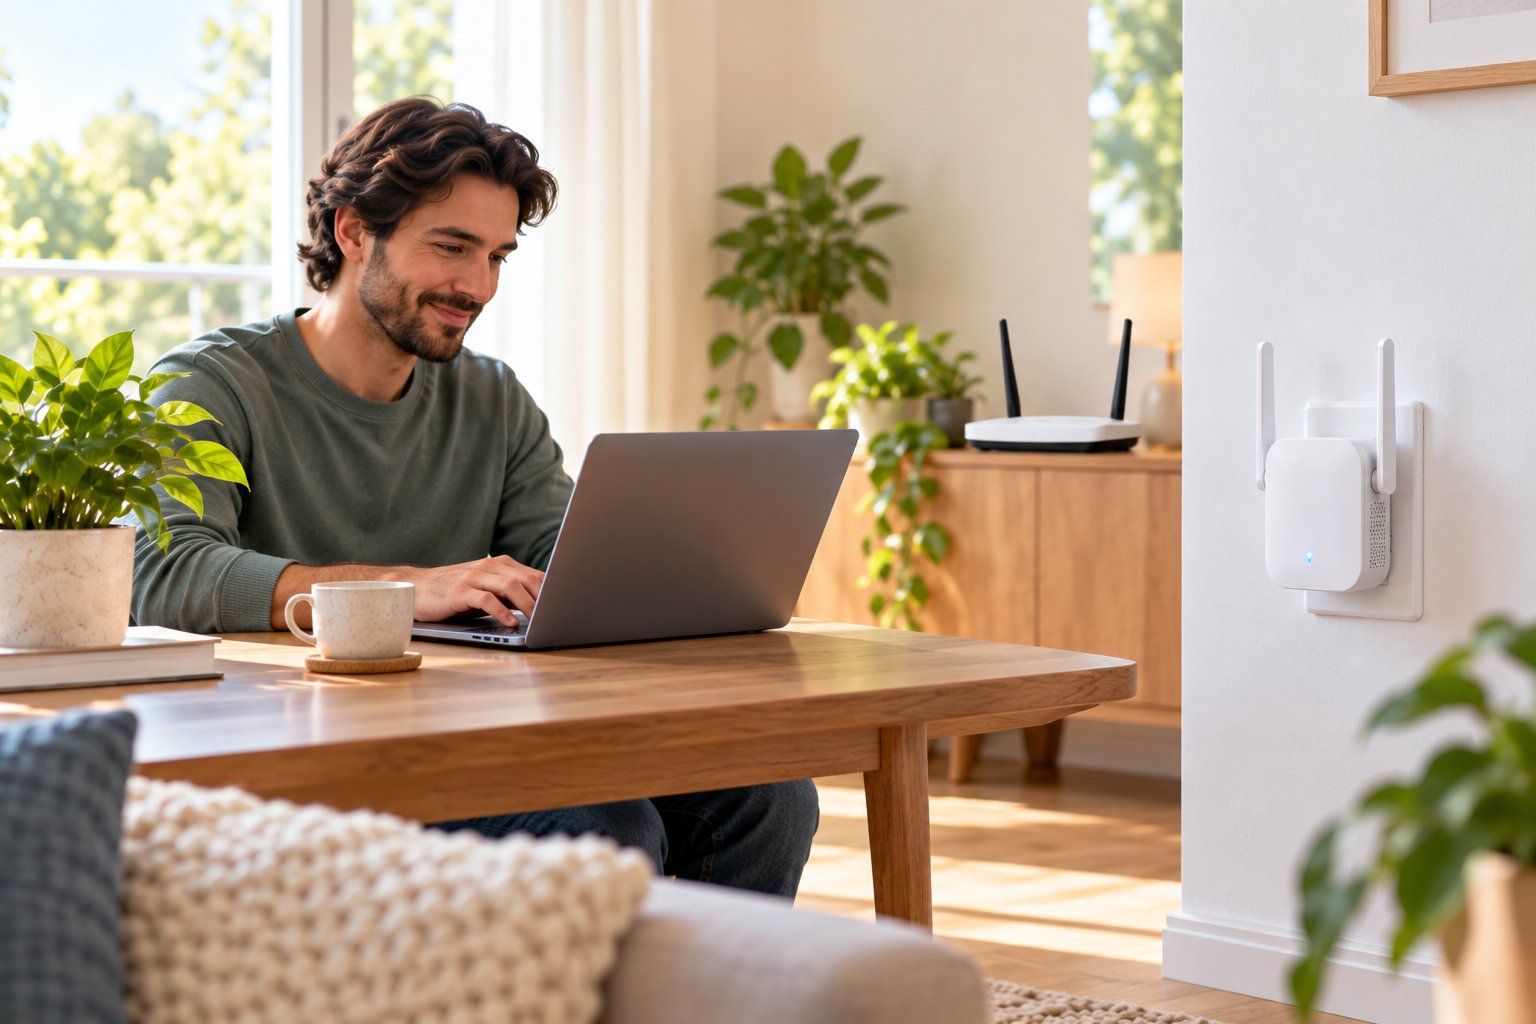
If you are wondering how to setup ROOXIS WiFi extender hardware for the first time, you have two main options.
The first is WPS pairing, which uses the buttons on the router and extender.
The second is browser setup, which lets you select your home network and enter its password manually.
For either method, begin with the extender plugged into an outlet near your main router.
Do not start by placing it in the room with the weakest signal. Complete the initial setup first, then move the extender to the location where it will be used.
Method 1: One-Touch WPS Setup
WPS stands for Wi-Fi Protected Setup.
It allows compatible networking devices to establish a wireless connection using their pairing buttons.
This method is convenient when your router supports WPS and the feature is enabled.
Step 1: Plug in the ROOXIS extender
Choose a wall outlet close to your router.
Connect the extender to power and allow it to complete its startup process.
Keep the antennas upright and avoid placing the device behind furniture during setup.
Step 2: Locate the WPS button on your router
Find the button labeled WPS.
Some routers use a WPS symbol instead of a written label.
Press the router's WPS button for approximately two seconds, as described in ROOXIS's setup instructions, then release it.
Your router may have a different button procedure, so follow its manual if necessary.
Step 3: Press the WPS button on the extender
Within two minutes of activating WPS on the router, press the ROOXIS extender's WPS button.
Hold it for approximately two seconds and release it.
The extender will attempt to establish a connection with the router.
Step 4: Wait for the connection indicator
Give the devices time to complete the pairing process.
According to ROOXIS's setup guidance, a solid blue indicator means the extender has established a good connection.
If the indicator turns red or pairing does not complete, repeat the process with the devices close together.
Step 5: Find the extended WiFi network
After pairing, the extender normally creates wireless network names based on your existing WiFi name.
The default naming pattern is:
-
Original network: HomeNetwork
-
Extended 2.4 GHz network: HomeNetwork_EX
-
Extended 5 GHz network: HomeNetwork_5G_EX
These are examples of the naming pattern. Your actual names depend on your router and extender configuration.
Step 6: Connect your devices
Open WiFi settings on your phone, laptop, or tablet.
Select the appropriate extended network.
The extender normally uses the original router's WiFi password for the extended networks.
Enter that password if requested, then open a familiar website to confirm that the connection works.
What if WPS does not work?
First, confirm that your router supports WPS and that pairing is enabled.
Some routers restrict WPS when certain wireless security settings are active.
Also check the timing. The extender's WPS button needs to be pressed while the router is accepting pairing requests.
If you cannot establish a connection, use the browser setup method instead.
Once pairing is complete, you can review whether WPS needs to remain enabled on your router. Disabling unused WPS functionality is a sensible security precaution when the router permits it without disrupting your existing connection.
Method 2: Web Browser Setup via Mobile or PC
Browser setup is useful when your router has no WPS button, pairing fails, or you want more control over the extender's network settings.
You can complete the process using a smartphone, laptop, tablet, or desktop computer with WiFi.
Step 1: Power on the extender
Plug the ROOXIS extender into an outlet near your router.
Wait until the device finishes starting.
If the extender has been used with another network, you may need to reset it before setting it up again.
Step 2: Connect to the extender's setup network
Open your device's WiFi settings.
Look for the default network name shown on the ROOXIS extender's label.
The setup network may begin with @ROOXIS.
Select that network and connect to it.
Do not guess the network name if several unfamiliar networks appear. Check the label on your specific device.
Step 3: Stay connected to the setup network
Your phone might display a message saying that the selected WiFi network does not provide internet access.
That is expected during initial configuration.
The extender has not yet connected to your router.
Some smartphones automatically switch to mobile data or another available WiFi network when the current connection has no internet.
If that happens, temporarily disable automatic switching or reconnect to the extender's setup network.
Step 4: Open the configuration page
Launch a web browser.
Enter the following address directly into the address bar:
192.168.8.1
ROOXIS also documents home.to as an alternative local setup address.
The configuration page should open when your phone or computer is connected to the extender's setup network.
If it does not appear, confirm the WiFi connection before changing browser settings.
Step 5: Select the operating mode
Choose the mode that matches how you plan to connect the extender.
For a wireless connection to your existing router, select Repeater Mode.
For a wired connection from your router or an active Ethernet network outlet, select Access Point Mode.
Most households installing an extender without additional network cables will use Repeater Mode.
Step 6: Select your home WiFi network
In Repeater Mode, allow the extender to scan for nearby wireless networks.
Select your main router's network from the available list.
If you live in an apartment building, pay attention to the network names. Several neighboring routers may have similar names.
Choose the correct one before entering your password.
Step 7: Enter the WiFi password
Enter the password used to connect devices to your main router.
Check it carefully.
WiFi passwords are case-sensitive, and an incorrect character can prevent the extender from connecting.
If you recently changed the router password, use the current one rather than a password saved on an older device.
Step 8: Save the settings
Apply the configuration and allow the extender to restart.
Do not unplug it while the settings are being saved.
Wait until the connection indicator settles into its normal connected state.
Step 9: Connect to the extended network
Return to your phone or computer's WiFi settings.
Select the extended network created during configuration.
Enter its password if requested.
Open a website or use an app that requires internet access to verify the connection.
Setting Up Access Point Mode
If you selected Access Point Mode, connect an Ethernet cable from your router or active home network connection to the extender.
Follow the configuration prompts for the wired operating mode.
After setup, connect a phone or laptop to the new WiFi network and test internet access.
Access Point Mode is worth considering when a network cable already reaches the area where you want stronger WiFi.
Final setup check
Once either setup method works, unplug the extender and move it to the intended location.
Allow it to restart and reconnect.
Check the connection indicator again.
An extender can work perfectly beside the router and still perform poorly after being moved too far away. Always test it from the room where you actually need coverage.
Optimal Placement Tips to Eliminate Dead Zones
Dead zones are areas where WiFi reception becomes weak or unreliable.
They commonly appear in rooms separated from the router by several walls, on different floors, or at the far end of a building.
A WiFi extender can help improve coverage in these areas, but its placement matters.
The most common mistake is plugging the extender directly into the dead zone.
That may create a strong-looking WiFi network on your phone, while the extender itself has a poor connection to the router.
The result can be slow internet or repeated disconnections.
Start Between the Router and the Problem Area
Begin with an outlet somewhere between the router and the room with weak reception.
However, do not assume the exact midpoint is always best.
A thick concrete wall may weaken the signal more than several meters of open hallway.
If possible, choose a location with fewer physical obstacles between the extender and the router.
For example, in a two-story home, an outlet near the staircase may work better than one inside a bedroom behind several walls.
In a long house, a hallway outlet can provide a more open path for wireless signals.
Use the ROOXIS LED Indicator
The ROOXIS AC1200 uses indicator lights to help you understand its connection status.
| LED Indicator | Meaning | What You Should Do |
|---|---|---|
| Solid blue | Good connection to the router | Test WiFi performance in the intended area |
| Solid yellow | Connection established, but router signal is fair | Move the extender slightly closer to the router |
| Solid red | Connection failed or unavailable | Check pairing, password, and placement |
| Blinking | Device starting or pairing | Allow the current process to finish |
| No light | No power indication | Check the wall outlet and power connection |
The indicator is a starting point, not a complete performance test.
A blue light indicates a good connection, but your actual experience still depends on distance, interference, and the devices you use.
Avoid Common Sources of Interference
Try not to install the extender:
-
Behind a television or large metal cabinet
-
Inside a closed cupboard
-
Behind thick furniture
-
Immediately beside a microwave
-
Close to large electrical equipment
-
On the opposite side of several concrete walls from the router
Keep the extender in an open location and position its external antennas upright.
Use a secure wall outlet rather than an awkward location where the device could be knocked loose.
Placement Examples for Different Homes
In a two-story home, try the landing or an outlet near the stairs.
If the router is near the front of the house and the bedroom is at the back, test an outlet along the corridor before the reception becomes weak.
For a garage or workshop, first check how much router signal reaches the doorway or the nearest interior wall. If the signal is already unusable there, wireless repeating may not be the best solution.
For a home office, do not automatically place the extender beside your desk. An outlet just outside the room may have a better connection to the router.
Test the Connection After Moving the Extender
Once the extender is in place, connect your phone or laptop to its extended network.
Try the same tasks that previously caused trouble.
For example:
-
Join a video call from the problem room.
-
Open several familiar websites.
-
Stream a video and check for buffering.
-
Download a file from a trusted service.
-
Walk between rooms and observe whether the connection remains usable.
If you use a speed test, perform it from the same device and location before and after setup.
One result may be affected by temporary network traffic, so compare several readings if you need a clearer picture.
Also confirm which WiFi network your phone is using. Some devices continue using the original router's weaker signal instead of switching immediately to the extended network.
If coverage is still unreliable, move the extender slightly closer to the router and test again.
A small change in placement can sometimes make more difference than changing advanced settings.
Troubleshooting Common Setup and Connection Issues
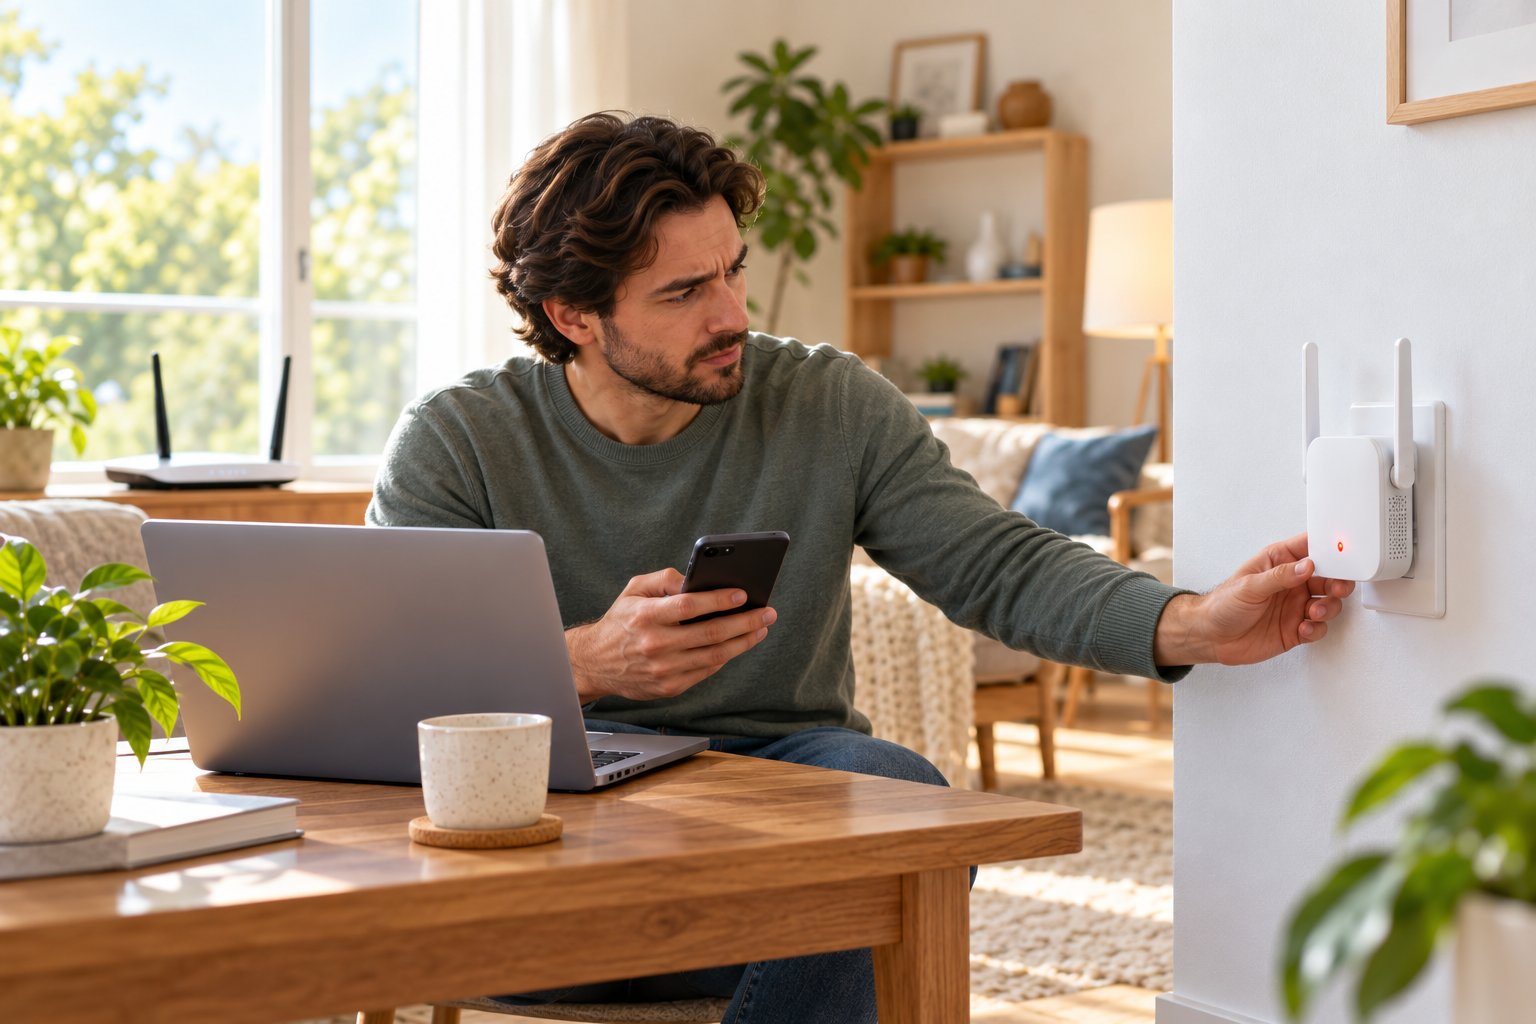
Most connection problems with a ROOXIS WiFi extender are related to pairing, network selection, password errors, placement, or the connection between the extender and router.
Before resetting everything, identify where the problem occurs.
Can your phone see the extended network? Can it join that network? Does the network have internet access?
Answering these questions helps narrow down the cause.
WPS Does Not Pair
If the WPS setup fails, begin by moving the extender close to the router.
Check that the router supports WPS and that the feature is enabled.
Then repeat the pairing process:
-
Power on the ROOXIS extender near the router.
-
Press the router's WPS button.
-
Press the extender's WPS button within two minutes.
-
Wait for the connection indicator to stabilize.
Some routers have different WPS button timings, so consult their instructions when necessary.
Also make sure you are pressing the WPS button rather than the reset button.
These buttons perform different functions.
WPS starts pairing. Resetting the extender clears its saved configuration.
If several attempts fail, use the browser setup method.
It allows you to select the network and enter the WiFi password directly, without depending on WPS compatibility.
The Setup Network Is Missing
If the extender's setup network does not appear on your phone or laptop, check whether the unit has completed startup.
Stand close to the extender and refresh the list of available WiFi networks.
Look for the default network name printed on the device's label.
If the extender has already been configured, the original setup network may no longer be available.
In that case, look for the extended network name instead.
If you cannot find either network and cannot access the extender's settings, a factory reset may be necessary.
After resetting, let the extender restart completely before scanning for wireless networks again.
Avoid changing several router settings at the same time. First establish whether the extender is broadcasting a network.
The Browser Setup Page Will Not Open
A common reason the browser setup page does not load is that the phone or computer is connected to the wrong WiFi network.
Check that you are connected to the ROOXIS extender's setup network.
Then type 192.168.8.1 directly into your browser's address bar.
You can also try home.to.
Do not enter the address into a search engine's search field.
If the page still fails to load, try the following:
-
Disconnect from your regular home WiFi.
-
Reconnect to the extender's setup network.
-
Temporarily turn off mobile data if your phone automatically switches connections.
-
Try another browser.
-
Restart the extender and allow it to finish starting.
-
Try using a laptop instead of a smartphone.
If you accidentally open your main router's administration page, you may be connected to the wrong network.
Make sure you are configuring the extender, not changing settings on your existing router.
The Extended Network Connects but Has No Internet
Seeing the extended WiFi network does not automatically mean the extender has established a working connection to the router.
First, connect a phone or laptop directly to your original router network.
Check whether the internet works normally.
If the original connection is also offline, investigate the router or internet service before changing the extender.
If the router works, examine the extender's indicator light.
A red light suggests that the extender has not established a successful connection. A yellow light suggests that the connection may be weaker than ideal.
Move the extender closer to the router and test again.
Also consider whether the WiFi password has changed.
For example, if you recently updated your home WiFi password, the extender may still have the previous password saved.
Open its setup interface and enter the current credentials.
If you cannot access the settings, reset the extender and configure it again.
WiFi Is Still Slow or Keeps Dropping
An extender may improve reception without delivering the same speeds available beside the router.
That is normal because a wireless repeater has to communicate with both the main router and connected devices.
However, repeated disconnections or unusably slow performance can indicate a placement problem.
Start by moving the extender closer to the router.
Check whether the indicator changes from yellow to blue.
Next, compare the 2.4 GHz and 5 GHz extended networks.
If your laptop is close to the extender, try 5 GHz.
If the connection passes through several walls, test 2.4 GHz.
Also consider other activity on the home network.
Large downloads, software updates, and multiple simultaneous streams can affect the available capacity.
A practical troubleshooting test
Disconnect other devices temporarily if possible.
Use one laptop or phone to test the extended connection.
If the connection becomes stable, examine whether the problem occurs only when several devices are active.
If performance remains poor even with one device, focus on the connection between the extender and router.
If your home has Ethernet wiring, Access Point Mode may provide a better solution for rooms that need more consistent performance.
A Smart TV, Camera, or Printer Cannot Connect
Some household devices have limited WiFi compatibility.
A common example is a smart home device that supports only 2.4 GHz wireless networks.
If you try connecting it to the extended 5 GHz network, it may not detect that network.
Check the device's wireless requirements before troubleshooting further.
For devices that support only 2.4 GHz:
-
Select the extender's 2.4 GHz network.
-
Confirm that the password is correct.
-
Keep the device within a reasonable distance of the extender.
-
Restart the device after changing its network settings.
-
Follow the manufacturer's instructions for connecting it to a new wireless network.
Some smart devices also require your phone to be connected to a compatible WiFi network during their initial setup.
For a smart TV or desktop computer with an Ethernet port, you can test a wired connection to the extender.
If Ethernet works but WiFi does not, investigate the device's wireless settings.
If neither connection works, check whether the extender itself has internet access.
Check Router Updates and Restart Carefully
Sometimes the problem is not the extender.
If devices connected directly to the router also experience repeated disconnections, investigate the main router first.
Restart it using the manufacturer's recommended procedure.
Allow it to reconnect to your internet service before testing the extender.
You should also check whether the router has a firmware update available.
Firmware is the software installed inside networking equipment. Manufacturers sometimes release updates to improve compatibility, fix problems, or address security vulnerabilities.
ROOXIS router owners can follow the router firmware update instructions.
Always use firmware intended for the exact router model.
Do not install firmware from an unrelated device, even if the hardware looks similar.
After updating or restarting the router, check whether your usual WiFi network works before testing the extender.
This separates router problems from extender problems and makes troubleshooting much easier.
Reset the Extender When You Need a Fresh Start
A factory reset returns the ROOXIS extender to its original configuration.
You may need to reset it when:
-
You cannot access its settings.
-
The home WiFi password has changed.
-
The extender was previously configured for another router.
-
You are changing the operating mode and want to start again.
-
WPS and browser setup attempts are unsuccessful.
A reset removes the stored network configuration.
Be prepared to repeat the setup afterward.
How to reset the ROOXIS AC1200 extender
-
Keep the extender connected to power.
-
Locate the button marked RST.
-
Press and hold the RST button until the LED flashes red.
-
Release the button.
-
Allow the extender to restart completely.
-
Begin the WPS or browser setup process again.
Do not confuse RST with WPS.
The WPS button attempts to connect the extender to your router, while the RST button clears its stored settings.
Avoid unplugging the extender while it is resetting or restarting.
Once the reset finishes, reconnect to its factory setup network and follow your preferred configuration method.
If the extender still fails after a factory reset, close-range setup, and both connection methods, consult ROOXIS support information for the exact model.
Keep track of the LED color, the setup method attempted, and the point at which the connection fails. These details can help identify the cause without repeating every step.
Frequently Asked Questions
How do I connect my ROOXIS WiFi extender using WPS?
Plug the extender into an outlet near your router and wait for it to power on. Press the router's WPS button, then press the ROOXIS extender's WPS button within two minutes. Wait until the indicator shows a successful connection, then connect your phone or computer to the extended WiFi network using your normal wireless password.
Where is the best place to plug in a ROOXIS extender?
Place the extender between your router and the room with weak WiFi, but keep it close enough to receive a good signal from the router. A solid blue indicator is a useful sign that the connection is good. Avoid thick walls, large metal objects, and enclosed cabinets, then test the connection in the room where you need coverage.
What do the LED indicator lights on the ROOXIS extender mean?
A solid blue light indicates a good connection, while yellow suggests that the signal from the router is only fair. A solid red light points to a failed or missing connection, and blinking generally occurs during startup or pairing. If the indicator remains off, check whether the extender is receiving power.
How do I reset my ROOXIS WiFi extender to factory defaults?
Keep the extender powered on, then press and hold the RST button until the LED flashes red. Release the button and allow the device to restart completely. Resetting removes the saved network settings, so you will need to configure the extender again using WPS or the browser setup method.
A ROOXIS WiFi extender can help improve wireless coverage when your router works well but struggles to reach certain parts of your home. The most useful approach is to complete setup near the router, choose an outlet with a good signal, and test the connection on the devices you actually use.
Whether you prefer a wireless repeater or a wired access point, understanding your home's layout will help you choose the right arrangement. Explore ROOXIS WiFi networking devices to compare the available options for your home.