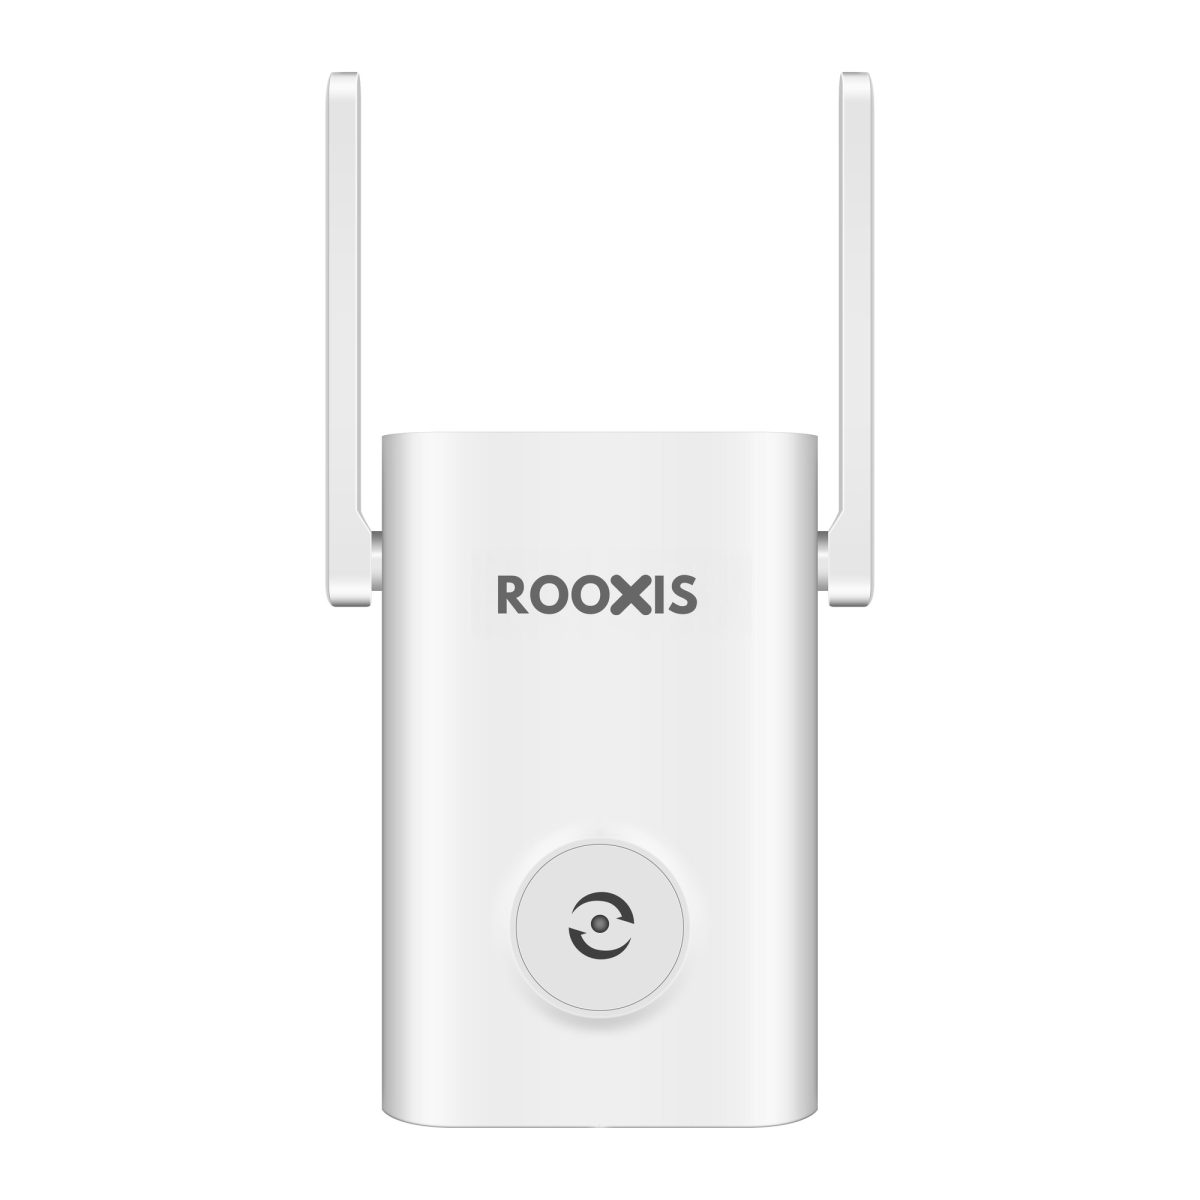
The ROOXIS WiFi extender helps bring a usable wireless signal into rooms where your main router struggles to reach. You can connect the ROOXIS AC1200 extender using the WPS button on a compatible router or configure it manually through a web browser at 192.168.8.1.
The most important part of setup is choosing the right location. An extender needs a reliable connection to your router before it can provide useful coverage elsewhere. Plugging it directly into a dead zone often produces disappointing results.
This guide covers the ROOXIS AC1200's features, WPS and manual setup instructions, signal indicator meanings, placement advice, and fixes for common connection problems.
Overview: ROOXIS WiFi Extender Features and Specs
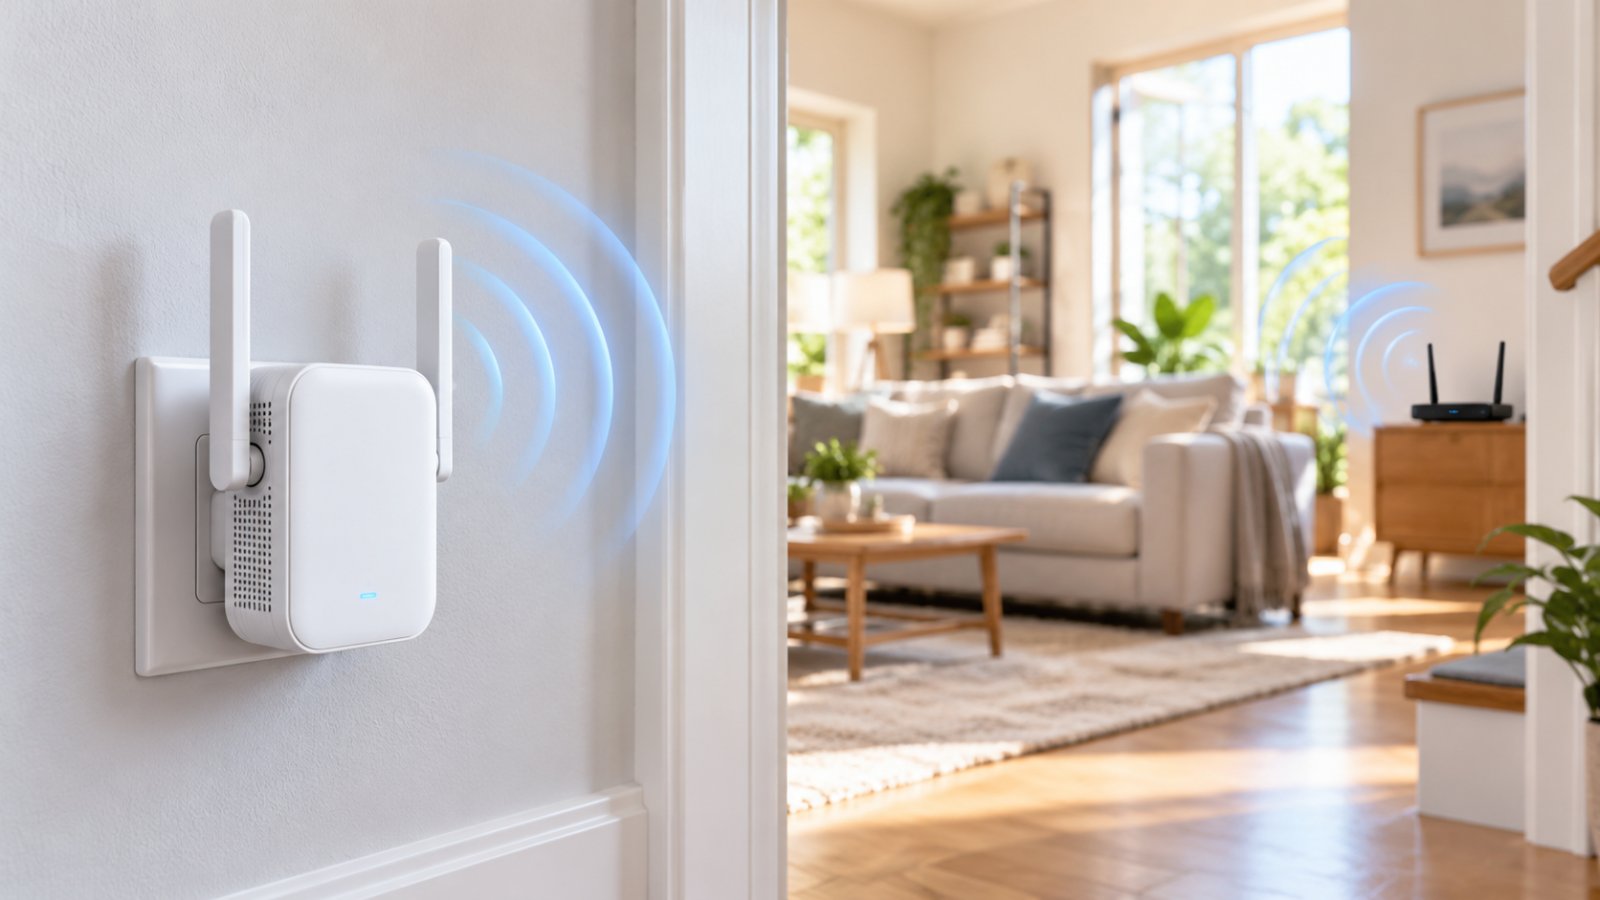
The ROOXIS WiFi Extender Signal Booster AC1200 is designed for homes where the main router provides good coverage in some areas but struggles in others.
A typical example is a house with the router downstairs. WiFi works normally in the living room and kitchen, but the connection becomes unreliable in an upstairs bedroom.
An extender can help bridge that coverage gap.
The ROOXIS AC1200 connects to your existing network and provides additional wireless coverage. It does not replace your router, change your internet plan, or increase the speed supplied by your internet service provider.
Its job is to make your existing connection more accessible in parts of the home where signal strength is poor.
ROOXIS AC1200 WiFi Extender Specifications
| Feature | ROOXIS AC1200 specification |
|---|---|
| Product | ROOXIS WiFi Extender Signal Booster AC1200 |
| WiFi standard | WiFi 5, 802.11ac, with support for older compatible standards |
| Frequency bands | Dual-band, 2.4GHz and 5GHz |
| Wireless speed classification | AC1200 |
| 2.4GHz theoretical maximum | Up to 300Mbps |
| 5GHz theoretical maximum | Up to 867Mbps |
| Wireless technology | 2x2 MU-MIMO |
| Antennas | Two external dual-band antennas |
| Ethernet port | One 10/100Mbps LAN port |
| Operating modes | Repeater Mode and Access Point Mode |
| Setup methods | WPS and browser configuration |
| Local setup address | 192.168.8.1 |
| Alternative setup address | home.to |
| Status indicator | Multicolor LED |
| Advertised combined coverage | Up to 10,000 sq ft with a router, depending on conditions |
The AC1200 rating describes the combined theoretical wireless capacities of its frequency bands.
It does not mean one connected device will receive 1200Mbps, nor does it guarantee a particular internet speed.
Actual performance depends on your router, WiFi signal strength, connected devices, interference, and internet connection.
The same applies to advertised coverage. A small open-plan home and a house with thick concrete walls can produce very different results using identical equipment.
How the ROOXIS WiFi Booster Works
A WiFi extender receives a signal from your main router and makes another wireless connection available to devices in a different area.
For example, suppose your router is in the living room, and your laptop regularly loses connection in a bedroom at the opposite end of the house.
You could place the extender in the hallway between those rooms.
The extender receives WiFi from the router and provides an extended network that your laptop can use.
There are two separate connections involved:
-
The connection between your main router and the extender.
-
The connection between the extender and your phone, laptop, television, or another device.
Both need to work properly.
If the extender has a weak connection to the router, it cannot reliably deliver internet access, even when your phone shows a strong connection to the extender.
That explains why placement matters so much.
A strong signal between your device and the extender is only half the job.
Understanding Dual-Band WiFi
The ROOXIS dual band wifi extender supports 2.4GHz and 5GHz wireless networks.
These frequency bands have different strengths.
2.4GHz WiFi generally reaches farther and can perform better through some walls and obstacles. However, it is often more crowded and usually provides lower maximum throughput.
5GHz WiFi generally offers higher throughput when the device is reasonably close and the signal is strong. Its coverage can be more limited through walls and floors.
For example, a smart plug in a distant room may work well on 2.4GHz.
A laptop near the extender may benefit from the 5GHz network, especially during large downloads or local file transfers.
Many smart home devices, including some security cameras, only support 2.4GHz.
Check the device's supported bands before connecting it.
A dual-band extender offers more flexibility, but the best band is the one that provides a stable connection in the device's actual location.
What Is MU-MIMO?
MU-MIMO stands for Multi-User Multiple Input Multiple Output.
It allows compatible wireless equipment to communicate with multiple supported devices using available spatial streams.
This can help improve efficiency when several devices share a network.
Imagine a laptop, smartphone, and smart television connected at the same time.
All three may need to exchange data with the router.
MU-MIMO can help supported equipment manage certain simultaneous communication demands.
However, it does not guarantee that every device will receive the same speed.
Performance still depends on the router, extender, connected devices, signal quality, and available bandwidth.
For most homeowners, the practical takeaway is simple: MU-MIMO can help with multiple-device efficiency, but it cannot compensate for a poor connection between the extender and the router.
Repeater Mode vs. Access Point Mode
The ROOXIS AC1200 supports two operating modes.
Repeater Mode
The extender connects wirelessly to your main router and extends coverage into another area.
This is the usual choice when you want better WiFi in a bedroom, hallway, or other room without running an Ethernet cable.
Access Point Mode
The extender connects to your existing network through Ethernet and provides WiFi from that wired connection.
This is useful when an Ethernet connection is already available in the room where you need additional wireless coverage.
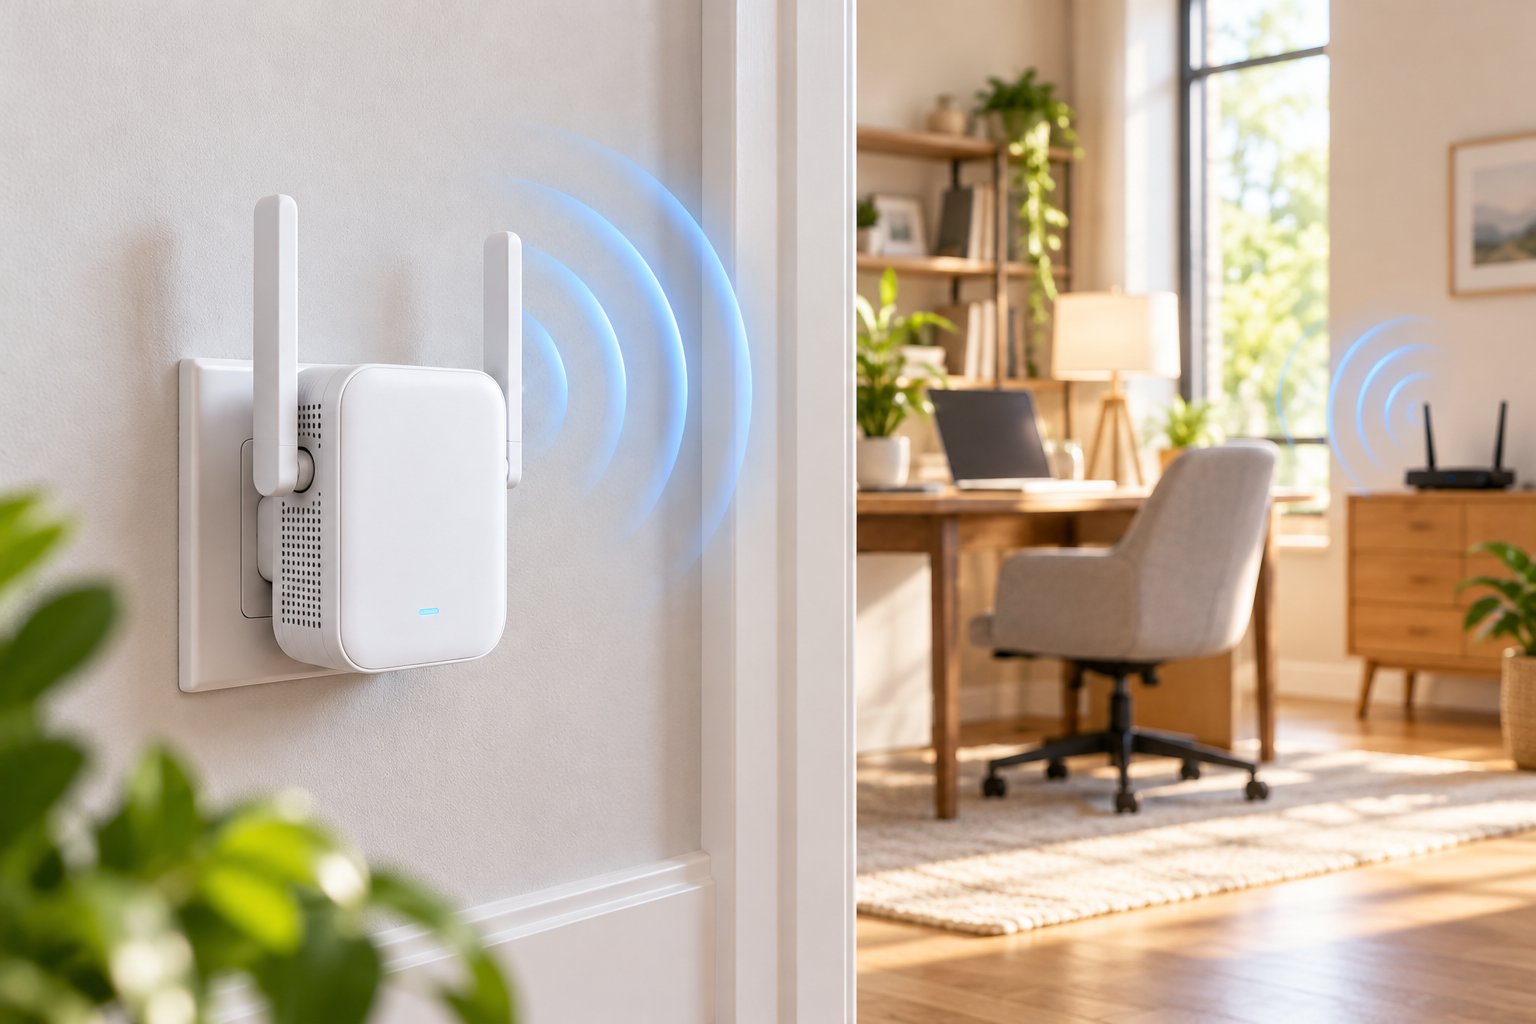
For example, a home office may have an Ethernet cable connected to the main router.
Using Access Point Mode lets the extender provide WiFi in that office without depending on a wireless connection back to the router.
The ROOXIS AC1200 has a 10/100Mbps Ethernet port, so traffic passing through that port is subject to its speed limit.
For most people extending WiFi without additional cabling, Repeater Mode is the appropriate starting point.
How to Set Up Your ROOXIS WiFi Extender
You can complete ROOXIS extender setup using either WPS or a web browser.
WPS is convenient when your main router supports it.
Browser setup is useful when WPS is unavailable, pairing fails, or you need to select a particular operating mode.
Before starting, check that your main router has a working internet connection.
Connect your phone directly to the router and open a website.
If the main connection is not working, fix that first. An extender cannot restore internet service that the router itself does not have.
Before You Begin
Have the following ready:
-
ROOXIS AC1200 WiFi extender.
-
Two external antennas, if supplied separately.
-
An available electrical outlet.
-
Your main router's WiFi network name.
-
Your main router's WiFi password.
-
A phone, tablet, or computer for setup.
-
An Ethernet cable if using Access Point Mode.
The name of a wireless network is called its SSID, or Service Set Identifier.
It is the name you see when choosing WiFi on your phone or laptop.
For initial setup, place the extender close to your main router.
This eliminates unnecessary distance and interference while you establish the connection.
Once setup is complete, you can move the extender toward the room that needs better coverage.
Method 1: One-Touch WPS Setup
WPS stands for WiFi Protected Setup.
It allows compatible devices to establish a wireless connection without manually entering the router's WiFi password during pairing.
The ROOXIS AC1200 includes a WPS button.
Step 1: Connect the Extender to Power
Attach the two external antennas if they are not already installed.
Tighten them gently by hand and position them upright.
Plug the extender into a wall outlet near your router.
Allow approximately 30 seconds for it to start.
The LED may blink during startup.
Do not begin pairing before the extender has finished booting.
Step 2: Find the WPS Button on Your Router
Look for a button marked WPS on the back or side of your main router.
Some routers use a symbol instead of the letters.
Make sure you have identified the correct control.
Do not press the router's Reset button by mistake. Resetting a router can remove saved network settings.
Some routers have WPS disabled in their administration settings. Others do not provide the feature.
If your router does not support WPS, use Method 2.
Step 3: Activate WPS on the Router
Press and hold your router's WPS button for approximately two seconds, following its instructions.
Release the button.
The router may show a blinking WPS indicator to confirm that pairing is active.
Indicator behavior varies between router models.
Step 4: Press the WPS Button on the ROOXIS Extender
Within two minutes of activating WPS on the router, press the extender's WPS button.
Hold it for approximately two seconds, then release.
Allow the pairing process to finish.
The ROOXIS AC1200 should show a solid blue LED when it has established a good connection to the router.
Do not unplug the extender while pairing is underway.
Step 5: Find the Extended WiFi Network
After successful pairing, the ROOXIS AC1200 normally creates extended network names based on your original router SSID.
The published naming convention is:
-
The 2.4GHz extended SSID ends in
_EX. -
The 5GHz extended SSID ends in
_5G_EX.
For example, if your original network is named HomeNetwork, the extended networks would normally appear as HomeNetwork_EX and HomeNetwork_5G_EX.
The extended networks generally use the original WiFi password.
Open the WiFi settings on your phone or laptop and select the appropriate network.
Enter the password if requested.
Step 6: Confirm Internet Access
Open a website while connected to the extended network.
Then try an everyday activity, such as playing a video or loading a work application.
Once the connection works near the router, unplug the extender and move it to the location you intend to use.
After reconnecting power, allow it to restart and reconnect.
Check the LED before testing coverage in the problem room.
What If WPS Does Not Work?
WPS pairing can fail for several reasons.
The most common are:
-
WPS is disabled on the router.
-
The router does not support WPS.
-
The extender's WPS button was pressed after the pairing window expired.
-
The extender was too far from the router.
-
The router's wireless configuration does not permit the attempted WPS connection.
Try pairing again with the extender close to the router.
If WPS still fails, use browser configuration instead.
Repeatedly pressing WPS is unlikely to help if the router has the feature disabled.
Method 2: Web Browser Configuration
Manual setup lets you connect the extender without WPS.
For the ROOXIS AC1200, the published local configuration address is 192.168.8.1.
You can also try home.to while connected to the extender's setup network.
These are local configuration addresses.
You do not need working internet access to open the setup interface, but your phone or computer must remain connected to the extender.
Step 1: Power On the Extender
Plug the extender into a nearby outlet.
Wait for it to finish starting.
If the extender was previously configured for another router, consider restoring factory settings before beginning a fresh setup.
A reset removes saved WiFi configuration.
Step 2: Connect to the Extender's Default Network
Open the WiFi settings on your phone, tablet, or computer.
Look for the ROOXIS setup network.
The published default SSIDs for the AC1200 begin with:
-
@ROOXIS-for 2.4GHz. -
@ROOXIS-5G_for 5GHz.
The remaining characters identify the particular device.
Check the label on your extender for the full default network name.
Select the matching SSID.
The factory default setup network does not normally require a WiFi password.
Your device may display a warning that this network has no internet access.
That is expected.
Stay connected to it so the configuration page can load.
Step 3: Open the Configuration Page
Open a browser while connected to the extender.
Enter:
192.168.8.1
If the page does not load, try:
home.to
Type the address directly into the browser's address bar.
Do not enter it as a search query.
If your phone automatically switches from WiFi to mobile data because the setup network has no internet, temporarily disable that behavior.
You may also need to pause an active VPN while accessing the local setup page.
The ROOXIS configuration interface should appear.
Step 4: Select the Operating Mode
Choose the mode that matches your intended connection.
For ordinary wireless extension, select Repeater Mode.
For a wired connection from the existing network, select Access Point Mode.
If you are trying to improve coverage in a bedroom without an Ethernet cable, choose Repeater Mode.
Step 5: Select Your Existing WiFi Network
In Repeater Mode, the extender scans for nearby wireless networks.
Find your main router's SSID.
Select the correct network.
If your router broadcasts separate names for 2.4GHz and 5GHz, check that you are selecting the intended connection.
Do not choose a neighbor's similarly named network by mistake.
If your home network does not appear, move the extender closer to the router and scan again.
Step 6: Enter Your WiFi Password
Enter the wireless password for the selected router network.
This is the password you use to connect a phone to your home WiFi.
It is not necessarily the same as the password used to sign in to your router's administration page.
Check the spelling carefully.
WiFi passwords are case-sensitive.
Common mistakes include an extra space, a mistyped symbol, or using an old password after the router credentials have changed.
Select Apply or the corresponding confirmation control.
Step 7: Allow the Extender to Restart
The extender saves the configuration and restarts.
Allow it to finish without disconnecting the power.
Once the connection is established with a good signal, the ROOXIS AC1200 should display a solid blue LED.
A yellow or red indication means the connection needs attention.
Step 8: Reconnect Your Devices
Open the WiFi settings on your phone or laptop again.
Select the extended SSID.
Enter the appropriate password.
Check that a website loads.
Then test the connection from the room where your original WiFi signal was weak.
If the extended connection works near the router but becomes unreliable after relocation, the problem is probably placement rather than the initial configuration.
Setting Up Access Point Mode With Ethernet
Access Point Mode is useful when you already have a working Ethernet connection in the area needing better WiFi.
For example, a home office may have an Ethernet cable connected to the main router, but phones and tablets still need local wireless coverage.
Connect the ROOXIS extender's Ethernet port to the existing network.
Open the extender's setup interface and select Access Point Mode.
Follow the on-screen configuration steps.
After applying the settings, connect a phone or laptop to the access point's wireless network and test internet access.
The Ethernet connection replaces the wireless backhaul used in Repeater Mode.
However, the ROOXIS AC1200 has a 10/100Mbps Ethernet port.
That port can limit throughput, even though the extender's wireless speed classification is higher.
Access Point Mode is often useful for connection stability, but it does not make the extender a gigabit Ethernet device.
Understanding the ROOXIS LED Indicator
The status light provides a quick indication of the extender's connection.
| LED status | Meaning | What to do |
|---|---|---|
| Solid blue | Connected with a good router signal | Keep the location if coverage is satisfactory |
| Solid yellow | Connected with a fair router signal | Try an outlet closer to the router |
| Solid red | Router connection or extension failed | Check placement and configuration |
| Blinking | Starting or attempting pairing | Allow the process to finish |
| Off | No power indication | Check the outlet and power connection |
Check the LED after moving the extender.
A location that works during initial setup may be unsuitable once several walls separate the extender from the router.
The light is a useful guide, but also test actual internet performance.
Optimal Placement Tips to Eliminate Dead Zones
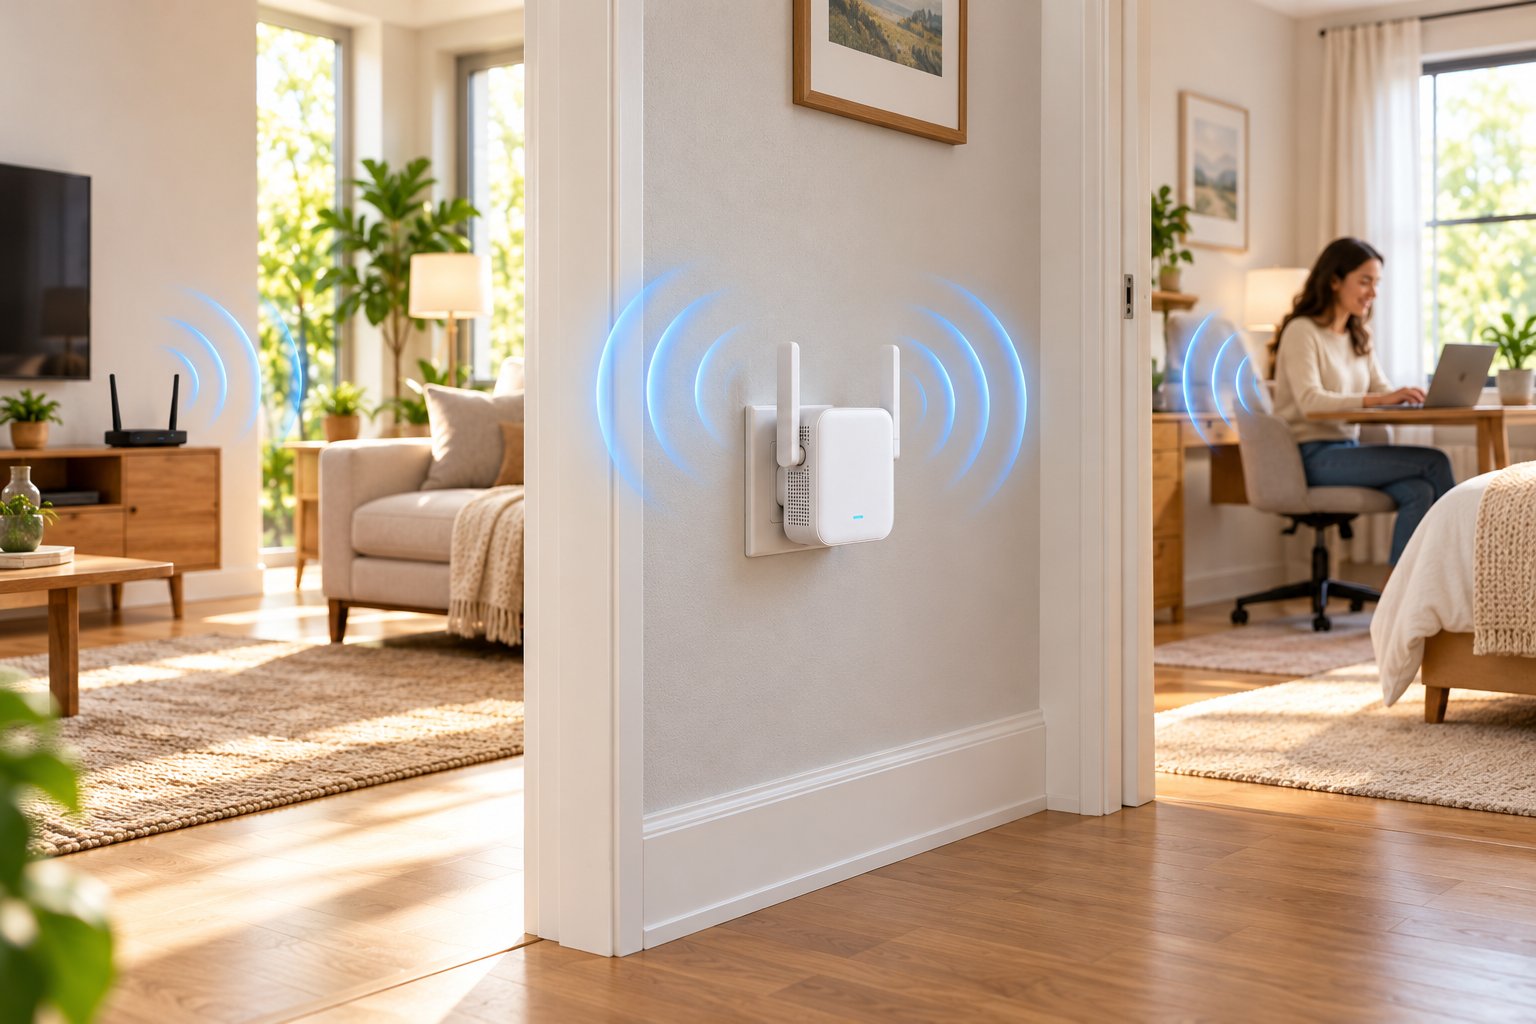
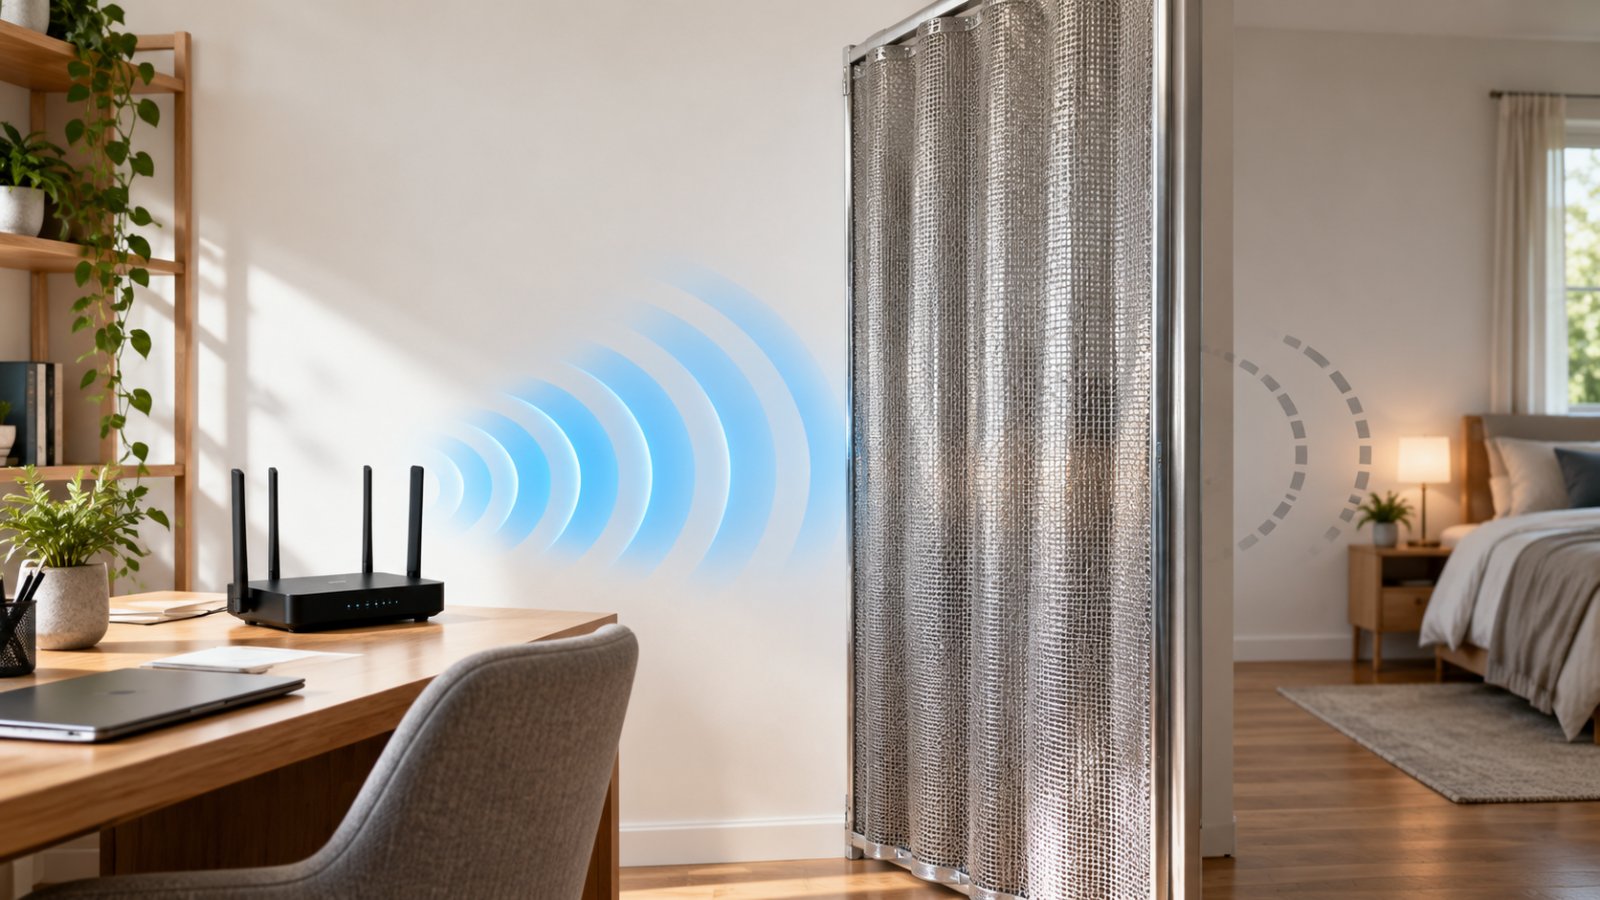
The best extender location is not necessarily the room with the weakest WiFi.
It is a place where the extender can still receive a dependable signal from the router while reaching toward that weak-coverage area.
Many setup problems are caused by placing an extender too far away.
A phone may display strong signal bars because it is close to the extender, but the extender may have a poor connection back to the router.
This produces a frustrating situation: WiFi appears connected, but websites load slowly or not at all.
Start Between the Router and the Weak-Coverage Area
Begin with an outlet approximately halfway between the router and the room where the connection drops.
Then adjust based on the signal.
For example, suppose your router is downstairs and your home office is upstairs.
An outlet near the staircase may provide a better location than one deep inside the upstairs office.
The staircase may offer a clearer path between the extender and router.
After setting up, test the office connection.
If it remains unreliable, try moving the extender one outlet closer to the router.
The halfway position is a starting point, not a requirement.
Home construction and room layout determine the best final position.
Use the Signal Indicator, Not Just Distance
The ROOXIS AC1200 uses its LED to show how well it is connected to the main router.
A solid blue indicator means the connection is good.
Yellow means the connection is established but the signal is only fair.
Red indicates a failed or missing connection.
Aim for a stable blue indicator while keeping the extender close enough to improve the desired room.
For instance, an outlet near the bedroom door may produce yellow while an outlet farther down the hallway produces blue.
Test both positions.
The hallway location may provide a better internet connection even though it is slightly farther from the bedroom.
Avoid Common Sources of Interference
Several household objects can interfere with wireless connections or block signals.
Avoid placing the extender:
-
Behind a large television.
-
Inside a closed cabinet.
-
Directly beside a microwave oven.
-
Behind refrigerators or other large metal appliances.
-
Near significant sources of wireless interference.
-
Behind multiple thick concrete walls when another route is available.
-
In a location where furniture encloses the device.
Use an open wall outlet whenever practical.
Keep the antennas attached and upright as a starting arrangement.
Do not assume the highest available outlet or the one closest to the problem room will always produce the best result.
Test the signal after each adjustment.
Choosing Between 2.4GHz and 5GHz
The ROOXIS AC1200 provides both frequency bands.
Choose the band according to your device and its location.
Use 2.4GHz when:
-
The device is farther from the extender.
-
More obstacles separate it from the extender.
-
The device only supports 2.4GHz.
-
A dependable lower-bandwidth connection is the priority.
Use 5GHz when:
-
The device is reasonably close to the extender.
-
The signal remains strong.
-
Higher throughput is useful.
-
You are using a compatible laptop, television, or smartphone.
For example, an upstairs laptop may work best on 5GHz when the extender is nearby.
An outdoor camera at the edge of the extended coverage area may perform better on 2.4GHz.
The actual result depends on interference, building materials, and device capabilities.
How to Test Your Extender's Placement
After moving the extender, check performance in the room you want to improve.
A useful test takes only a few minutes.
-
Connect your phone or laptop to the extended SSID.
-
Confirm that the extender has a stable connection to the router.
-
Open several websites.
-
Try a video call or streaming session.
-
Check whether the connection stays active while moving around the room.
-
Run a speed test if needed.
-
Compare the result with the connection before installing the extender.
Do not rely only on the number of WiFi signal bars.
A strong local signal does not guarantee a strong connection back to the router.
For a home office, the most useful test may be whether video calls remain stable.
For a smart television, it may be whether streaming works without repeated buffering.
For an outdoor camera, consistent connectivity matters more than peak download speed.
What to Expect From an Extender
An extender improves wireless reach.
It does not create additional internet bandwidth.
In Repeater Mode, the device must communicate with both the main router and connected clients over wireless links.
That consumes airtime.
Depending on the setup, effective throughput through an extender may be lower than a direct connection close to the router.
This is normal.
The goal is to make a weak-coverage location usable.
For example, a bedroom that previously lost WiFi entirely may become suitable for web browsing, messaging, and video calls.
That can be a worthwhile improvement even if its speed test result is lower than the one measured beside the main router.
Troubleshooting Common Connection Issues
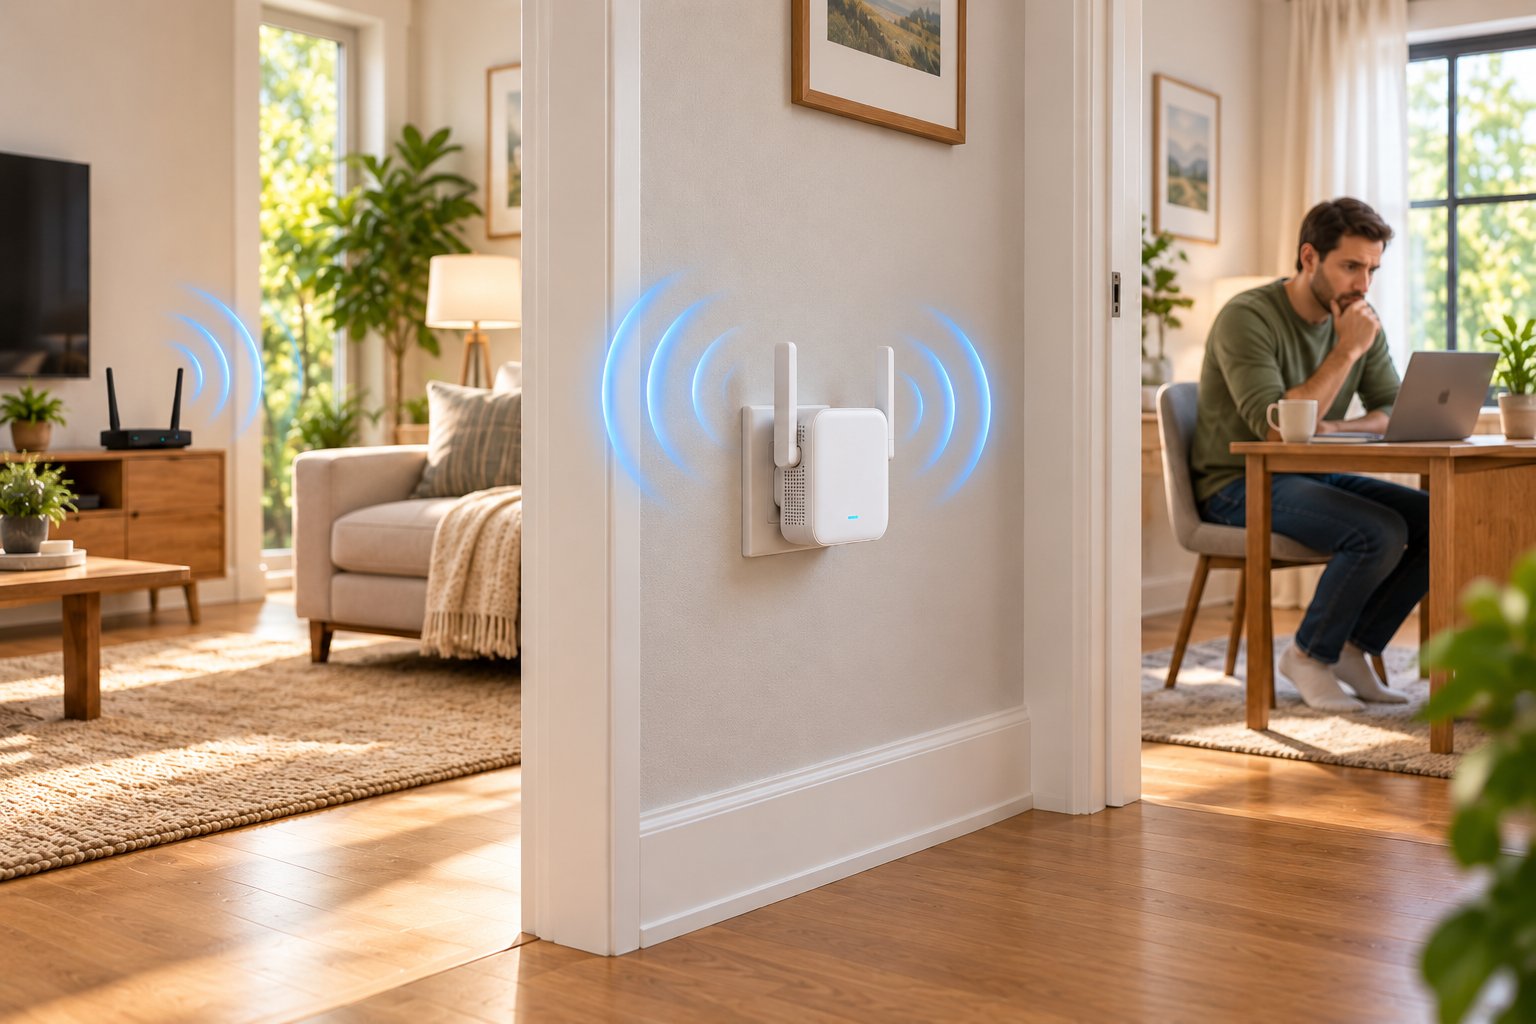
When your extender stops working, identify which connection has failed before resetting anything.
There are three common possibilities.
First, the extender cannot communicate with the router.
Second, your device cannot connect to the extender.
Third, your device connects to the extender but cannot reach the internet.
Each problem requires a slightly different approach.
Start with the simplest checks: power, router internet access, LED status, and saved WiFi credentials.
Problem 1: The Extender Will Not Connect to the Router
Check that the main router is working.
Connect a phone directly to the router's original WiFi network and open a website.
If that connection fails too, the problem is not limited to the extender.
If the router works normally, move the ROOXIS extender closer to it.
Check the status light.
If you used WPS, try pairing again in the correct order.
Press WPS on the router, then press WPS on the extender within the two-minute window.
If pairing continues to fail, use browser setup.
During manual setup, confirm the router SSID and wireless password.
A correct network name with an incorrect password will prevent the extender from establishing the connection.
Problem 2: The ROOXIS Setup Network Does Not Appear
The default ROOXIS setup network normally appears during initial configuration.
If you cannot see it, first confirm that the extender is powered on and has finished booting.
Move your phone closer and refresh the available WiFi list.
Check the label on the extender for the exact default SSID.
If the extender was previously configured, it may no longer advertise the original setup network.
If you want to configure it from the beginning, restore factory settings.
After resetting, allow it to restart before searching for the default SSID again.
Problem 3: The Browser Setup Page Will Not Open
First, confirm that your phone or computer is connected to the ROOXIS setup network.
Then enter 192.168.8.1 directly into your browser's address bar.
If it does not open, try home.to.
If the page remains unavailable:
-
Check that you are still connected to the ROOXIS SSID.
-
Temporarily disable mobile data or automatic WiFi switching.
-
Pause VPN software that may interfere with local network access.
-
Try another browser.
-
Move closer to the extender.
-
Confirm that it has finished booting.
If your phone says the setup network has no internet, stay connected anyway.
You do not need internet access to open the local configuration interface.
If the extender has already been configured, its current management address may differ from the initial setup arrangement.
A factory reset can restore the default configuration when necessary.
Problem 4: Connected to the Extender but No Internet
This usually means your device has established WiFi communication with the extender, but the full route to the internet is not working.
Start with the main router.
Connect your phone directly to the original home WiFi.
If the internet works there, check the extender's status LED.
A red light suggests the extender has failed to connect to the router.
Move it closer and check its setup.
If the light is blue but internet access still fails, forget the extended network on your phone and reconnect.
Check that you are using the correct password.
Restart the router if necessary and allow its internet connection to recover.
Then restart the extender.
If the problem continues, repeat manual configuration and verify the router SSID and password.
Do not repeatedly reset the extender without first confirming whether the main internet connection works.
Problem 5: The Extended Network Is Very Slow
Slow performance is often a placement problem.
A weak upstream connection limits what the extender can deliver.
Check the status LED.
If it is yellow, move the extender closer to the router.
Then test performance again.
If the extender shows a good connection, try switching between the 2.4GHz and 5GHz extended networks on a compatible device.
The 5GHz network may provide better throughput at shorter range.
The 2.4GHz network may remain more dependable at greater distances.
Also consider what other devices are doing.
Large downloads, video streams, and uploads can consume available bandwidth.
Remember that wireless repeating itself can reduce effective throughput.
If a stationary device needs consistent performance, a suitable wired arrangement may be worth considering.
Problem 6: The Connection Keeps Dropping
Intermittent disconnections can be caused by weak signal strength, interference, or problems with the main router.
Watch the extender's LED.
If it changes between blue, yellow, and red, the upstream signal may be unstable.
Try moving the extender closer to the router.
Avoid placing it behind large appliances or near significant interference sources.
Then compare connections.
If devices connected directly to the main router also disconnect, investigate the router or internet service.
If only one laptop or phone disconnects from the extended network, check that device's saved connection, wireless drivers, or operating system.
Reconnect the device and test again.
Problem 7: Devices Keep Connecting to the Wrong WiFi Network
After installation, you may see the original router SSID and separate extended SSIDs.
Your phone may remain connected to the original router even when you move closer to the extender.
This does not necessarily indicate a fault.
Automatic roaming behavior depends on the phone, router, and network configuration.
For testing, manually select the extended SSID.
Check that it stays connected.
If your device repeatedly selects a less suitable network, review its saved WiFi connections.
You may need to forget an old network or manually select the one you prefer.
Do not expect every device to switch instantly to the connection with the strongest signal.
Problem 8: The Ethernet Connection Is Not Working
The ROOXIS AC1200 includes a 10/100Mbps Ethernet port.
In Repeater Mode, you can connect a compatible wired device through this port while the extender communicates wirelessly with the main router.
If the wired device has no internet:
-
Confirm the extender itself is connected to the router.
-
Check both ends of the Ethernet cable.
-
Try another known-working cable.
-
Verify that the connected device's Ethernet interface is enabled.
-
Check whether it receives appropriate network settings.
-
Test the extender's WiFi connection separately.
If the extender has no upstream connection, plugging in an Ethernet cable will not restore internet access.
For Access Point Mode, confirm that the cable connects to the intended network and that the correct mode has been configured.
Problem 9: Smart Home Devices Cannot Connect
Many smart plugs, sensors, and security cameras support only 2.4GHz WiFi.
If a device cannot find the extended network, check its supported frequency band.
A 2.4GHz-only device cannot connect to the 5GHz extended SSID.
Select the appropriate network.
Also check the device's security compatibility.
Some older smart home equipment may not support every wireless security configuration used by modern routers.
Use secure settings that both devices support.
For initial pairing, keep the smart home device reasonably close to the extender.
After setup, move it to its intended location and confirm that it remains connected.
For security cameras, test live viewing or another normal function rather than judging the connection only by its signal indicator.
Problem 10: How to Factory Reset the ROOXIS Extender
A factory reset returns the extender to its original configuration.
It is useful when:
-
Your router's WiFi password has changed.
-
The extender is configured for an old router.
-
You want to switch operating modes.
-
You cannot reach the configuration page.
-
Repeated setup attempts have failed.
-
You want to begin installation again.
For the ROOXIS AC1200, locate the control marked RST or Reset.
Keep the extender powered on.
Press and hold the reset control until the LED flashes red.
Release it and allow the device to restart.
Saved settings will be erased.
Afterward, reconnect to the default ROOXIS setup SSID and complete WPS or browser configuration again.
A factory reset is not needed simply because you move the extender to a different outlet.
Quick ROOXIS Extender Troubleshooting Table
| Problem | Possible cause | First action |
|---|---|---|
| WPS pairing fails | WPS disabled or pairing window expired | Retry near the router or use browser setup |
| Default ROOXIS SSID missing | Already configured or not fully started | Check power and reset if necessary |
| Setup page will not load | Connected to the wrong network | Join the ROOXIS setup SSID and open 192.168.8.1 |
| Connected but no internet | Router connection or internet service problem | Test the main router first |
| Solid yellow LED | Fair signal from the router | Move closer to the router |
| Solid red LED | Failed router connection | Check setup and placement |
| Slow extended WiFi | Weak upstream signal or shared bandwidth | Improve placement and test both bands |
| Frequent disconnections | Interference or unstable signal | Relocate extender and check router stability |
| Smart device cannot connect | Unsupported frequency band or security settings | Use the supported 2.4GHz network |
| Ethernet device has no internet | Cable, mode, or upstream connection issue | Test the cable and extender connection |
Frequently Asked Questions
How do I pair my ROOXIS WiFi extender with my router?
Plug the ROOXIS extender into an outlet near your router and allow it to start. Press the router's WPS button, then press the extender's WPS button within two minutes. A solid blue LED on the ROOXIS AC1200 indicates a good connection; if WPS is unavailable, use the browser setup page at 192.168.8.1.
Where is the best place to plug in a ROOXIS extender?
Start with an outlet between the router and the room where WiFi is weak. The extender needs a reliable router signal, so avoid placing it directly in a dead zone. On the ROOXIS AC1200, a solid blue LED indicates a good connection and helps you choose an effective location.
How do I reset my ROOXIS extender to factory defaults?
With the extender powered on, press and hold the RST or Reset control until its LED flashes red. Release the button and allow the device to restart. This erases the saved configuration, so you will need to repeat WPS or manual setup.
What should I do if my device connects to the extender but has no internet?
First, connect directly to your main router and confirm that its internet connection works. Then check the extender's LED, verify its saved router credentials, and reconnect your device to the extended SSID. If the problem continues, restart the router and extender before attempting a fresh setup.
Conclusion: Get Better Coverage With the ROOXIS WiFi Extender
The ROOXIS WiFi extender can improve connectivity in rooms where the main router's signal becomes weak.
Successful setup depends on three things: connecting it correctly, positioning it where the router signal remains strong, and using the appropriate extended network for each device.
WPS is the quickest option when your router supports it. Browser setup provides an alternative and lets you choose between Repeater Mode and Access Point Mode.
If performance is disappointing, check placement before changing everything else. Moving the extender closer to the router often helps more than repeated configuration attempts.
ROOXIS offers dual-band WiFi extenders, routers, and home security equipment designed for practical everyday use.
Visit ROOXIS official home to explore its networking products and find equipment suited to your home's coverage needs.