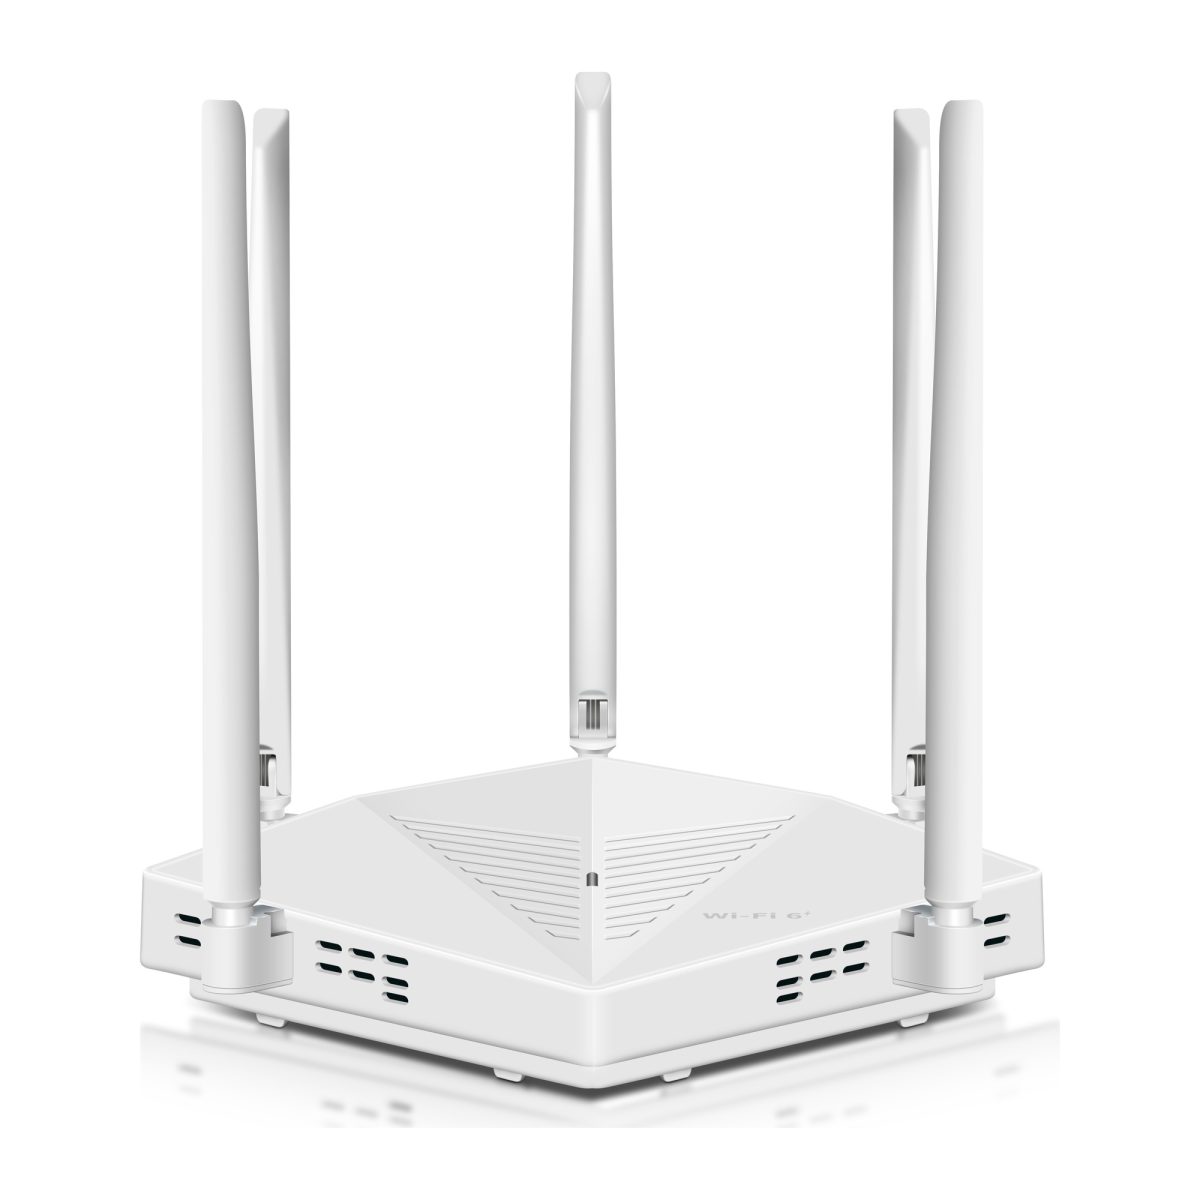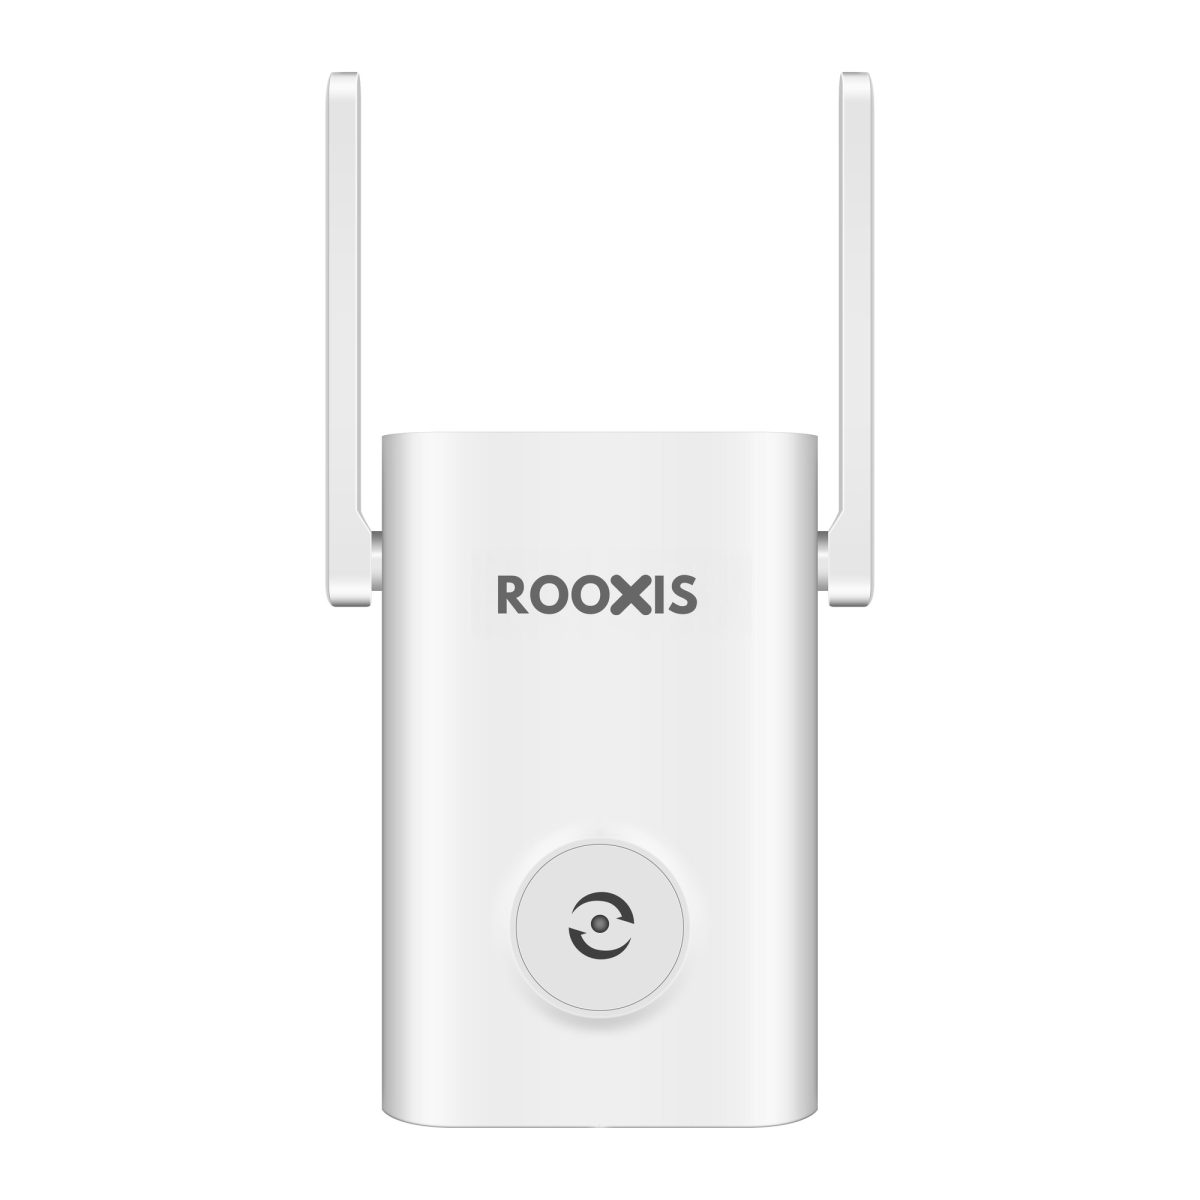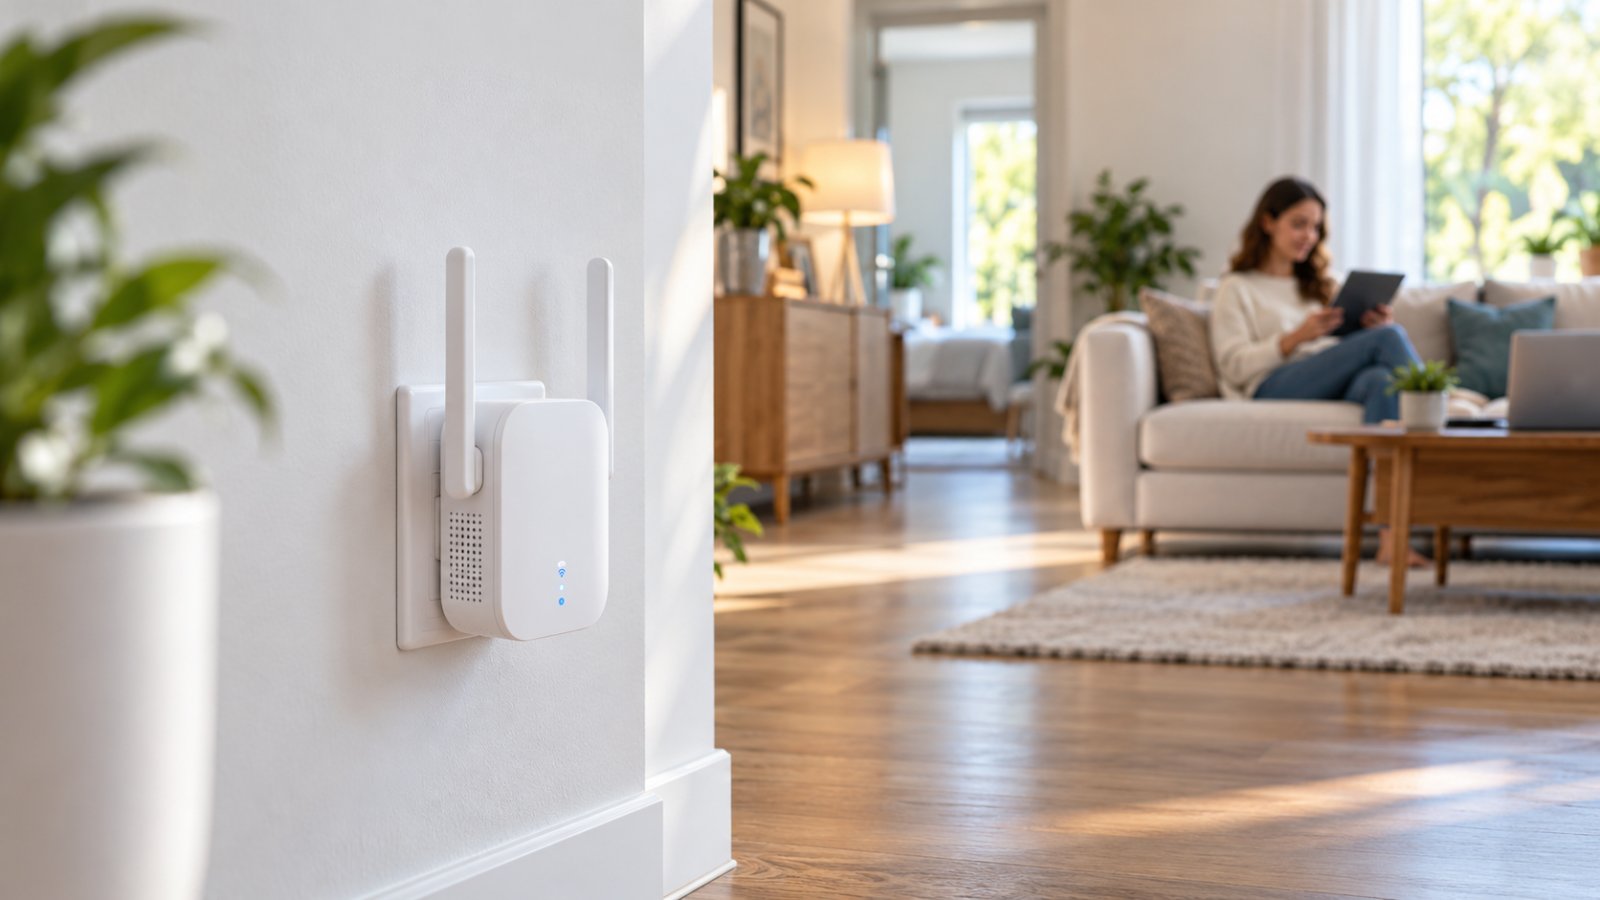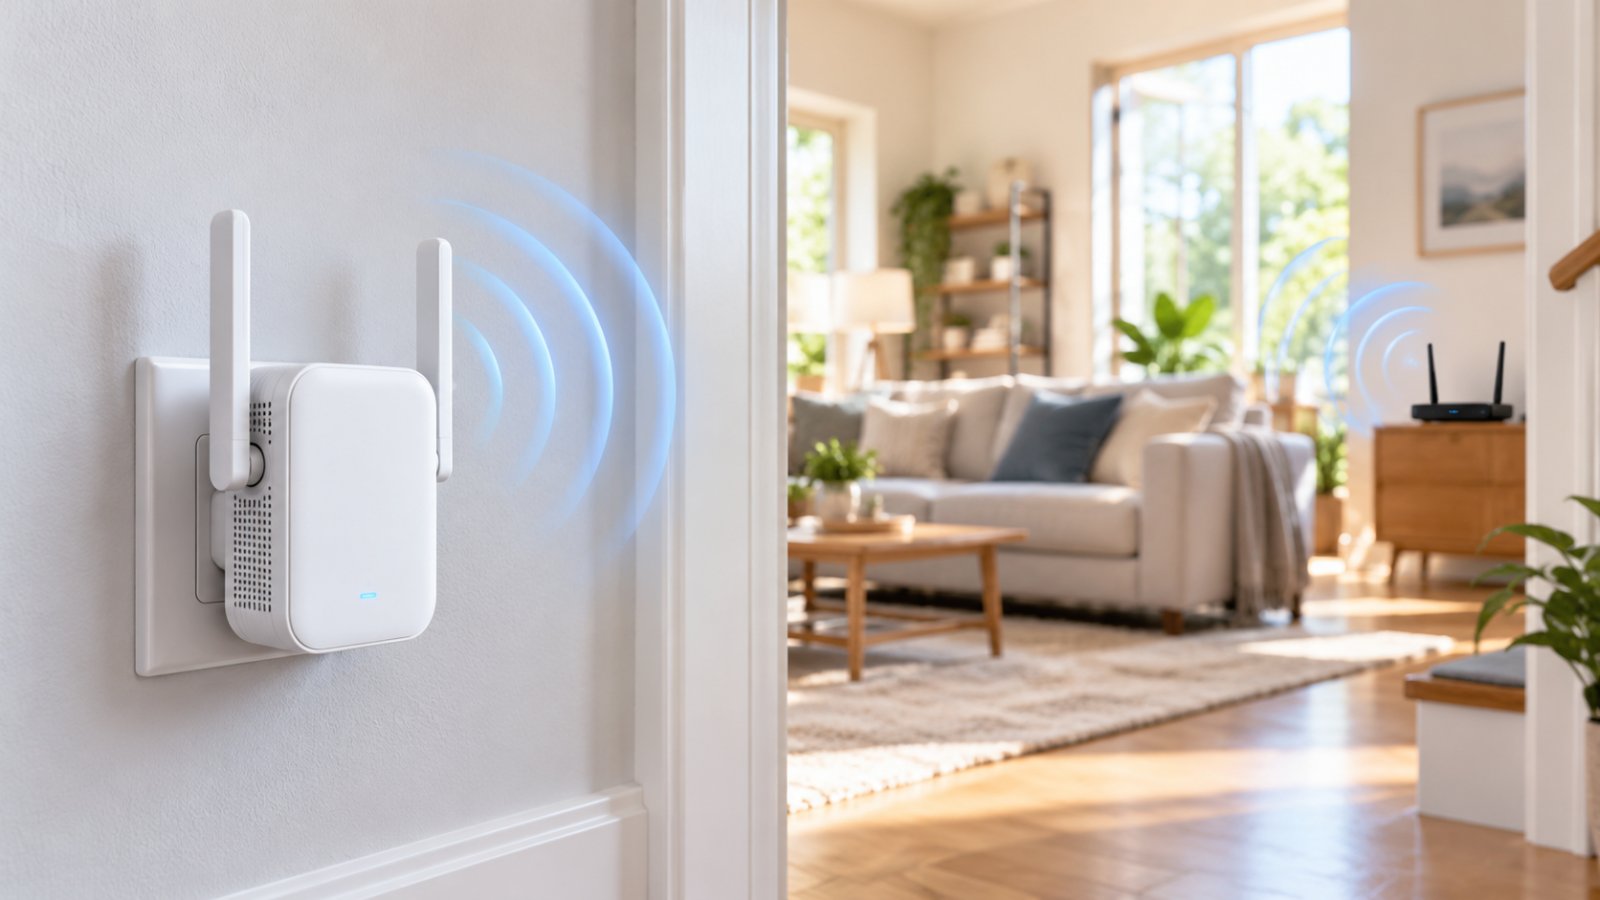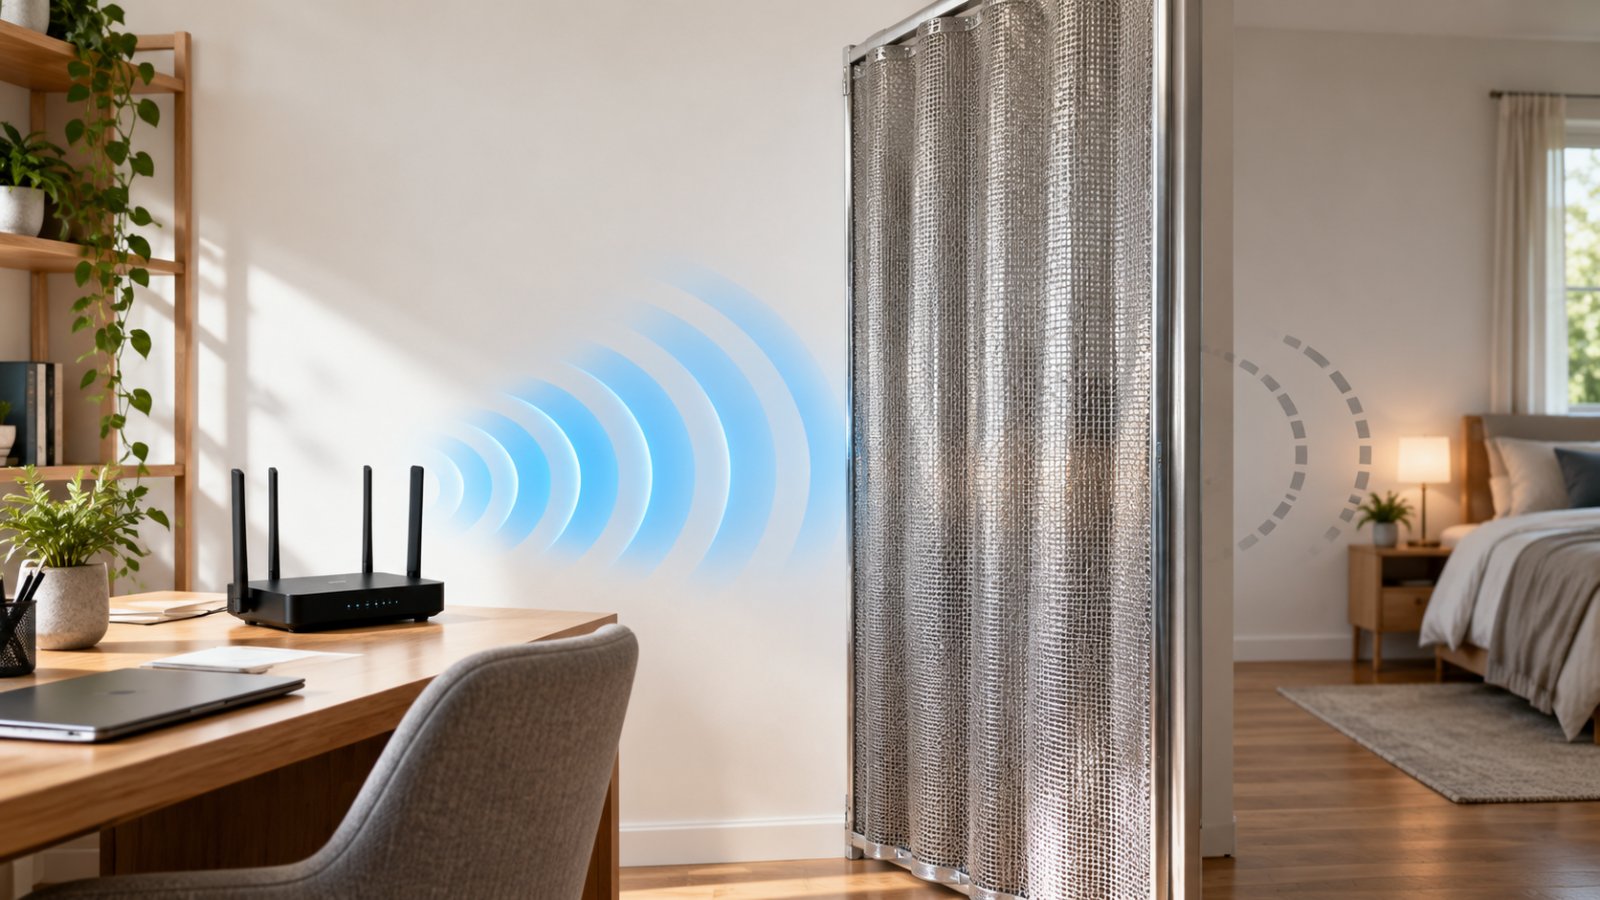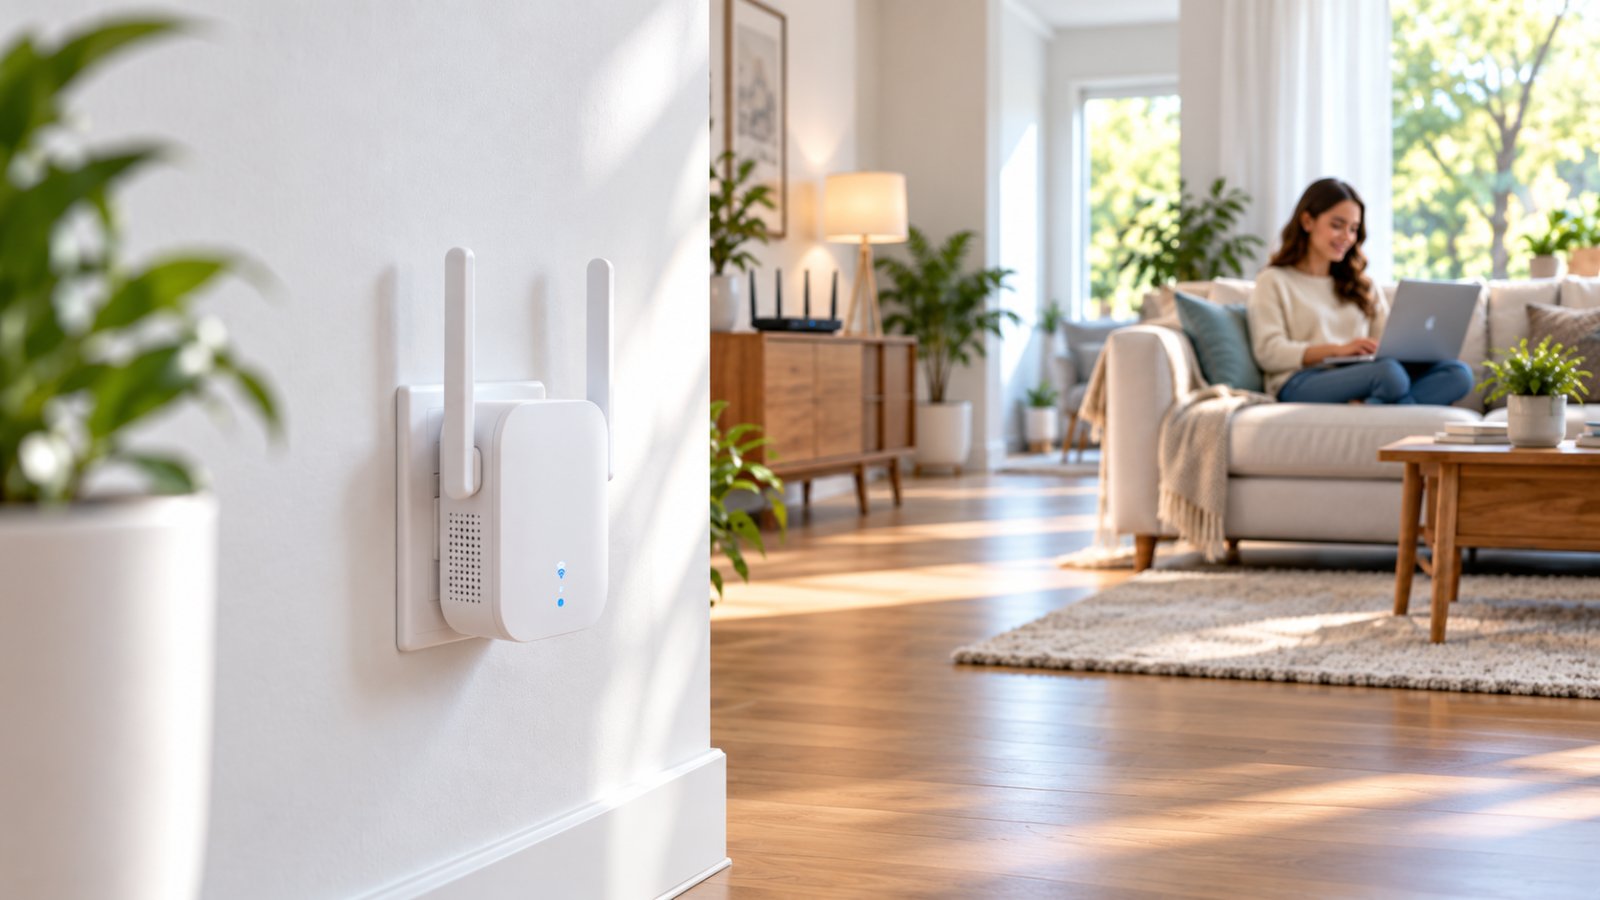
A rooxis wifi extender helps improve wireless coverage in rooms where your main router struggles to maintain a reliable connection. ROOXIS offers the AC1200 dual-band extender and the AX1800 WiFi 6 model, both designed to extend an existing home network without replacing your router. Setup involves connecting the extender through WPS or a browser, then finding an outlet where it can receive a strong router signal.
If your internet works normally in the living room but keeps dropping in an upstairs bedroom, the problem may be WiFi coverage rather than your broadband plan. An extender can help bridge that gap, provided the signal reaching it is strong enough.
This guide covers ROOXIS extender models, practical setup instructions, placement advice, and fixes for common connection issues. It also explains how to choose between the AC1200 and AX1800, what their specifications mean in everyday use, and when a different network arrangement may be more suitable.
Overview of ROOXIS WiFi Extenders
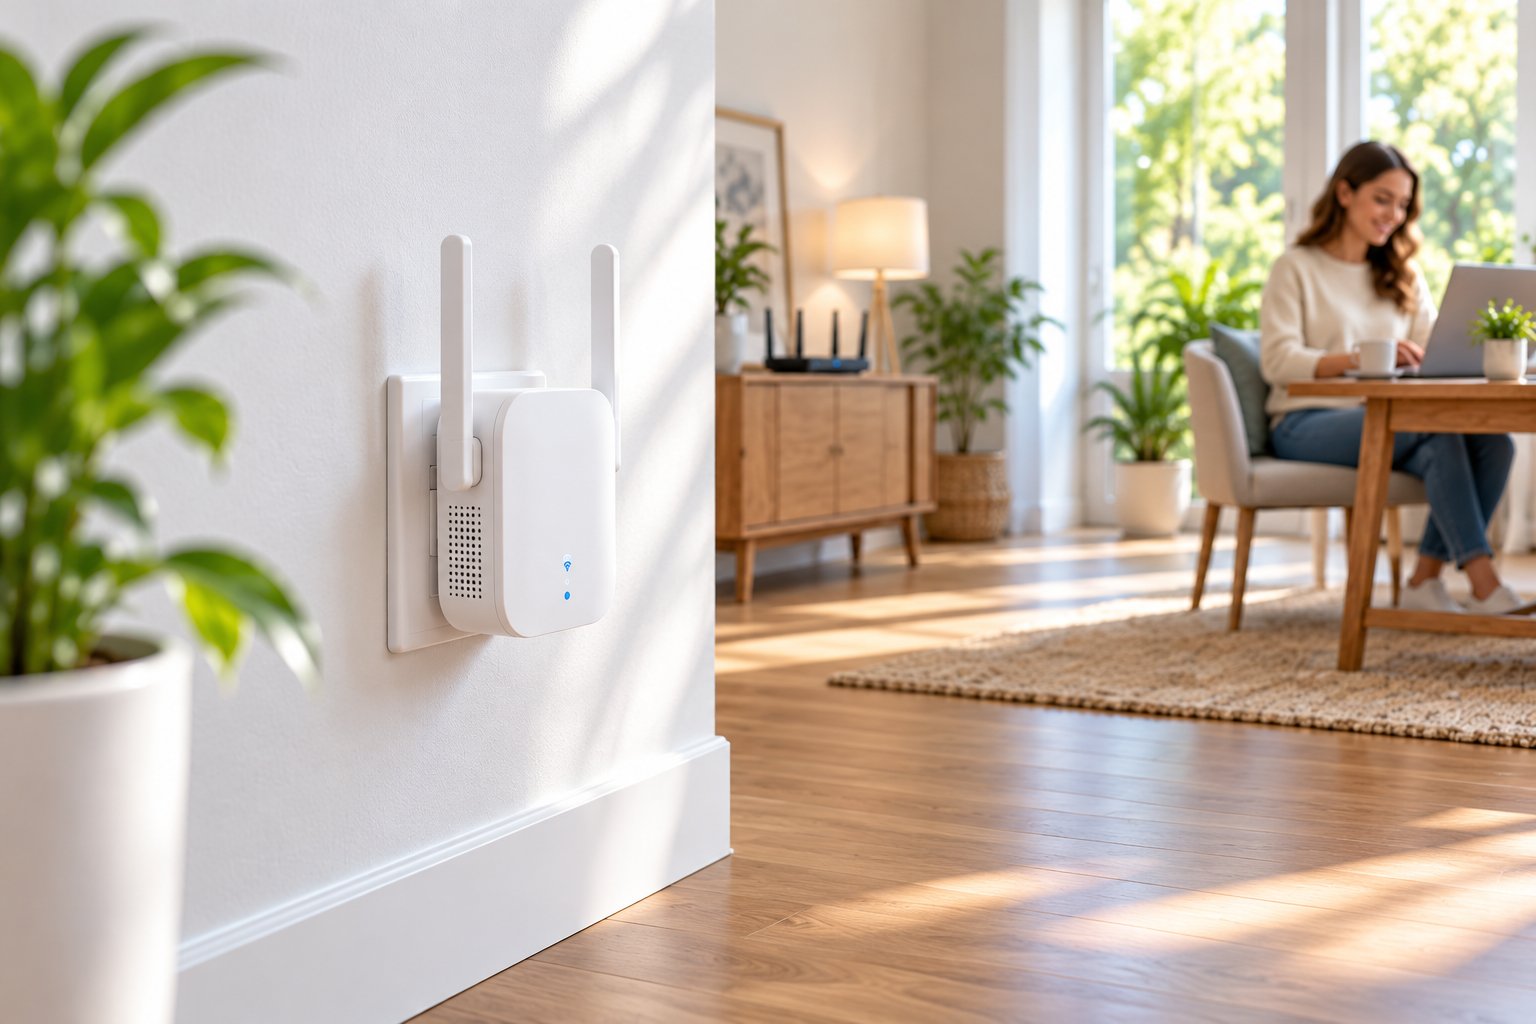
A WiFi range extender receives the wireless signal from your main router and extends coverage into areas where reception is weak. It is particularly useful when the router works well in most rooms but struggles to reach a specific part of the house.
Consider a home where the router sits in the downstairs living room. Phones, televisions, and laptops work normally nearby, but the connection becomes unreliable in a bedroom at the far end of the upstairs hallway.
Moving the router might improve coverage, but that is not always practical. The router may need to stay near the broadband connection, or moving it could weaken WiFi elsewhere.
A range extender offers another option. Installed in a suitable outlet between the router and the bedroom, it can provide an additional wireless connection closer to the problem area.
How does a WiFi extender actually work?
In Repeater Mode, the extender communicates with your existing router over WiFi. Your phone, laptop, or television then connects to the extended network.
The connection has three parts:
-
The main router provides access to your home network and internet connection.
-
The extender receives the router's wireless signal and provides extended coverage.
-
Devices within the extended area connect to the extender.
This arrangement is convenient because you do not need to install Ethernet cabling.
There is a limitation, though. The extender must receive data from the router before forwarding it to your devices. That extra wireless connection uses airtime and can reduce the available throughput.
A laptop may show an excellent WiFi signal because it is close to the extender. If the extender itself barely receives the router's signal, the internet connection can still be slow.
That is why placing an extender directly inside a dead zone often produces disappointing results.
ROOXIS also supports Access Point Mode on the AC1200. This option uses an Ethernet cable to connect the unit to the existing network, removing the need for a wireless link back to the router.
ROOXIS AC1200 vs. AX1800: Which model fits your home?
ROOXIS offers two extender models with different wireless capabilities.
The AC1200 uses WiFi 5 technology and is intended for common home networking tasks. The AX1800 supports WiFi 6, offering higher theoretical wireless rates and a Gigabit Ethernet port.
Both operate on 2.4 GHz and 5 GHz bands.
| Feature | ROOXIS AC1200 Extender | ROOXIS AX1800 Extender |
|---|---|---|
| WiFi technology | WiFi 5 (802.11ac) | WiFi 6 (802.11ax) |
| Wireless bands | 2.4 GHz and 5 GHz | 2.4 GHz and 5 GHz |
| Maximum theoretical 2.4 GHz rate | 300 Mbps | 574 Mbps |
| Maximum theoretical 5 GHz rate | 867 Mbps | 1201 Mbps |
| Ethernet connection | 10/100 Mbps port | Gigabit Ethernet port |
| External antennas | Two 3dBi antennas | Two 3dBi antennas |
| WPS connection | Supported | Supported |
| Listed maximum coverage | Up to 10,000 sq ft with router | Up to 10,000 sq ft with router |
| Suitable applications | Everyday household coverage gaps | WiFi 6 devices and higher-bandwidth requirements |
The speed figures describe theoretical wireless link rates. They should not be confused with the internet speed that a laptop or television will actually receive.
For example, a laptop connected through an AC1200 extender will not automatically receive 867 Mbps simply because it uses the 5 GHz band. Performance also depends on the router, broadband connection, signal quality, network congestion, and the laptop's WiFi capabilities.
The same principle applies to the AX1800.
Which model should you consider?
The AC1200 is worth considering when you need to improve WiFi in a bedroom, study, or other area with weak coverage. It supports everyday activities such as browsing, streaming, smart-home connectivity, and video meetings, subject to the quality of the connection.
The AX1800 may be a better fit if your household already uses WiFi 6 devices or you need a Gigabit Ethernet connection for nearby wired equipment.
Neither model can correct a broadband service problem. If the internet is slow even when a laptop is connected directly beside the main router, investigate that issue before adding an extender.
Key Features of the ROOXIS AC1200 Extender
The rooxis ac1200 extender combines dual-band WiFi, MU-MIMO support, external antennas, a WPS button, and an Ethernet port.
Its features are straightforward, but understanding their limitations helps you choose the right settings.
1. Dual-band WiFi connectivity
The AC1200 supports two wireless frequency bands: 2.4 GHz and 5 GHz.
The 2.4 GHz band generally provides better reach through walls. It can be useful for devices farther from the extender, including printers, smart plugs, and basic connected-home accessories.
The 5 GHz band offers higher potential throughput when signal conditions are good. It is often suitable for laptops, televisions, and devices used for video calls or streaming.
Neither band is automatically better in every room.
A laptop located close to the extender may perform well on 5 GHz, while a smart device behind a thick wall might remain connected more reliably on 2.4 GHz.
Try both where possible, particularly if a device connects successfully but performs inconsistently.
2. AC1200 wireless speed class
The AC1200 designation combines maximum theoretical wireless rates of 300 Mbps on 2.4 GHz and 867 Mbps on 5 GHz.
Those rates cannot be added together to calculate the download speed available to a single device.
Actual throughput is lower because wireless communication carries overhead, shares airtime with other devices, and is affected by signal conditions.
For a range extender, the wireless connection back to the main router also matters. Improving that connection can be more useful than changing settings on the laptop itself.
3. MU-MIMO support
The AC1200 includes 2x2 MU-MIMO technology.
MU-MIMO can help compatible wireless equipment communicate more efficiently with multiple devices under suitable conditions.
This is relevant in homes where several devices are connected at once, such as a phone, laptop, television, and smart-home equipment.
It does not create additional broadband capacity. If your internet connection is already fully occupied by large downloads or uploads, connected devices may still experience delays.
4. WPS one-button setup
The WPS button offers a way to pair the extender with a compatible router without entering the WiFi password through a browser.
This can make the initial installation simpler.
However, WPS must be available and enabled on the router. Some routers have it disabled, while others do not support button-based pairing.
In those cases, browser configuration is the appropriate alternative.
5. Ethernet port for wired devices
The AC1200 has one 10/100 Mbps Ethernet port.
You can connect a nearby desktop computer, television, or gaming console using an Ethernet cable.
This is useful when a device has poor built-in WiFi reception or when you want to avoid wireless interference between that device and the extender.
Remember that the Ethernet port does not eliminate the wireless connection to the main router when the extender operates in Repeater Mode.
The port also has a maximum negotiated rate of 100 Mbps. It is not a Gigabit port.
6. Repeater and Access Point modes
The AC1200 provides two installation options.
-
Repeater Mode: Connects wirelessly to your router and extends WiFi coverage without network cabling.
-
Access Point Mode: Uses an Ethernet connection from your router or network switch to provide WiFi near the wired connection.
If your upstairs home office already has a working Ethernet outlet, Access Point Mode is usually the more dependable approach.
The cable carries network traffic back to the router, so the extender does not have to repeat a signal through the floor.
If no cable is available, Repeater Mode is more convenient.
7. Signal indicator for placement
The AC1200 uses a multi-color indicator to show whether it has a good connection to the router.
The main states are:
-
Solid blue: Connected with a good signal.
-
Solid yellow: Connected, but the router signal is weaker than ideal.
-
Solid red: The connection or setup has failed.
-
Blinking: The unit is starting or pairing.
-
No light: Check power to the extender.
These indicators help you choose an outlet without repeatedly opening the setup page.
The AX1800 uses a different arrangement of status lights and a signal-strength display. Its indicator behavior should not be confused with the AC1200's color system.
8. Coverage specifications and real-world expectations
ROOXIS lists coverage of up to 10,000 square feet for the AC1200 when used with a router.
That figure is a stated maximum specification, not a guarantee that the extender will provide the same connection quality throughout every home of that size.
Wall construction, router placement, interference, and distance all affect wireless coverage.
A relatively small property with thick concrete walls may be more difficult to cover than a larger home with open hallways.
A better way to assess the extender is to identify the rooms where your existing WiFi fails and determine whether there is a suitable installation point between those rooms and the router.
You can find the model specifications and purchasing information on the official ROOXIS WiFi extender product page.
Step-by-Step Setup Instructions
The rooxis wifi extender setup process has two main options: WPS pairing and browser configuration.
Both methods are intended to connect the extender to your existing home network.
The following instructions focus on the AC1200, including its documented setup address and indicator behavior. If you own an AX1800, use the instructions for that model when its controls or indicators differ.
Before starting, prepare the following:
-
The extender and its external antennas.
-
An available wall outlet near your router.
-
Your existing WiFi network name.
-
Your current WiFi password.
-
A phone, tablet, or laptop.
-
An Ethernet cable if you plan to use Access Point Mode.
Check that the main router has internet access before you begin.
Open a website on a phone connected directly to the router. If the connection is already failing there, resolve that issue first.
For initial setup, it is sensible to keep the extender near the router. Once pairing works, you can move it toward the area where reception is weak.
Method 1: One-Touch WPS Setup
WPS stands for Wi-Fi Protected Setup.
It allows compatible devices to connect through a button-based pairing process.
This method is convenient when your router has an enabled WPS button and you do not need to change the extender's operating mode manually.
Step 1: Connect the extender to power
Attach the external antennas and position them upright.
Plug the extender into a wall outlet near the main router.
Allow it to complete startup before pressing any buttons.
Step 2: Locate the WPS button on your router
Find the button labeled WPS on the router.
Depending on the model, it may be on the rear or side.
Check that you have the correct button. Pressing a reset button by mistake may clear the router's configuration and disconnect other household devices.
Step 3: Activate WPS on the router
Press the router's WPS button for approximately two seconds, then release it.
The router should enter pairing mode.
Some routers indicate this with a blinking status light, although the appearance varies by model.
Step 4: Press the extender's WPS button
Within two minutes of activating WPS on the router, press the AC1200 extender's WPS button for approximately two seconds.
Release it and allow the devices to connect.
Avoid pressing the button repeatedly while pairing is in progress.
Step 5: Check the connection status
The AC1200's indicator should turn solid blue after a successful connection with a good router signal.
If the indicator remains red, pairing has not completed successfully.
Keep the extender near the router and try again, following the same sequence.
Step 6: Connect to the extended WiFi network
After successful pairing, the AC1200 typically creates extended network names based on your existing WiFi name.
For example, a network called HomeWiFi may appear as:
-
HomeWiFi_EX for the extended 2.4 GHz network.
-
HomeWiFi_5G_EX for the extended 5 GHz network.
The extended networks use the password from the original router network.
Open your phone's WiFi settings and select the appropriate extended network.
Step 7: Test the internet connection
Once connected, open a few websites.
Try a short video or another application that normally requires a stable internet connection.
Check that the phone or laptop is actually connected to the extended network, not the original router network.
After confirming that everything works, move the extender to the intended location.
What if WPS does not work?
A failed WPS attempt is not necessarily a hardware problem.
First, check whether the router supports WPS and whether the feature is enabled.
Next, confirm that you pressed the extender's button within the required pairing window.
Try again while the extender is close to the router.
If pairing still fails, use browser setup. It is often easier to identify a wrong network selection or password through the manual configuration screen.
Method 2: Web Browser Configuration
Browser setup is useful when WPS is unavailable or when you want to configure the operating mode yourself.
For the ROOXIS AC1200, configuration takes place through a local web interface.
You do not need to install a separate application.
Step 1: Power on the extender
Plug the AC1200 into a wall outlet and allow it to start.
Keep your phone or laptop close to the unit.
Make sure WiFi is enabled on the device you will use for setup.
Step 2: Connect to the extender's setup network
Open your phone or laptop's list of available WiFi networks.
Look for the default network beginning with @ROOXIS.
The exact network name is printed on the extender's device label.
Select the matching network and remain connected.
Your phone may display a warning that the network has no internet access. That is expected during initial setup because the extender has not connected to the main router yet.
Do not switch back to your regular home WiFi until configuration is finished.
Step 3: Open the configuration page
Open a browser and enter:
192.168.8.1
The AC1200 also supports home.to as a local setup address.
Enter the address directly into the browser's address bar.
If the setup page does not load, confirm that your device is still connected to the extender's default WiFi.
If the configuration interface requests credentials, use the information provided with your specific device or follow the on-screen instructions. Do not assume a generic router password will work.
Step 4: Select the operating mode
The setup page lets you choose between Repeater Mode and Access Point Mode.
Choose Repeater Mode when the extender will connect wirelessly to the router.
Choose Access Point Mode when you have a working Ethernet cable from the router or network switch to the extender.
For example, an extender placed in a hallway without Ethernet wiring will normally use Repeater Mode.
An extender connected to a network cable in a home office can use Access Point Mode.
Step 5: Select your existing WiFi network
In Repeater Mode, the AC1200 scans for nearby networks.
Choose your main home network.
If several networks have similar names, check carefully before selecting one. This is particularly relevant in apartment buildings where multiple nearby networks appear in the list.
Avoid choosing an old guest network or a network you no longer use.
Step 6: Enter the WiFi password
Type the current password for your selected router network.
Passwords are case-sensitive.
If the router password was recently changed, use the updated one rather than credentials saved on an older device.
Apply the configuration when prompted.
Step 7: Allow the extender to restart
The AC1200 may restart after the new settings are saved.
Leave it connected to power while this happens.
Wait for the indicator to stabilize.
A solid blue indicator means the AC1200 has established a good router connection.
Step 8: Connect and test your devices
Open the WiFi list on your phone or laptop again.
Choose the extended network and connect using the appropriate password.
Test internet access.
Then move the extender to the outlet you plan to use permanently.
Allow it to reconnect before checking the signal indicator and testing the connection again.
A note about Access Point Mode
Access Point Mode works only when the Ethernet connection leads to an active network.
A cable plugged into a wall socket is not enough unless that socket is connected to your router or network switch.
If the office has Ethernet cabling, confirm the connection works with a laptop before using it for the extender.
For an AC1200 already configured in another operating mode, ROOXIS recommends resetting the device before changing modes.
This clears the old configuration and allows you to select the correct mode during setup.
How to confirm setup was successful
Do not rely only on the WiFi icon on your phone.
Check the whole connection:
-
The phone or laptop joins the correct extended network.
-
The extender shows a healthy router connection.
-
Websites open normally.
-
The applications that previously struggled work in the problem room.
-
The connection remains usable after the extender is moved to its final outlet.
If setup works beside the router but fails after moving the unit, the new location may not receive a strong enough signal.
Try another outlet before repeating the entire configuration process.
Placement Tips for Optimal Signal Coverage
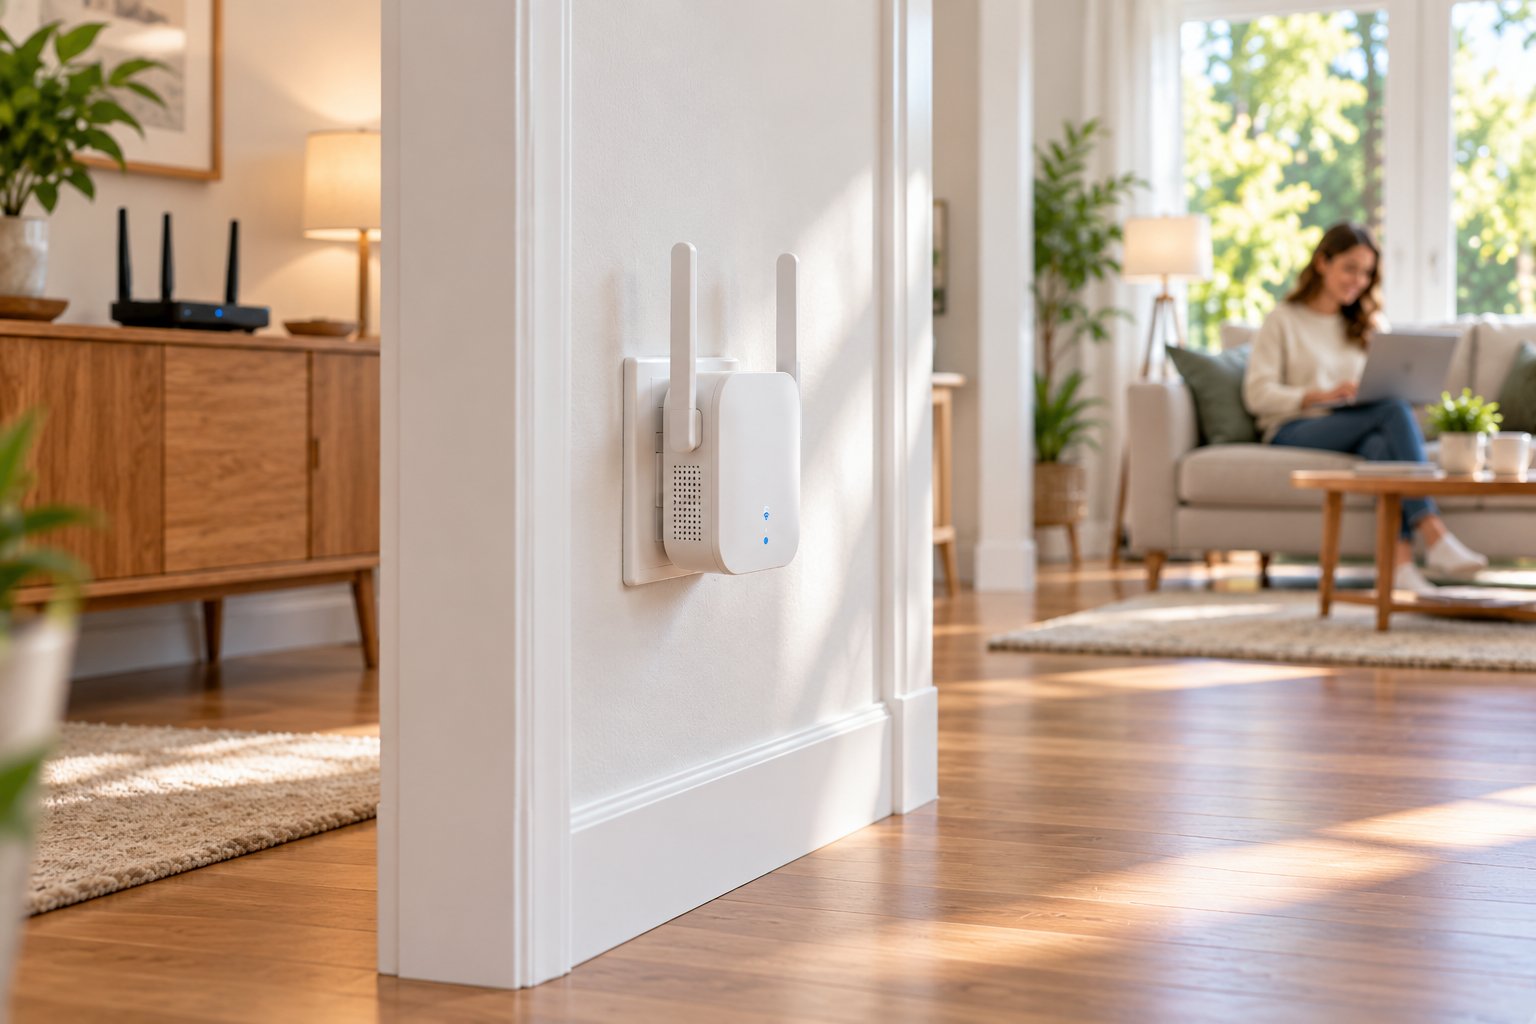
Placement often makes the difference between an extender that helps and one that simply adds another weak network.
The extender needs two things: a dependable connection to your main router and enough reach to serve the room where coverage is poor.
Moving it farther from the router may improve the signal in the distant room, but it can also weaken the connection supplying that signal.
The goal is to find a workable balance.
Start between the router and the weak room
Suppose the router is downstairs and WiFi keeps dropping in an upstairs bedroom.
The first outlet to try may be on the stair landing rather than inside the bedroom.
That location may offer a clearer connection to the downstairs router while bringing the extended network closer to the upstairs devices.
A similar approach works in a long house.
If the router is at one end and the home office is at the other, start with an outlet along the hallway where the existing WiFi still works well.
Use the signal lights rather than distance alone
Distance is only part of wireless coverage.
Two outlets that are similar distances from the router can perform differently because one is behind a thick wall or large appliance.
On the AC1200, a solid blue indicator shows a good router connection.
A yellow indicator means the connection is weaker than ideal. Try moving the extender toward the router.
A red indicator calls for checking the connection or setup.
For the AX1800, use its signal-strength display to evaluate the position.
Wait for the extender to reconnect after each move before making another adjustment.
Avoid unnecessary physical obstacles
WiFi has to travel through the building around it.
Brick, concrete, metal framing, and reinforced floors can weaken the signal significantly.
Keep the extender away from locations such as:
-
Closed cupboards or enclosed shelving.
-
Spaces directly behind large televisions.
-
Metal cabinets and densely packed equipment.
-
Areas immediately beside microwaves or other sources of wireless interference.
-
Corners separated from the router by several thick walls.
The antennas should have clear space around them.
An open hallway outlet may be more useful than one hidden behind a bedroom wardrobe.
Choose the right wireless band
Use the 2.4 GHz extended network when distance or wall penetration is the main challenge.
Try the 5 GHz network when the device is closer to the extender and needs higher available throughput.
For instance, a laptop used at a desk near the extender may benefit from 5 GHz.
A smart-home device farther away may be better served by 2.4 GHz.
If one band performs poorly, test the other before moving the equipment.
Test the actual room, not just the indicator
The indicator tells you about the connection between the extender and router.
It does not tell you everything about the experience in the room you're trying to cover.
After choosing an outlet, test the activities that matter in that room.
-
Load several websites from the usual desk or seating position.
-
Check whether video calls remain stable.
-
Try streaming on the television that previously buffered.
-
Confirm smart devices stay connected.
-
Move around the room to see whether reception changes noticeably.
You can use a speed test for comparison, but keep the device and test location consistent.
One unusually good or poor result is not enough to judge the installation.
Repeated checks during ordinary use provide a better indication of whether coverage has improved.
Check the main router before adding more equipment
An extender cannot compensate for every router placement problem.
If the main router sits inside a cabinet or behind a large television, its signal may already be unnecessarily restricted.
Move it into a more open location when practical.
If your broadband connection enters the home near an outside wall, a longer Ethernet cable may allow you to position the router more centrally.
Improve the router's placement first, then reassess the weak areas.
You may find that the extender can be installed closer to the problem room while still maintaining a good signal.
Consider the size and construction of your home
A single range extender is often most practical for a defined coverage gap.
That might be one bedroom, a study, or part of an upstairs floor.
A property with multiple concrete floors or several distant rooms presents a different challenge.
In that situation, consider the available network wiring and the number of areas that need coverage.
A wired access point can be preferable where Ethernet is already installed. A coordinated mesh network may be more suitable when coverage is needed across several areas and easy movement between them matters.
The best option depends on the physical layout, not just the advertised coverage specification.
Troubleshooting Common Connection Issues
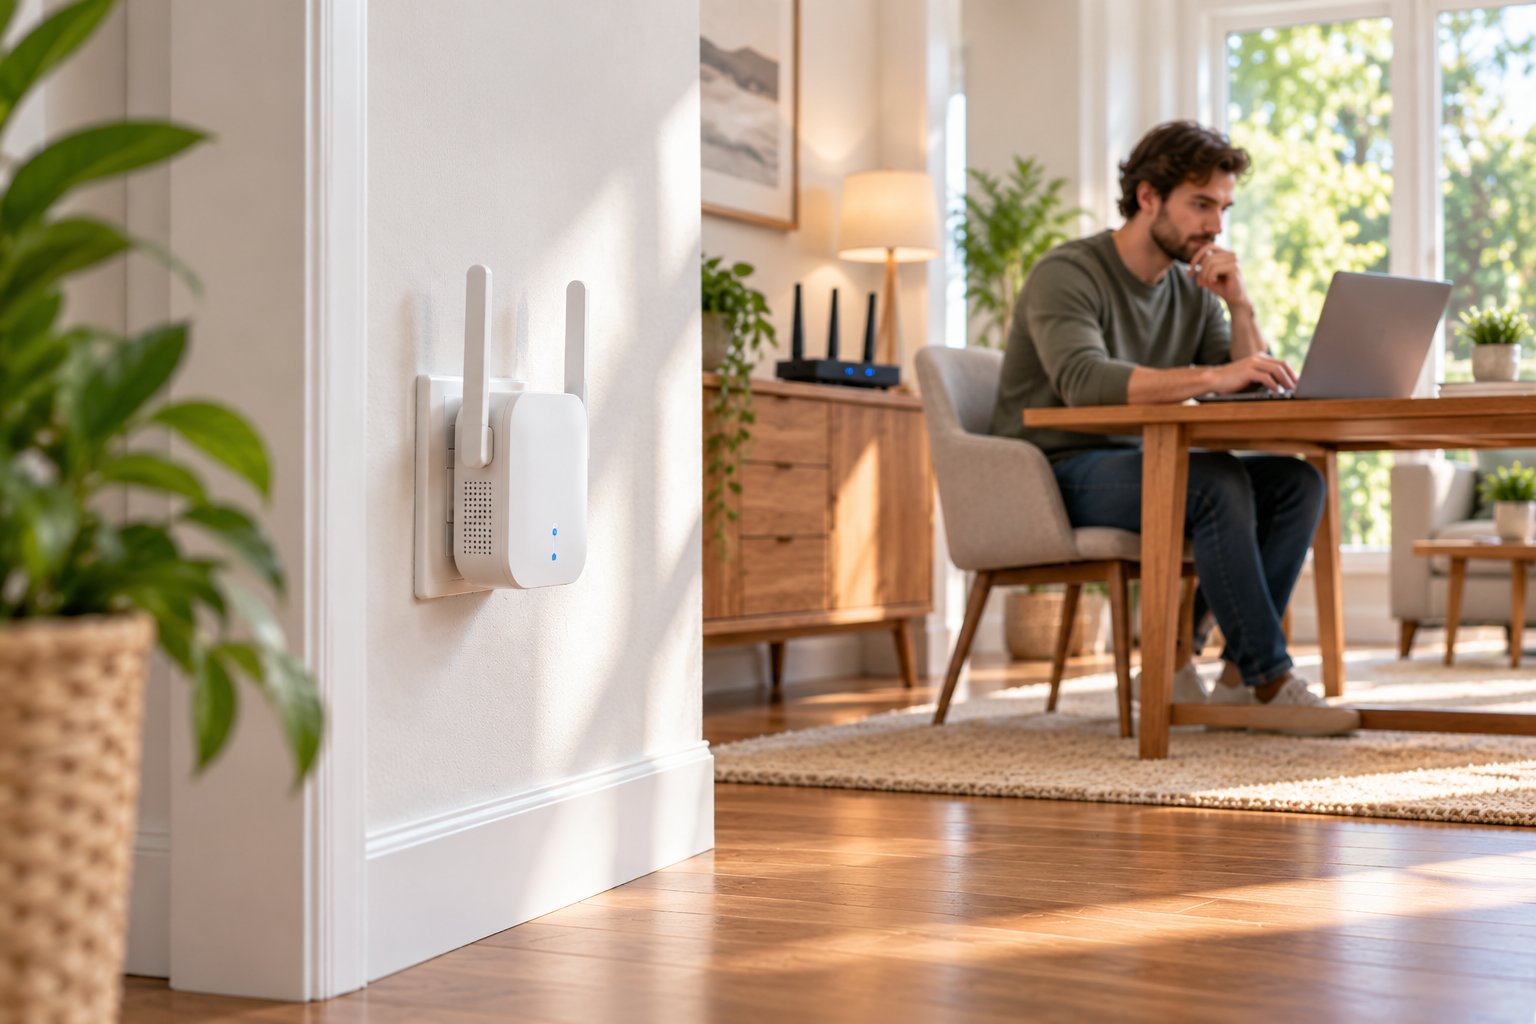
Most extender problems fall into a few categories: incorrect network settings, a weak connection to the router, interference, or an issue with the main internet service.
Before changing several settings at once, identify where the connection fails.
Does the extender fail to connect to the router? Does your phone connect to the extender but have no internet? Or does everything work until you move into the next room?
Those symptoms point to different causes.
Problem 1: The extender is not connecting to the router
Begin by confirming that your main router is working.
Connect a phone directly to the router and open a website.
If the router provides internet normally, move the extender close to it and repeat the pairing process.
For WPS, check that the router supports the feature and that pairing starts within the required time window.
For browser configuration, verify the selected network and password.
A router password entered incorrectly can prevent connection even when the correct network appears in the setup list.
Problem 2: The extender's setup network is not visible
The default setup network may disappear after the extender has been configured.
Check the available WiFi networks for the extended names rather than assuming the default @ROOXIS network must still be present.
If the extender is new, confirm it has power and has finished starting.
Move your phone closer and refresh the WiFi list.
If the unit has previously been configured and you do not know its settings, a factory reset can restore the initial setup state.
Problem 3: The extender connects, but there is no internet
A WiFi connection and an internet connection are not the same thing.
Your phone can connect successfully to the extender even when the extender cannot reach the router.
Check whether the main router provides internet access.
If it does, look at the extender's signal indicator.
A failed router connection may mean the extender is too far away or has incorrect saved network settings.
Move it closer and verify the configuration before changing anything else.
Problem 4: The extended WiFi is slower than expected
Reduced speed is a common concern with wireless repeaters.
The extender must communicate with the router and connected devices, sharing wireless airtime between those tasks.
The result depends on distance, interference, router capabilities, and current network traffic.
Start with these checks:
-
Make sure the extender receives a good router signal.
-
Compare 2.4 GHz and 5 GHz connections.
-
Check whether other devices are using substantial bandwidth.
-
Move the extender away from large obstacles.
-
Test internet speed directly beside the main router.
If speeds are already poor near the router, investigate that connection first.
If speeds are good near the router but deteriorate through the extender, focus on placement and wireless conditions.
Problem 5: The connection keeps dropping
Frequent disconnections can indicate that the extender is receiving an unstable router signal.
Try an outlet with a clearer path to the router.
Avoid locations beside appliances or behind large metal objects.
Also check whether the main router is restarting, changing wireless settings, or losing its internet connection.
When the same interruptions occur on devices connected directly to the router, the problem may not involve the extender.
Problem 6: A phone will not switch to the extended network
Phones and laptops often remain connected to a familiar network until the signal becomes weak enough to trigger a change.
Some devices hold onto the router connection longer than expected.
If the extended network uses a separate name, select it manually in WiFi settings.
For example, when working in the upstairs office, choose the extended network rather than waiting for the phone to switch.
If the saved connection has an outdated password, forget the network and reconnect with the current credentials.
Problem 7: A smart TV or console has connection problems
A television or console located near the extender can be connected through its Ethernet port.
This removes the wireless connection between that device and the extender.
It does not remove the wireless link between the extender and main router in Repeater Mode.
The AC1200's port is limited to 100 Mbps, so it should not be treated as a Gigabit connection.
If you require Gigabit Ethernet and have compatible equipment, the AX1800 offers that port capability.
For either model, the quality of the remaining network connection still matters.
Problem 8: Browser setup does not open
For the AC1200, first confirm that your phone or computer is connected to the extender's setup network.
Then enter 192.168.8.1 directly into the browser address bar.
You can also try home.to.
Some phones switch automatically to mobile data or another remembered WiFi network when the current connection has no internet.
Keep the device connected to the extender's local setup network until configuration is complete.
If the setup page still does not appear, check the device's label and the instructions supplied with your model.
Problem 9: The extender needs a factory reset
Resetting can help when saved network settings are incorrect, the previous configuration is unknown, or you want to change the operating mode.
For the ROOXIS AC1200, keep the extender powered on and press and hold the RST button until the LED flashes red. Release the button and allow the device to restart.
For the ROOXIS AX1800, hold the Reset button for five seconds, then release it.
These are model-specific procedures.
A factory reset clears saved settings. You must complete the setup process again, including reconnecting the extender to your home WiFi.
Do not press reset unless you are prepared to reconfigure the device.
Problem 10: Setup works initially but fails after moving the extender
When an extender works beside the router but stops working at its final location, check signal strength before resetting it.
The new outlet may be beyond reliable router coverage.
Move the extender back toward the router and allow it to reconnect.
Once the indicator shows a healthy connection, test whether the extended network reaches the room you need.
You may need to try several outlets along the hallway or near a doorway.
Moving directly into the dead zone is unlikely to help if the router signal is already too weak there.
Quick troubleshooting checklist
| Problem | What to check | Practical next step |
|---|---|---|
| WPS pairing fails | Router WPS support and pairing sequence | Retry near the router or use browser setup |
| Default setup network is missing | Power and previous configuration | Check extended network names or reset if necessary |
| Connected without internet | Router service and extender connection | Test the main router first |
| Slow speeds | Router signal, interference, and wireless band | Improve placement and compare bands |
| Frequent dropouts | Signal stability and router behavior | Try another outlet and test the main network |
| Television connection is unreliable | Local wireless reception | Consider the Ethernet port |
| Setup page will not open | Connected WiFi network and browser address | Join the extender setup network and retry |
| Previous settings are unknown | Saved extender configuration | Perform the correct factory reset for the model |
When to contact ROOXIS support
If basic troubleshooting does not resolve the problem, collect some information before contacting ROOXIS.
Have the following details ready:
-
Your extender model, either AC1200 or AX1800.
-
The model of your main router.
-
Whether you are using WPS or browser configuration.
-
The operating mode, if applicable.
-
The extender's current indicator status.
-
Whether internet access works directly through the router.
-
The point at which setup fails or the connection drops.
This information helps distinguish a pairing problem from poor placement, router compatibility, or a network service issue.
You can use the ROOXIS Help Center for setup and troubleshooting guidance.
For additional support, contact support@rooxis.com and describe the problem along with your model details.
If you are still comparing hardware, the official AC1200 WiFi Extender page provides specifications and access to the Amazon purchasing option.
Frequently Asked Questions
How do I set up a ROOXIS WiFi extender?
Plug the extender into a wall outlet near your router and pair it using WPS if the router supports that feature. For manual AC1200 setup, connect to the default ROOXIS setup network, open 192.168.8.1 in a browser, and follow the configuration steps. Once connected, move the extender to a suitable outlet between the router and the weak coverage area.
Where is the best place to plug in my ROOXIS range extender?
Choose an outlet between the main router and the room where coverage is poor, ideally where the extender still receives a strong router signal. Avoid enclosed cabinets, large metal obstacles, and positions behind thick walls. On the AC1200, a solid blue indicator shows a good connection and can help guide placement.
How do I reset my ROOXIS extender to factory settings?
For the AC1200, keep the unit powered on and hold the RST button until its LED flashes red, then release it. For the AX1800, hold the Reset button for five seconds before releasing it. A factory reset erases the saved configuration, so you will need to set up the extender again.
Does the ROOXIS WiFi extender work with third-party routers?
Yes. ROOXIS extenders are designed to work with compatible WiFi routers from different manufacturers, so a ROOXIS router is not required. WPS pairing depends on whether the router supports and enables WPS, while browser setup provides another connection method. Wireless security settings and router configuration can still affect compatibility.
Conclusion
ROOXIS WiFi extenders provide a practical way to improve coverage when an otherwise reliable router leaves certain rooms with weak reception. The AC1200 is suited to everyday coverage needs, while the AX1800 offers WiFi 6 support and a Gigabit Ethernet port for households with different networking requirements.
Start by identifying the actual coverage problem, then choose the model and operating mode that fit your home. Correct setup and thoughtful placement matter more than advertised speed figures alone. For product details, installation guidance, and troubleshooting assistance, ROOXIS provides official product and support resources.