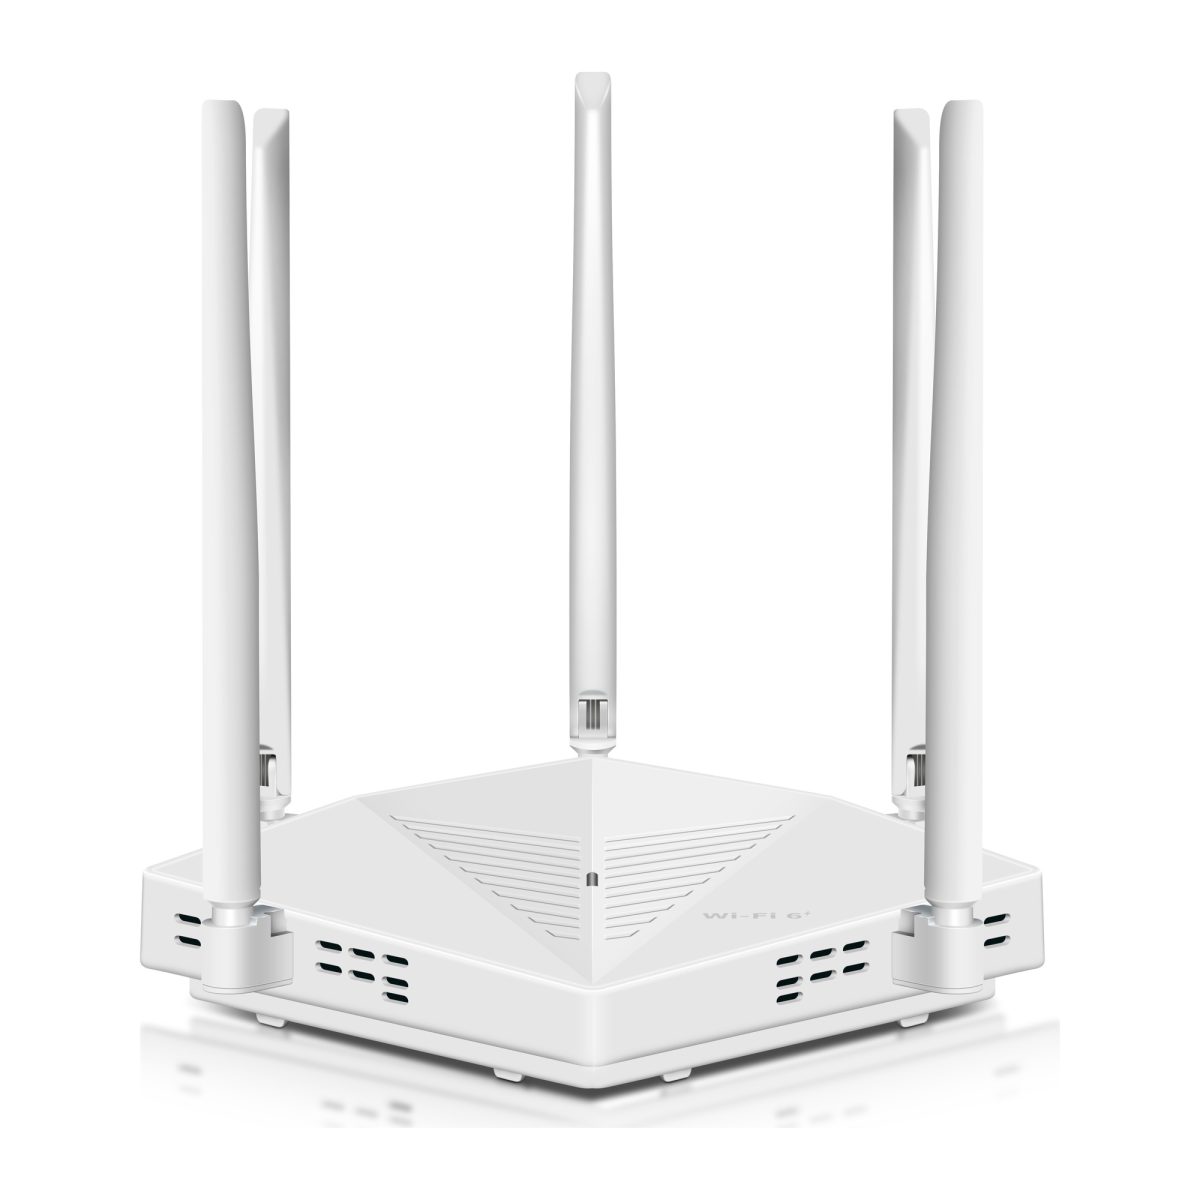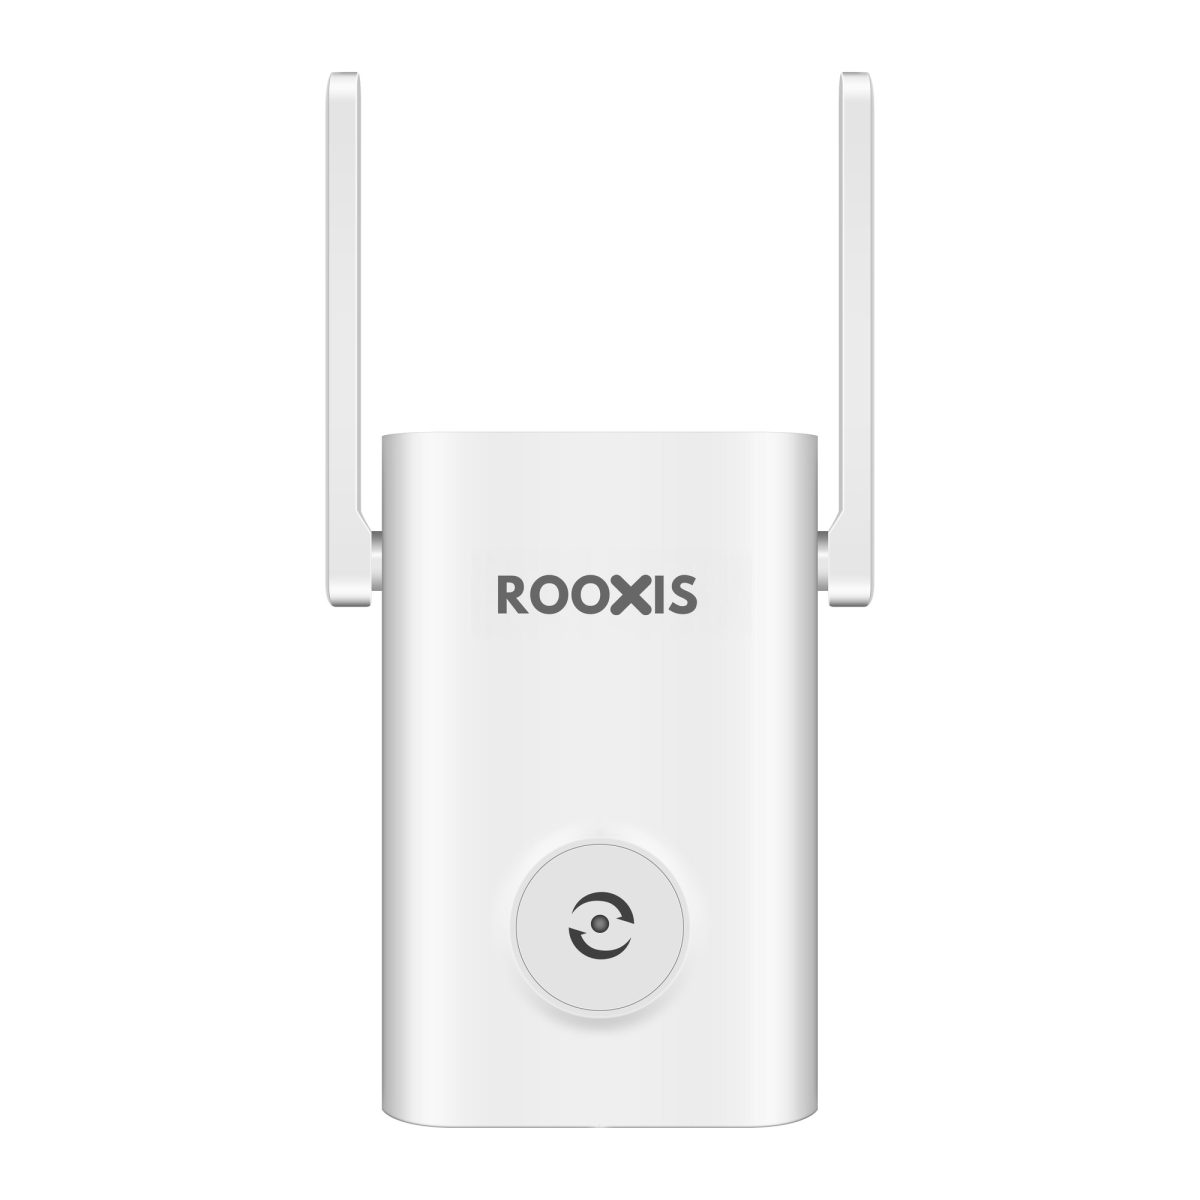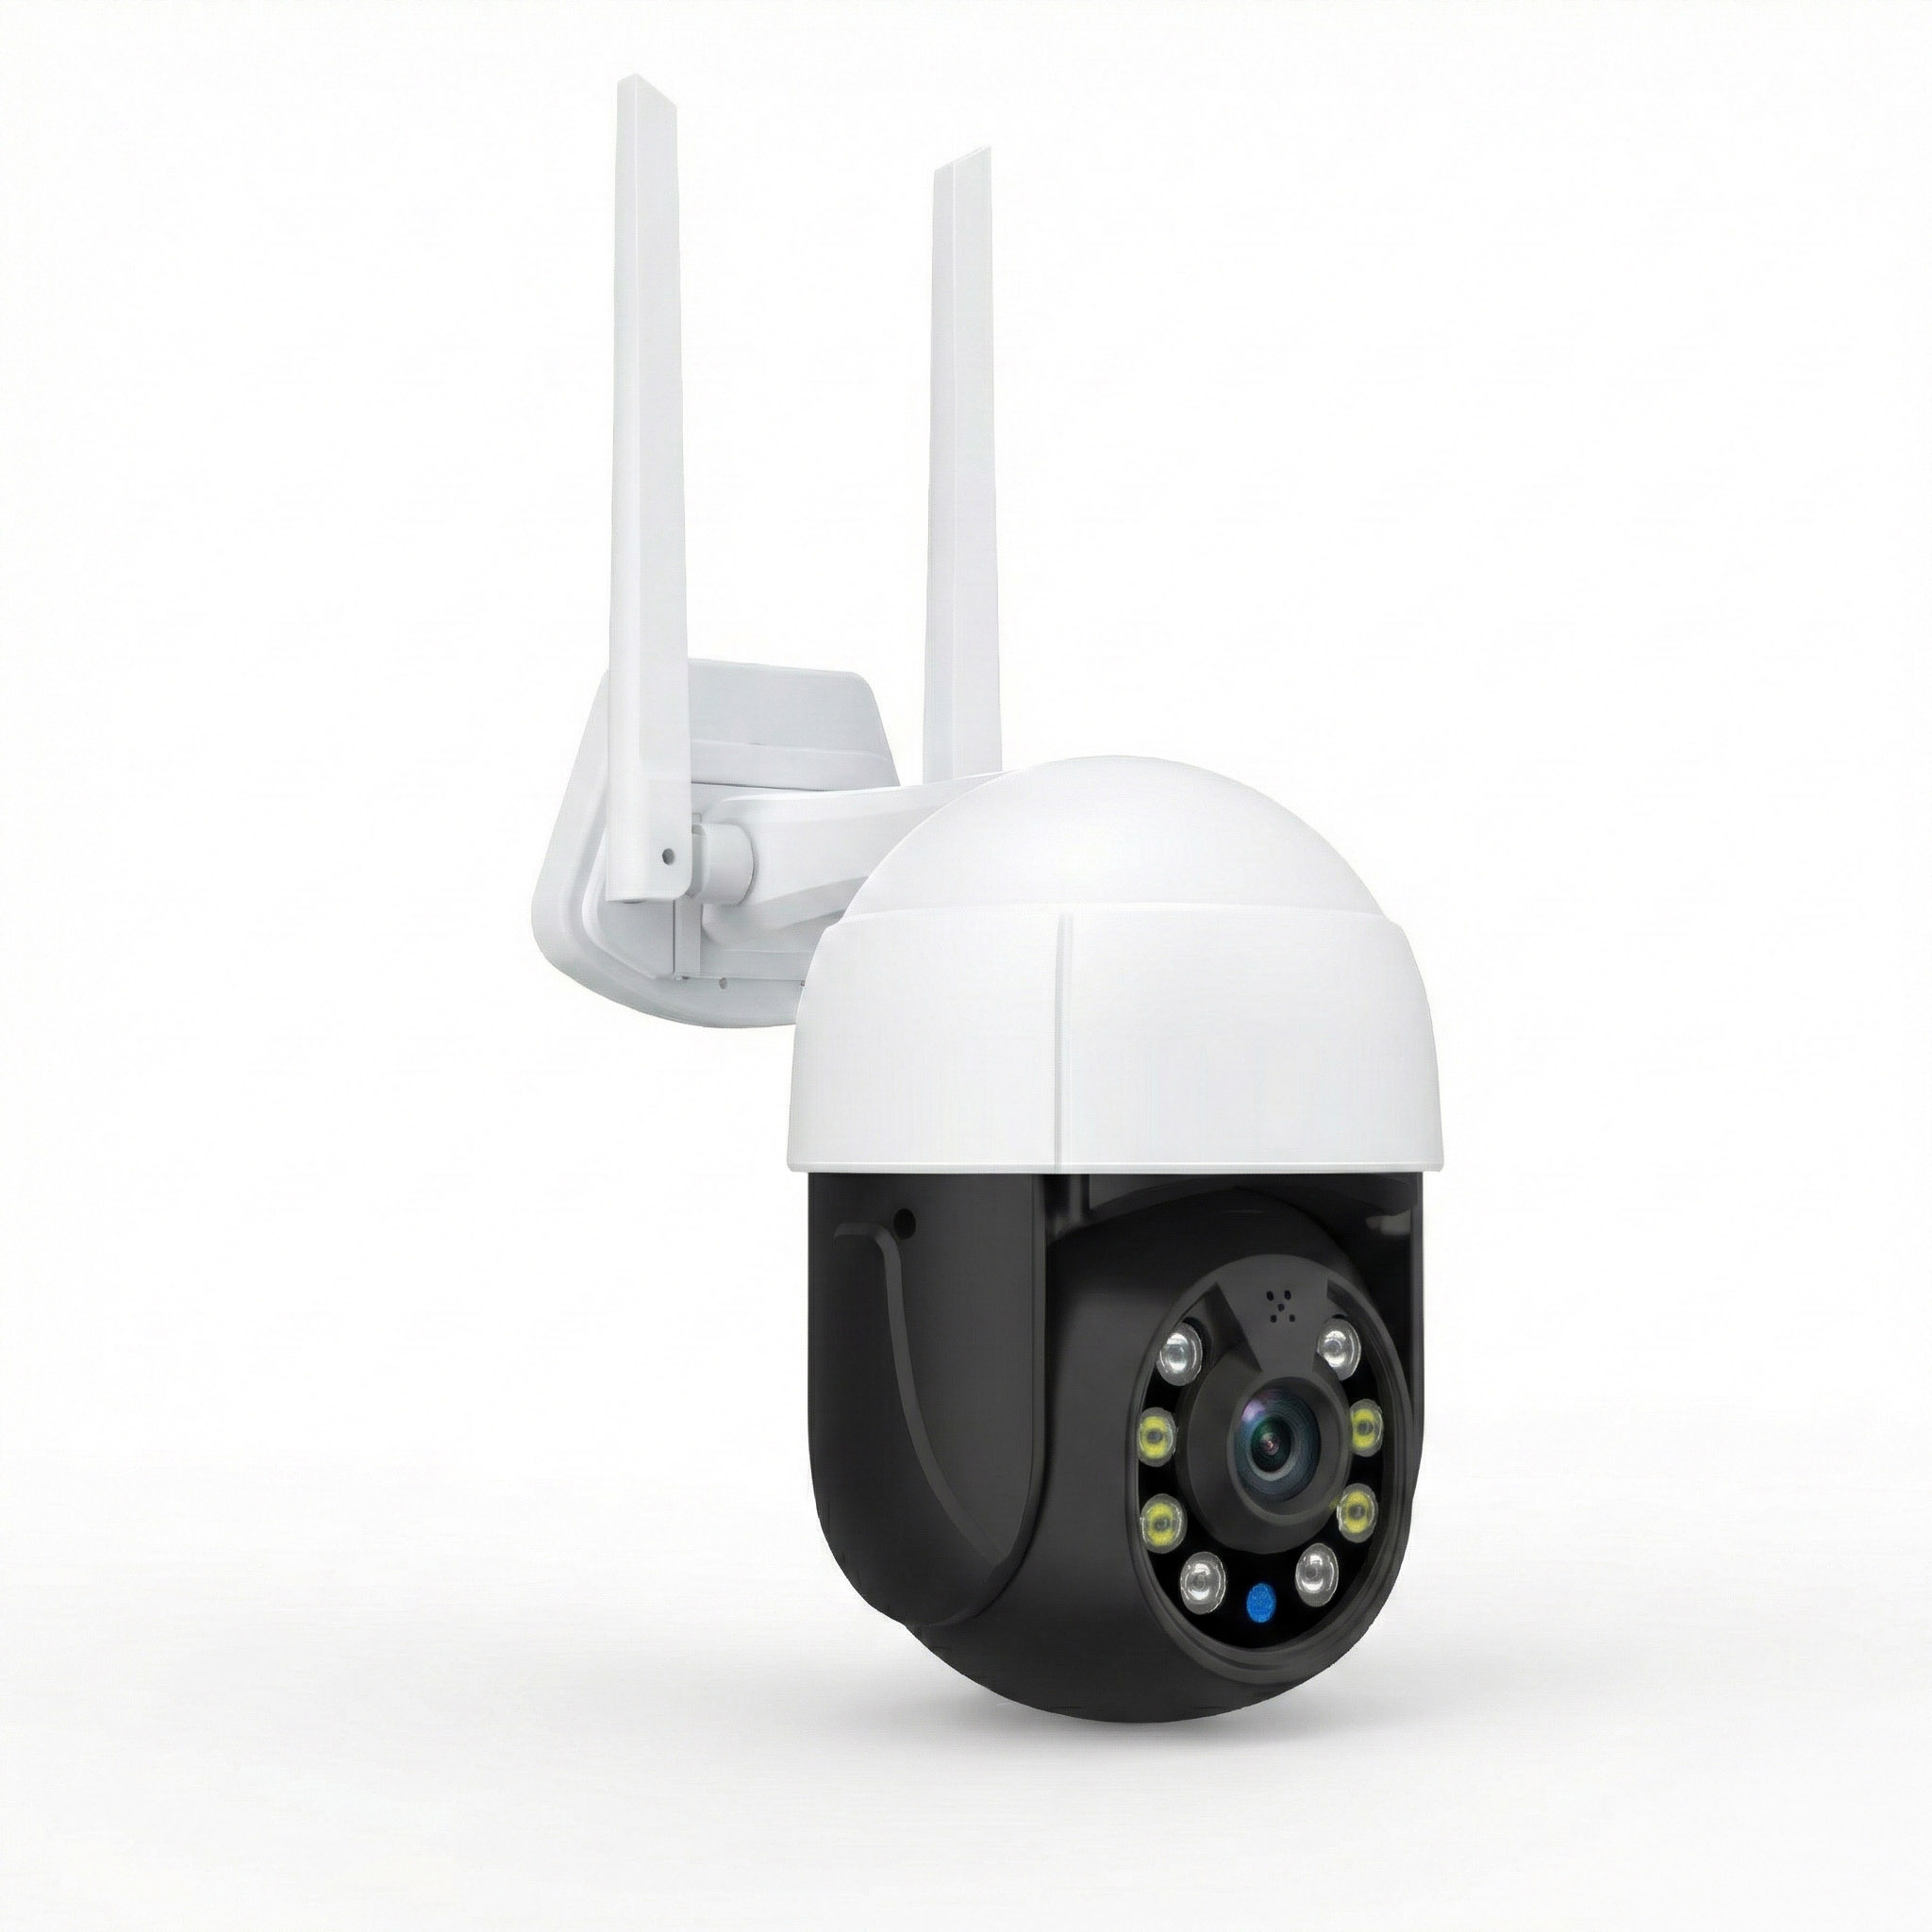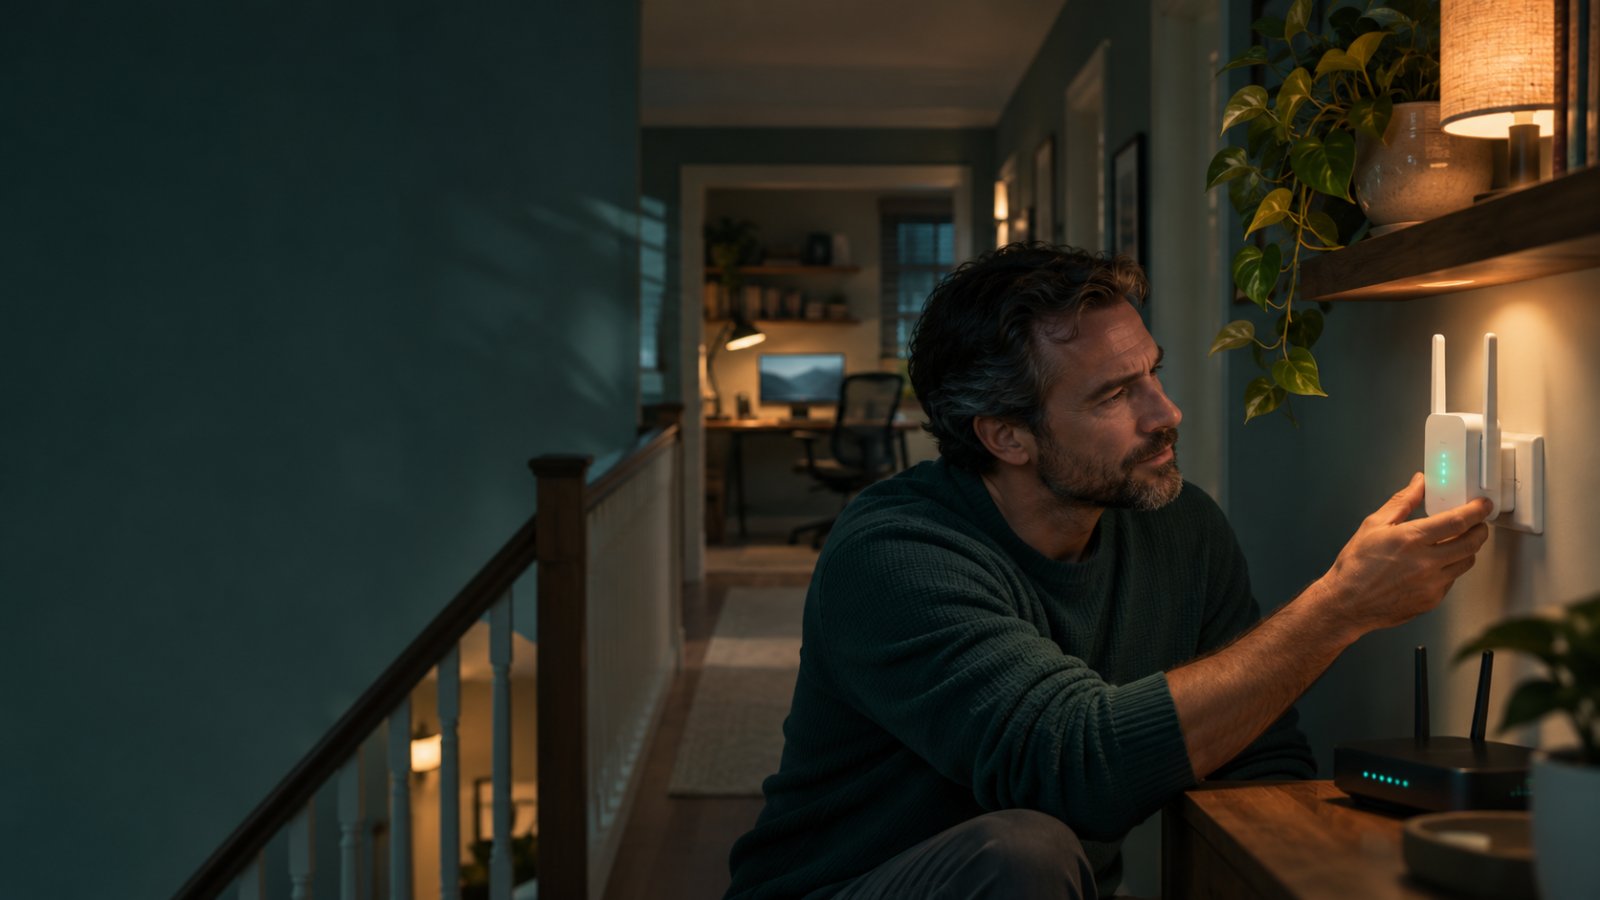
Large area WiFi coverage means having a dependable wireless connection throughout your home, backyard, garage, and other places where you actually use the internet. The best way to achieve it is to position your router properly, add mesh nodes or wired access points where necessary, and use outdoor-rated equipment for spaces beyond the house.
If your laptop works perfectly in the living room but struggles on the patio, buying a faster internet plan probably will not solve the problem. Your broadband connection may be fine. The WiFi signal simply cannot reach the patio reliably.
The right setup depends on your property's layout, wall materials, distance between buildings, and connected devices. A phone used occasionally in the garden needs less reliable coverage than an outdoor security camera that must upload video throughout the night. Before buying another extender, identify where the connection weakens and what type of equipment will actually help.

What Is Large Area WiFi Coverage?
Large area WiFi coverage refers to extending a usable wireless network across a spacious home or property.
That could mean connecting bedrooms on opposite sides of a house, maintaining WiFi across two floors, reaching a backyard seating area, or supplying internet to a detached garage.
Coverage is not simply about whether a phone displays the WiFi symbol.
The connection must be strong and stable enough for the task being performed.
A smart temperature sensor sends small amounts of information. A laptop running a video meeting needs consistent two-way communication. An outdoor security camera may need a stable connection to upload video or provide live viewing.
A network can support one activity while struggling with another.
For example, your phone might load a webpage near the garden fence, but a camera installed at the same location might disconnect because its antenna, power requirements, and upload workload are different.
The aim is to provide usable connectivity where each device operates.
Coverage Is Different From Internet Speed
Internet speed and WiFi coverage are connected, but they are not the same thing.
Your internet provider delivers a connection to your home.
Your router distributes that connection to devices through WiFi or Ethernet.
If your broadband connection is working well but the wireless signal is weak upstairs, increasing the internet plan's speed does not remove the floor between the router and your laptop.
The laptop still needs a reliable wireless connection.
A useful first test is to compare performance near the router with performance in the problem area.
If a laptop works normally beside the router but struggles in a distant room, local WiFi coverage is a likely cause.
If the connection is slow even beside the router, investigate the internet service, router, or local network before purchasing an extender.
Do not spend money on faster broadband until you understand which part of the connection is failing.
Why One Router May Not Cover a Large Property
A wireless router transmits radio signals.
Those signals weaken with distance and are affected by building materials, obstacles, and interference.
Imagine a router installed in a ground-floor utility cupboard.
The signal must pass through an interior wall, a concrete ceiling, and several pieces of furniture to reach an upstairs bedroom.
Reaching the backyard may require passing through exterior masonry, glass, or metal-framed doors.
Even a powerful router cannot eliminate those obstacles.
There is another limitation that often gets overlooked.
WiFi communication works in both directions.
Your router must send information to a device, and the device must send information back.
A high-powered router does not automatically improve the transmitting capability of a small battery camera or smartphone.
That is why advertising claims about extremely long range should be treated cautiously.
Real coverage depends on both sides of the connection.
What Good Coverage Actually Looks Like
A well-designed home network should support the activities performed in each area.
For example:
-
A laptop should maintain video meetings without repeated freezing.
-
A phone should browse normally on the patio.
-
A smart television should stream without frequent buffering.
-
An outdoor camera should remain connected during normal operation.
-
A garage device should reconnect reliably after a power interruption.
-
Moving between rooms should not cause repeated connection failures.
Do not judge the entire network by one speed test.
Check browsing, video calls, streaming, and device-specific functions.
A camera may need consistent uploads more than high download speed.
A phone may have sufficient bandwidth for browsing while experiencing enough latency or packet loss to disrupt a video call.
The best coverage is the kind that works for your actual devices.
Why WiFi Coverage Becomes Difficult Across Large Homes and Yards
Large floor plans create distance, but distance is only part of the problem.
A relatively small house with reinforced concrete walls can be harder to cover than a larger open-plan home.
Before choosing equipment, examine the physical environment.
Distance Between the Router and Device
WiFi signals weaken as they travel.
A router installed near the front entrance may provide excellent coverage to the living room but struggle to reach a bedroom at the opposite end of the property.
The problem becomes more obvious when several walls separate the router from the device.
Moving the router closer to the center of the house can sometimes improve coverage substantially.
But that is not always practical.
The internet service may enter through a basement, garage, or corner of the building.
In that case, a second access point connected through a suitable backhaul may be more useful than relocating the main router.
Thick Walls and Reinforced Floors
Different materials affect WiFi differently.
Drywall generally allows radio signals to pass more easily than reinforced concrete or thick masonry.
Metal can reflect or obstruct signals.
Foil-backed insulation, large mirrors, and certain coated windows can also affect wireless performance.
Consider a two-story house with a concrete floor between levels.
A router downstairs may provide strong coverage across the ground floor but poor service upstairs.
Moving the router slightly may help, but it cannot always overcome the floor.
A properly positioned upstairs access point or mesh node is often more effective.
Similarly, a detached garage may be physically close to the house but separated by insulated walls and a metal garage door.
Do not assume a short distance guarantees a good signal.
Router Placement Near Electrical Equipment
Routers often end up wherever the installer finds a convenient power socket.
Common locations include television cabinets, utility cupboards, and desks crowded with electronics.
Those spots are not always ideal for wireless coverage.
If possible, place your router:
-
In an open area rather than inside a closed cabinet.
-
Above floor level.
-
Away from large metal objects.
-
Near the middle of the main coverage area.
-
With adequate ventilation.
-
Where cables and power connections can be managed safely.
Avoid stacking other equipment directly around the router's antennas.
After repositioning it, test the affected rooms.
Do not assume the new location is better just because it is more central.
A router's performance depends on the actual signal paths through your home.
Neighboring WiFi Networks and Interference
Nearby networks can compete for wireless airtime.
This is particularly noticeable in apartment buildings, townhouses, and neighborhoods where many routers operate close together.
The 2.4 GHz band can also experience interference from other devices using overlapping radio frequencies.
If your laptop displays a strong WiFi signal but performs poorly, congestion may be involved.
Try checking whether the problem occurs at particular times.
For example, performance may become worse during evenings when neighboring households are using their networks.
Use your router's supported automatic channel selection or other manufacturer-recommended settings.
Avoid making several advanced changes at once.
Change one setting, test the result, and keep the configuration that provides stable performance.
Large Area WiFi Coverage Solutions Compared
There is no single product that solves every large-property WiFi problem.
A range extender may help one bedroom.
A mesh system may suit a multi-story home.
A wired access point may provide better service in a distant office.
An outdoor access point or dedicated wireless bridge may be necessary for a backyard or detached building.
| Solution | Best for | Main advantage | Main limitation |
|---|---|---|---|
| Better router placement | Moderate indoor coverage problems | No extra equipment required | Cannot overcome every obstacle |
| WiFi range extender | One nearby weak-signal area | Relatively simple installation | Wireless backhaul may limit performance |
| Mesh WiFi system | Multi-room and multi-story homes | Coordinated coverage through multiple nodes | Node placement and backhaul remain important |
| Wired WiFi access point | Distant rooms, offices, garages | Dependable network connection through Ethernet | Requires suitable cabling |
| Outdoor WiFi access point | Patios, gardens, larger yards | Equipment designed for outdoor coverage | Needs safe mounting and network connectivity |
| Point-to-point wireless bridge | Detached garages and workshops | Dedicated network connection between buildings | Requires suitable alignment and installation |
Choose equipment based on the problem, not simply on the advertised maximum coverage area.
If most of the house already works well, replacing the entire network may be unnecessary.
Option 1: Improve Your Existing Router Placement
Before spending money, examine the router you already own.
A poor installation location can create problems that look like inadequate router performance.
Move the Router Away From Obstacles
If your router sits behind a television, inside a metal cabinet, or in a closed utility cupboard, see whether it can be moved to a more open location.
Keep it properly ventilated.
Do not stretch cables across walkways or leave electrical equipment unsupported.
For a two-story house, a central position may provide a better balance between floors.
However, a router placed centrally downstairs may still struggle through reinforced concrete.
The goal is to reduce unnecessary obstacles, not find one magical location that overcomes every wall.
Test Coverage After Repositioning
After moving the router, test the same locations that were previously unreliable.
Use the same phone or laptop where possible.
Try ordinary browsing, streaming, or a video call.
Check whether the connection remains stable for the duration of the activity.
For example, a speed test might look acceptable in an upstairs bedroom, but a video meeting could still freeze occasionally.
If that happens, the connection may have intermittent quality problems that a single speed result does not reveal.
Record which rooms improve and which still need attention.
When Router Placement Is Enough
Repositioning may solve the problem when:
-
The router was hidden behind furniture.
-
One or two nearby rooms had weak coverage.
-
Most of the home already worked well.
-
The house has relatively light internal walls.
-
Outdoor coverage is required only near the building.
If several distant rooms or outdoor areas remain unreliable, consider additional network equipment.
Do not compromise reliable coverage in one half of the house just to gain a weak connection at the opposite end.
Option 2: Use a WiFi Range Extender for a Limited Dead Zone
A WiFi range extender receives a wireless connection from the existing network and provides additional coverage.
It can be useful for a room slightly beyond the router's reliable range.
For example, a bedroom upstairs may have weak WiFi while the nearby landing still has a usable connection.
Installing a compatible extender on the landing may improve service in the bedroom.
Where to Place a WiFi Extender
The most common extender mistake is placing it inside the dead zone.
An extender cannot create a dependable connection from a signal it barely receives.
Instead, install it between the router and the area needing coverage.
Choose a location where the original WiFi connection is still stable.
For a home with an upstairs dead zone, that might be a hallway or landing rather than the bedroom itself.
After pairing the extender, test the connection from the intended device location.
If the extender reports a weak connection to the router, move it closer to the main network.
The correct placement is based on backhaul quality, not simply proximity to the problem room.
Why Extenders Sometimes Feel Slow
Many wireless extenders rely on WiFi to communicate with the main router.
That connection is called wireless backhaul.
Depending on the extender's design, traffic may share radio resources between the device connection and backhaul.
This can reduce available throughput or increase latency.
The impact varies.
For occasional browsing or messaging, a basic extender may be perfectly adequate.
For a busy home office with multiple video calls, a wired access point or suitable mesh system may provide more consistent performance.
Do not judge an extender only by the strength of the signal it broadcasts.
Also check how well it communicates with the main network.
When an Extender Is the Right Choice
A range extender is worth considering when:
-
Only one nearby room needs improvement.
-
The router's signal remains usable at the proposed extender location.
-
Running Ethernet is difficult.
-
You want straightforward setup.
-
The devices do not require heavy sustained traffic.
For a large backyard, detached workshop, or several floors of dead zones, a basic indoor extender is usually not the strongest long-term solution.
Option 3: Use Mesh WiFi for a Large House
A mesh WiFi system uses multiple coordinated units to distribute wireless coverage.
The primary unit connects to the internet gateway, while additional nodes help cover rooms farther away.
Mesh systems are particularly useful when a home has several weak areas rather than one isolated dead zone.
How Mesh WiFi Works
A mesh system allows compatible units to communicate through supported wired or wireless connections.
The system can coordinate how devices connect to available access points.
For example, a primary mesh unit may serve the ground floor while another node covers upstairs bedrooms.
A third node might serve a rear extension.
However, every node needs a reliable connection back to the network.
If an upstairs node is positioned where the main router's signal is already unusable, it may provide a strong local WiFi signal but poor internet performance.
The node cannot deliver data faster than its backhaul connection allows.
That is why mesh placement matters as much as the number of units.
Why Node Placement Matters
Start by identifying where the main router's coverage begins to weaken.
Place the first additional node somewhere that still receives a suitable connection.
For a long house, this may be a central hallway rather than the farthest bedroom.
Test the connection beyond that node.
If the rear rooms remain unreliable, consider whether another node is needed.
Avoid placing every node at the outer edge of the property's coverage area.
That can create several weak wireless connections instead of one reliable network.
Also avoid crowding multiple nodes together when they do not serve different areas.
Wired Backhaul vs. Wireless Backhaul
Wired backhaul connects mesh nodes through Ethernet or another supported wired connection.
This provides a more predictable network path between the units.
Wireless backhaul is easier to install because it avoids running cables.
However, it depends on wireless signal quality and available airtime.
If your home already has Ethernet sockets, check whether your mesh equipment supports wired backhaul.
This can be particularly useful between floors or across thick walls.
Wireless mesh can still work well when correctly positioned.
The choice depends on your building and installation options.
When Mesh WiFi Makes Sense
Mesh is a practical choice when:
-
Several rooms have unreliable WiFi.
-
The house has multiple floors.
-
Devices frequently move between rooms.
-
You want centralized management.
-
A single extender is not sufficient.
If the main problem is an outdoor camera at the far end of the garden, however, replacing your entire indoor network may be unnecessary.
An outdoor access point or dedicated link may address that specific problem more directly.
Option 4: Install Wired Access Points for Reliable Coverage
A wired WiFi access point connects to the main network through Ethernet and provides wireless service near its installed location.
It avoids relying on a weak wireless link back to the main router.
For large houses with difficult layouts, this can be one of the most dependable coverage methods.
Why Wired Access Points Work Well
Consider a home office separated from the router by several concrete walls.
A wireless extender installed in the office may struggle to communicate with the main network.
A wired access point in the same room uses Ethernet for its backhaul.
It then provides WiFi locally to nearby devices.
The long wireless path through several walls is no longer required for backhaul.
This can improve consistency, particularly for video calls, file transfers, and other demanding activities.
The access point still needs appropriate placement and configuration.
Ethernet does not eliminate local radio interference.
But it removes one major source of uncertainty.
Where Wired Access Points Are Useful
Wired access points are especially useful in:
-
Upstairs offices.
-
Finished basements.
-
Large extensions.
-
Detached buildings with appropriate network cabling.
-
Home entertainment rooms.
-
Areas separated by reinforced concrete.
Place the access point where devices need coverage.
Avoid hiding it inside a cupboard or behind metal equipment.
If the building already has Ethernet wiring, check whether those connections are functional and suitable.
You may be able to add coverage without replacing the main router.
Power over Ethernet
Some access points support Power over Ethernet, commonly called PoE.
A compatible network cable can carry both data and power from a suitable PoE switch or injector.
This reduces the need for a separate power socket beside the access point.
However, PoE requirements vary.
Check the device's supported power standard and consumption.
Do not assume every PoE injector works with every access point.
For outdoor or building-to-building installations, cable protection, grounding, and electrical safety require additional attention.
Use a qualified installer where the work involves permanent exterior cabling or uncertain electrical conditions.
Option 5: Extend WiFi Into the Yard With an Outdoor Access Point
An indoor router may provide usable WiFi near the house but struggle farther into the garden.
That is common when the signal must pass through exterior walls, glass, or metal structures.
For larger outdoor spaces, a properly installed outdoor access point may provide more dependable coverage.
Why Indoor Routers Struggle Outdoors
Suppose the router is installed near the front of the house.
Your backyard patio is on the opposite side of the building.
The signal must pass through several interior rooms and an exterior wall.
A phone near the patio door may connect.
A camera mounted near the back fence may not.
The problem is not necessarily that the router is old.
The signal path is simply difficult.
An outdoor access point positioned closer to the coverage area can reduce the number of obstacles between the network and outdoor devices.
Choose Equipment Rated for Outdoor Installation
Outdoor networking equipment must tolerate the conditions in which it is installed.
Check the manufacturer's specifications for:
-
Weather resistance.
-
Operating temperature.
-
Mounting requirements.
-
Power supply compatibility.
-
Cable and connector protection.
-
Grounding and surge protection requirements.
A product advertised as long-range WiFi is not automatically suitable for outdoor mounting.
Likewise, a weather-resistant access point does not make an ordinary indoor power adapter safe to expose to rain.
Use equipment designed for the actual environment.
For permanent installations, follow applicable electrical requirements and manufacturer instructions.
Where to Mount an Outdoor Access Point
Choose a location that serves the intended outdoor area.
An exterior wall overlooking the garden may be suitable if the access point is rated for that installation.
Avoid placing it directly behind large metal structures.
Consider where the devices will actually be used.
If the backyard seating area is close to the house but the security camera is near the gate, the camera may be the more difficult connection.
Test both locations.
Also plan the backhaul.
A wired connection is often preferable when practical.
If the access point uses wireless backhaul, make sure it receives a reliable connection from the main network.
Do not mount the unit permanently until the connection has been tested.
Why the Camera's Position Matters
Outdoor cameras are often installed near gates, garages, driveways, or fences.
These locations can be farther from the router than the places where people use their phones.
A camera may also have different antenna characteristics and power restrictions.
For example, a phone may stream video successfully while standing near the garden gate.
That does not guarantee a camera mounted high on a nearby wall will work equally well.
Test the actual camera, if possible, before permanent installation.
Check live viewing and supported recording behavior.
If the camera repeatedly disconnects, improve the network path rather than assuming a stronger password or another app setting will solve it.
Option 6: Connect a Detached Garage, Workshop, or Outbuilding
A detached building often needs its own local WiFi coverage.
The first challenge is establishing a reliable network connection between the buildings.
Only then should you decide how to distribute WiFi inside the remote structure.
Why a Single Extender May Fail
Imagine a workshop separated from the house by a yard.
A WiFi extender placed inside the workshop may receive almost no signal.
Metal siding or thick exterior walls can make the problem worse.
Moving the extender toward the house might improve its connection but leave the workshop poorly covered.
This is a sign that the setup needs a more dependable backhaul.
The solution may be a point-to-point wireless bridge or a properly installed wired link.
Point-to-Point Wireless Bridges
A point-to-point bridge connects two locations through a dedicated wireless link.
One compatible unit is installed at the main building.
The other is installed at the remote building.
When properly positioned and configured, the link carries network traffic between them.
An access point inside the workshop can then provide ordinary WiFi.
This arrangement separates the building-to-building connection from the local wireless coverage.
For example, a bridge might connect a house and detached garage while a separate access point serves the garage's cameras and work devices.
Bridge equipment has specific installation requirements.
Distance, alignment, interference, mounting stability, and suitable line of sight can all affect performance.
Outdoor equipment must also be installed safely.
Ethernet and Fiber Between Buildings
A wired network link can provide dependable connectivity between structures.
However, running cables outdoors requires planning.
Copper Ethernet connections between separate buildings can introduce grounding and electrical protection concerns.
Fiber-optic connections are often worth considering because the fiber itself does not conduct electrical current.
The appropriate solution depends on distance, installation conditions, equipment, and local requirements.
Do not run ordinary indoor Ethernet cable loose across a yard.
For permanent underground or exterior connections, use suitable materials and qualified installation.
Once the buildings are connected, install a properly positioned access point inside the remote building.
How to Get WiFi Across a Large Area Without Guesswork
If you want to know how to get wifi across large area spaces, begin with a basic coverage survey.
You do not need professional networking software to identify the most obvious problems.
A floor plan, a phone, and a few practical tests can reveal whether you need an extender, access point, mesh system, or outdoor link.
Step 1: Draw a Simple Property Layout
Sketch the home and surrounding property.
Mark the main router.
Include:
-
Floors and staircases.
-
Thick walls.
-
Home office.
-
Bedrooms with weak connectivity.
-
Patio and garden seating.
-
Garage or workshop.
-
Security camera locations.
-
Existing Ethernet connections.
Mark places where devices disconnect or perform poorly.
The sketch does not need exact measurements.
Its purpose is to show where the network is located relative to the areas needing service.
For example, you may notice that every weak area lies beyond the same reinforced wall.
That suggests a different problem from several scattered dead zones across the house.
Step 2: Test the Connection Near the Router
Stand near the router with a phone or laptop.
Check normal browsing.
Run a speed test if appropriate.
Try a short video call or another activity that represents everyday use.
If the connection is unreliable beside the router, adding extenders is unlikely to be the correct first fix.
Investigate the internet connection, router, and local network settings.
You can also compare WiFi performance with a supported wired Ethernet connection where available.
This helps distinguish broadband problems from wireless coverage problems.
Step 3: Walk Through the Problem Areas
Use the same device to test different locations.
Move through the upstairs rooms, hallways, patio, garage, and garden.
Record where the connection becomes slow or unstable.
A reputable WiFi analyzer may provide additional signal information where the operating system permits it.
But do not rely only on the signal reading.
Test the activity performed in each location.
For a home office, try a video call.
For a patio, test ordinary streaming or browsing.
For a camera location, check live video or the camera's supported connection status.
Real device performance matters more than a strong-looking WiFi icon.
Step 4: Identify the Type of Problem
Match the symptom to the likely solution.
If one nearby bedroom has weak coverage, better router placement or a compatible extender may help.
If several rooms across multiple floors are unreliable, mesh WiFi or additional access points may be appropriate.
If only the yard is affected, consider outdoor coverage equipment.
If the detached garage cannot connect, investigate a dedicated bridge or properly installed cabling.
Do not purchase a whole-home mesh system when one access point would solve the problem.
Likewise, do not expect a basic plug-in extender to provide reliable WiFi across several buildings.
Step 5: Choose the Backhaul First
Before installing additional wireless equipment, decide how it will connect to the main network.
Possible options include:
-
Ethernet.
-
Wired mesh backhaul.
-
Wireless mesh backhaul.
-
A dedicated wireless bridge.
A strong local WiFi signal is not enough if the access point has a poor connection back to the network.
For example, a mesh node may broadcast a strong signal in the garage while receiving very little useful bandwidth from the main router.
That creates a misleading result.
The device connects to WiFi but still performs poorly.
Choose a suitable backhaul before deciding where to place the new access point.
Step 6: Install and Test One Area at a Time
Begin with the most important dead zone.
Install the chosen equipment.
Confirm its connection to the main network.
Test the intended devices.
Only then expand to another area.
This makes problems easier to identify.
If performance becomes worse after adding a node, you know which change to investigate.
Keep a simple record of equipment locations, network names, and important settings.
For larger homes, this will save time when the network needs maintenance later.
Step 7: Check the Final Device Experience
After installation, test the equipment that will actually use the connection.
Do not assume that because your phone works, every other device will work.
Check the laptop in the office.
Test the camera at its final mounting position.
Confirm that smart devices reconnect properly.
For an outdoor camera, inspect the live feed and supported recording behavior during ordinary use.
If one device still struggles, investigate its location and hardware requirements.
The goal is not to achieve the highest possible speed test result everywhere.
It is to make each required activity work consistently.
Understanding 2.4 GHz, 5 GHz, and 6 GHz for Large Properties
WiFi frequency bands affect range, throughput, and compatibility.
The available options depend on your router, connected devices, and local regulations.
Understanding their practical differences helps you choose sensible coverage settings.
2.4 GHz for Broader Coverage
The 2.4 GHz band generally reaches farther and passes through some obstacles more effectively than higher-frequency WiFi under comparable conditions.
Many smart home products and outdoor cameras support 2.4 GHz.
This can make it useful for devices farther from the access point.
However, the band can be crowded.
Nearby networks and other wireless devices may compete for airtime.
It also offers less channel capacity than higher-frequency options in many configurations.
For a distant sensor or compatible camera, 2.4 GHz may be appropriate.
For several high-bandwidth devices, it may not provide the best performance.
5 GHz for Higher-Capacity Connections
The 5 GHz band can support higher throughput when signal conditions are suitable.
It is often useful for laptops, televisions, and devices performing demanding network tasks.
However, the signal may weaken more quickly through obstacles than 2.4 GHz.
A laptop beside the router may perform very well on 5 GHz.
The same laptop upstairs behind concrete walls may struggle.
If that happens, consider improving access point placement rather than forcing the device to use a weak 5 GHz connection.
A nearby wired access point can often provide a better result than attempting to stretch one router's coverage across the entire building.
6 GHz for Compatible Devices
Supported WiFi 6E and WiFi 7 equipment may use the 6 GHz band where permitted.
This can provide additional wireless capacity under suitable conditions.
But higher-frequency signals generally face greater challenges passing through obstacles.
6 GHz is not automatically the best choice for reaching a distant backyard or detached garage.
It may work very well for compatible devices near a suitable access point.
For long-range home WiFi, access point location and backhaul quality often matter more than purchasing the newest wireless standard.
Large Area WiFi for Outdoor Security Cameras
Outdoor cameras need reliable network coverage at fixed locations.
Unlike a phone, a camera cannot be moved closer to the router when the signal becomes weak.
That makes planning important before installation.
Check the Camera's Network Requirements
Review the camera's specifications.
Confirm:
-
Supported WiFi bands.
-
Required power source.
-
Network compatibility.
-
Operating environment.
-
Local or cloud recording options.
-
Connection requirements for live viewing.
Some cameras support only 2.4 GHz WiFi.
Others may support additional networking options.
Do not assume a camera will connect to every network your router broadcasts.
Check compatibility before choosing a mounting location.
Test Before Mounting
Where safe and practical, test the camera near its proposed installation point before permanent mounting.
Connect it to the intended network.
Open the supported live view.
Check whether the image loads consistently.
Review any connection status information provided by the application.
If it works well near the router but repeatedly disconnects at the mounting location, investigate the wireless path.
A different access point position may help.
Do not permanently drill holes and install mounting hardware before establishing that the network is usable.
Consider Upload Performance
Security cameras often need to send video from the camera to another device or service.
That means upload performance matters.
A broadband connection can have strong download speeds but more limited upload capacity.
Poor local WiFi can also interfere with video transmission.
If a camera struggles to upload recordings, check both the wireless connection and any relevant internet upload requirements.
For cameras with local recording, understand which functions continue when the internet is unavailable.
Do not assume every camera uses the same recording architecture.
When a Dedicated Access Point Is Better
A dedicated outdoor access point may be preferable when several cameras are installed around a large yard.
For example, cameras near a driveway, back entrance, and garden gate may all need coverage beyond the house.
An outdoor access point positioned for those locations may provide a more suitable signal than an indoor extender hidden behind a window.
You can review routers, range extenders, and outdoor security camera equipment through ROOXIS.
Compare supported WiFi bands, installation requirements, and equipment capabilities with your actual property.
The advertised range alone should not determine your purchase.
Common Mistakes When Extending WiFi Across a Large Area
Adding more wireless equipment does not always improve the network.
Poor placement, weak backhaul, and incorrect assumptions can leave you with more devices but the same dead zones.
Placing an Extender Where WiFi Is Already Unusable
An extender needs a usable connection to the main router.
Installing it inside a dead zone usually produces poor results.
Move it closer to the router until its backhaul becomes reliable.
Then test the area beyond it.
If there is no suitable location between the router and the target area, consider another type of connection.
Buying Based Only on Advertised Square Footage
Coverage figures are often based on favorable conditions.
Real houses contain walls, floors, furniture, and competing wireless networks.
A router advertised for a large area may struggle in a smaller concrete house.
Treat square-footage claims as estimates.
Evaluate equipment based on the layout and obstacles in your property.
Adding Too Many Wireless Repeaters
Several wireless repeaters can create additional hops and consume radio airtime.
They can also complicate network management.
More repeaters do not automatically mean better WiFi.
Use the fewest properly positioned access points needed to cover the important areas.
Where practical, provide wired backhaul.
A simpler network with reliable connections is often easier to maintain.
Using Indoor Equipment Outdoors
Indoor networking equipment is not designed for every outdoor condition.
Rain, moisture, direct sunlight, and extreme temperatures can damage unsuitable products.
Use equipment rated for the installation environment.
Consider the power supply, cables, connectors, and mounting hardware as well.
Do not leave indoor electrical adapters or power strips exposed to weather.
Ignoring Device Upload Requirements
A phone may browse successfully while an outdoor camera struggles.
The camera may need to transmit video continuously or respond to remote live-view requests.
Test the actual camera in its intended location.
Check whether it can maintain the required connection.
Do not rely on the phone's signal icon as proof that every device will perform well.
Upgrading Internet Speed Before Fixing Coverage
If the network works well near the router but fails in distant rooms, the problem is probably not the broadband package alone.
Investigate router placement, access point coverage, interference, and backhaul.
Upgrade the internet plan only when you have evidence that the service capacity is the limiting factor.
Otherwise, you may pay more each month while the backyard dead zone remains unchanged.
How to Maintain Reliable Long-Range Home WiFi
Once the coverage problem is solved, the network should not require constant attention.
A few maintenance habits can help prevent avoidable failures.
Keep Router and Access Point Software Updated
Check for supported firmware updates.
Updates can address security issues, compatibility problems, and stability.
Use the manufacturer's official update process.
Avoid disconnecting power during firmware installation.
If you have several access points or mesh nodes, keep a record of their models and locations.
That makes future troubleshooting easier.
Use Appropriate Network Security
Use WPA2-AES or WPA3 according to the capabilities of your network equipment and devices.
Choose a strong WiFi password.
Avoid outdated security modes where possible.
If an older device cannot connect, check the manufacturer's supported compatibility settings rather than weakening the entire network unnecessarily.
Consider a guest network for visitors if your router supports one.
Keep administrator credentials separate from the ordinary WiFi password.
Keep Outdoor Equipment Protected
Outdoor networking equipment needs periodic inspection.
Check for:
-
Damaged cables.
-
Loose mounting hardware.
-
Exposed connectors.
-
Signs of water ingress.
-
Compromised weather seals.
-
Unsafe power connections.
Do not work on outdoor electrical equipment during storms.
Follow manufacturer guidance for grounding and surge protection.
If the installation appears damaged or unsafe, arrange qualified service.
Recheck Coverage After Major Changes
Home renovations can change wireless performance.
A new partition wall, metal storage cabinet, or relocated appliance may affect the signal.
Moving the main router can also create new dead zones.
If an outdoor camera suddenly disconnects after building work, check what changed between the camera and the access point.
Do not assume every new connection problem originates with the internet provider.
Start with the affected device and its local network path.
FAQ
What is the best way to get large area WiFi coverage?
For a spacious home, properly positioned mesh nodes or wired access points are often effective. An outdoor-rated access point may be better for a large yard, while a dedicated bridge can connect a detached building. The best solution depends on the property layout, obstacles, existing cabling, and devices requiring connectivity.
Can one WiFi router cover a large house and backyard?
One router may cover a reasonably open home and nearby outdoor areas, but reliable coverage across a large property is not guaranteed. Thick walls, reinforced floors, distance, and interference can reduce signal quality. Additional access points or mesh nodes may be needed where the router cannot provide a usable connection.
Is mesh WiFi better than a range extender for large areas?
Mesh WiFi is often more suitable when several rooms or floors need coordinated coverage. A range extender can be sufficient for one nearby dead zone. Both rely on suitable backhaul, and a wired access point may provide more consistent performance where Ethernet is available.
How do I extend WiFi to a detached garage or workshop?
A suitable point-to-point wireless bridge or professionally installed wired connection can connect the building to your home network. A separate access point can then provide WiFi inside the garage or workshop. Distance, obstacles, weather exposure, and electrical safety should be considered before installation.
Does 2.4 GHz WiFi have better range than 5 GHz?
Under comparable conditions, 2.4 GHz generally provides broader coverage and better penetration through some obstacles than 5 GHz. However, it may experience more congestion and offer lower throughput. Choose the band according to the device's compatibility, location, and performance requirements.
Will a WiFi extender improve my outdoor security camera?
It may help if the extender has a reliable connection to the router and provides sufficient coverage at the camera's mounting location. For distant cameras, an outdoor-rated access point or wired network connection may be more dependable. Test actual camera performance before deciding that the coverage issue is resolved.
Large area WiFi coverage comes down to placing network equipment where it can communicate reliably.
Start by checking the connection near your existing router. Walk through the home and yard, identify the actual weak areas, and decide how additional equipment will connect back to the main network.
Use an extender for a limited nearby dead zone, mesh or wired access points for multiple indoor areas, and appropriate outdoor networking equipment for gardens and detached buildings.
For important devices such as security cameras and home office computers, test real performance rather than relying only on the WiFi signal icon.
The best large-property network is not the one broadcasting the farthest signal. It is the one that keeps your devices connected where you actually use them.