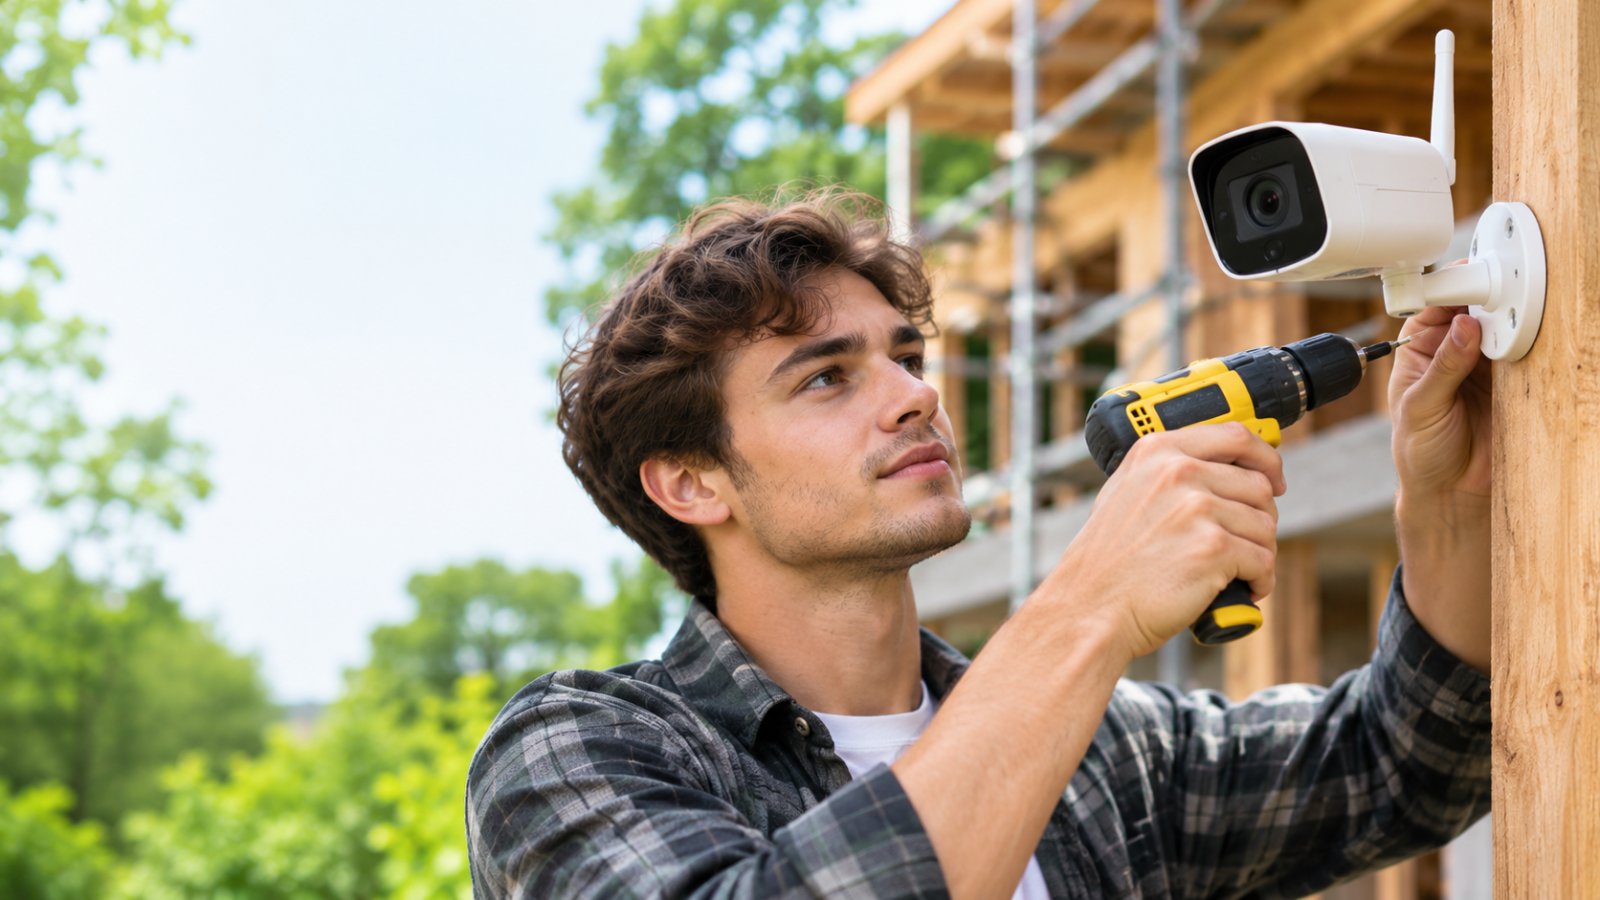
A home renovation is underway. Lumber is stacked beside the garage, contractors arrive throughout the morning, and expensive power tools remain on-site overnight. You want to see who enters the property after working hours, but the house WiFi barely reaches the driveway and the temporary electrical supply is switched off some evenings.
Learning how to install a construction security camera system starts with checking three things: camera placement, reliable power, and recording capability. For a small residential renovation, weather-resistant WiFi cameras may be enough. A larger site without dependable internet or electricity may need wired cameras, cellular connectivity, or battery-powered equipment.
Before drilling into a wall or fence post, test each camera where it will actually operate. A camera that works perfectly beside your router may struggle behind a concrete wall, lose power overnight, or record nothing because storage was never configured.

How to Install a Construction Security Camera System: Quick Overview
A construction security camera installation needs more planning than mounting a camera beside a finished home's front door.
Building sites change as work progresses. Scaffolding goes up, walls are installed, deliveries block entrances, and temporary electrical connections may be moved.
Your camera system needs to keep working through those changes.
For a typical residential construction or renovation project, follow these steps:
-
Walk the property and identify entrances, storage locations, and valuable equipment.
-
Check whether each proposed camera position has reliable power.
-
Test WiFi coverage or plan a suitable wired or cellular connection.
-
Choose outdoor cameras rated for the conditions they will face.
-
Test the video feed before installing mounting brackets.
-
Secure the cameras to stable, approved surfaces.
-
Protect power cables and network connections from weather and construction equipment.
-
Configure recording, motion detection, and notifications.
-
Test footage during the day and after dark.
-
Check that the cameras reconnect after normal power or internet interruptions.
A good installation provides usable footage of the areas that matter without creating electrical hazards or interfering with workers.
It also respects privacy.
Point cameras toward entrances, equipment storage, and the work area rather than neighboring windows or private spaces.
The installation is not finished until you have opened a saved recording and confirmed that the system captured the activity you wanted to monitor.
A live video feed alone does not prove that the camera is recording.
Why Construction Sites Need a Different Camera Setup
A finished house normally has permanent electricity, stable internet, solid walls, and predictable lighting.
A construction site may have none of those things.
During a renovation, an existing outdoor camera might work well at first. Once workers install scaffolding or stack materials along the driveway, that camera's view may become useless.
New construction presents other challenges.
There may be no permanent router, no secure electrical outlet near the entrance, and no finished wall suitable for mounting equipment.
These conditions affect which cameras you should buy and how you install them.
Construction Materials and Equipment Need Visibility
Construction sites often contain valuable materials that are difficult to secure completely.
Items worth monitoring may include:
-
Power tools and portable equipment.
-
Lumber, doors, and window frames.
-
Electrical and plumbing materials.
-
Appliances awaiting installation.
-
Contractor equipment stored overnight.
-
Deliveries left near the property entrance.
Start by identifying where these items are stored.
If tools are kept inside a temporary shed, a camera should capture the shed entrance and the approach to it.
If deliveries are dropped beside the driveway, aim another camera toward that area.
A camera covering the driveway can also help document when delivery vehicles arrive.
However, do not expect cameras to replace locks, secure storage, or controlled site access.
A recording may help explain what happened after an incident. It cannot physically stop someone from taking unsecured equipment.
Temporary Layouts Create Blind Spots
Imagine mounting a camera above the garage because it provides a clear view of the driveway.
A few days later, workers park a large equipment trailer directly in front of it.
The camera is still online. Its motion alerts still work. But most of the entrance is now hidden.
This is a common construction-site problem.
Camera placement needs regular attention because the layout changes.
Check the view after major deliveries, scaffolding adjustments, and changes to temporary fencing.
If an entrance moves, reconsider the camera angle.
If the storage area changes, decide whether the existing camera still covers it.
Do not wait until footage is needed to discover that a stack of materials has blocked the lens.
Power and Internet May Be Unreliable
Power and connectivity problems are especially common on unfinished properties.
A temporary outlet might work during construction hours but be disconnected when the crew leaves.
A WiFi camera may connect near the house and lose its signal when moved toward the far end of the property.
Thick masonry, metal equipment, and newly installed insulation can affect wireless coverage.
Before selecting a camera, find out how it will operate overnight.
Ask these questions:
-
Does the camera have a power source that remains available?
-
Is the power connection suitable for outdoor conditions?
-
Does the network reach the intended mounting location?
-
Can the camera record locally if internet access fails?
-
Will the camera reconnect automatically when service returns?
-
Who will notice if the camera goes offline?
A system that depends entirely on a temporary connection may need additional planning before it can provide dependable monitoring.
What You Need Before Installing Job Site Security Cameras
Buying the cameras is only part of the preparation.
You also need suitable mounts, power arrangements, network access, recording equipment, and basic installation tools.
The equipment list changes depending on whether you choose WiFi, wired, battery-powered, or cellular cameras.
Camera Equipment
For a small residential project, you may need:
-
Outdoor-rated security cameras.
-
Manufacturer-compatible mounting brackets.
-
Screws and anchors suitable for the mounting surface.
-
A compatible recording method.
-
Memory cards or a network video recorder, where supported.
-
Approved outdoor power accessories.
-
Suitable network equipment.
-
A compatible smartphone or computer for setup.
Wired systems may require Ethernet cables and a Power over Ethernet switch.
Power over Ethernet, commonly called PoE, allows compatible network devices to receive electrical power and data through suitable Ethernet cabling.
Not every camera with an Ethernet port supports PoE.
Check the camera's power requirements before connecting it to a PoE switch.
Also confirm that any recorder supports the cameras you plan to install.
Equipment from different manufacturers does not always work together automatically.
Installation Tools
Common installation tools include:
-
Measuring tape.
-
Pencil or removable marking tape.
-
Level.
-
Drill and appropriate bits.
-
Screwdrivers.
-
Suitable anchors and fasteners.
-
Cable clips or protective cable management accessories.
-
An appropriate ladder.
-
Personal protective equipment required for the work area.
Do not choose mounting hardware based only on what is already in your toolbox.
A fastener suitable for solid masonry may not hold properly in thin cladding.
A lightweight bracket intended for indoor use may not tolerate prolonged outdoor exposure.
If the camera must be installed at height or near electrical equipment, have a qualified professional handle the work.
Construction sites contain hazards that may not be obvious to someone familiar only with ordinary home maintenance.
Information to Check Before Starting
Before installation, confirm:
-
Which parts of the property need coverage.
-
Who controls the proposed mounting surfaces.
-
Whether contractors approve the camera locations.
-
Where electricity is available.
-
Whether the power supply remains active overnight.
-
Whether internet access is available.
-
How video will be recorded and stored.
-
Who can view recordings.
-
Whether recording notices or other privacy requirements apply.
Discuss the installation with the contractor or site manager.
You do not want a camera bracket interfering with structural work or a cable crossing an area used by construction vehicles.
Step 1: Identify the Areas That Need Camera Coverage
Begin with the purpose of each camera.
Do not install cameras simply because you have found convenient places to mount them.
A camera that overlooks an empty lawn may provide little useful information if the main concern is equipment stored beside the garage.
Walk the site and identify where activity needs to be visible.
Start With Entry and Exit Points
The driveway and main gate are often the first places to consider.
A camera covering an entrance may show:
-
People arriving and leaving.
-
Delivery activity.
-
Vehicles entering the property.
-
Movement through a temporary gate.
-
After-hours access.
Stand at the proposed mounting position and look toward the entrance.
Consider how a person will move through the camera's view.
A camera with a wide field of view may show the whole entrance but provide limited detail on someone standing far away.
A narrower angle can capture more detail in a specific area but may miss movement at the sides.
Choose the field of view according to the information you need.
For example, if the main concern is people entering through a side gate, prioritize a clear view of that gate rather than including the entire backyard.
Cover High-Value Storage Areas
Identify where tools, appliances, or building supplies will remain overnight.
A camera should ideally show the storage entrance and the route people use to reach it.
Avoid aiming directly into a storage area if stacked materials will obstruct the view.
Check whether opening a gate or shed door blocks the camera.
Also consider where vehicles are normally parked.
A camera positioned behind a delivery truck may record very little during the busiest part of the day.
If possible, select a location that continues to capture the storage entrance even when normal construction activity is underway.
Avoid Unnecessary Coverage
Keep recording focused on the property and construction activities.
Avoid directing cameras toward neighboring windows, bathrooms, changing areas, or unrelated private spaces.
If your camera supports privacy masking, consider using it to exclude neighboring property.
Review applicable local rules concerning video surveillance, recording notices, and audio capture.
Audio recording may have different legal requirements from video recording.
Tell contractors where cameras are located and what areas they cover.
Clear communication reduces misunderstandings about surveillance during working hours.
What a Good Placement Plan Looks Like
A small residential project might have:
-
One camera covering the main driveway.
-
One camera covering a locked storage area.
-
One camera covering a side entrance.
These are possible coverage points, not a required camera count.
A small garage renovation may need only one well-positioned camera.
A larger project with multiple entrances may require several cameras or a different system design.
Before buying equipment, make sure every proposed camera has a specific purpose.
Step 2: Choose the Right Camera Type
Different construction projects require different camera technologies.
A WiFi camera suitable for a backyard extension may not work on an empty building plot without internet service.
The right choice depends on power, connectivity, recording requirements, and how frequently the equipment will move.
WiFi Security Cameras
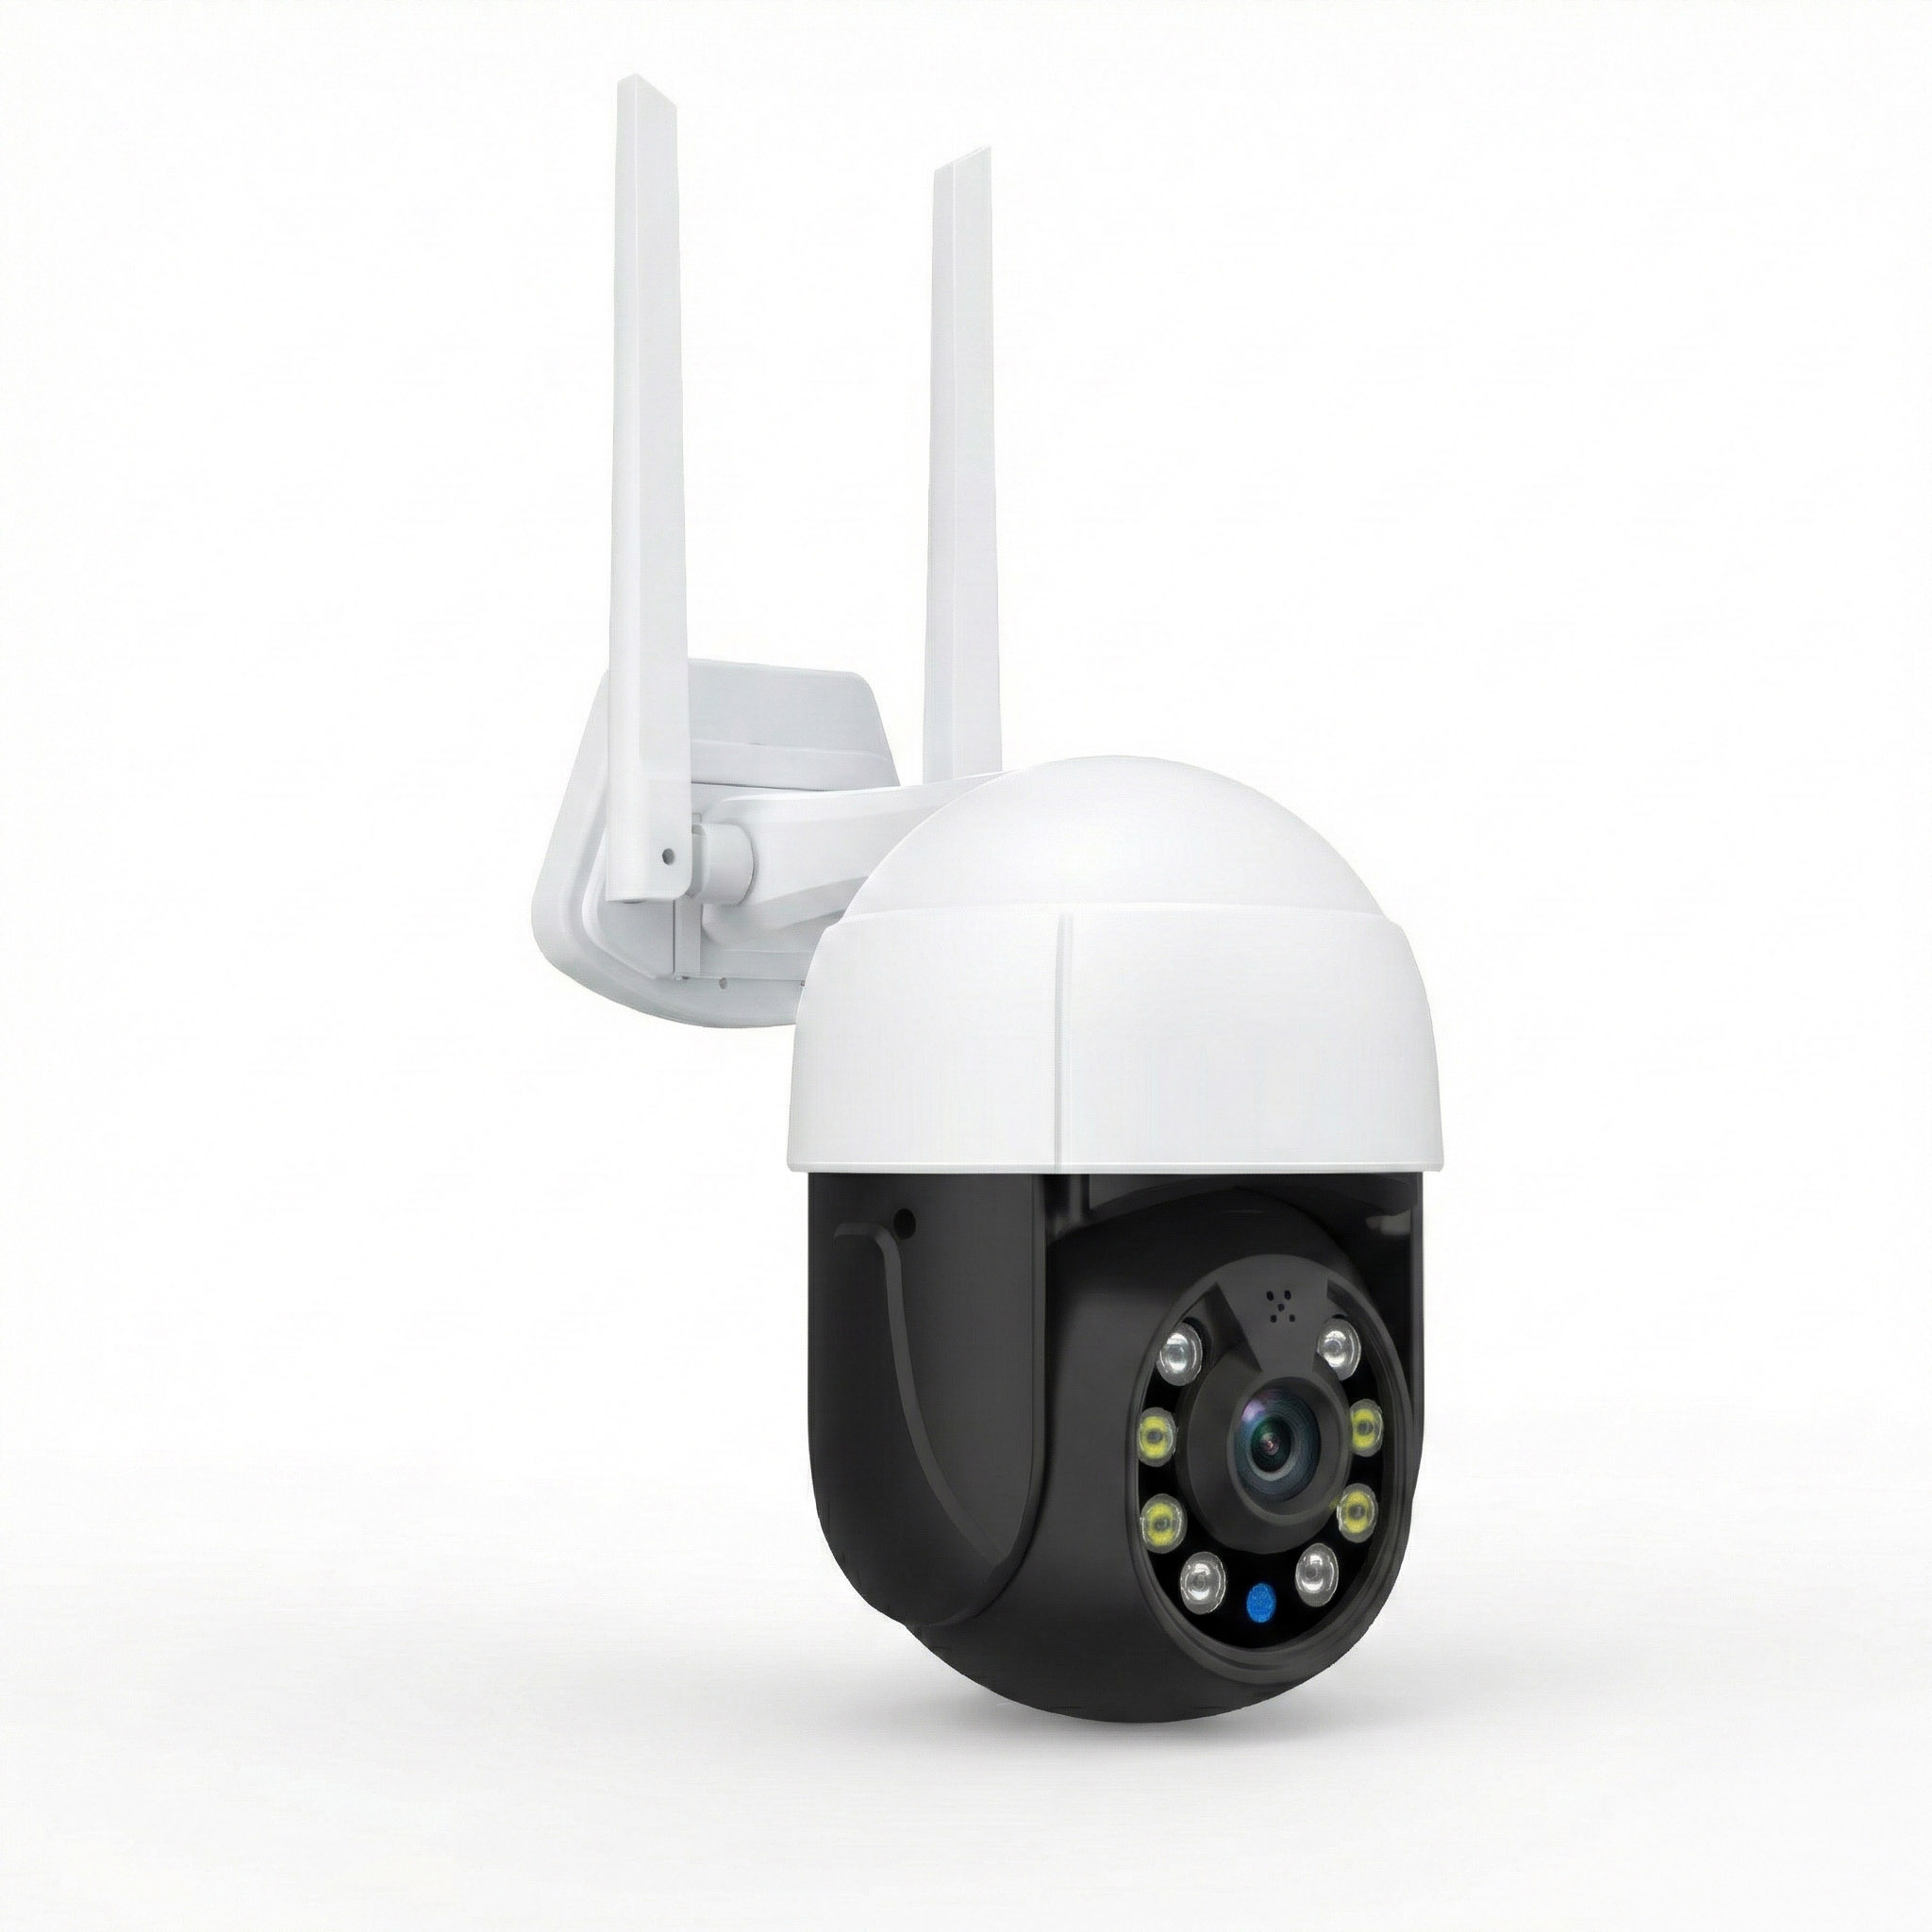
WiFi cameras are often practical for construction near an occupied home.
They can connect to the existing router and provide viewing through a compatible application.
Advantages include:
-
No Ethernet cable required for network data.
-
Convenient setup when WiFi is available.
-
Flexible placement within wireless coverage.
-
Remote viewing on supported systems.
Limitations include:
-
Weak signals through concrete and metal.
-
Dependence on available electrical power or battery capacity.
-
Possible recording limitations during outages.
-
Connection problems near the edge of wireless coverage.
For example, a WiFi camera may work well outside a garage attached to the house.
It may be less reliable at a detached workshop across a large yard.
Test the actual camera at the proposed position before deciding.
Wired PoE Cameras
PoE cameras use compatible Ethernet cables to receive network data and power.
A properly installed wired connection can be more predictable than WiFi in areas with difficult wireless coverage.
PoE cameras are useful when mounting locations will remain relatively stable.
Advantages include:
-
Wired network communication.
-
Centralized power through compatible equipment.
-
Integration with supported local recording systems.
-
Less dependence on wireless signal strength.
Limitations include:
-
More cable planning.
-
Additional installation work.
-
Risk of cable damage during construction.
-
A need to protect switches and recording equipment.
Protect cable routes from vehicles, sharp materials, falling debris, and ongoing structural work.
Do not route exposed network cables across active equipment paths.
If the camera needs to move frequently, a permanent cable run may be inconvenient.
Battery-Powered Cameras
Battery cameras can be useful when an appropriate permanent power connection is unavailable.
They are often easier to relocate than wired systems.
However, battery life depends on several factors.
Frequent motion recording, repeated live viewing, wireless signal quality, and temperature can all affect power consumption.
A busy entrance may trigger many recordings throughout the day.
Check the supported recording modes before purchasing.
Some battery cameras focus on motion-triggered clips rather than continuous recording.
If you need uninterrupted recording, confirm that the camera supports it with the intended power configuration.
Plan how the battery will be checked and charged without exposing workers to hazards.
Cellular Cameras
Cellular cameras connect through a compatible mobile network.
They may be useful when the construction property has no fixed internet service.
Before choosing one, check:
-
Mobile network coverage.
-
Supported carriers and network bands.
-
Data requirements.
-
Power consumption.
-
Local recording capability.
-
Remote viewing features.
-
Ongoing connectivity costs.
Do not confuse wireless with internet-free.
A WiFi camera may operate without a network cable but still require a WiFi connection.
A cellular camera requires suitable mobile service.
If the site has poor cellular coverage, a cellular camera may not solve the connectivity problem.
Which Camera Type Fits Your Project?
| Construction situation | Practical starting point |
|---|---|
| Renovation beside a home with strong WiFi | Outdoor WiFi camera |
| Fixed locations with protected cable routes | PoE camera system |
| Temporary position without an outlet | Battery-powered camera |
| Remote site without fixed internet | Cellular camera |
| Site needing continuous local recording | Compatible wired or locally recording system |
| Project where camera positions change often | Relocatable camera with a secure temporary mount |
Do not select a camera based on connectivity alone.
Check its weather resistance, recording options, available power supply, and supported remote access.
Step 3: Check Power Before Mounting Any Camera
A camera's power source deserves as much attention as its viewing angle.
Construction sites often use temporary electrical arrangements.
An outlet may be available during working hours but disconnected at night.
That is a serious problem if the camera's main purpose is after-hours monitoring.
Identify the Power Source
Possible power arrangements include:
-
Permanent household electrical outlets.
-
Approved temporary construction power.
-
Compatible battery systems.
-
Professionally designed solar charging systems.
-
PoE switches connected to suitable power supplies.
Start by determining whether power remains available outside working hours.
If using an existing outdoor outlet, confirm that it is appropriate for the equipment and environmental conditions.
Do not assume that any nearby extension cord provides a safe long-term solution.
Construction environments expose cables and connectors to rain, dust, movement, and physical damage.
Follow Construction Electrical Safety Requirements
Temporary electrical installations require proper protection.
The Occupational Safety and Health Administration provides guidance on electrical hazards associated with construction work.
Depending on the site and applicable rules, temporary power arrangements may require ground-fault protection or other approved electrical safeguards.
Use properly rated equipment.
Avoid:
-
Indoor extension cords in exposed wet locations.
-
Damaged plugs or cables.
-
Connections resting in standing water.
-
Cords crossing vehicle routes without suitable protection.
-
Improvised connections inside electrical panels.
-
Unapproved electrical modifications.
If the camera requires new wiring or a connection to temporary site power, use a qualified electrician.
A security camera should never introduce an electrical hazard.
Confirm Battery Runtime and Charging Access
If you choose a battery camera, establish a charging routine.
Check its reported battery level using the supported application.
Remember that estimated battery life may depend on usage patterns.
A camera monitoring frequent deliveries may record more events than one overlooking a quiet storage shed.
If the camera uses solar charging, examine the location throughout the day.
Scaffolding, roofing materials, and temporary structures can block sunlight.
Do not assume that a panel receiving morning light will continue receiving enough light after the next stage of construction.
Step 4: Test WiFi Coverage at the Installation Point
A successful connection beside the router says little about performance outside.
Test the camera where it will actually be installed.
Concrete walls, metal siding, insulation, and construction equipment can interfere with wireless signals.
Check the Signal Near the Proposed Mount
Take your phone to the planned mounting position.
Connect to the same WiFi network the camera will use.
Check whether the connection works reliably.
Then power the camera using its approved supply and test it at that location.
A phone showing a WiFi icon is not enough.
The camera may have different antennas or wireless capabilities.
Open the live feed several times.
Watch for delayed connections, repeated buffering, or unexplained disconnections.
If the camera frequently goes offline before mounting, the problem will not disappear after it is screwed to the wall.
Check Router Band Compatibility
Many security cameras use 2.4 GHz WiFi.
Some support additional frequency bands, but this varies by model.
Read the specifications before pairing.
If the camera only supports 2.4 GHz, make sure the router provides a compatible network.
Some dual-band routers use one network name for multiple frequency bands.
This can occasionally complicate pairing with devices that support only one band.
Follow the camera manufacturer's instructions.
Do not switch to outdated wireless encryption or permanently weaken router security simply to connect a camera.
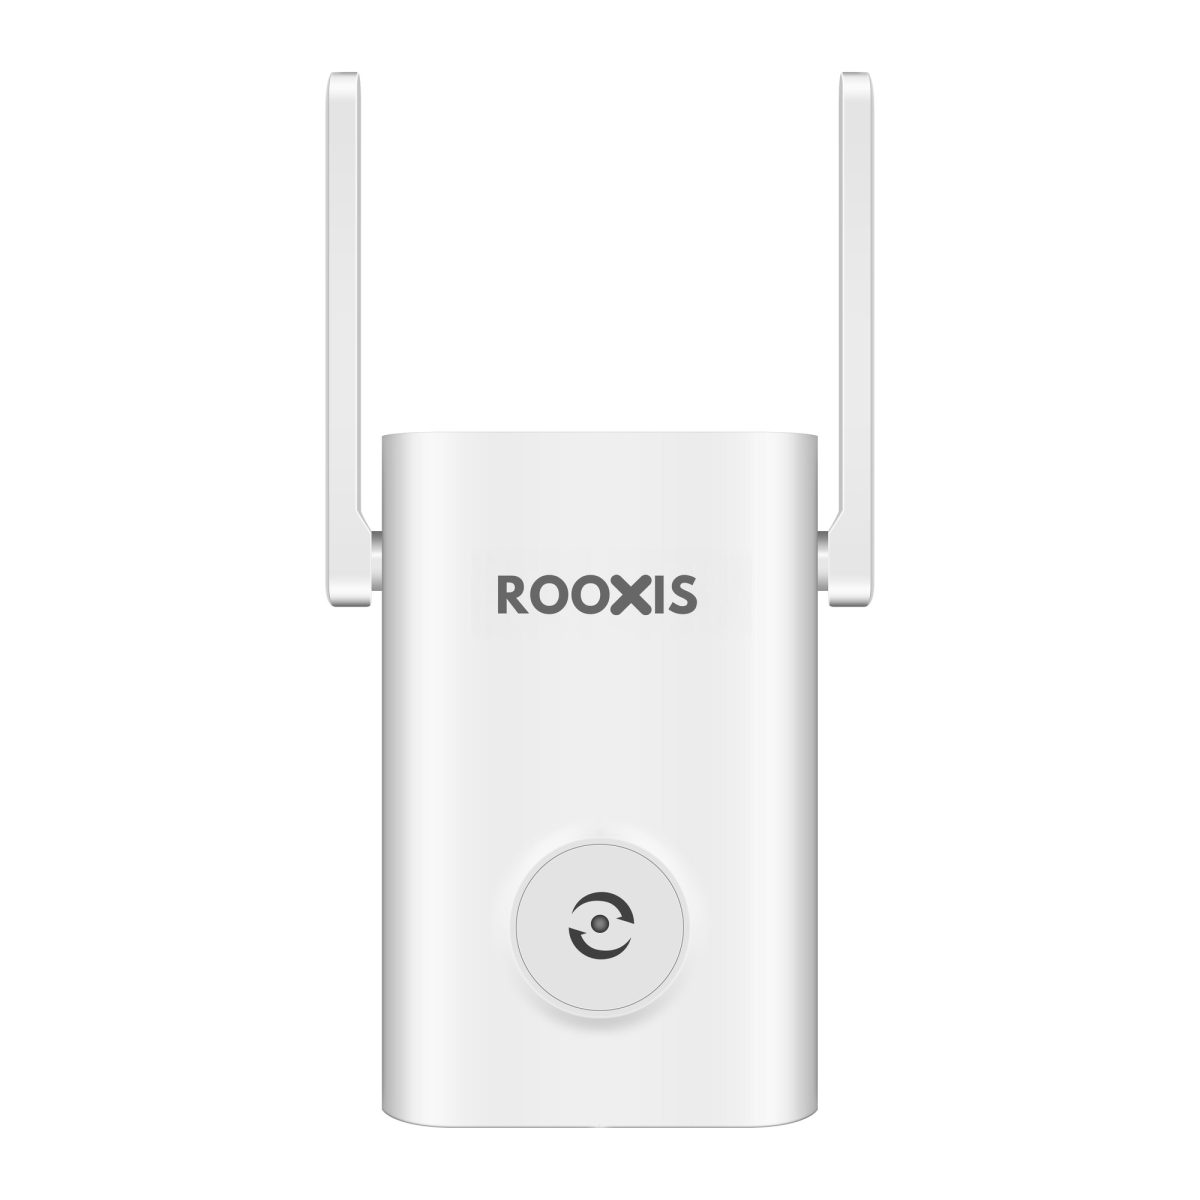
Decide Whether a WiFi Extender Is Needed
A WiFi extender may help when the construction area is just beyond the router's reliable coverage.
But the extender itself needs a strong enough connection to the router.
For example, if the router is inside the living room and the camera is near a detached garage, an extender positioned closer to the garage may improve coverage.
Installing the extender inside the weak-signal area may not help.
Use equipment rated for its installation environment.
An ordinary indoor extender should not be left exposed to rain or construction dust.
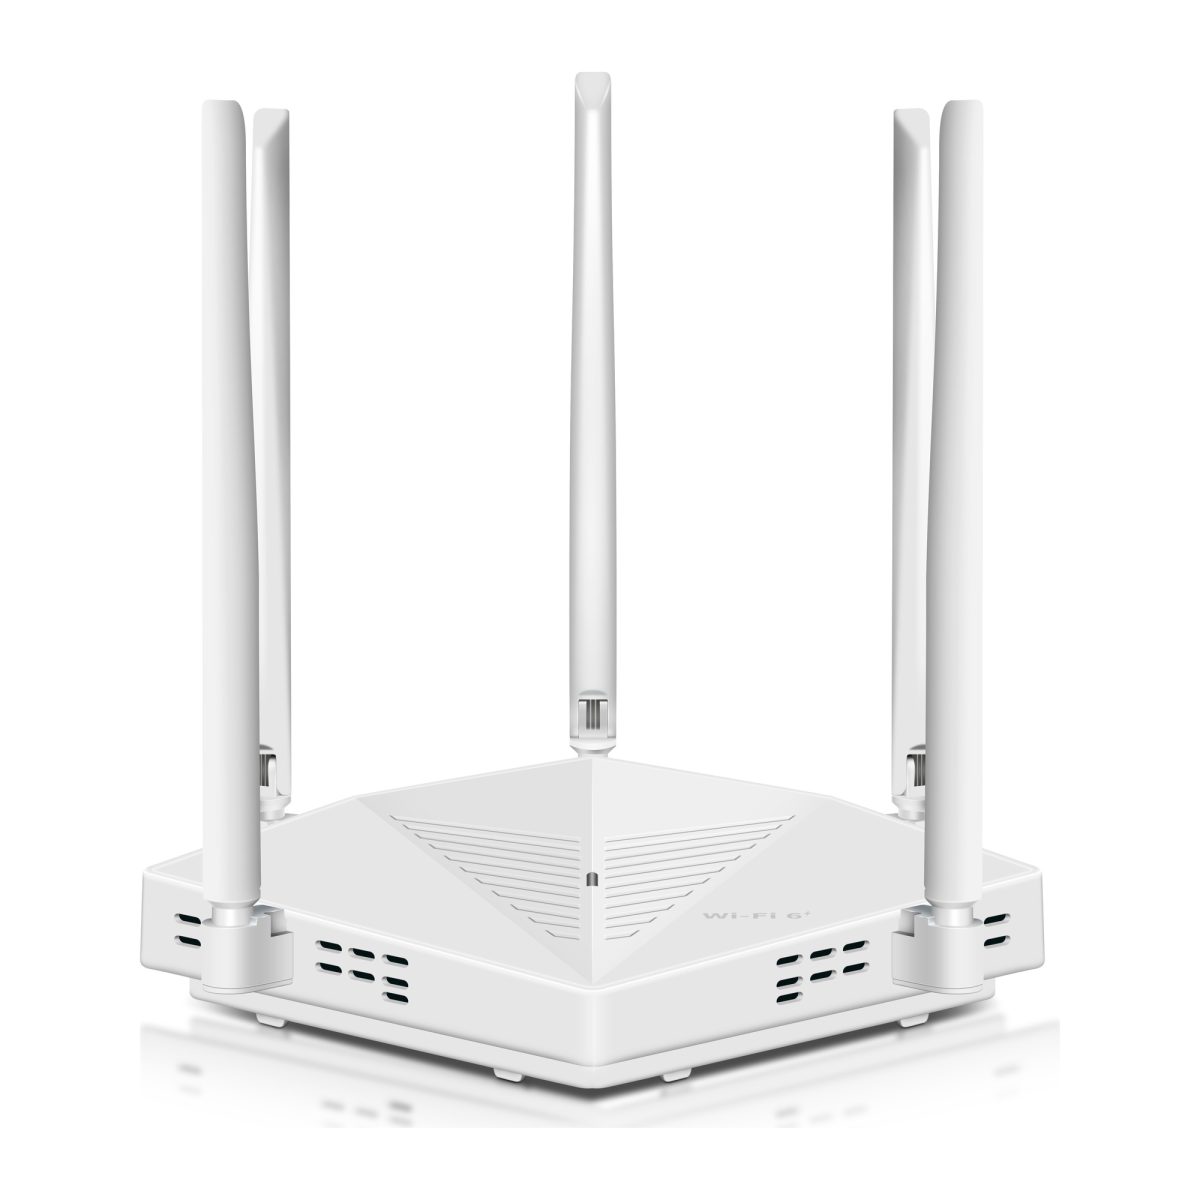
Homeowners comparing compatible wireless networking and camera options can visit ROOXIS.
For a distant work area, a wired access point or cellular camera may provide a more suitable solution than adding several extenders.
What a Successful Connection Looks Like
A properly connected camera should:
-
Open its live feed without repeated connection errors.
-
Remain online during normal operation.
-
Save footage using its configured recording method.
-
Deliver supported alerts to authorized users.
-
Reconnect after ordinary temporary network interruptions.
Test these functions from the actual mounting location.
If remote viewing matters, check that separately using a connection outside the property network.
Step 5: Choose a Stable Mounting Surface
Construction camera mounting surfaces may be temporary, unfinished, or scheduled for removal.
A camera bracket must remain secure despite wind, vibration, and normal site activity.
Do not choose a mounting surface simply because it is easy to drill.
Suitable Mounting Locations
Depending on the property, suitable locations may include:
-
Completed exterior masonry.
-
A stable garage wall.
-
A structurally suitable wooden post.
-
An approved permanent fence structure.
-
A purpose-built camera pole.
-
Another stable surface approved by the contractor.
For temporary mounting, the support must be suitable for unattended outdoor use.
Lightweight tripods can tip over in wind or when accidentally contacted.
If a camera pole or temporary stand is used, it needs appropriate stabilization and protection from site traffic.
Avoid Unstable Construction Materials
Avoid mounting cameras on:
-
Loose plywood sheets.
-
Unsecured temporary fencing.
-
Stacked building materials.
-
Movable equipment.
-
Unfinished surfaces that will soon be removed.
-
Scaffolding without authorization.
Scaffolding is safety-critical equipment.
Adding brackets or cables without approval can interfere with safe use.
Discuss any proposed attachment with the responsible contractor.
If the support is unsuitable, select another location.
Consider Camera Height and Maintenance
A higher camera is harder to reach, but height also affects image detail.
Mounted too high, a camera may capture the tops of people's heads rather than useful views of the entrance.
Mounted too low, it may be easy to obstruct or damage.
Balance coverage, detail, and accessibility.
Also consider maintenance.
A camera lens may need cleaning during dusty construction work.
Choose a position that can be accessed safely.
Routine maintenance should not require climbing onto unfinished roofing or entering an active hazard area.
Step 6: Install the Camera Mounting Bracket
Once you have tested the camera position, install the bracket using the manufacturer's instructions.
Confirm the surface is suitable before drilling.
Mark the Mounting Holes
Hold the bracket against the surface.
Check its alignment.
Mark the screw positions with a pencil.
Make sure the camera will have enough room to tilt or rotate after installation.
Check for hidden wiring, pipes, and other services before drilling.
Do not drill into an unfamiliar wall simply because it appears clear from the outside.
Drill and Secure the Bracket
Use suitable drill bits, anchors, and fasteners.
For masonry, choose anchors appropriate to the material.
For wood, fasten into suitable structural material rather than thin decorative cladding.
For metal surfaces, follow the mounting system's requirements.
Secure the bracket without overtightening components.
It should not wobble when gently checked.
If the surface cracks, flexes, or fails to hold the fasteners properly, stop and select a better mounting method.
Attach and Aim the Camera
Connect the camera to the bracket.
Open the live view.
Adjust the camera toward the intended entrance, gate, or storage area.
Look at the edges of the picture.
A wide view containing large amounts of sky may leave the ground-level area too dark.
Nearby walls or roof edges may block part of the image.
Check whether a gate blocks the lens when opened.
Once the framing is correct, secure the camera's adjustment mechanism.
Step 7: Protect Camera Cables and Connections
Unprotected cables can fail quickly on a busy construction site.
Workers may move ladders, vehicles, scaffolding, and heavy materials through the same areas every day.
Cable routing needs to account for that activity.
Route Cables Away From Work Areas
Keep cables away from:
-
Vehicle routes.
-
Main walking paths.
-
Areas where heavy materials are unloaded.
-
Sharp metal edges.
-
Moving scaffolding components.
-
Locations exposed to falling debris.
-
Standing water.
Use suitable clips, protective routing, and cable supports.
Do not attach cables where they interfere with construction equipment.
Review temporary cable routes whenever the site layout changes.
Protect Outdoor Connections
Check the environmental rating of every component.
A weather-resistant camera does not automatically make its power adapter weather-resistant.
Use approved outdoor accessories and suitable enclosures where required.
Do not rely on household tape to waterproof an unsuitable electrical connection.
If permanent outdoor wiring is needed, have it installed by a qualified electrician.
Leave Room for Maintenance
Avoid pulling cables tightly against connectors.
Provide appropriate strain relief.
Keep connections protected but accessible for inspection.
If the camera may be moved later, plan for safe disconnection.
Do not leave loose cable loops where workers can catch them with tools or equipment.
Step 8: Connect the Cameras to the Network
Follow the manufacturer's official setup procedure.
Camera pairing methods differ, so do not assume that instructions for one model apply to another.
Connect a WiFi Camera
A typical WiFi setup involves:
-
Connect the camera to its approved power source.
-
Install the manufacturer's official application.
-
Create or sign in to the required account.
-
Select Add Device or the equivalent option.
-
Follow the pairing instructions.
-
Select the compatible WiFi network.
-
Enter the wireless password.
-
Wait for the connection to complete.
-
Open the live video feed.
Some cameras pair by scanning a QR code.
Others use Bluetooth or a temporary connection to the camera.
Follow the method documented for your model.
If pairing fails, check network compatibility and signal strength before resetting everything.
Connect a PoE Camera
For a compatible PoE system:
-
Confirm that the power source supports the camera.
-
Connect the approved Ethernet cable.
-
Check whether the camera receives power.
-
Open the compatible recorder or management interface.
-
Add or discover the camera.
-
Complete any required activation.
-
Confirm that video appears.
If the camera does not power on, check the PoE requirements.
Do not connect unknown power supplies to the camera.
Different PoE devices can have different compatibility and power requirements.
Secure the Network Connection
Change default passwords where the camera allows it.
Use unique credentials.
Enable multifactor authentication for cloud accounts when available.
Keep firmware updated.
Avoid exposing camera administration interfaces directly to the public internet.
Use supported secure remote-viewing features instead of unnecessary port forwarding.
If the household router supports suitable network separation, consider keeping cameras on an appropriately configured network.
Step 9: Configure Recording and Storage
A live camera feed is not proof that footage is being saved.
Before relying on the system, configure recording and open a test clip.
Choose the Recording Method
Common options include:
-
Local memory card recording.
-
Network video recorder storage.
-
Cloud recording.
-
A combination of local and remote storage.
Local recording can be useful when the internet connection is unreliable.
However, offline recording depends on the camera's design.
Some cameras continue recording to local storage when internet access fails.
Others require particular network services or configurations.
Check the model's documented behavior.
Decide Between Continuous and Motion Recording
Continuous recording saves video during the configured period.
It requires suitable storage and sustained power.
Motion-triggered recording saves clips when activity meets the camera's detection settings.
That may reduce storage use, but it can miss events if the detection zone or sensitivity is poorly configured.
For a busy construction entrance, continuous recording may provide better context when supported.
For a battery camera overlooking a quiet storage shed, event-based recording may be more practical.
Confirm what your equipment supports before choosing a mode.
Set a Practical Recording Retention Period
Decide how long footage should remain available.
Consider:
-
How often the property is checked.
-
Storage capacity.
-
Video resolution.
-
Recording frequency.
-
Privacy requirements.
-
Whether footage may be needed for a legitimate incident review.
Do not retain recordings indefinitely without a reason.
Limit access to people who need it.
If contractors receive viewing access, use separate user permissions where supported.
Test Playback, Not Just Live View
Trigger a normal recording test.
Wait for the clip to save.
Open it and confirm:
-
The footage exists.
-
The correct area is visible.
-
The recording time is accurate.
-
Playback works.
-
The clip can be exported if needed.
If the recording is missing, investigate the storage configuration before leaving the site.
Step 10: Configure Motion Detection and Notifications
Construction sites contain constant movement.
Workers walk past cameras, vehicles arrive, and materials are moved.
If motion detection is configured poorly, your phone may receive alerts throughout the day.
That makes important notifications harder to notice.
Choose the Right Detection Area
If the camera supports detection zones, focus on areas that matter.
For example, configure a zone around the storage shed entrance rather than including the entire street.
Avoid unnecessary coverage of:
-
Passing traffic.
-
Moving trees.
-
Neighboring property.
-
Areas with frequent irrelevant movement.
-
Reflective surfaces that trigger false alerts.
Review the camera's available detection options.
Some models support person detection or other event categories.
These capabilities vary, so check what your camera actually offers.
Adjust Notification Schedules
You may want recording throughout the day but notifications only after workers leave.
If supported, configure alerts around the site's working schedule.
Do not assume turning off notifications stops recording.
The two settings may be separate.
Confirm that footage continues saving during periods when phone alerts are muted.
Review Sensitivity Settings
Start with the recommended detection sensitivity.
If the camera repeatedly reacts to moving branches or passing vehicles, adjust the detection zone or sensitivity.
If it misses people entering the property, review the camera angle and detection configuration.
Maximum sensitivity is not automatically better.
It may create many alerts without improving useful monitoring.
Step 11: Test Daytime and Nighttime Footage
Outdoor cameras can perform differently in daylight and darkness.
If the main purpose is monitoring the site after working hours, nighttime testing is essential.
Test During Daylight
Walk through the intended coverage area.
Check whether the camera captures useful detail.
Look for:
-
Excessive glare.
-
Deep shadows.
-
Objects blocking the lens.
-
Poor focus.
-
Overly wide framing.
-
Unstable video.
If the camera faces direct sunlight during part of the day, consider adjusting its position.
Check the image at different times if lighting changes significantly.
Test After Dark
Return after sunset.
Open the live feed.
Check whether the camera's night vision or available lighting provides usable footage.
Watch for:
-
Bright lights overwhelming the image.
-
Infrared reflections from nearby walls.
-
Large dark areas.
-
Overexposed objects close to the lens.
-
Poor detail at the entrance.
Do not rely solely on advertised night vision distance.
Test the actual location.
A camera may show movement clearly without providing enough detail to identify a person.
Check Motion Recording at Night
Walk through the entrance under ordinary nighttime conditions.
Confirm that the event triggers recording.
Open the saved clip.
Check whether the movement is visible throughout the relevant part of the scene.
If the camera misses activity, review its detection zone, angle, and recording settings.
Repeat the test after making adjustments.
Step 12: Test Power and Network Recovery
Temporary power and network interruptions can happen during construction.
A camera should return to normal operation when its required services become available again.
Check Power Restoration
Use the manufacturer's approved restart procedure.
Do not deliberately interfere with temporary construction electrical equipment to simulate an outage.
After restarting the camera, confirm:
-
It powers on normally.
-
It reconnects to the network.
-
Its clock is correct.
-
Recording resumes.
-
Notifications remain configured.
-
The application reports the correct device status.
If the camera requires manual intervention after every restart, consider whether it is suitable for unattended monitoring.
Check Internet Recovery
If the camera loses connectivity during normal operation, check whether it reconnects when service returns.
For local recording systems, inspect whether footage continued saving during the interruption.
Do not assume every system records offline.
That depends on storage, power, and device capabilities.
If the camera does not reconnect automatically, review its network configuration and manufacturer guidance.
Confirm Mobile Access
Open the camera application using your phone's mobile data rather than the property's WiFi.
Check whether the live feed opens.
If local viewing works but remote viewing fails, the problem may involve internet access, account permissions, or the manufacturer's remote-viewing service.
Avoid making unnecessary router changes to force remote access.
Use the supported configuration.
Common Construction Security Camera Installation Mistakes
A camera can appear properly installed while having problems that only become obvious when someone needs a recording.
These mistakes are worth checking before leaving the site unattended.
Mounting Before Testing WiFi
The camera pairs successfully inside the house.
It is then mounted outside the garage, where the wireless signal is weak.
Live video freezes and the camera goes offline.
Test the camera at its intended position before drilling.
Using an Unreliable Power Outlet
The camera uses a temporary outlet that is disconnected every evening.
It works during installation but provides no overnight coverage.
Confirm that the power source remains available when monitoring is required.
Choosing a View That Is Too Wide
A camera captures the entire property but provides little useful detail near the main entrance.
Wide coverage is not the same as effective coverage.
Aim cameras toward the specific areas you need to monitor.
Ignoring Camera Obstructions
Stored materials, fencing, or vehicles block the camera after installation.
Review the live view after major site changes.
Move or adjust the camera when necessary.
Leaving Cables Exposed
A power cable crosses a busy work area.
Workers accidentally damage it while moving equipment.
Use suitable protective routing and keep cables away from traffic.
Electrical work beyond ordinary manufacturer-approved connections should be handled by a qualified professional.
Forgetting to Enable Recording
The camera provides a clear live image, but storage is not configured.
No video is available when an incident occurs.
Always save and open a test recording.
Using Weak Camera Passwords
An internet-connected camera uses an easily guessed password.
That creates an avoidable account security risk.
Use strong, unique credentials and supported authentication features.
Sending Too Many Notifications
The camera sends alerts whenever traffic passes nearby.
After repeated interruptions, the homeowner stops checking notifications.
Use motion zones and schedules to focus alerts on relevant activity.
How to Troubleshoot Construction Site Camera Problems
When a camera stops working, identify which part of the setup has failed.
Check power first, then connectivity, recording, and camera settings.
Changing several settings at once makes the problem harder to diagnose.
Camera Will Not Power On
Check the approved power source.
For battery cameras, review the battery level.
For PoE cameras, confirm the switch and camera are compatible.
Inspect accessible connections without opening electrical panels or handling unsafe wiring.
If there is visible cable damage, exposed wiring, or moisture around electrical equipment, stop using the connection and contact the responsible electrician.
Camera Keeps Going Offline
Check WiFi coverage at the mounted position.
New walls, metal equipment, and stored materials may be weakening the signal.
Also check power stability.
An intermittent supply can cause repeated restarts that resemble network failures.
If WiFi is unreliable, consider a better access point location or a suitable wired connection.
For remote properties, cellular connectivity may be more appropriate.
Live Video Is Slow or Freezes
Slow video can result from weak wireless coverage, limited internet upload capacity, network congestion, or device performance.
Compare local and remote viewing.
If local viewing works but remote access struggles, investigate the internet connection.
If both are unreliable, check the camera's network signal and power.
Where supported, lowering viewing quality may improve playback on a slow connection.
However, consider whether recorded footage still provides the detail you need.
Motion Alerts Are Not Working
Open the camera's detection settings.
Confirm that motion detection is enabled.
Check the selected detection area.
Review notification schedules.
Also check notification permissions on your phone.
If the camera records events but your phone receives no alerts, the problem may involve application or phone notification settings rather than the camera itself.
Camera Records Nothing
Check whether recording is enabled.
Review storage status.
Confirm that the memory card or recorder is compatible and functioning.
Look for storage errors and scheduling restrictions.
Do not format a memory card containing footage you may need.
Export important recordings before using any function that erases stored data.
Night Vision Is Poor
Check whether dust or debris is covering the lens.
Clean it using the manufacturer's recommended method.
Look for nearby reflective surfaces.
A wall or roof edge close to the camera can reflect infrared illumination back into the lens.
Adjust the angle if necessary.
If the area remains too dark, consider suitable lighting installed safely for the site.
Maintaining Cameras Throughout the Construction Project
Construction monitoring is not a one-time installation task.
The property changes, and the camera system needs occasional attention.
A simple maintenance routine can prevent gradual loss of coverage.
Review Camera Views After Major Work
Open the camera feed after major construction changes.
Pay particular attention when:
-
Walls are built.
-
Scaffolding moves.
-
Temporary fences change.
-
Materials are relocated.
-
Roofing or cladding is installed.
-
Vehicles begin using a different entrance.
Check that the areas you originally wanted to monitor remain visible.
Clean Dust and Debris From the Lens
Construction dust can collect on exposed camera housings.
Over time, it may reduce image clarity.
Night footage can be especially affected by dirt near the lens.
Use the manufacturer's recommended cleaning method.
Avoid abrasive materials or harsh chemicals that may damage protective coatings.
Only clean cameras when the location can be accessed safely.
Check Storage and Alerts
Open a recent recording periodically.
Confirm that footage is still being saved.
Review storage warnings.
Check whether motion detection remains appropriate for the current layout.
If the camera has been offline, investigate why.
Do not assume that an online status today means all previous footage was recorded successfully.
Update Firmware and Account Security
Use the manufacturer's official application to check for firmware updates.
Review who has access to the cameras.
Remove accounts or permissions that are no longer needed.
If contractors received temporary access, revoke it when their work ends.
Avoid sharing one administrator password among several people.
Use separate accounts with suitable permissions where supported.
When to Move or Remove Temporary Security Cameras
A camera installed for the early construction stages may become unnecessary or poorly positioned later.
Review the setup as the property approaches completion.
Reassess Coverage as Construction Progresses
At each major stage, ask:
-
Are the same entrances still being used?
-
Has the material storage area moved?
-
Are any cameras blocked?
-
Is the power connection still suitable?
-
Has the network coverage changed?
-
Is each camera still serving a useful purpose?
Move equipment only when the mounting and power arrangements can be changed safely.
Do not modify active temporary electrical installations without authorization.
Remove Equipment Without Damaging the Property
When temporary monitoring is no longer required, disconnect and remove the equipment according to the manufacturer's instructions.
Remove mounting brackets and cable supports carefully.
Repair mounting holes with materials suitable for the surface.
Check whether recordings need to be retained for a legitimate purpose before deleting storage.
If the cameras will be reused, update their configuration and access permissions.
Decide Whether to Keep Permanent Cameras
Some construction cameras can become part of the finished home's security system.
Before keeping them installed, check whether:
-
The viewing angles still make sense.
-
The cameras are suitable for permanent outdoor exposure.
-
Cabling meets the needs of a permanent installation.
-
Power is reliable.
-
WiFi coverage remains stable.
-
Firmware updates are available.
-
Recording and storage meet your ongoing needs.
A temporary installation should not automatically become permanent.
If electrical or network cabling needs to be replaced, complete that work properly before the project finishes.
FAQ
Can I install construction security cameras without WiFi?
Yes. Compatible cellular cameras use mobile data, while wired camera systems can record locally through suitable network video recorders without WiFi. Remote viewing still generally requires an internet connection. Check the camera's offline recording and connectivity requirements before buying.
Where should security cameras be placed on a construction site?
Start with main entrances, vehicle access points, and areas where valuable tools or building materials are stored. Use stable mounting surfaces and angles that capture useful detail without unnecessarily recording neighboring property. Recheck placement when fencing, scaffolding, or material storage changes.
Are wireless security cameras suitable for construction sites?
Wireless cameras can work well when the site has reliable connectivity and appropriate power. WiFi cameras are practical near an existing home network, while battery models may suit temporary locations. Sites without fixed internet may need cellular equipment, and some projects are better served by wired cameras.
How do I power a security camera on a construction site?
Depending on the camera, suitable options include permanent electrical outlets, approved temporary site power, compatible PoE equipment, batteries, or professionally designed solar systems. The power arrangement must match the equipment and environmental conditions. New wiring and temporary construction electrical work should be handled by qualified professionals.
Can construction security cameras record without a subscription?
Some cameras support local storage using compatible memory cards or network video recorders without a cloud recording subscription. Recording modes and offline operation vary by model. Check the specifications and confirm that you can open saved footage before relying on the system.
How many security cameras do I need for a small construction project?
The number depends on the site's entrances, storage areas, layout, and viewing angles. A small renovation may need only a camera covering the driveway and another covering stored materials, while a larger site may require additional viewpoints. Plan the coverage first, then choose the number of cameras needed to achieve it.
Start your construction camera installation by walking the property and deciding exactly what needs to be recorded. Check power and connectivity at each proposed location before mounting anything.
Then install the cameras on stable surfaces, protect their connections, and verify that footage is actually being saved.
Test the setup during daylight and after dark. Recheck the camera views whenever the site layout changes.
A useful job site camera system does not need to be complicated. It needs to capture the right areas, keep recording under normal site conditions, and remain safe and practical to maintain throughout construction.