The easiest way to set up smart home devices for beginners is to start with one smart plug or bulb, connect it to your home WiFi, and make sure it works before adding anything else. You don't need a new router, a collection of smart speakers, or a complicated home automation system to get started.
Most first-time setup problems have simple causes. The device needs a 2.4GHz network, but your phone is using 5GHz. The camera works beside the router but loses its connection near the garage. Or the smart sensor requires a Thread border router that you don't own. Knowing what to check before installation saves time and avoids unnecessary purchases.
This guide walks through the entire process, from choosing your first device to setting up cameras, connecting Matter and Thread accessories, improving WiFi coverage, and fixing devices that keep going offline. Each step explains what to do, what a successful connection looks like, and what to check when something doesn't work.
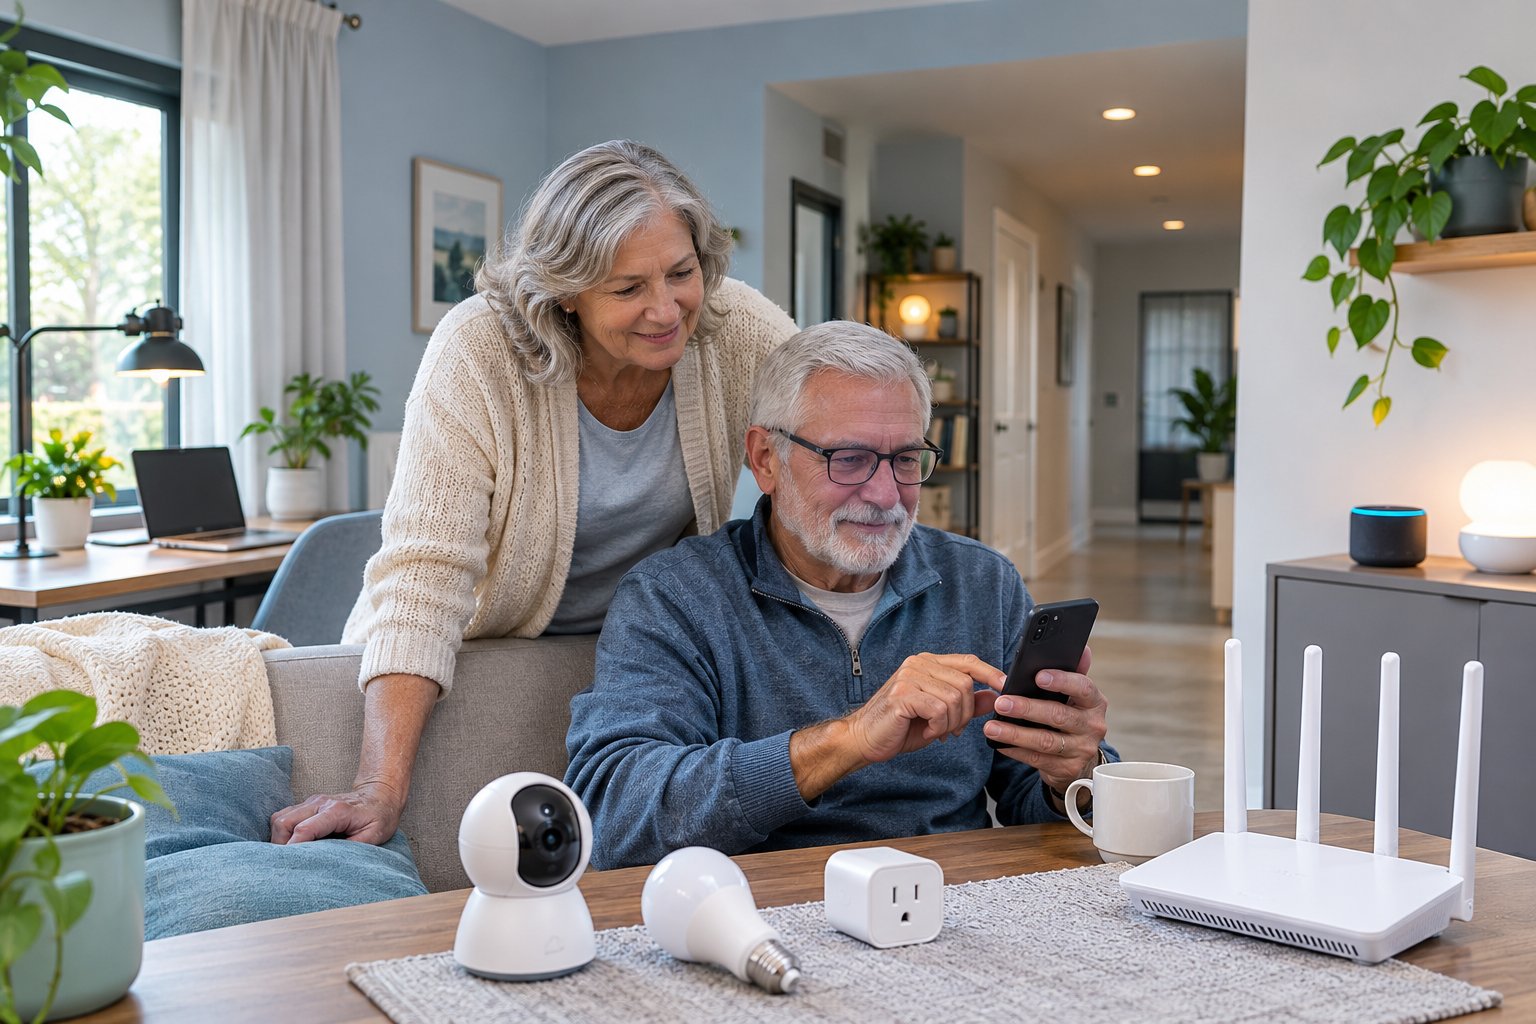
Smart Home Devices for Beginners: What You Need to Know
A smart home device is an electronic product you can control, monitor, or automate through a smartphone, compatible voice assistant, or home automation system.
A regular lamp turns on when you flip its switch. Connect that lamp to a compatible smart plug, and you may be able to switch it on from your phone, schedule it for the evening, or control it with a voice command.
The same idea applies to smart lights, cameras, door sensors, and other connected products.
But these devices don't all communicate the same way.
Some connect directly to your WiFi router. Others use Thread, Zigbee, Bluetooth, or a manufacturer's dedicated hub.
Before buying a smart device, check two things: how it connects and which app or platform controls it.
Those answers determine what equipment you need and how installation will work.
Which Smart Home Devices Should You Start With?
Choose something that solves a small, everyday problem.
A smart home doesn't become more useful simply because it contains more devices.
Smart plugs
A smart plug is one of the simplest products to install.
Plug it into a wall outlet, connect a suitable appliance, and pair it with the manufacturer's app.
A common use is controlling a living room lamp. You can turn it off from your phone without walking across the room.
Some plugs also support schedules, timers, and energy monitoring.
Check the electrical rating before connecting an appliance. Avoid using a general-purpose smart plug for heaters, large motors, or other demanding equipment unless the manufacturers explicitly approve that use.
Smart bulbs
Smart bulbs are another practical starting point.
You replace a compatible regular bulb, connect the new bulb through its app or supported hub, and control the lighting.
Depending on the model, you may be able to change brightness, set schedules, or adjust colors.
One detail catches beginners: most smart bulbs need continuous power.
If someone turns off the wall switch, the bulb loses power and cannot respond to wireless commands until power returns.
Smart security cameras
A smart camera lets you view a room, entrance, or outdoor area from a phone.
Some models also support motion alerts, two-way audio, and local recording.
Cameras require more planning than plugs because their performance depends on WiFi coverage, power, storage, and placement.
Start with the location you actually want to monitor. Then check whether the network reaches it.
Smart sensors
Door and motion sensors can trigger notifications or automations.
For example, a compatible contact sensor may send an alert when a door opens.
However, many sensors require a hub, Thread border router, or another supported controller.
Check those requirements before purchasing.
For a first project, a WiFi plug or bulb is usually easier to install and troubleshoot.
Understanding WiFi, Matter, and Thread
These terms appear on smart home product boxes, but they describe different things.
WiFi connects devices to your home network.
A WiFi smart plug, bulb, or camera communicates through your wireless router.
Many inexpensive smart devices operate only on the 2.4GHz band.
Matter helps compatible devices work across smart home platforms.
Matter is an interoperability standard.
A compatible Matter plug may work with Apple Home, Google Home, Amazon Alexa, or another supported controller.
But the platform must support the device type and the required features.
A Matter label doesn't guarantee that every function will be available in every app.
Thread is a wireless networking technology.
Thread uses a low-power mesh network designed for compatible connected devices.
It is commonly found in sensors, switches, and some locks.
A Thread device doesn't connect to your router by entering the household WiFi password.
For normal integration with your home network, it generally requires a Thread border router.
Some compatible smart speakers and home hubs provide this function.
Matter and Thread can work together. A Matter accessory may communicate over Thread, WiFi, or Ethernet.
Remember the distinction: Matter describes compatibility. Thread describes one way devices communicate.
What You Need Before Starting Smart Home Devices Installation
Check your existing equipment before ordering more.
For most homes, the starting point is a working WiFi router, a phone, the correct app, and one compatible smart device.
A Working WiFi Router
Your router provides wireless connectivity for WiFi-based smart devices.
A dual-band router typically supports:
-
2.4GHz WiFi, commonly used by smart plugs, bulbs, and cameras.
-
5GHz WiFi, commonly used by phones, laptops, and other devices that benefit from higher speeds.
Many beginner smart devices support only 2.4GHz.
That doesn't mean you need to turn off 5GHz.
It means your router needs to provide a compatible 2.4GHz connection during installation and normal operation.
Check your router's WiFi settings before pairing.
If the router is installed inside a closed cabinet, behind a television, or near a large metal appliance, consider moving it to a more open position.
A Smartphone and the Correct App
Most devices need an iPhone or Android phone for their initial configuration.
Look at the product manual or packaging to identify the supported app.
A manufacturer might use its own app, while another device may support direct setup through Apple Home or Google Home.
Download the official app from the App Store or Google Play.
Check the developer's name when several apps have similar titles.
For some products, you will also need Bluetooth or local network access enabled on your phone during setup.
Your WiFi Network Name and Password
Find the network name and password for the WiFi you use at home.
The network name is also called the SSID.
If you recently changed routers, your phone may still contain an older saved network.
Make sure the phone is connected to your current home network.
If your router broadcasts separate 2.4GHz and 5GHz network names, identify the 2.4GHz one before starting a device that requires it.
Do not confuse the router administrator password with the WiFi password. They may be different.
A Suitable Device Location
A product that pairs successfully beside the router may not work well in its intended location.
A smart plug behind a refrigerator, for example, may receive a weak signal.
An outdoor camera mounted beyond several brick walls may disconnect even though the router works perfectly inside.
Before installing anything permanently, test connectivity in the planned location.
For a camera, also check the power supply, mounting surface, and view.
For a plug, confirm that the connected appliance is suitable and that the outlet remains accessible.
Compatible Smart Home Equipment
Some devices work independently. Others need additional equipment.
A standard WiFi smart plug may require nothing beyond your router and phone.
A Thread sensor may require a compatible Thread border router.
A Zigbee product may need a compatible Zigbee hub.
A Matter device needs a supported controller, and Matter over Thread also needs suitable Thread network infrastructure.
Check the exact model specifications.
A smart speaker from a popular brand isn't automatically a Thread border router. Support depends on the specific version.
Set Up Your Smart Home Devices Step by Step
Install one device first, even if you have purchased several.
Once you understand the pairing process and know that your network works, the next installation is usually easier.
Step 1: Choose Your First Device and Smart Home App
What to do
Start with a WiFi smart plug or bulb.
Read the quick-start instructions before connecting the device to power.
Find the app name and check whether the product connects directly to WiFi or requires another controller.
For a typical WiFi smart plug:
-
Connect your phone to your home WiFi.
-
Open the App Store or Google Play.
-
Install the app specified by the manufacturer.
-
Create an account if required.
-
Find the Add Device or plus symbol.
-
Keep the product instructions nearby for the pairing process.
If you are installing a Matter accessory, check whether your preferred platform supports that type of device.
What you should see
The app should display a dashboard, a home screen, or a device list.
There should be a way to add a new accessory.
Some apps ask you to create a home and select a room before pairing.
What to watch for
Do not assume a product works with your preferred smart home platform just because it supports WiFi.
A WiFi connection and platform compatibility are different requirements.
Also check whether the features you want are free or require an additional service.
Step 2: Check WiFi Coverage Before Pairing
What to do
Take your phone to the room where the device will operate.
Connect to your home WiFi.
Open a website or play a video to see whether the connection is usable.
If the connection repeatedly drops, the location may already have a coverage problem.
For outdoor cameras, test near the intended mounting position.
A camera installed by a garage door may receive a much weaker signal than one near the living room router.
If your router allows separate 2.4GHz connections, test the band required by the device.
What you should see
Your phone should maintain a stable connection.
Websites should open without repeated network errors.
A connection test should complete without losing WiFi.
What to watch for
Your phone has different antennas and wireless capabilities from a smart plug or camera.
A working phone connection does not guarantee that the new device will work equally well.
It is only the first check.
For a camera, plan to test the live feed at its final location before mounting it permanently.
Step 3: Prepare the 2.4GHz WiFi Network
What to do
Open your router's management app or web interface.
Find the Wireless, WiFi, or Network Settings menu.
Look for the 2.4GHz radio.
Confirm that it is enabled.
Some routers combine 2.4GHz and 5GHz under a single network name using band steering.
This works with many smart home devices.
However, certain older devices and setup apps have trouble completing pairing when the phone is connected to 5GHz.
If that happens, use a separate 2.4GHz network if your router supports one.
You can also follow the manufacturer's recommended pairing procedure for combined networks.
Check the wireless security mode.
Many older devices support WPA2-Personal but not WPA3-only networks.
If necessary, select a compatible, secure configuration supported by your router and device.
What you should see
The router should show an enabled 2.4GHz network.
Your phone should connect using the correct password.
What to watch for
Do not turn off your WiFi password or disable encryption.
Avoid changing advanced network settings just to make one accessory connect.
If your router uses a guest network, check whether device isolation prevents local discovery.
An isolated guest network can be useful for security, but some smart home integrations require communication between devices on the local network.
Step 4: Install the App and Secure Your Account
What to do
Open the manufacturer's app and complete account setup if required.
Choose a unique password.
Enable two-factor authentication if the service provides it.
Then review the app permissions.
For example:
-
Bluetooth may help discover nearby accessories.
-
Local network access may be needed to find devices.
-
Notifications allow the app to send alerts.
-
Camera or location permissions may be requested during particular setup procedures.
Grant permissions required for the features you use, and review optional access separately.
If the app asks you to create a home, use a simple name.
Assign devices to rooms as you add them.
What you should see
You should reach the app's device dashboard.
If you created an account, the app should remain signed in after setup.
What to watch for
Avoid using the same password for your router administrator account, smart camera app, and email account.
For shared household access, use the app's family or member-sharing feature when available.
Do not distribute the main account password to everyone who needs to control a light.
Step 5: Put the Device in Pairing Mode and Connect It
What to do
Power on the device according to its instructions.
Many WiFi plugs use a blinking indicator to show that pairing mode is active.
The required button presses vary by model.
Open the app and select Add Device.
Choose the appropriate category.
The app may ask you to:
-
Confirm that the device indicator is blinking.
-
Select the correct WiFi network.
-
Enter the WiFi password.
-
Wait while the accessory connects.
-
Name the device and assign it to a room.
Some accessories use Bluetooth to begin setup.
Others create a temporary WiFi hotspot that your phone joins during configuration.
Follow the procedure shown in the official app.
What you should see
The app should show pairing progress and then add the accessory to your device list.
Test the simplest available command.
For a plug, turn it off and on.
For a bulb, switch it on and adjust the brightness.
What to watch for
If the device does not appear, confirm that it is in pairing mode.
A steady power indicator is not necessarily a pairing indicator.
Check the WiFi password before resetting the product.
If the app cannot find it, move the accessory nearer the router and try again.
Only use the manufacturer's factory reset procedure when simpler troubleshooting fails.
Step 6: Connect Matter and Thread Devices Correctly
What to do
Matter accessories normally include a setup code or QR code.
Use the code with a compatible smart home controller.
For Apple Home:
-
Open the Home app.
-
Select Add Accessory.
-
Scan the Matter setup code.
-
Follow the on-screen instructions.
-
Assign the accessory to the appropriate room.
For Google Home:
-
Open the Google Home app.
-
Choose the option to add a device.
-
Follow the Matter-compatible setup process.
-
Scan the accessory's setup code.
-
Complete the pairing instructions.
Menu names may change with app updates.
If the device uses Matter over Thread, check that your home has a compatible Thread border router and controller.
A regular WiFi router does not necessarily provide Thread connectivity.
Depending on the platform, a compatible home hub or smart speaker may already provide the required function.
What you should see
The accessory should appear in the smart home app.
Its supported controls should respond.
A Matter plug, for example, should respond to an on or off command.
What to watch for
A product labeled Thread is not automatically Matter-compatible.
Also, a Matter device already paired with one system may need to be shared through a multi-administrator process before another platform can control it.
Do not factory-reset a working accessory simply because you want to add it to a second app.
For more information about this networking technology, see the Thread Group's smart home guidance.
Step 7: Organize Devices and Create Your First Automation
What to do
Once a device works, give it a clear name.
Use its room and purpose.
Examples include:
-
Living Room Lamp
-
Kitchen Plug
-
Bedroom Ceiling Light
-
Front Door Camera
-
Hallway Motion Sensor
Names like New Device or Smart Plug 2 become confusing after you add more accessories.
Now try one simple automation.
For example, schedule a living room lamp to switch on in the evening.
In many apps:
-
Open the device.
-
Find Schedule, Timer, or Automation.
-
Choose the activation time.
-
Select the action.
-
Save the rule.
If the app supports sunset-based scheduling, check that its home location is correct.
What you should see
The automation should appear in the app's schedule or automation list.
Test it at a nearby time or through a built-in test function if available.
What to watch for
Some automations run locally. Others depend on an internet connection, cloud service, or smart home hub.
Do not assume a schedule will continue during an internet outage unless the product supports that behavior.
Avoid using basic smart plugs to automate equipment that could become dangerous if it switches on unexpectedly.
Step 8: Add a Smart Security Camera Safely
What to do
A camera requires more preparation than a smart bulb.
Before opening the camera app, decide where the camera belongs.
For an indoor camera, choose a stable surface with a clear view and nearby power.
For an outdoor model, confirm that it is designed for outdoor installation and that the mounting location receives adequate WiFi coverage.
A typical WiFi camera setup follows these steps:
-
Install the manufacturer's recommended app.
-
Connect your phone to the required WiFi network.
-
Power on the camera.
-
Activate pairing mode using the product instructions.
-
Add the camera through the app.
-
Follow any QR code, Bluetooth, or temporary hotspot instructions.
-
Open the live video feed.
-
Test motion detection and recording.
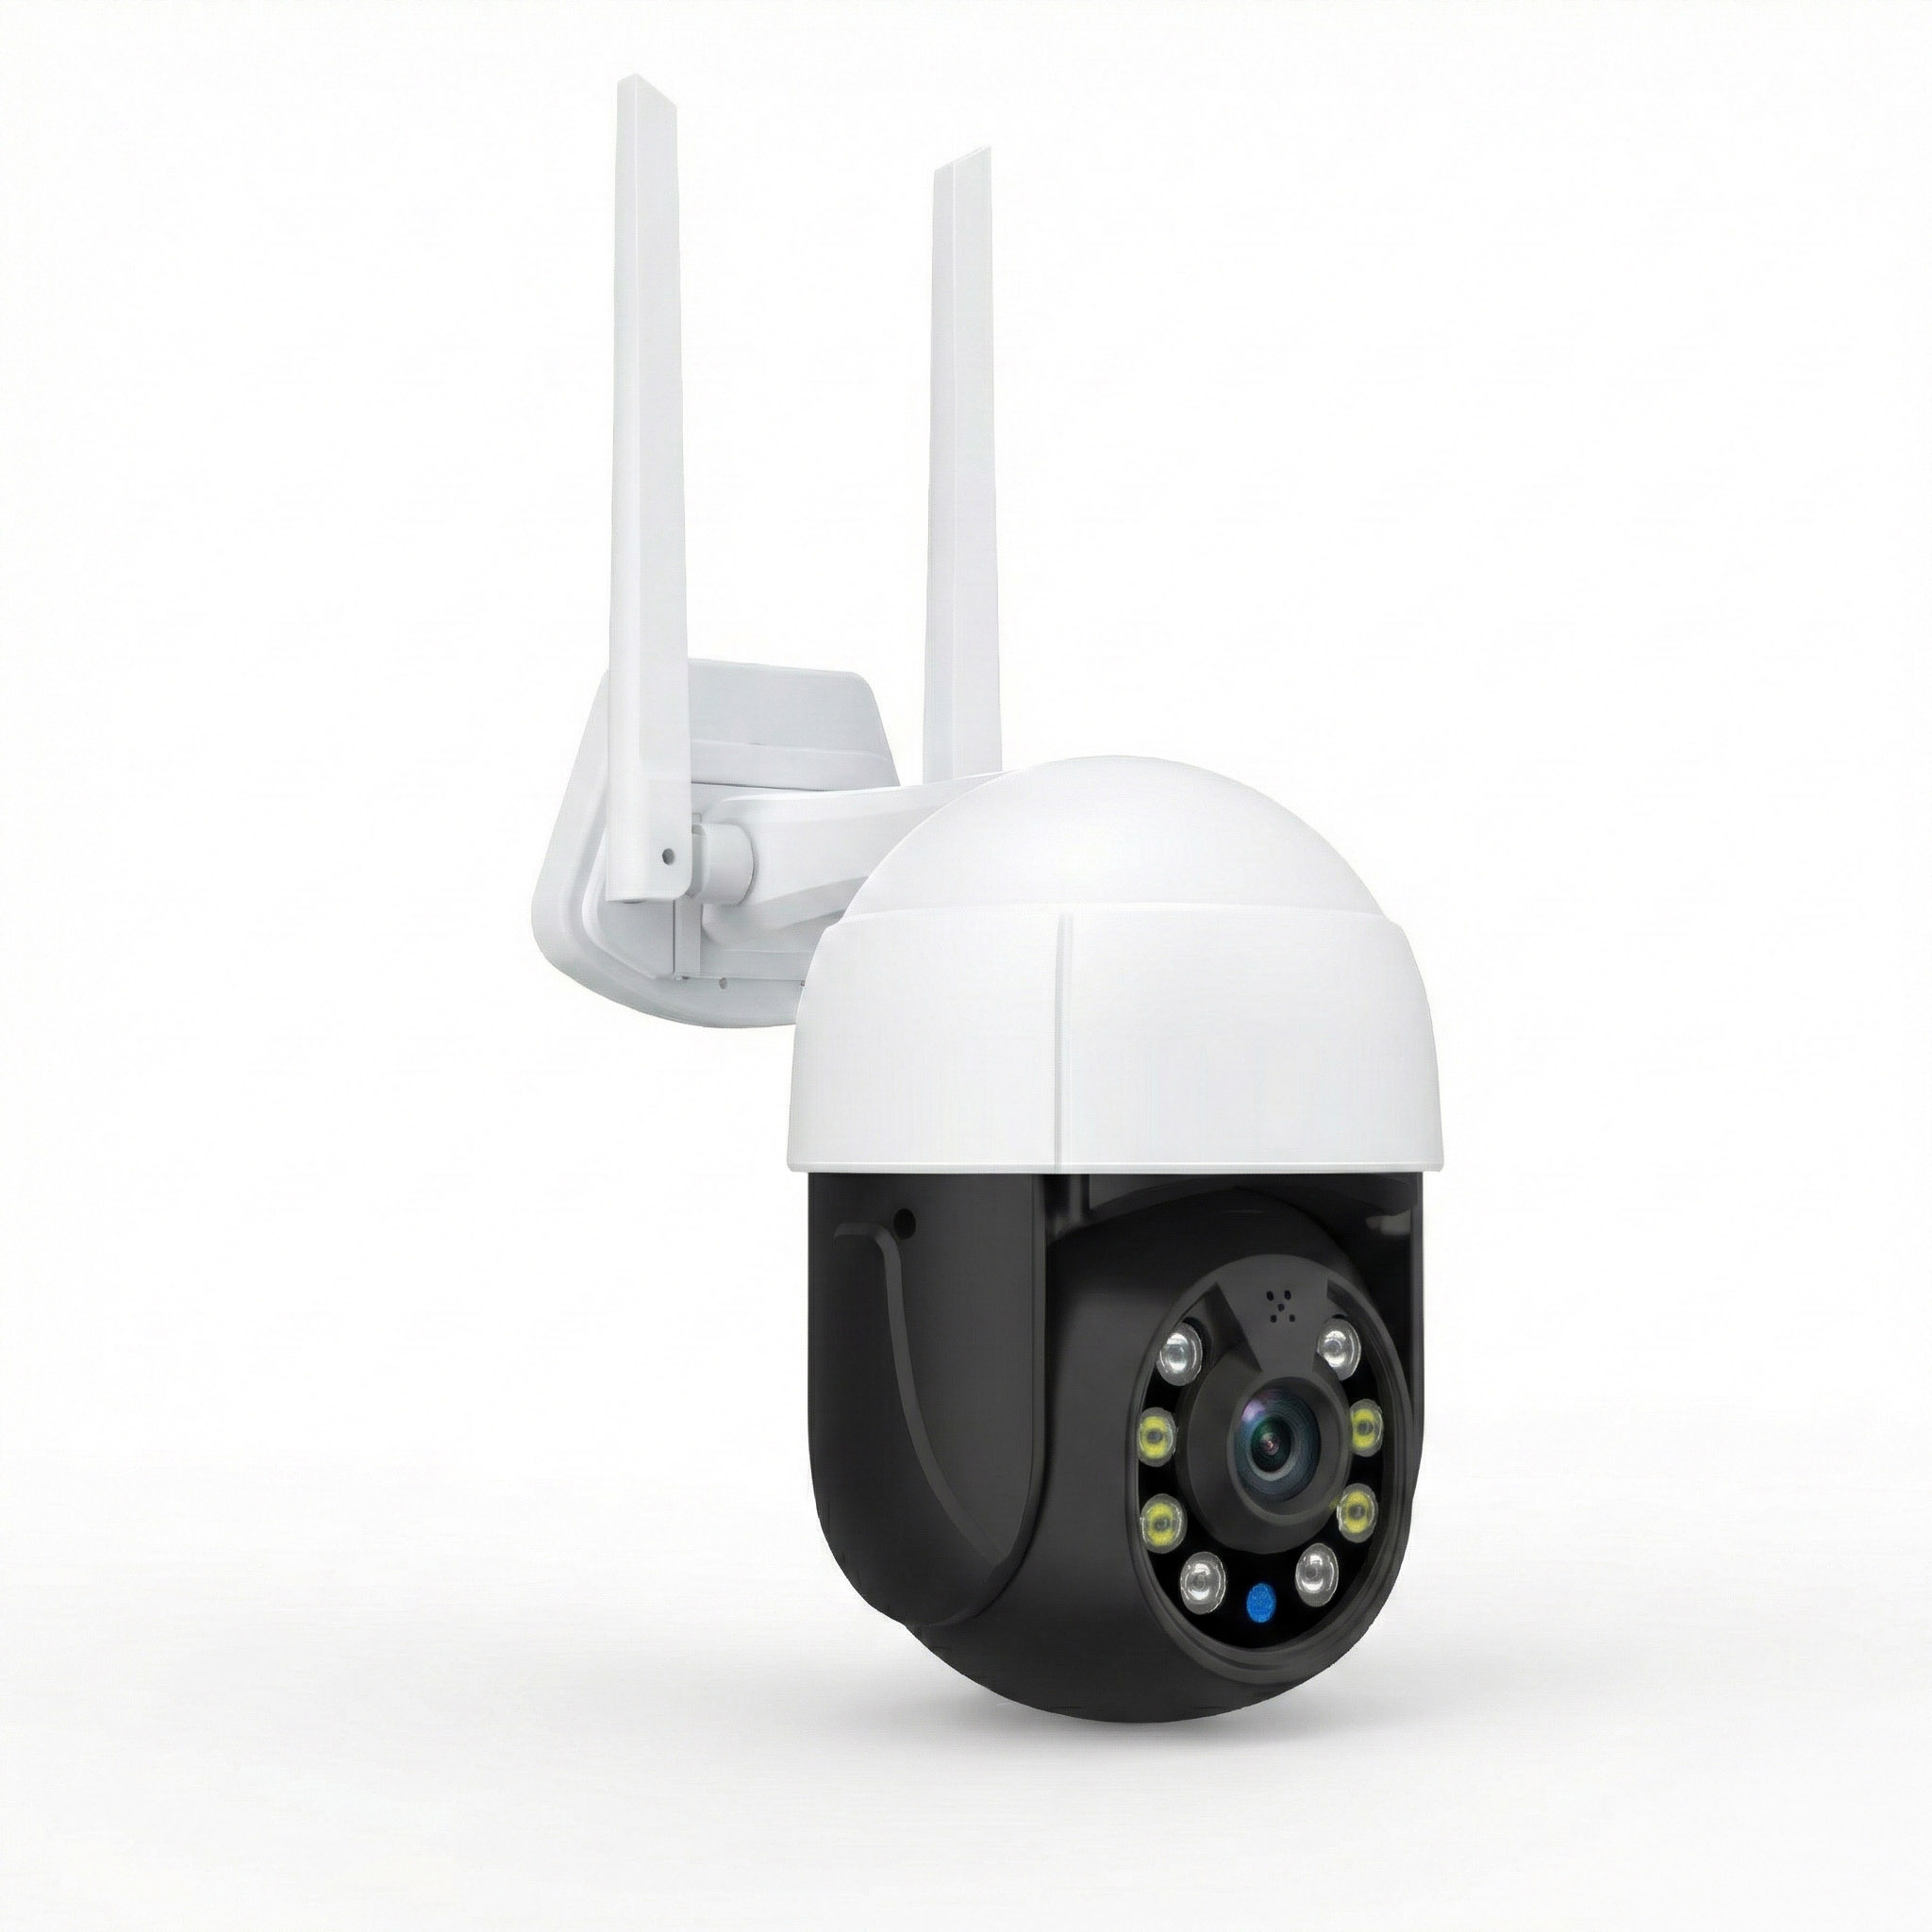
For compatible ROOXIS WiFi cameras, follow the model's Smart Life pairing instructions and confirm the supported wireless band before installation.
You can review ROOXIS networking and security camera products to compare available equipment and storage options.
What you should see
The camera should display as online.
Live video should load without constant buffering or disconnection.
If the model supports pan and tilt, test those controls.
Walk through the monitored area to check motion alerts.
If the camera supports local recording, record a short clip and play it back.
What to watch for
A working live feed does not prove that recording is enabled.
Check whether the camera requires a microSD card, compatible recorder, or cloud storage service.
If using a card, confirm the supported capacity and format it through the app when required.
For outdoor cameras, check the weather rating and power arrangements.
For indoor cameras, consider household privacy before choosing the viewing angle.
Avoid placing cameras where people reasonably expect privacy.
Step 9: Fix Weak WiFi Before Adding More Devices
What to do
If a device works beside the router but disconnects in another room, test the network before buying more accessories.
First, examine router placement.
A router inside a metal cabinet, behind a large television, or at one end of a long house may leave weak coverage in certain rooms.
If possible, position it in an open area with fewer obstructions.
Then test the affected device again.
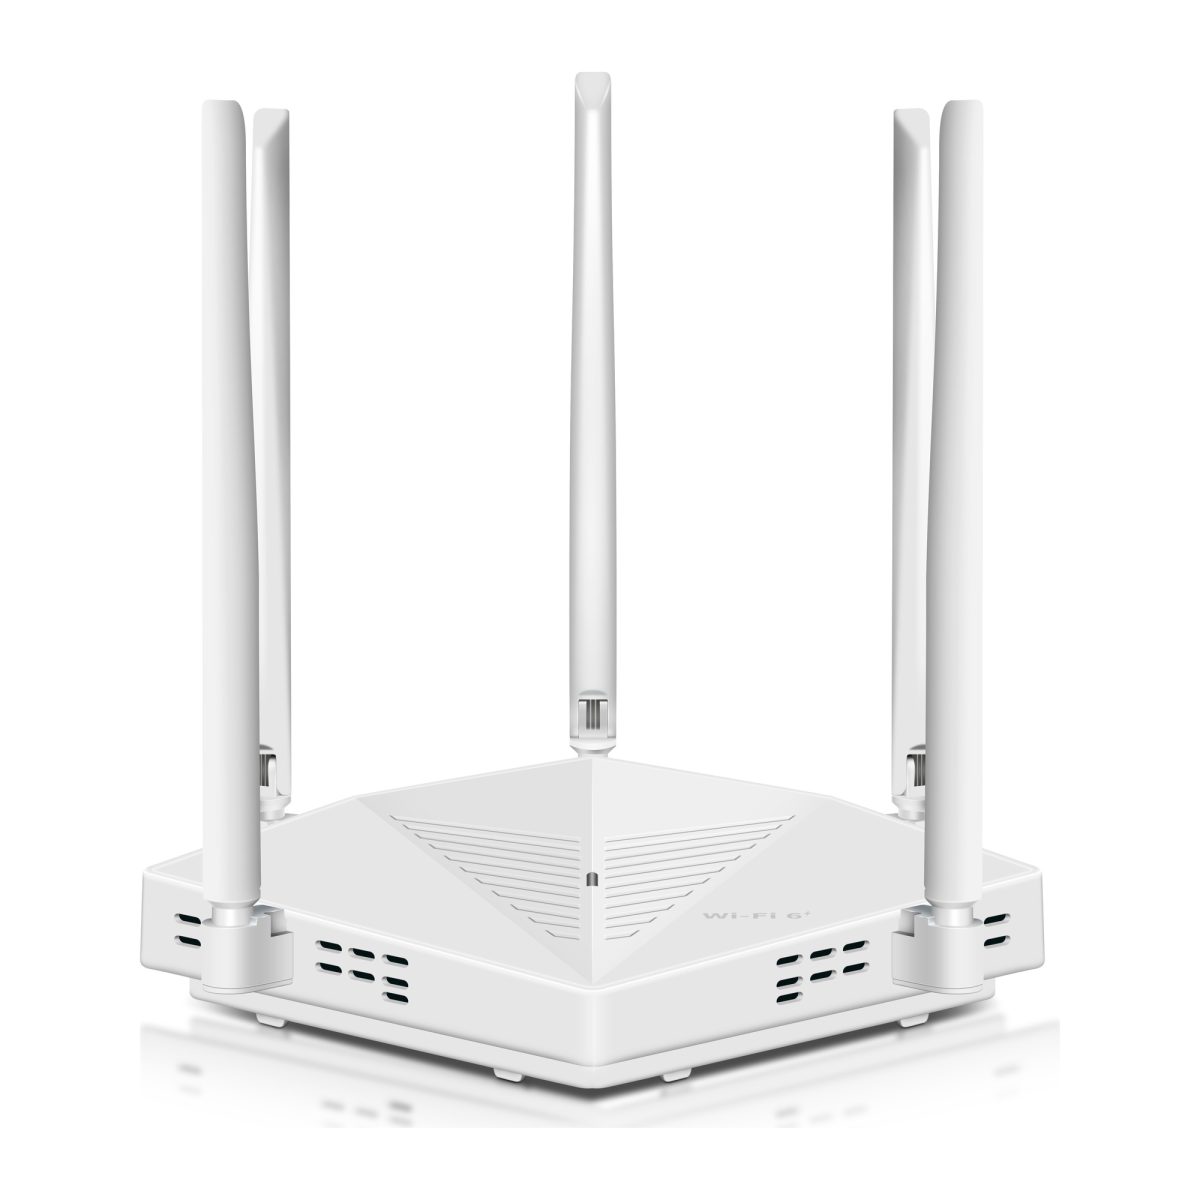
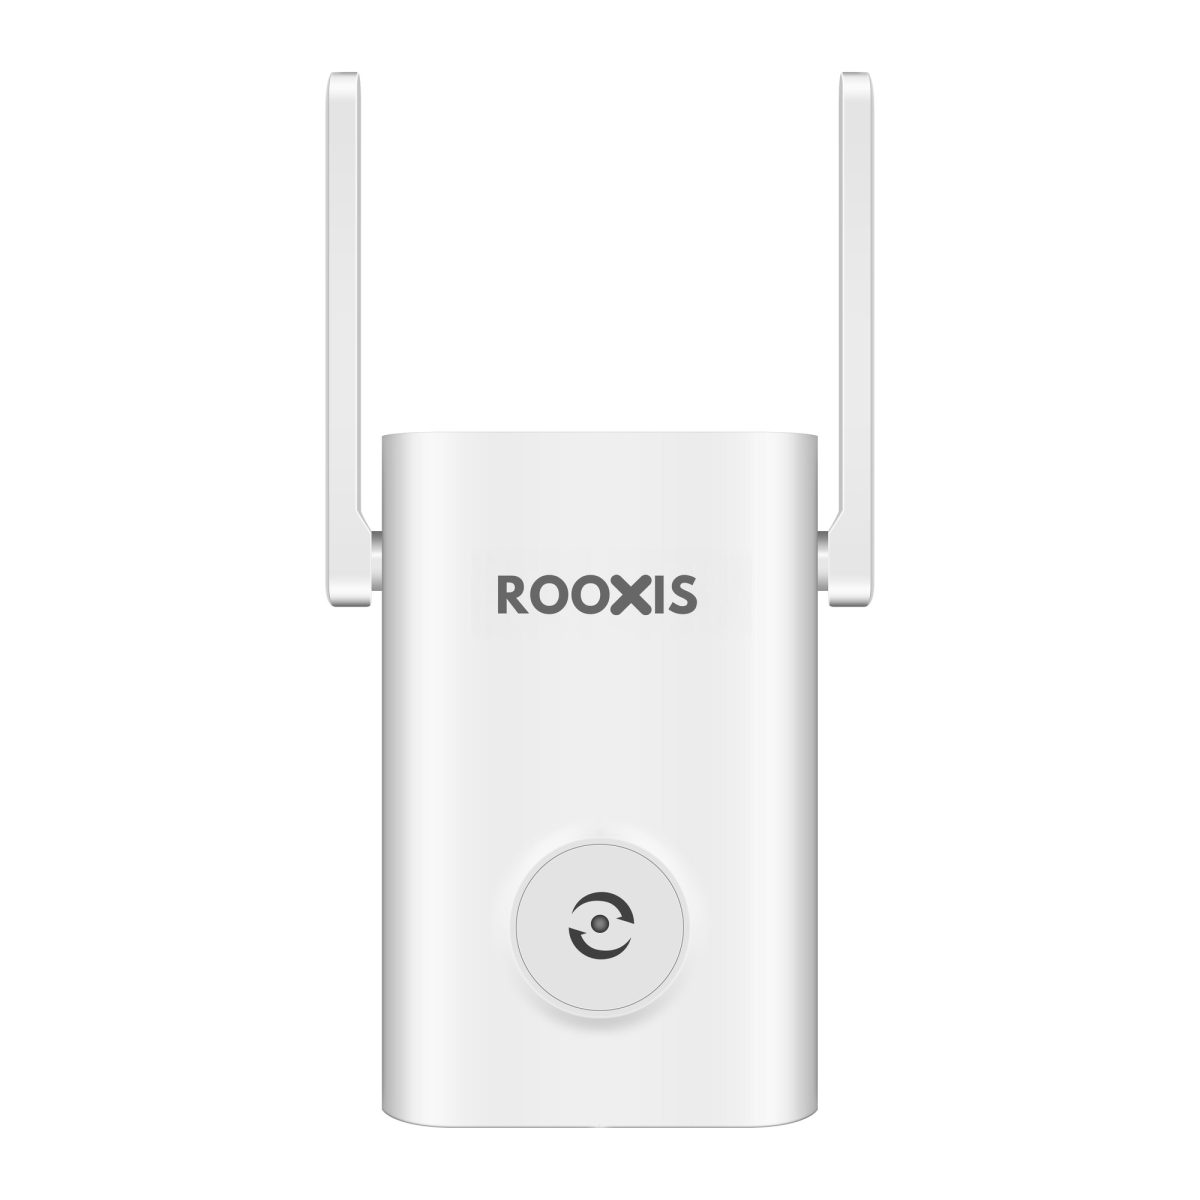
If a dead zone remains, consider extending coverage with a suitable WiFi extender, access point, or mesh system.
An extender should be placed where it still receives a reliable signal from the main router.
For example, if the upstairs bedroom has weak WiFi, a hallway or landing between the router and bedroom may be a better extender location than the bedroom's far corner.
What you should see
The device should stay online more consistently.
A camera should open its live feed without repeatedly reconnecting.
A smart plug should respond without frequently reporting that it is offline.
What to watch for
An extender cannot repair an unreliable internet service or a failing router.
It also cannot provide a reliable connection when placed too far from the original network.
If your extender creates a different WiFi network name, the smart device may need its network settings updated.
A normal WiFi extender does not extend a Thread mesh.
Thread coverage requires compatible Thread networking devices.
Step 10: Secure, Update, and Test the Whole Setup
What to do
After the devices work, check their security settings.
Start with the router.
Make sure it uses a strong administrator password and supported WiFi encryption.
Check for firmware updates.
Then open each smart device's app and review its update settings.
For cameras, inspect account sharing, recording storage, motion alerts, and remote access.
If your router supports a dedicated IoT network, it may help separate compatible smart devices from your main computers and phones.
However, an isolated network can prevent local discovery or control.
Test the devices before moving everything to a different network.
Finally, check each device from its normal location.
What you should see
Every installed accessory should appear online.
Basic controls should respond.
Automations should run when expected.
Camera recordings should play back using the chosen storage method.
What to watch for
Do not expose smart device administration interfaces directly to the internet through unnecessary port forwarding.
Avoid disabling firewall protection to fix a connection problem.
The Federal Trade Commission's home camera security guidance recommends keeping software updated, securing accounts, and protecting the home network.
Review shared account access occasionally, particularly for cameras.
Common Smart Home Installation Mistakes
Most beginner problems come from a few repeatable mistakes.
Check these before replacing your router or returning a device.
Connecting a 2.4GHz Device to the Wrong Network
A smart plug that supports only 2.4GHz cannot join a 5GHz-only network.
Some older setup apps also have difficulty when the phone is connected through 5GHz during pairing.
Check the device specifications.
If the router uses separate network names, select the 2.4GHz network.
If it combines both bands, follow the manufacturer's setup instructions.
You may not need to separate the bands at all.
Buying Devices Without Checking Compatibility
A product may work with one voice assistant but not another.
It might support Alexa through a manufacturer's cloud integration without supporting Matter.
A camera might display live video in one platform while requiring its own app for recordings.
Before buying, check the exact model.
Look for the features you need, not just a familiar logo on the box.
If you want one app to manage your lights, confirm that each selected product supports it.
Placing Cameras Too Far From the Router
Outdoor cameras are often placed near driveways, garages, and side entrances.
Those locations may be separated from the router by several walls.
Metal garage doors and building materials can further weaken the signal.
Test the camera in its intended position before drilling holes.
If live video fails repeatedly, improve the wireless connection first.
A camera that connects only when held beside the router is not ready for permanent outdoor installation.
Using Too Many Apps Without a Plan
Different smart devices often use different manufacturer apps.
That is manageable with a few products but inconvenient when you need several apps just to control the lights.
Choose a preferred smart home platform before expanding.
Look for devices that work with that platform.
Keep the manufacturer apps when necessary for firmware updates, recordings, or advanced settings.
Use consistent room names across the apps.
Ignoring Power Requirements
Smart devices have different power requirements.
Some sensors run on batteries.
Smart bulbs depend on their wall switches remaining powered.
Wired cameras need compatible power supplies.
Outdoor cameras may require suitable weather-resistant power arrangements.
Check these details before installation.
A camera's wireless connection can be excellent, but it still will not work reliably with an unsuitable power supply.
For hardwired devices or electrical modifications, use qualified help when required.
Resetting Everything After One Connection Failure
A device showing offline does not automatically need a factory reset.
The router may be restarting. A battery may be depleted. A cloud service may be temporarily unavailable.
Start with the simplest checks.
Confirm power, network availability, and the app's connection status.
Restart the affected device if the manufacturer recommends it.
Use a factory reset when the troubleshooting instructions call for one, since it may remove pairing information and automations.
What to Do If Your Smart Home Devices Still Do Not Work
When a device fails, change one thing at a time.
If you rename the WiFi network, reset the accessory, change security settings, and reinstall the app together, you won't know which change solved the problem.
Problem 1: The App Cannot Find the Device
Start by checking pairing mode.
If the manual says an indicator should blink rapidly, make sure it is doing so.
Then check the following:
-
The device has power.
-
The phone is connected to the required network.
-
Bluetooth is enabled if required.
-
The app has the necessary permissions.
-
The device is close enough to the router or controller.
-
The accessory has not already been paired to an incompatible or inaccessible setup.
Close and reopen the app before repeating pairing.
For a Matter accessory, verify that you are scanning the correct setup code.
If the device was previously connected to another smart home platform, follow the supported sharing or reset procedure.
Problem 2: The Device Appears Offline
First, check another device on the same network.
If your laptop and phone also have no internet access, investigate the router or internet connection.
If everything else works, inspect the affected accessory.
For a WiFi device, check:
-
Power.
-
WiFi coverage.
-
Network name and password changes.
-
Router compatibility.
-
Device firmware.
For a Thread device, check the controller, Thread border router, and Thread network.
If the issue started immediately after replacing the main router, the accessory may still be trying to connect using its previous network settings.
Problem 3: The Device Connects but Responds Slowly
A plug may connect successfully but take several seconds to respond.
A camera may appear online but buffer when you open the live feed.
Start by checking where the problem occurs.
Does the device respond normally near the router?
Is it slow only when controlled remotely?
Do other connected devices have similar delays?
A slow cloud service can cause delayed commands even when local WiFi is working.
Weak WiFi can cause the same symptom.
For cameras, try a lower supported video quality setting to see whether streaming becomes more stable.
Do not assume a faster internet plan will solve weak local wireless coverage.
Problem 4: The Device Works in One App but Not Another
If the manufacturer's app controls a device but another platform cannot find it, check compatibility first.
The product may require a specific integration.
For Matter devices, use the platform's supported process for adding an existing accessory to another controller.
For devices using cloud integrations, check whether the manufacturer's account has been linked correctly.
Some features may remain exclusive to the original app.
For example, a camera may display video through a smart display but require its own app for motion sensitivity and recording settings.
Problem 5: A Thread Device Will Not Join
Check the product's actual connectivity requirements.
A Thread accessory generally needs a compatible Thread network and border router.
A Matter over Thread device also needs a suitable Matter controller.
Confirm that the required equipment is powered, configured, and running current software.
Keep the accessory within suitable range during setup.
For battery-powered sensors, check the battery and remove any shipping isolation tab.
Do not attempt to pair a Thread-only accessory through a standard WiFi password screen.
If you already have several Thread devices, remember that battery-powered end devices do not necessarily extend the network the way compatible powered Thread routers can.
Problem 6: The Smart Camera Works Near the Router but Not Outside
This is a common outdoor camera problem.
The camera pairs successfully indoors, but the connection becomes unreliable near the garage or driveway.
Test it at several positions between the router and intended mounting location.
If performance worsens with distance or obstructions, focus on wireless coverage.
Possible fixes include:
-
Moving the router to a better location.
-
Relocating the camera slightly.
-
Adding a correctly positioned access point.
-
Using an appropriate WiFi extender.
-
Improving coverage through a suitable mesh system.
Test live video and recording at the final position before securing the camera.
If the camera still disconnects, don't drill or mount it permanently until the connection problem is resolved.
A Simple Smart Home Setup for Different Homes
A small apartment and a multi-floor house do not need the same networking arrangement.
Start with the home's layout and the devices you actually plan to use.
For a Small Apartment
A basic apartment setup might include:
-
One working dual-band router.
-
One or two smart bulbs.
-
A smart plug for a lamp.
-
An indoor camera if you need one.
Install the plug first.
Then add the bulbs and test basic schedules.
Only add a camera after checking the location and privacy settings.
You probably don't need an extender if the router already provides stable WiFi throughout the apartment.
For a Two-Story House
A two-story home may have strong coverage on one floor and weak connections on the other.
Before buying an extender, test the rooms where devices will be installed.
A bedroom smart plug may work with moderate signal strength while a camera in the same room struggles with video streaming.
If upstairs coverage is poor, consider adjusting router placement or adding a suitable wireless access point, extender, or mesh node.
Place the additional networking equipment where it has a strong connection to the main network.
Don't automatically install the extender in the room with the weakest signal.
For a House With Outdoor Security Cameras
Outdoor cameras require more planning because the installation points may be far from the main router.
Check the connection near the front door, driveway, garage, and other areas you want to monitor.
Also consider:
-
Outdoor weather resistance.
-
Suitable power arrangements.
-
Camera viewing angle.
-
Mounting surface.
-
Local or cloud recording.
-
Motion notification settings.
-
Privacy around neighboring properties.
If WiFi is weak beyond the exterior walls, improve coverage before installing multiple cameras.
A reliable connection is more useful than a high-resolution camera that frequently goes offline.
For Renters Who Cannot Modify Walls
Renters can build useful smart homes without permanent electrical work.
Start with removable products such as smart plugs, bulbs, and suitable indoor cameras.
A small smart speaker may provide voice control if you want it.
Choose products that can be disconnected and moved easily.
Avoid replacing electrical switches or modifying wiring without permission and appropriate professional help.
If mounting equipment, check the property's rules before drilling.
How to Expand Your Smart Home Without Making It Complicated
Once the first few devices work, adding more becomes tempting.
But every new product brings another connection, app, account, or maintenance requirement.
Expand based on what you want the system to do.
Choose One Main Control Platform
If you already use Apple Home, Google Home, or Alexa, check whether new accessories support that platform.
Matter can make cross-platform purchasing easier for supported device types.
However, not every function will be available everywhere.
A smart plug may expose basic on and off controls through Matter while offering additional settings only through its manufacturer's app.
Choose the platform you prefer for daily use.
Keep other apps installed when needed for device maintenance.
Add Sensors Before Building Complex Automations
After installing basic lights and plugs, consider a compatible motion or contact sensor.
A hallway motion sensor might switch on a light when someone enters.
A door sensor might send an opening notification.
Test one automation at a time.
If two different automations control the same light, they may issue conflicting instructions.
For example, one schedule may turn a lamp off while another motion rule immediately switches it back on.
Keep the logic simple until you understand how the rules interact.
Keep a Simple Record of Your Devices
A short list is enough for most homes.
Record:
-
Device name and model.
-
Installation room.
-
App used for setup.
-
WiFi, Thread, or other connection type.
-
Required hub or controller.
-
Firmware update method.
-
Relevant support information.
Store passwords separately in a password manager.
This information is useful when you replace your router, change phones, or troubleshoot a device months after installation.
Review the Setup Periodically
Smart home devices need occasional maintenance.
Check for firmware updates and offline accessories.
Replace weak sensor batteries.
Review camera recordings to ensure storage still works.
Look at account sharing permissions, especially after someone no longer needs access.
If you change your WiFi password, expect some devices to require reconnection.
A little maintenance helps avoid discovering that a camera stopped recording weeks earlier.
FAQ
What are the easiest smart home devices for beginners?
WiFi smart plugs and bulbs are good starting choices because they are simple to install and easy to test. Choose a product that supports your existing router and preferred app. Once it works reliably, consider adding sensors or cameras based on your needs.
Do smart home devices need 2.4GHz or 5GHz WiFi?
Many smart plugs, bulbs, and security cameras use 2.4GHz WiFi, while other products support 5GHz or both bands. Always check the exact model specifications. Thread devices communicate over a separate wireless mesh network rather than joining your normal WiFi network directly.
Do I need a smart home hub for every device?
No. Many WiFi smart devices connect directly to a router and work through their manufacturer's app. Some Zigbee, Thread, and Matter accessories require compatible hubs, controllers, or border routers. Check the device's connection requirements before buying additional equipment.
What is the difference between Matter and Thread?
Matter is a smart home interoperability standard that lets compatible products work with supported platforms. Thread is a low-power wireless networking technology used by certain connected devices. Matter can run over Thread, WiFi, or Ethernet, but not every Thread device supports Matter.
Why does my smart home device keep disconnecting?
Weak WiFi, power interruptions, incompatible network settings, outdated firmware, and controller problems are common causes. Test whether the device works closer to its router or supported hub. If only one accessory disconnects, check that product's power and connection before replacing your networking equipment.
Can I set up smart home security without paying a subscription?
Yes. Some security cameras offer local recording through a microSD card or compatible recorder without a monthly subscription. Check whether motion alerts, remote viewing, and playback are included or require additional services. A camera's ability to show live video does not automatically mean it records footage, so test the storage feature after installation.
For your first setup, choose one useful device and get it working from its permanent location. Check the WiFi band, confirm app compatibility, and test the controls before adding anything else. When you move on to cameras or Thread accessories, verify their networking and hub requirements first. That approach prevents most beginner setup problems without buying equipment you don't need.